

Introduction to Budget-Friendly Stunning Backsplashes
Your kitchen feels tired, but a complete renovation costs thousands. Good news: You can transform your space with a fresh backsplash for under $100.
A new backsplash changes everything. It protects your walls from splashes and grease. More importantly, it becomes the focal point that ties your whole kitchen together.
In this guide, you’ll find budget-friendly options that look expensive but won’t break the bank. We’ll cover Peel-and-stick tiles that are installed in hours, Subway tile projects for classic appeal, Creative alternatives using paint and stencils, and Money-saving shopping tips.
I’ve helped dozens of homeowners update their kitchens on tight budgets. These aren’t just pretty pictures – they’ve tested solutions that real people use in real homes.
Ready to give your kitchen a makeover? Let’s start with the most affordable options that deliver maximum impact.
Step-by-Step Process (Works for Most Materials)

Step 1: Prepare Your Workspace
Turn off the power to the electrical outlets. Remove outlet covers and switch plates. Clean the wall thoroughly with a degreasing cleaner to remove all grease and grime.
Step 2: Plan Your Layout
Measure your backsplash area and calculate the materials needed. Find the center point and mark horizontal and vertical guide lines with a level. Plan to start with full tiles in the most visible spots.
Materials Required
For Traditional Tiles (Subway, Mosaic, etc.)
- Tiles (10% extra for cuts and mistakes)
- Tile adhesive or mastic
- Grout (sanded or unsanded)
- Tile spacers
- Grout sealer
For Peel-and-Stick Options
- Peel-and-stick tiles (5% extra)
- Degreasing cleaner
- Clean cloths
For Painted Solutions
- Specialized tile paint or primer
- High-quality brushes/rollers
- TSP cleaner
- Fine sandpaper (220 grit)
- Painter’s tape
For Alternative Materials
- Laminate planks or the chosen material
- Construction adhesive
- Caulk and caulk gun
Step 3: Gather Your Tools
Basic tools needed: Level, measuring tape, tile cutter or utility knife, spacers (for traditional tiles), adhesive or mounting supplies, grout (if required), cleaning supplies.
Step 4: Install Your First Row
Start from your center line and work outward. For traditional tiles, apply adhesive with a notched trowel. For peel-and-stick, simply remove the backing and press firmly. Keep checking the level as you go.
Step 5: Continue Installation
Work row by row, maintaining consistent spacing. Remove excess adhesive from joints immediately. Cut tiles for edges and outlets as needed – measure twice, cut once.
Step 6: Finishing Touches
For traditional tiles: Wait 24 hours, then apply grout with a rubber float. Clean excess grout with a damp sponge after 15 minutes.
For peel-and-stick or painted options: Simply reinstall outlet covers and clean any marks.
Step 7: Final Details
Apply grout sealer if needed (usually 48-72 hours after grouting). Caulk edges where backsplash meets countertop and cabinets for a professional finish.
Total time: 4-8 hours for most kitchens, plus drying time for traditional tiles.
Pro tip: Work in good lighting and take breaks to check your progress from different angles.
Stunning Classic Subway Tile Ideas
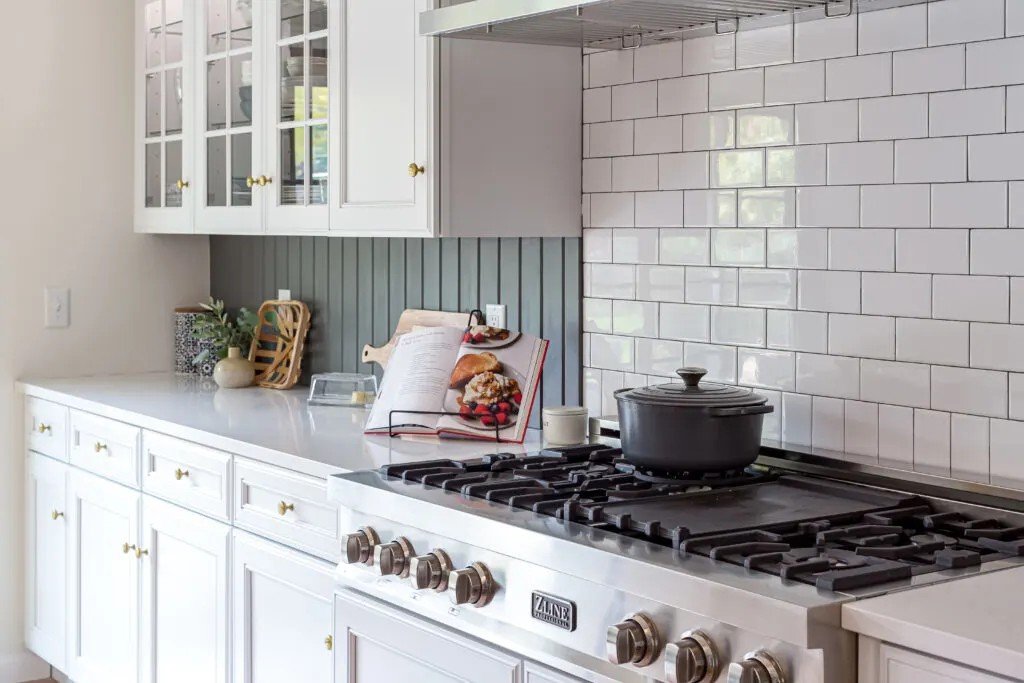
Subway tiles never go out of style. I’ve installed them in kitchens for over a decade, and they still look fresh today.
Here’s why they work so well: They’re affordable, easy to cut, and forgiving for beginners. You can buy them for as little as $0.50 per square foot at home improvement stores.
But the standard brick pattern gets boring fast.
Creative Layout Patterns
Switch up the layout to make basic tiles look custom and expensive.
The herringbone layout creates sophisticated movement across your wall. The zigzag pattern draws the eye and adds visual interest without extra cost. I recommend this for small kitchens – it makes the space feel larger.
Vertical stacking makes your ceilings look taller. Stack tiles straight up instead of offsetting them. This works exceptionally well behind ranges or sinks where you want to create a focal point.
Need more drama?
The diagonal installation brings dynamic energy to any kitchen. Turn your tiles 45 degrees for an unexpected twist. This pattern takes more planning but uses the same budget-friendly tiles.
Color and Grout Combinations
Grout colour changes everything. Most people stick with white, but that’s a missed opportunity.
White subway with bold grout colours creates a striking contrast:
- Navy grout for nautical charm
- Charcoal grout for a modern edge
- Sage grout for farmhouse warmth
Coloured subway tiles offer another budget-friendly option. Soft pastels work in cottage-style kitchens. Dramatic darks create moody, restaurant-style looks.
Want something truly unique?
Mixed subway colours in gradient patterns cost the same as solid colours but look thoroughly custom. Start with light tiles at the top and gradually shift to darker shades at the bottom.
Eye-Catching Mosaic and Small Format Ideas
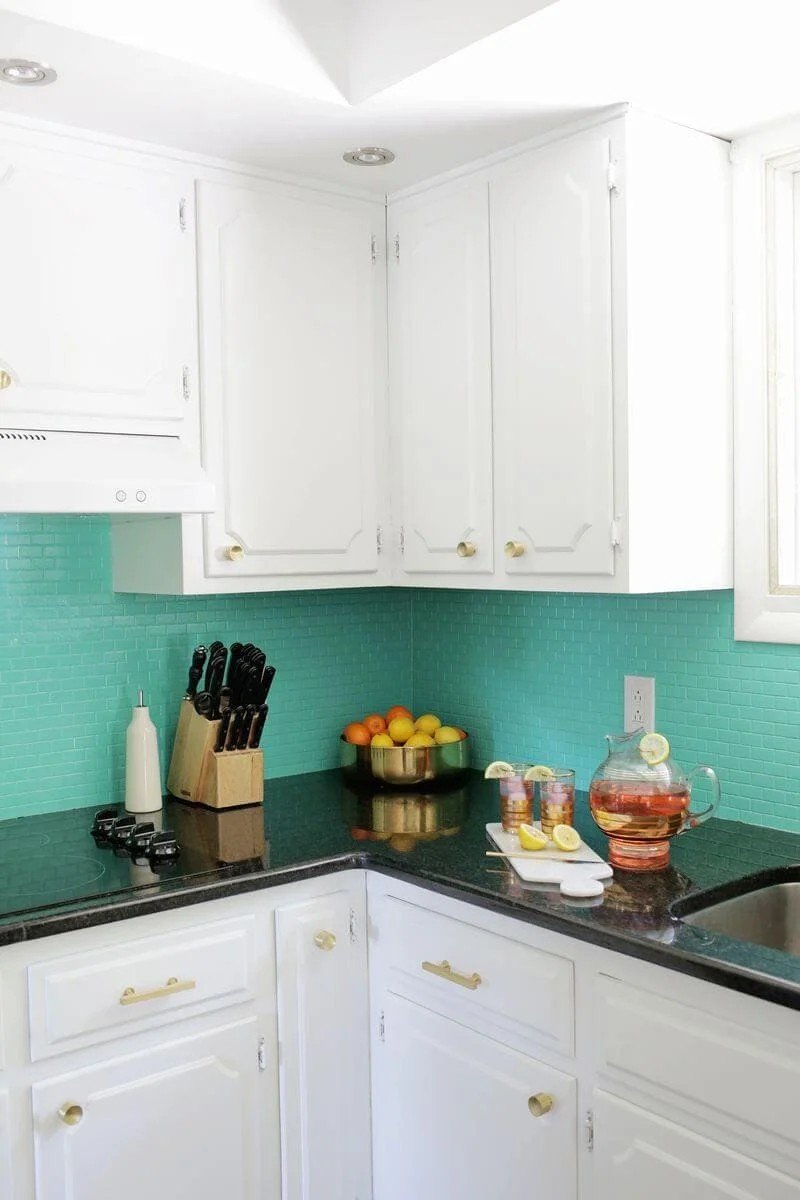
Small tiles pack a big visual punch. I’ve seen $50 mosaic projects that look like they cost thousands.
The secret? Pre-mounted sheets do the hard work for you.
Mosaic Sheet Magic
Pre-mounted sheets save you hours of tedious placement. Each 12×12 sheet mixes different materials for instant luxury appeal.
Look for sheets combining:
- Glass for light reflection
- Stone for natural texture
- Metal for modern shine
Creating textured, layered looks becomes simple when materials are already mixed. The contrast between smooth glass and rough stone adds depth that flat subway tiles can’t match.
But here’s where it gets interesting.
Gradient colour transitions work beautifully with mosaic sheets. Start with light blues at the top, then shift to deeper navy at the bottom. Each sheet gradually changes tone, creating a custom ombre effect.
Metallic accent integration adds glamour without breaking your budget. Choose sheets with copper, bronze, or stainless steel pieces scattered throughout. The metal catches kitchen lighting and makes your backsplash sparkle.
Penny Tile Pattern Creativity
Penny tiles aren’t just for bathrooms anymore. I use them in kitchens all the time now.
Classic penny rounds get fresh life with unexpected colour combinations. Try mint green with white grout-or charcoal grey with cream grout for farmhouse appeal.
Gradient penny tile effects create stunning focal points. Start with white pennies behind your sink, then gradually shift to grey, then black. The transition looks intentional and sophisticated.
Want more texture?
Mixed-size penny tiles create organic, handmade looks. Combine standard pennies with larger hexagon shapes. The varied sizes add visual interest while using the same installation method.
Penny tile borders frame larger format centres beautifully. Use penny tiles around the edges, then fill the centre with 4×4 squares. This technique stretches expensive tiles further while adding custom detail.
Bold Pattern and Statement Ideas
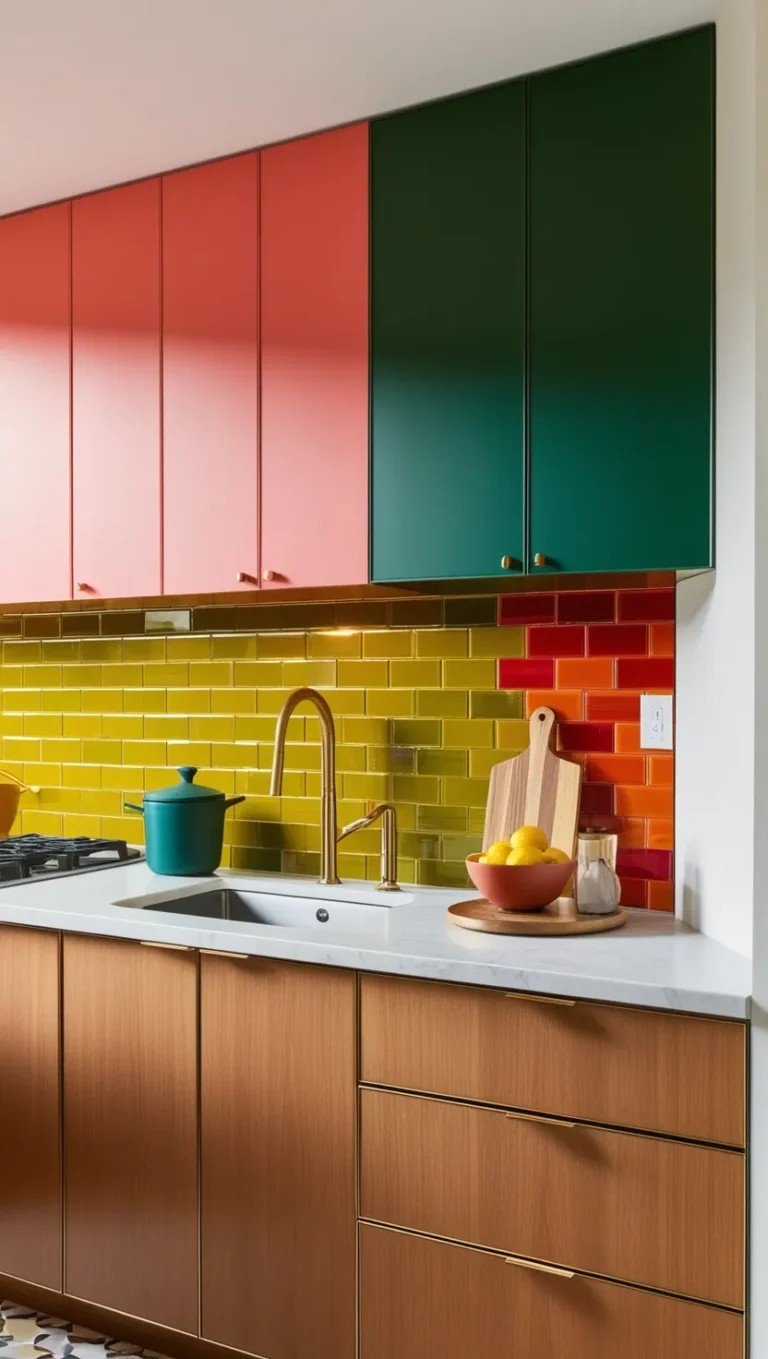
Patterns transform boring kitchens into showstoppers. I’ve watched homeowners gasp when they see their finished backsplashes.
The best part? Bold doesn’t mean expensive.
Global-Inspired Patterns
Moroccan encaustic-look tiles bring exotic sophistication to any kitchen. You don’t need real cement tiles that cost $12 per square foot. Ceramic versions with the same intricate patterns cost $3 per square foot.
The complex designs make your kitchen feel worldly and expensive.
Geometric patterns work as dramatic focal points behind ranges or sinks. Choose tiles with star shapes, hexagons, or interlocking circles. Even basic white tiles with geometric shapes create visual interest.
Want something truly unique?
Mixed pattern combinations create eclectic luxury looks. Combine three different geometric patterns in the same colour family. Use the largest pattern sparingly as an accent, medium patterns for transition areas, and small patterns to fill space.
This technique costs the same as solid tiles but looks completely custom.
Contemporary Geometric Designs
Modern kitchens need clean, bold statements.
Large format tiles in striking patterns make small kitchens feel bigger. Choose 12×24 tiles with simple geometric designs. The larger size means fewer grout lines and a cleaner look.
Colour blocking with contrasting tiles creates a dramatic impact for minimal cost. Use white tiles for 70% of your backsplash, then add blocks of black or navy tiles in strategic spots.
The contrast draws attention without overwhelming your space.
Modern abstract designs using standard materials push creative boundaries. Take basic subway tiles and install them in wave patterns. Or create chevron designs with rectangular tiles.
These installations use the same budget-friendly materials but arrange them in artistic ways. The labour is free when you do it yourself, and the results rival expensive designer tiles.
Start with graph paper to plan your pattern before buying materials.
Conclusion
Your diy kitchen backsplash project doesn’t have to drain your savings account. From classic subway tiles with bold grout to creative alternatives like laminate planks and painted solutions, you now have dozens of budget-friendly options that look expensive.
The best part? Most of these projects cost under $100 and can be completed in a weekend. Whether you choose mosaic sheets, geometric patterns, or mixed textures, your kitchen will feel completely transformed.
Start with one small section to build confidence, then expand your design. Remember – great style comes from creativity, not big budgets.
What backsplash idea caught your eye? Please share your favourite option in the comments below, or send us photos of your finished project. We love seeing budget makeovers come to life!
Frequently Asked Questions
How much does a DIY kitchen backsplash cost?
Most DIY kitchen backsplash projects cost between $50-$200, depending on materials and kitchen size. Subway tiles start at $0.50 per square foot, while peel-and-stick options cost $2-5 per square foot. Alternative materials like laminate flooring or painted solutions can cost even less.
What’s the easiest DIY kitchen backsplash for beginners?
Peel-and-stick tiles are the easiest option for beginners. They require no special tools, adhesives, or grout. Clean your wall, peel off the backing, and stick them in place. Most projects finish in 2-3 hours.
Can I install a backsplash over the existing tile?
Yes, you can install most backsplash materials over existing tile if it’s clean, flat, and well-adhered. Peel-and-stick tiles, painted finishes, and vinyl decals work exceptionally well. Clean thoroughly and use appropriate primers for best results.
How long does a DIY kitchen backsplash take to install?
Installation time varies by material. Peel-and-stick tiles take 2-4 hours. Traditional subway tiles require 6-8 hours plus drying time for adhesive and grout. Painted solutions can be completed in one weekend, including prep work.
What tools do I need for a DIY kitchen backsplash?
Basic tools include a level, measuring tape, tile spacers, and a tile cutter or wet saw. For peel-and-stick projects, you only need a utility knife and a level. Most home improvement stores rent tile cutters for $30-40 per day.