

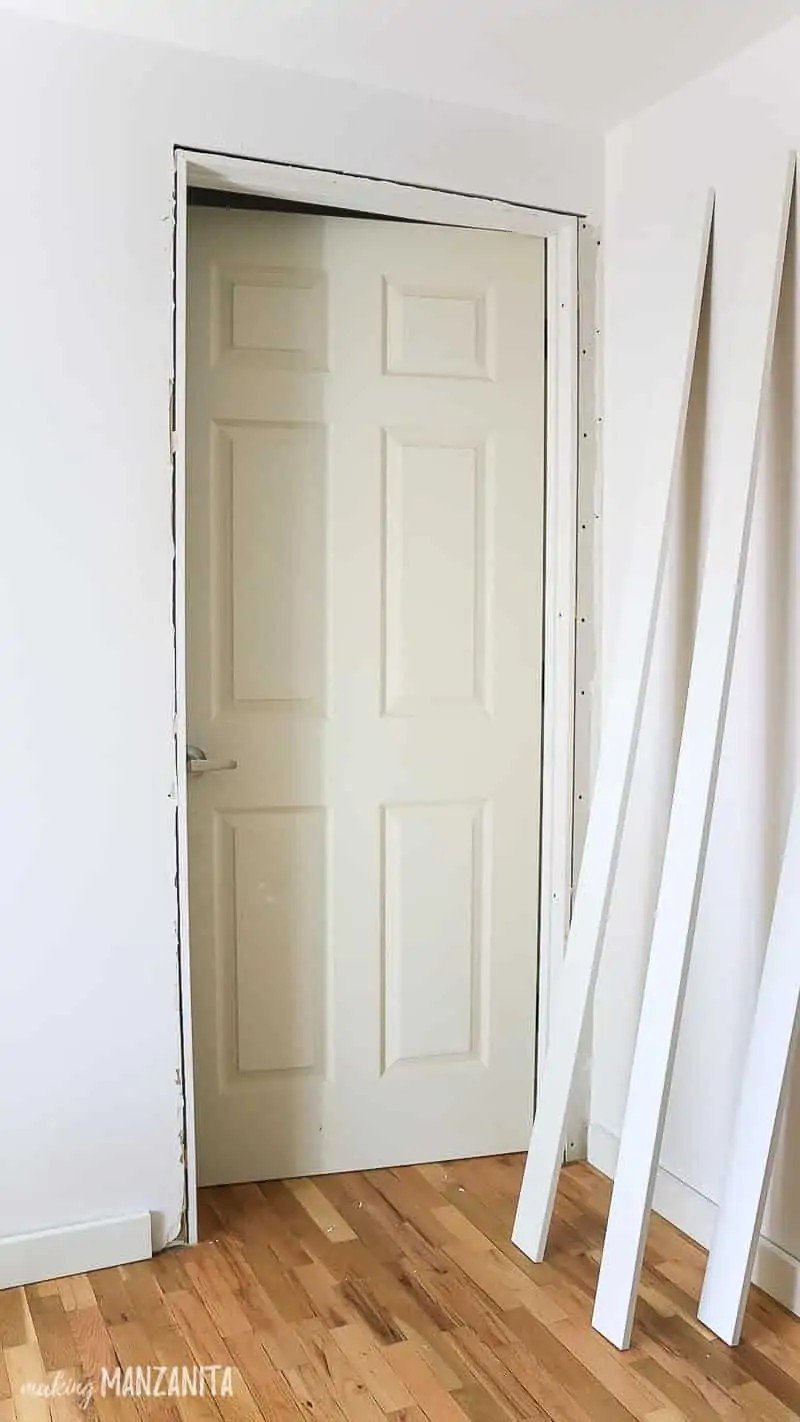
Door trim might seem like a small detail, but it makes a huge difference. Are there any gaps around your door frames? They’re not just unsightly – they’re screaming for attention.
What exactly is door trim? It’s the decorative molding that frames your doorways. This simple addition conceals gaps between your door frame and wall. More importantly, it adds character to any room.
Installing door trim hides uneven cuts and gaps, creating a finished and professional look. It adds visual interest to plain doorways and increases your home’s value.
Don’t worry if you’re new to DIY projects. This guide breaks down every step in plain English. You’ll learn exactly which tools you need, how to measure correctly, and how to cut perfect angles.
I’ve helped hundreds of homeowners tackle this project. Most finish in just a few hours. By the end of this article, you’ll have the confidence to transform your doorways from basic to beautiful.
Essential Tools and Materials
Before you start cutting wood, let’s get organized. I always tell my clients that having the right tools makes this job ten times easier. Trust me on this one.
Required Tools
You don’t need a fancy workshop. Most of these tools are basic items you might already own.
For cutting and measuring:
- Miter saw or miter box with a handsaw
- Tape measure and pencil
- Level for straight lines
- Combination square for measuring reveals
For installation:
- Hammer or nail gun (I recommend a brad nailer)
- Pry bar for adjustments
- Caulk gun
- Sandpaper (220 grit)
Here’s a tip: If you don’t own a miter saw, most home improvement stores will cut your trim for free. Just bring your measurements.
Materials Needed
The materials list is short but essential-quality matters here, especially for the casing.
Your shopping list:
- Door casing (pre-primed pine or MDF works best)
- Finish nails (4d and 6d sizes, plus 2-inch brad nails)
- Wood filler and painter’s caulk
- Carpenter’s glue
- Shims for those inevitable adjustments
Pro tip: Buy 10% more casing than you think you need. Better safe than sorry.
Pre-Installation Preparation
Here’s where most people mess up. They skip the prep work and wonder why their trim looks crooked. Don’t be that person.
Removing Existing Trim
Do you have old trim that needs to be removed? This step takes patience, but it’s worth doing right.
Start by scoring the caulk lines with a sharp razor blade. This prevents paint from peeling when you pry off the trim.
Use your pry bar and hammer carefully. Place a scrap piece of wood behind the pry bar to protect your wall. Work slowly along the entire piece.
Clean-up time: Pull out any leftover nails with pliers. Scrape off an old caulk with a putty knife. Your surfaces need to be cleaned before moving forward.
Here’s what I do: I always vacuum the area afterward. Dust and debris will show through your new trim.
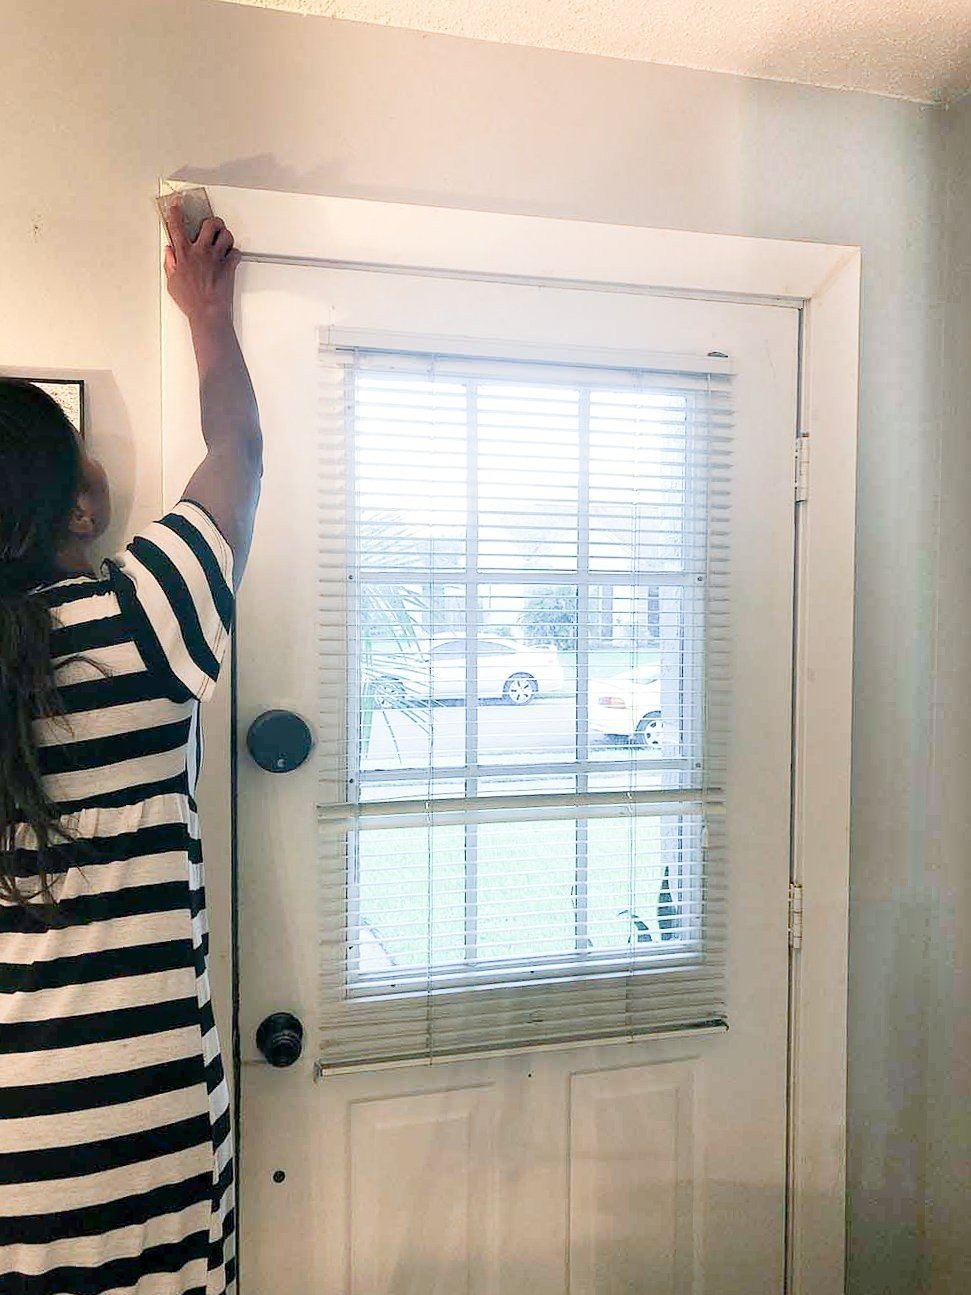
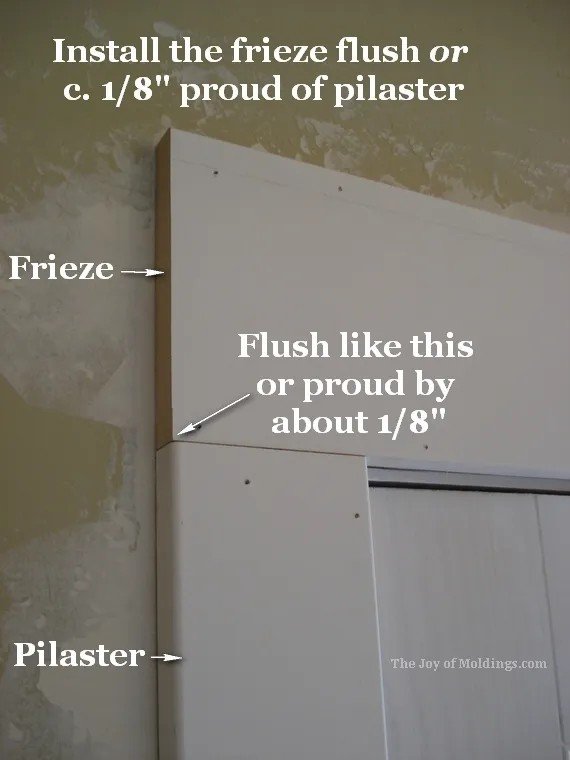
Measuring and Marking the Reveal
What’s a reveal? It’s the small gap between your door jamb and trim. This gap is crucial for a professional look.
Set your reveal at 1/8 to 1/4 inch. I prefer 3/16 inch for most doors. It looks clean without being too wide.
Use your combination square to mark this distance consistently. Make light pencil marks around the entire door frame.
Double-check your marks. They should line up perfectly on all three sides.
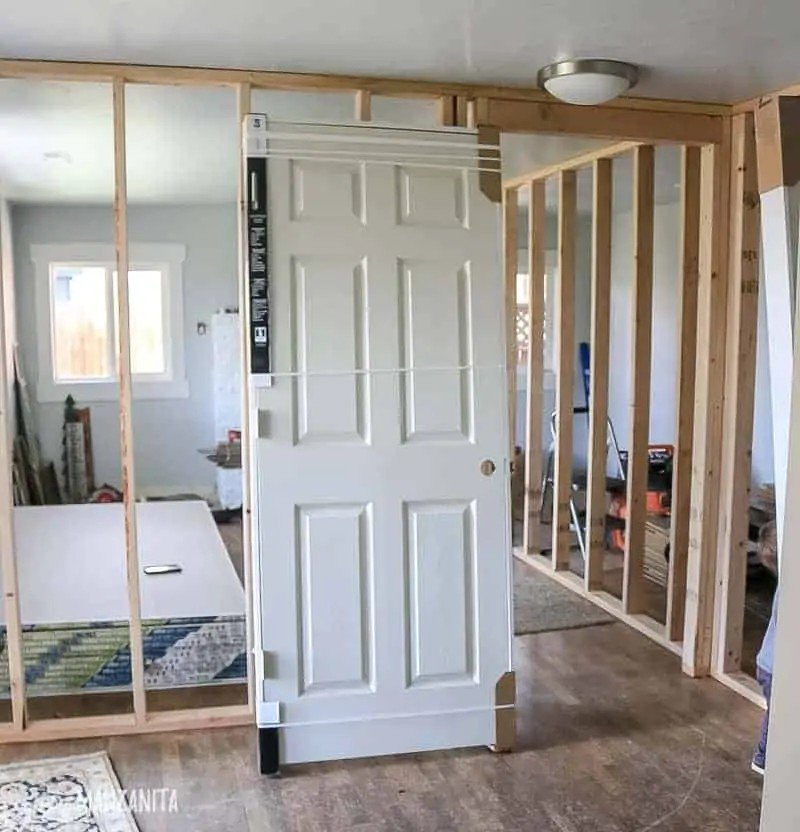
Assessing and Preparing Surfaces
Not all walls are perfectly straight. I’ve never seen a house like that.
Check your jambs and wall alignment with a level. Look for gaps or high spots that need attention.
Use shims behind the trim where you find uneven surfaces. This keeps your trim straight and tight.
Take photos of your measurements. Your phone is your best friend here. I snap pictures of every measurement before cutting.
Step-by-Step Installation Process
It’s time to make some sawdust. This is where your preparation pays off. Let’s cut some trim.
Measuring and Cutting Trim Pieces
Measure twice and cut once. I know it’s an old saying, but it saves money and frustration.
For your side casings, measure from the floor to your top reveal mark. Write this number down. Do this for both sides – they might be different.
For the head casing: Measure between the outer edges of where your side pieces will sit. Add your overhang distance to each end.
Choose your joint style: Straight cuts work great for butted joints. They’re more manageable for beginners. Want something fancier? Try 45-degree mitered joints.
Here’s my secret: Always test fit your pieces before nailing anything. Hold them in place and check the gaps.
Problems? Cut new pieces. It’s cheaper than living with mistakes.
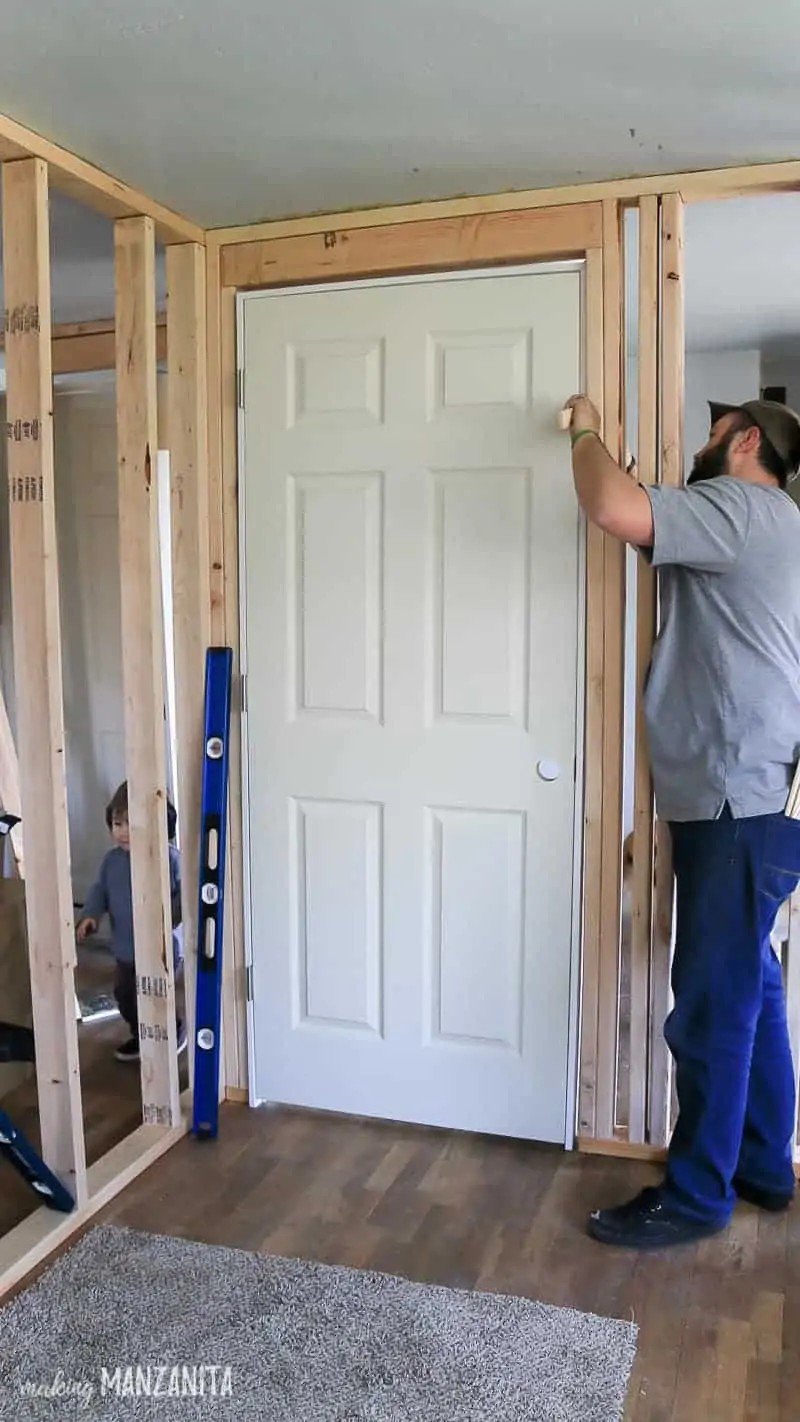
Installing Side Casings
Start with the side pieces. They set the foundation for everything else.
Line up your trim with those reveal marks you made earlier. The edge should sit perfectly on your pencil line.
Nail placement matters. Use 4D finish nails spaced 16 inches apart. Drive them into the jambs and wall studs for maximum holding power.
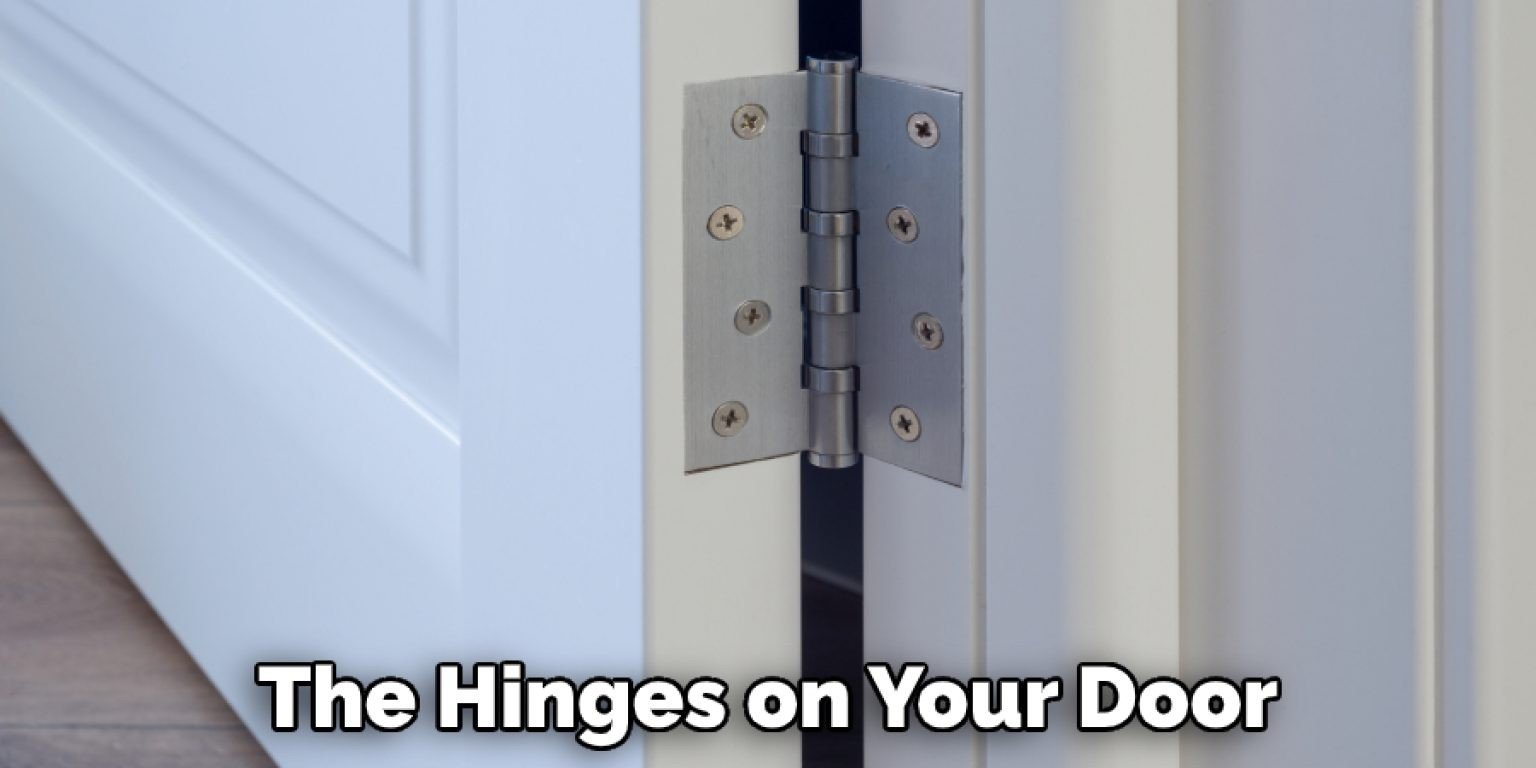
Watch your door hardware. Make sure your trim doesn’t interfere with the hinges or the door swing.
Check as you go. Step back and look at your work. Is it straight? Does it look right?
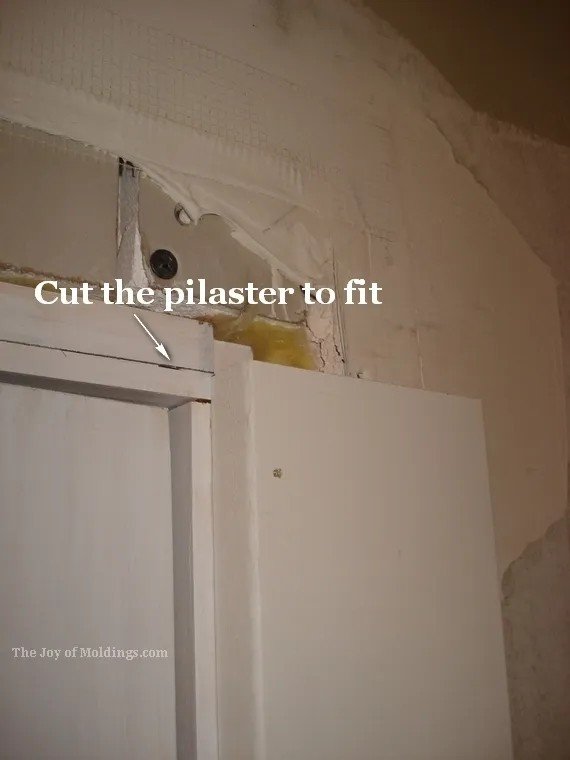
Installing Head Casing
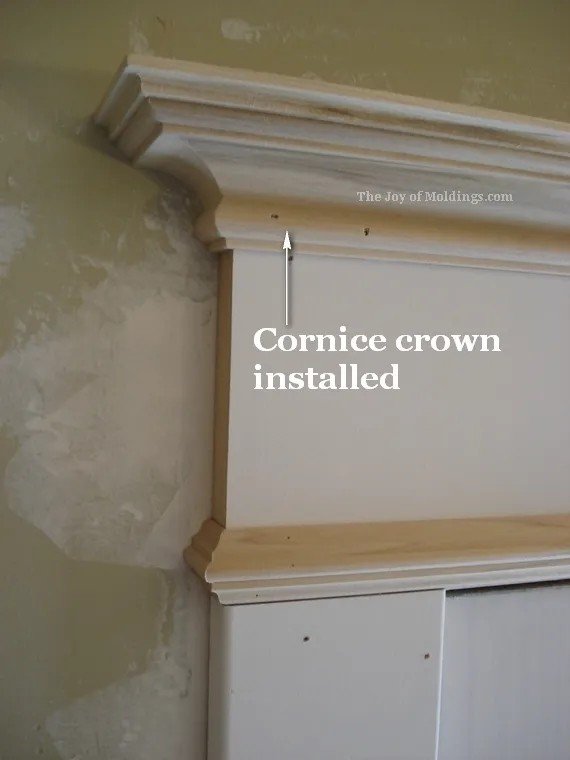
The head casing is your finishing touch. This piece ties everything together.
Position it carefully between your installed side pieces. The overhang should match your chosen style.
Create tight joints at the corners. Gaps here will haunt you forever. Use a little carpenter’s glue if needed.
Nail it down with the same spacing as your side pieces. Pre-drill if you’re close to the ends to prevent splitting.
Stand back and admire your work. You’re almost done.
Achieving Perfect Joints
Joints make or break your trim job. I’ve seen beautiful casing ruined by sloppy corners. Let’s get this right.
Mitered Joint Techniques
Mitered joints look professional, but they’re tricky. One degree off, and you’ll see the gap from across the room.
Start with miter clamps for pre-assembly. These hold your pieces at the perfect angle while you work. Test your joint before any glue touches the wood.
Apply carpenter’s glue sparingly to the mitered ends. Too much glue creates a mess. Too little won’t hold.
Still, seeing gaps? Use a block plane to fine-tune your cuts. Take paper-thin shavings until the joint closes perfectly.
Clamping is critical. Apply steady pressure, but don’t overdo it. You want the joint tight, not crushed. Give the glue 30 minutes to set before removing the clamps.
Here’s my trick: I always cut my miters slightly long, then trim them to a perfect fit.
Butted Joint Installation
Butted joints are simpler, but they still require care. They’re more forgiving than miters.
Install from bottom to top. This sequence gives you the cleanest look. The side pieces support the head casing.
Square cuts are everything here. Use your miter saw’s fence to keep cuts perfectly straight. Check each cut with a square before moving to the next piece.
Mix your nail sizes strategically. Use 4D nails into the jamb and 6D nails into the wall studs. This gives you solid holding power without splitting the wood.
Line up your pieces carefully. The head casing should sit flush on top of both side pieces. No gaps, no overhangs.
Your trim is up, but you’re not done yet. The finishing work separates amateur jobs from professional ones. This is where the magic happens.
Filling and Smoothing
Those nail holes aren’t going to hide themselves. Wood filler is your best friend here.
Apply wood filler to every nail hole with a putty knife. Press it in deep and leave it slightly proud of the surface. It shrinks as it dries.
Please wait for it to cure completely. Rush this step, and you’ll be doing it twice.
Sand with 220-grit sandpaper once the filler is hard. Light, circular motions work best. You want the surface to be perfectly smooth.
Wipe down everything with a tack cloth. Paint won’t stick to dust.
Here’s what I learned the hard way: Prime any bare wood areas before your final paint coat.
Caulking and Final Sealing
Caulk transforms good trim into excellent trim. It’s the difference between DIY and professional.
Use a paintable caulk at every wall joint. Run a thin, consistent bead along the gap between the trim and the wall.
Fill small gaps between trim pieces, too. Your finger is the best smoothing tool – keep it damp.
Work in sections. Caulk doesn’t wait for anyone. Smooth each bead within five minutes of application.
Clean lines matter. Remove excess caulk immediately with a damp rag.
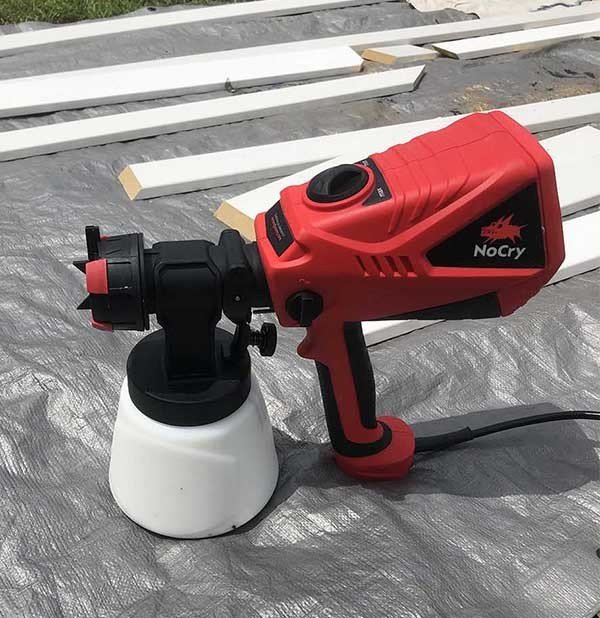
Paint Application
The final step makes everything look intentional. Good paint technique shows.
Use quality brushes – they’re worth the extra cost. Cheap brushes leave brush marks that you’ll see for a long time.
Prime first if needed. Raw wood, filler spots, and caulk all need primer. Don’t skip this step.
Apply your finish coat with smooth, even strokes. Work with the grain of the wood when possible.
Two thin coats beat one thick jacket every time. Patience pays off here.
Stand back and enjoy your work. You just transformed your space.
Conclusion
You now know exactly how to install door trim like a pro. From measuring your reveal to applying that final coat of paint, each step builds toward a professional-looking finish.
The key is taking your time with the prep work. Good measurements and clean cuts make everything else fall into place. Those little details – the caulking, filling, and sanding – separate your work from amateur jobs.
Your doorways will look transformed entirely. Friends and family will notice the difference immediately.
Ready to tackle your next room? The same techniques work for windows, built-ins, and other trim projects around your house.
Do you have questions about your specific situation? Drop a comment below. I love helping fellow DIYers work through tricky spots. Happy building!
Frequently Asked Questions
How long does it take to install the door trim?
Most homeowners finish one door in 2-4 hours. This includes measuring, cutting, installing, and basic finishing work. Your first door takes longer as you learn the process.
What tools are necessary to install door trim?
You need a miter saw (or miter box), tape measure, level, hammer or nail gun, and a combination square. Most other tools can be substituted or borrowed.
Can I install the door trim without a miter saw?
Yes. Use a miter box with a handsaw for angled cuts, or ask your home improvement store to cut pieces to your measurements. Many stores offer free cutting services.
What’s the best wood for door trim?
Pre-primed pine or MDF works best for beginners. They’re affordable, easy to work with, and take paint well. Avoid hardwoods until you gain experience.
How do I fix gaps in my door trim joints?
Small gaps under 1/8 inch can be filled with paintable caulk. Larger gaps require recutting the piece. Always test-fit before final installation to avoid this problem.