

Are your walls looking flat and boring? Hand trowel texture can fix that problem fast.
This technique adds character and depth to any room. It hides imperfections, too. Best of all, you can learn to do it yourself.
Here’s what you’ll get from this guide: Complete tool and material lists, step-by-step application process, pro tips for perfect results, common mistakes to avoid, and finishing and maintenance advice.
We’ve helped thousands of homeowners transform their spaces. Our methods come from real experience, not just theory. You’ll get the same techniques professionals use.
Why trust our advice? We’ve tested these methods in real homes. We know what works and what doesn’t. No fluff or complicated jargon here.
Ready to give your walls some personality? Let’s get started with everything you need to know about hand trowel texture.
Essential Tools and Materials
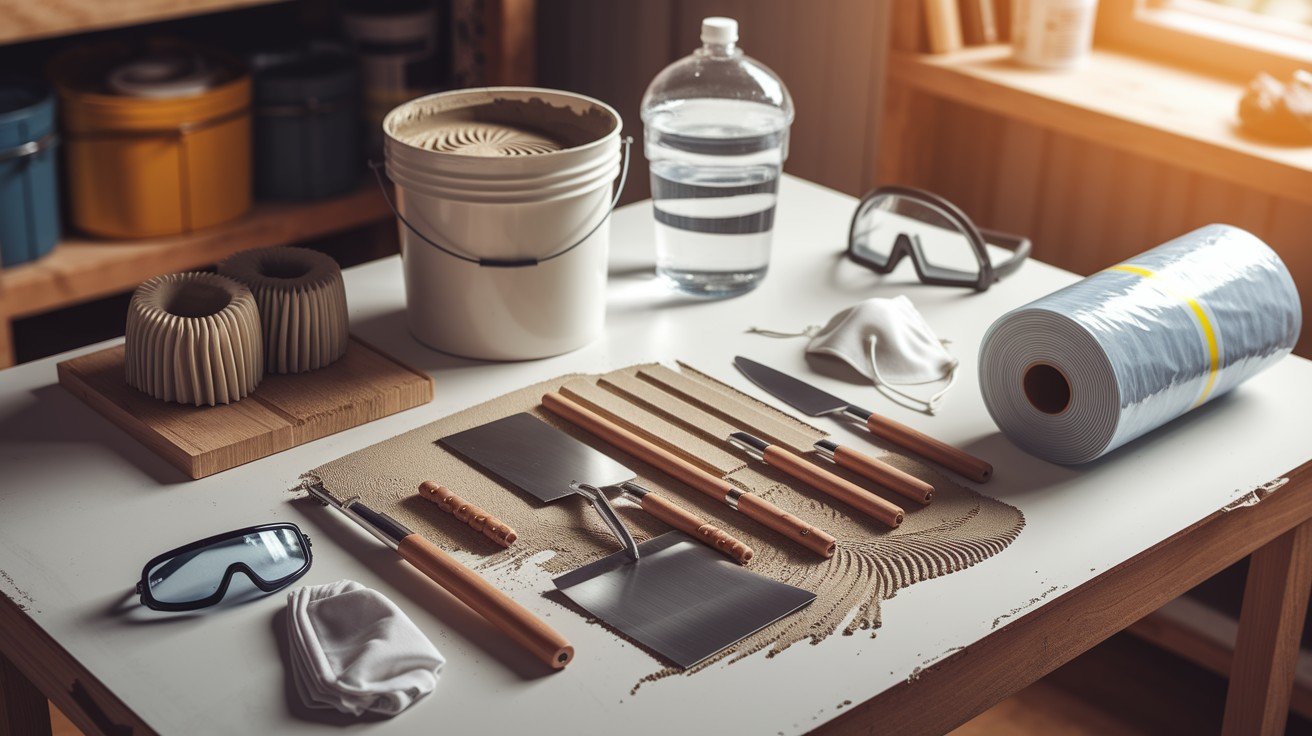
Getting the right tools makes all the difference. You don’t need fancy equipment, but quality matters. Let me walk you through exactly what you’ll need.
Required Tools
A quality stainless steel trowel is your main tool. Get one that feels comfortable in your hand. The smooth surface helps produce clean patterns.
You’ll also need a hawk for a holding compound. This flat tool with a handle makes your work much easier. It keeps the compound within reach while you work.
A wide knife for base application spreads the initial layer evenly. I recommend a 6-inch knife for most jobs. Various trowel sizes give you different effects.
Start with a 12-inch trowel. Add smaller sizes as you get more comfortable. Here’s what matters most: comfort and control. If the tool doesn’t feel right, you won’t get good results.
Materials Needed
Joint compound made for texturing works best. Regular compound can work, but texturing compound holds patterns better.
Keep water nearby for consistency adjustments. You’ll use this more than you think. The compound thickens as you work.
Don’t forget primer and paint for finishing. Your texture work means nothing without a proper finish. Pro tip: Buy more compound than you think you need. Running out halfway through ruins your flow.
Safety Equipment
Dust masks protect your lungs from particles. This isn’t optional. Joint compound dust can irritate your breathing. Safety goggles shield your eyes from splatter. Trust me on this one. I’ve learned the hard way.
Drop cloths save your floors from messy cleanup. Plastic works fine. Canvas is better but costs more. Your health comes first. Don’t skip the safety gear.
Preparation Phase
Good prep work makes everything else easier. Rush this part and you’ll regret it later.
Surface Preparation
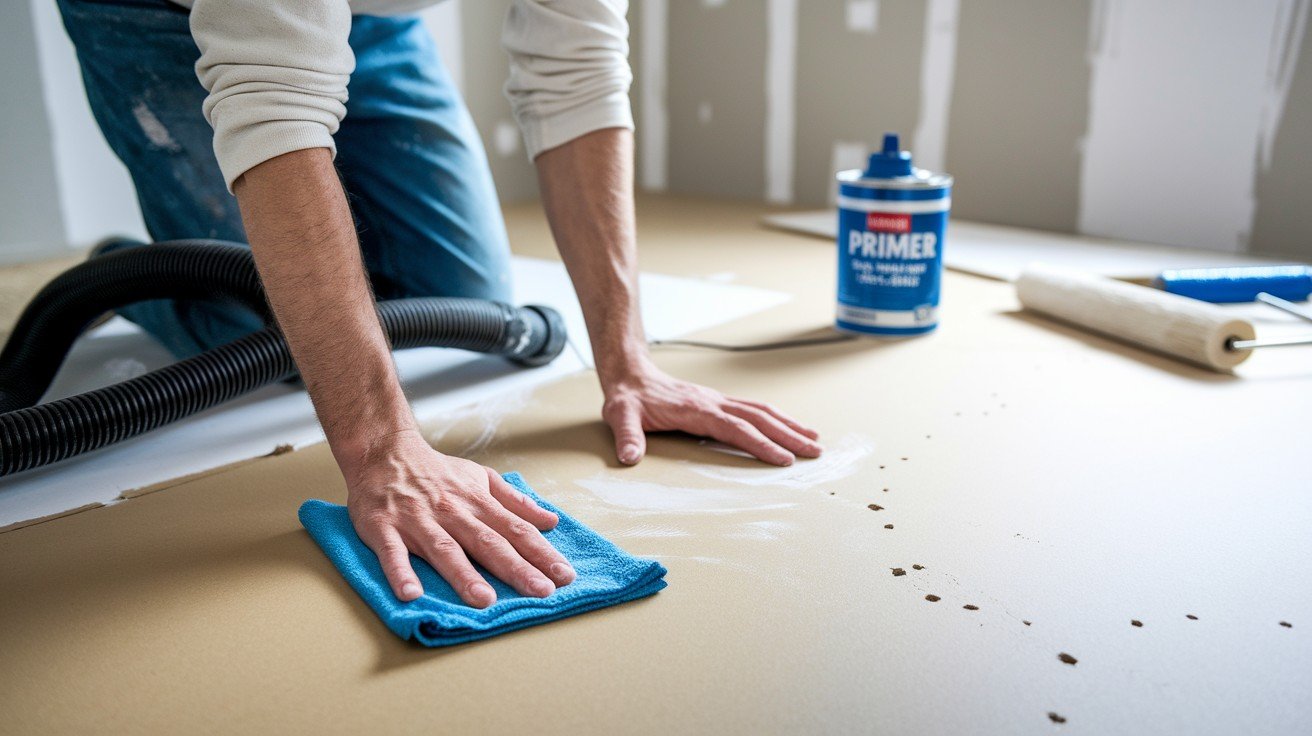
Clean your drywall surface thoroughly. Use a damp cloth to remove dust and fingerprints. Let it dry completely. Remove all dust and debris from screw holes and joints. A vacuum with a brush attachment works great.
Repair any holes or cracks before you start texturing. Fill them with joint compound. Sand smooth when dry. Prime the surface if necessary. New drywall always needs primer. Painted walls might need it too if the paint is glossy. Clean walls = better texture. It’s that simple.
Material Preparation
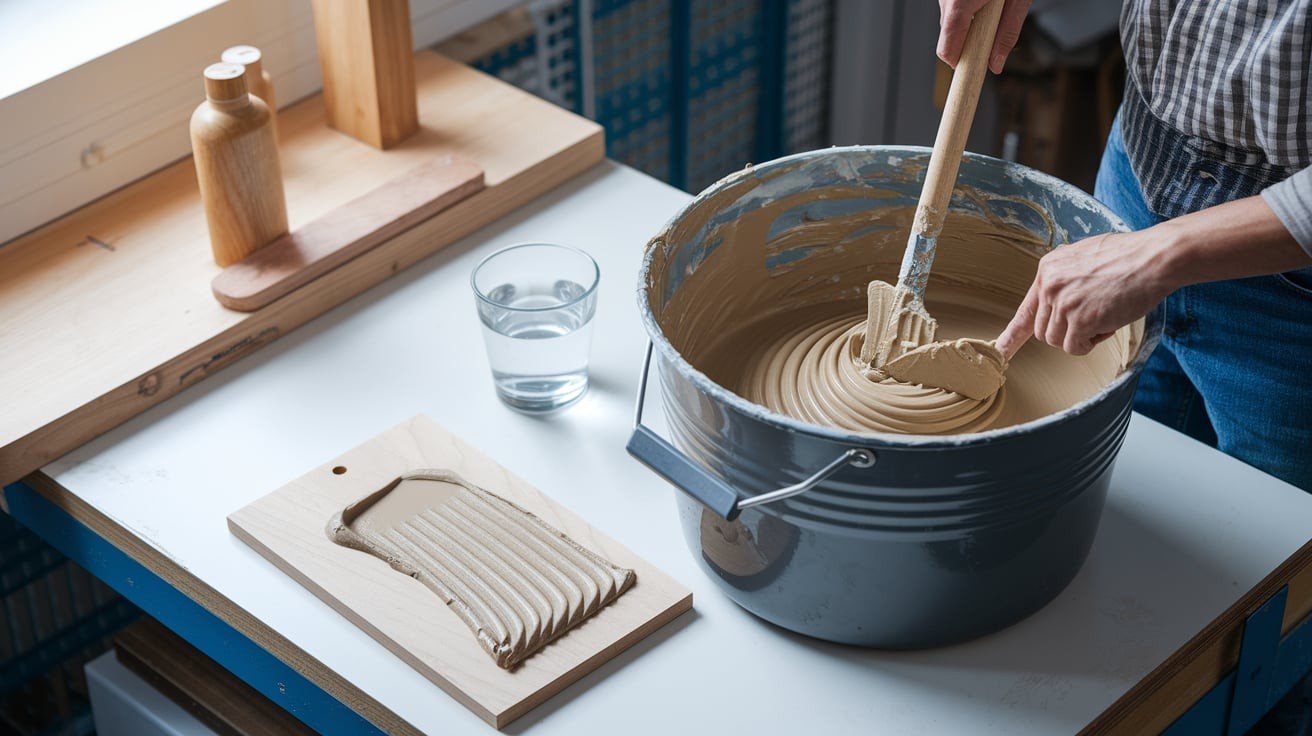
Mix joint compound to a peanut butter consistency. Not too thick, not too thin. It should spread easily but hold its shape. Test consistency on a sample board first. This saves you from surprises on your actual wall.
Keep water nearby for adjustments. Add small amounts at a time. You can always add more, but you can’t take it out. Getting the mix right takes practice. Don’t worry if it’s not perfect the first time.
Workspace Setup
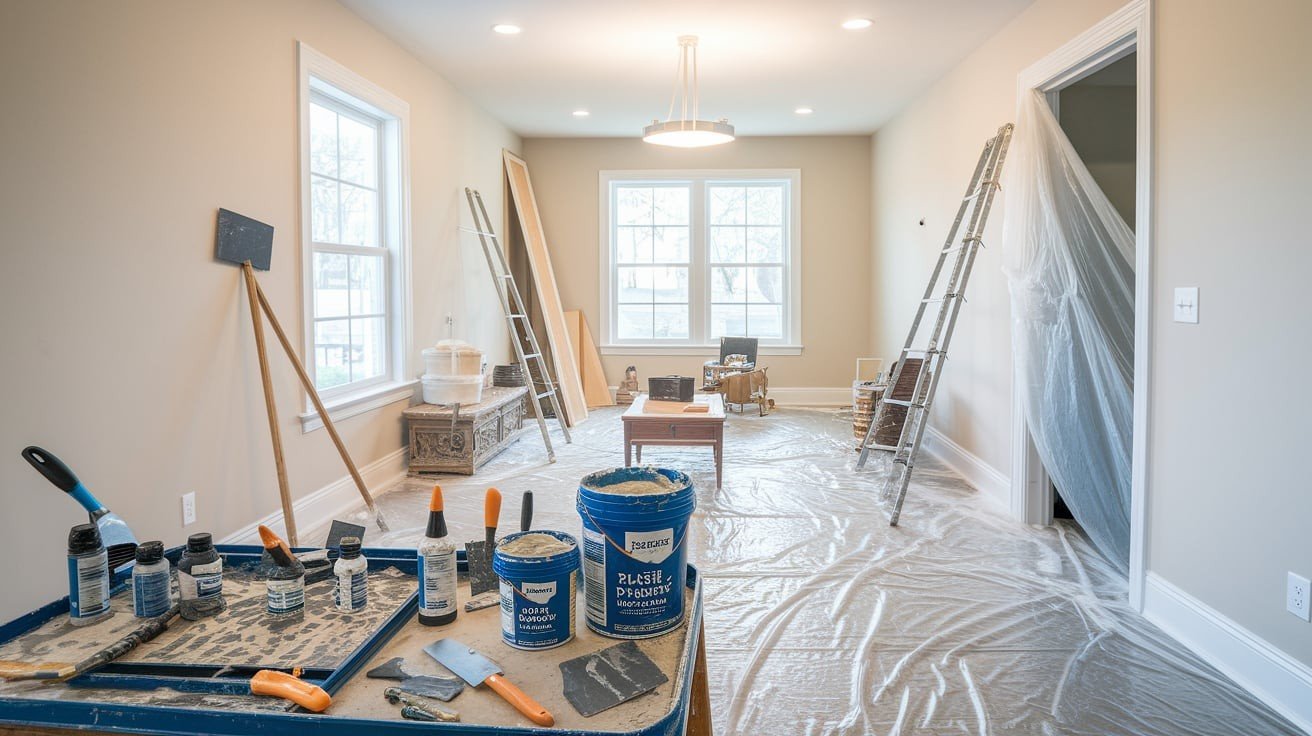
Organize tools within easy reach. You don’t want to hunt for tools with compound on your hands. Make sure you have adequate lighting. Poor lighting hides mistakes until it’s too late to fix them.
Protect surrounding areas with plastic sheeting. This includes furniture, floors, and trim. A well-organized workspace keeps you focused on the technique. Less mess means better results.
Step-by-Step Application Process
Now comes the fun part. Take your time here. Rushing leads to uneven texture.
Step 1 – Base Layer Application
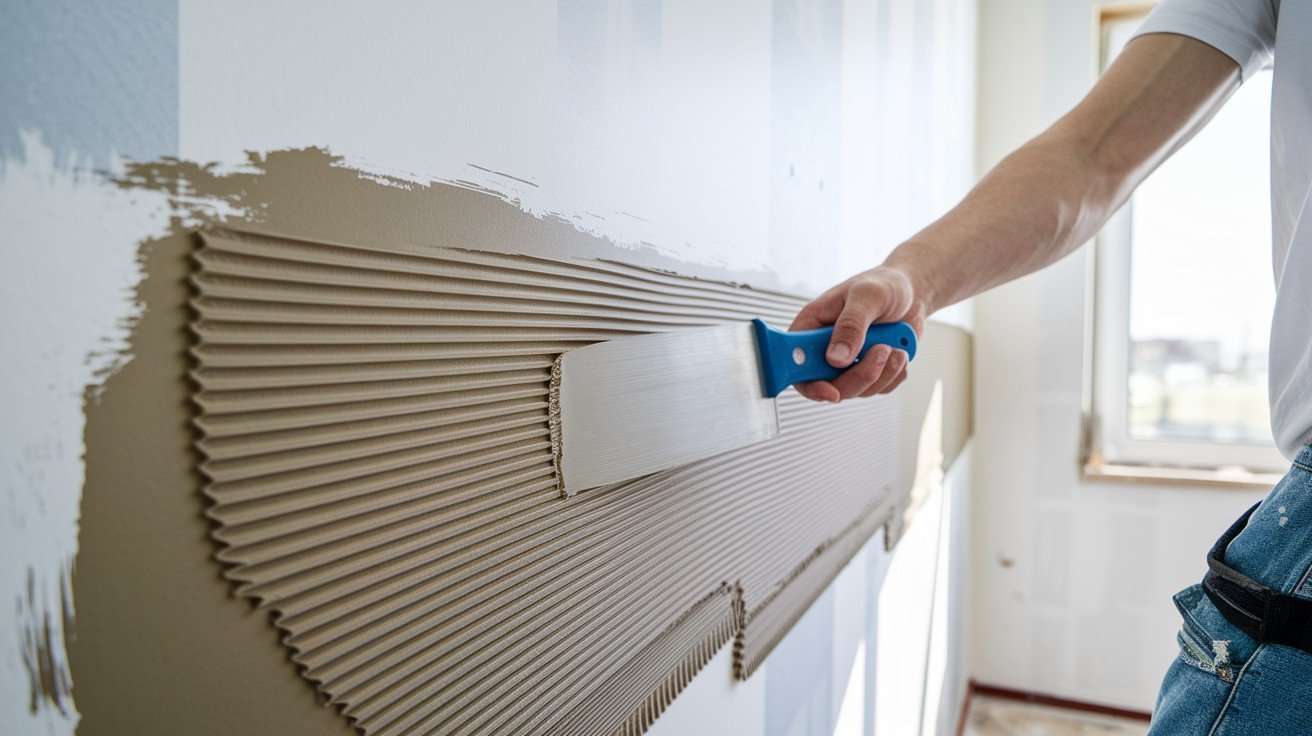
Apply a thin, even layer with your wide knife. Think of spreading peanut butter on bread. Not too thick. Cover the entire work area systematically. Work from top to bottom. Left to right. Stay organized.
Allow proper drying time of 2-4 hours. The surface should feel firm but not completely hard. This base layer is your foundation. Get it right and everything else follows.
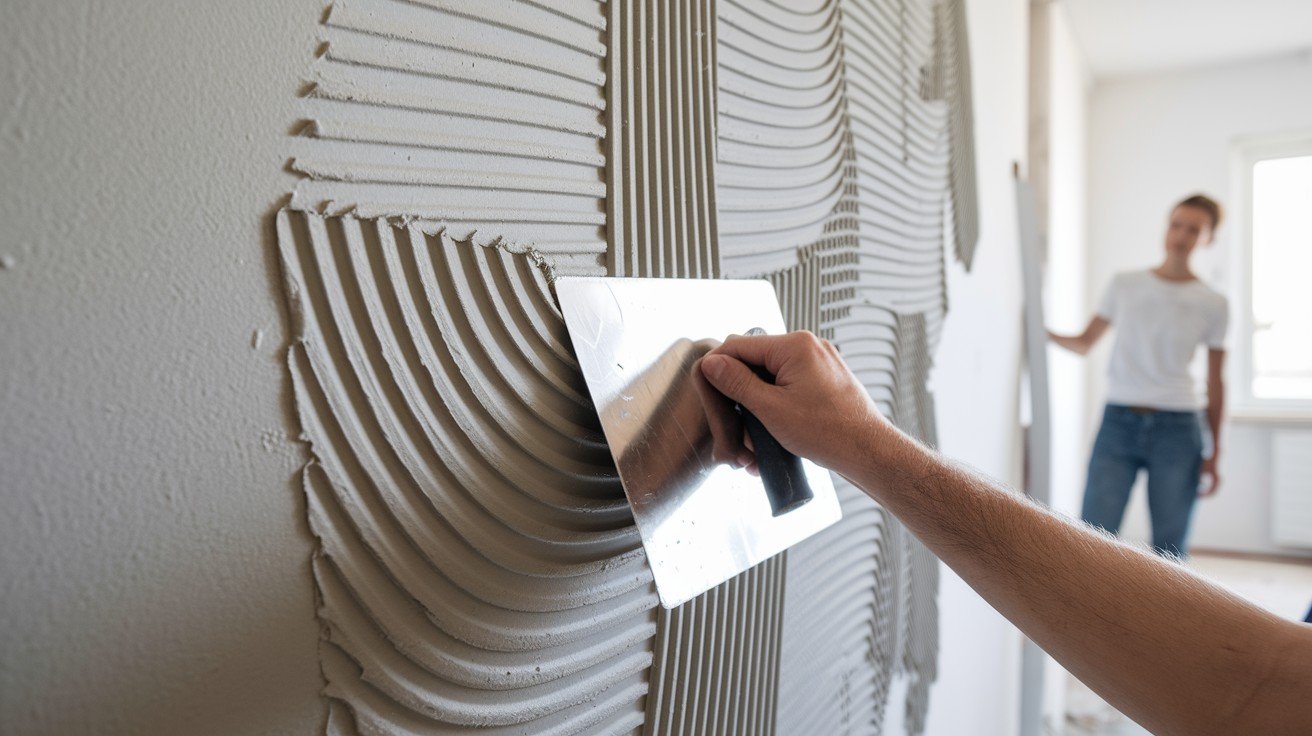
Step 2 – Building the Texture
Hold your trowel at a 30-45 degree angle. This gives you the best control and pattern formation. Apply light to moderate pressure. Too much pressure flattens the texture. Too little doesn’t produce enough pattern.
Use sweeping motions across the surface. Keep your movements fluid and consistent. Work in 3-4 foot sections. This keeps the compound workable while you develop patterns. Here’s the secret: The angle and pressure matter more than speed.
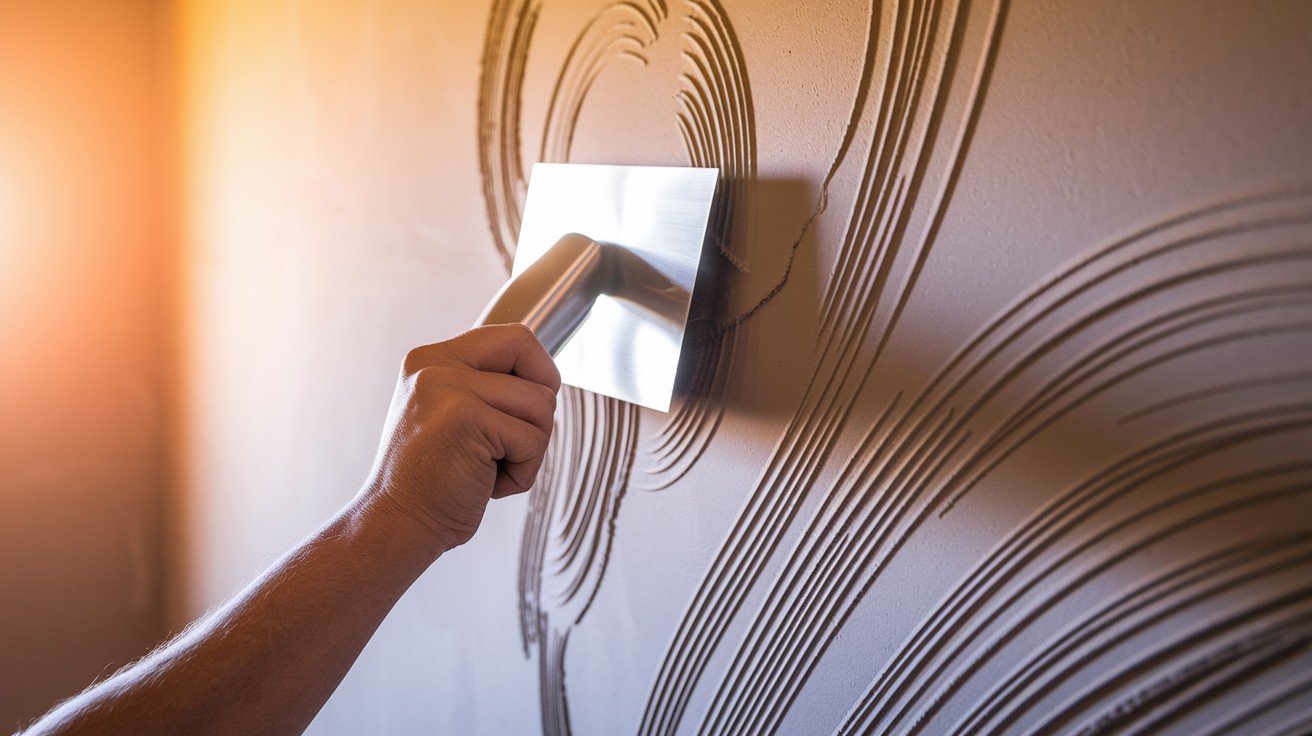
Step 3 – Pattern Development
Vary your trowel angles for visual interest. Change direction slightly with each pass. Overlap strokes slightly for consistency. This prevents obvious lines between sections.
Maintain a wet edge to avoid lines. Don’t let sections dry before connecting them. Step back frequently to assess your progress. Distance shows you what close-up work misses. Pattern development is where your style shows through.
Step 4 – Final Touches

Allow complete drying for 24 hours. Don’t rush this. Wet compound can’t be painted properly. Lightly sand any sharp edges with fine-grit sandpaper. Just knock off the peaks that feel rough.
Remove all dust before priming. Use a brush or vacuum. Clean surfaces take paint better. The final touches separate amateur work from professional results.
Technique Tips and Troubleshooting
Even pros run into problems. Here’s how to handle the common ones.
Pressure and Angle Control
Light pressure produces subtle texture. This works well in bedrooms and formal areas. Moderate pressure makes pronounced patterns. Great for accent walls and high-traffic areas.
A consistent angle gives a uniform appearance. Pick an angle and stick with it across the whole wall. Practice makes perfect. Try different pressures on your sample board first.
Common Mistakes to Avoid
Don’t work on sections that are too large. You’ll lose control of the pattern. Stick to manageable areas. Keep compound consistency steady. Add water as needed. The thick compound won’t spread properly.
Never rush the drying process. Wet compound smears and ruins your patterns. Avoid overworking the texture. Once you’ve made a pass, leave it alone. Most mistakes happen when you’re tired. Take breaks to maintain quality.
Getting Professional Results
Practice on sample boards first. This builds muscle memory and confidence. Maintain a consistent technique throughout the project. Don’t change methods halfway through.
Work systematically across surfaces. Follow the same pattern on every wall. Take breaks to maintain quality. Tired hands make a sloppy texture. Professional results come from consistent execution, not fancy techniques.
Finishing and Maintenance
Your texture work isn’t done until it’s properly finished. This final step makes everything look complete.
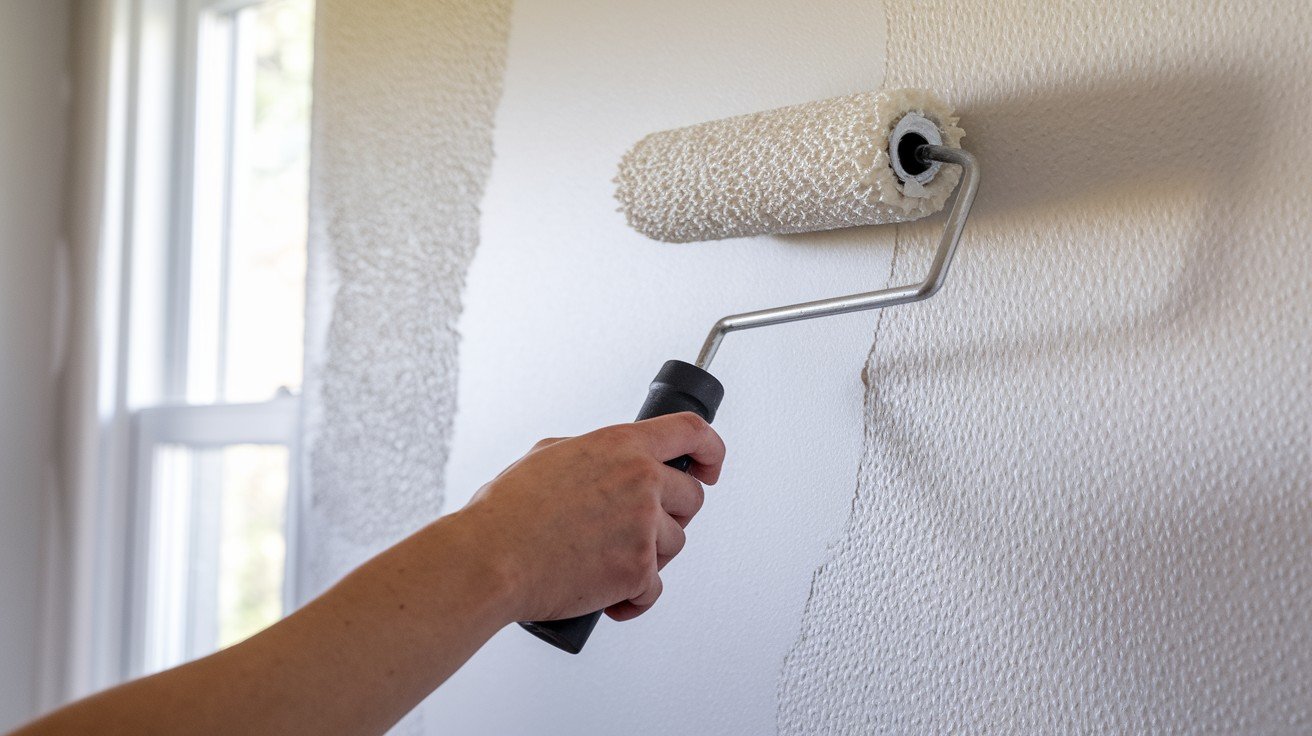
Priming and Painting
Use a high-quality primer made for textured surfaces. Cheap primer won’t cover evenly. Apply flat or matte paint finishes. These hide imperfections better than glossy paints.
Use a thick-nap roller for even coverage. The texture needs a roller that can get into the valleys. Good paint makes average texture work look great.
Basic Maintenance
Dust regularly with a soft brush. A clean paintbrush works perfectly for this. Clean with mild soap solution when needed. Don’t use harsh chemicals that might damage the texture.
Vacuum gently for deep cleaning. Use a brush attachment and light pressure. Regular maintenance keeps your texture looking fresh for years.
Simple Repairs
Patch small areas with matching compound. Keep some leftover compound for touch-ups. Blend repairs into the existing texture while the compound is still wet.
Prime and paint the repaired areas to match the surrounding wall. Small repairs are easy. Big repairs mean starting over. The key to great hand trowel texture is patience and practice. You’ve got this.
Conclusion
Hand trowel texture transforms ordinary walls into something special. You now have all the steps to create professional-looking results at home.
Remember the key points: prepare your surface properly, use the right tools, and practice your technique. Take your time with each step. Don’t rush the drying process.
Start with a small area first. Build your confidence before tackling larger walls. The technique gets easier with practice.
This finish will last for years with minimal care. Regular dusting and occasional touch-ups keep it looking fresh.
Your walls deserve better than boring flat paint. Hand trowel texture adds value to your home while creating spaces you’ll love spending time in.
Ready to start your project? Gather your tools and give your walls the character they’ve been missing.
Frequently Asked Questions
How long does hand trowel texture take to dry completely?
Hand trowel texture typically takes 24 hours to dry completely before priming and painting can begin safely.
Can beginners successfully apply hand trowel texture without professional help?
Yes, beginners can achieve good results with practice on sample boards and by following proper techniques consistently.
What’s the ideal room temperature and humidity for applying hand trowel texture?
Maintain 65-75°F temperature with 30-50% humidity for optimal drying and application conditions during the texturing process.
How much joint compound is needed per square foot of wall surface?
Typically requires 0.5-1 pound of joint compound per square foot, depending on desired texture, thickness, and pattern.
Can a hand trowel texture be applied over existing painted walls successfully?
Yes, but walls must be cleaned, lightly sanded, and primed first to ensure proper adhesion and texture.