

Are you planning to drywall a ceiling? Picking the right panel thickness is more important than many people think. I’ve worked on homes where thin panels sagged or seams cracked, problems that could’ve been avoided with the right size board.
In this guide, I’ll share what’s worked for me on real jobs. You’ll learn how joist spacing, ceiling height, and panel type affect your decision. We’ll talk about when to use 1/2-inch panels, when 5/8-inch is better, and why your ceiling can’t be treated like a wall. Everything here is based on building code, tested advice, and actual results, not guesswork.
I’ll also include key tips to help you install panels safely and avoid common slip-ups. When you’re done reading, you’ll be able to choose the right drywall with confidence and avoid trouble down the line. Your ceiling will look great and stay solid for years.
Ceiling Drywall Thickness Options Compared
Compare common ceiling drywall thickness options. Know what works best for strength, sound control, and safety in different spaces.
1/2-Inch Drywall for Ceilings
Here’s the truth about half-inch drywall: It’s everywhere in homes, but ceilings are different.
You’ll find 1/2-inch panels on most walls. But ceilings? That’s where things get tricky.
Building codes allow it for 24-inch joist spacing. However, I’ve seen too many sagging ceilings to recommend this combination. The problem is gravity. Your ceiling fights it 24/7.
When does 1/2-inch work? Stick to 16-inch joist spacing. Even then, skip heavy textures like popcorn or thick paint. Bottom line: Half-inch drywall works for ceilings, but only under the right conditions.
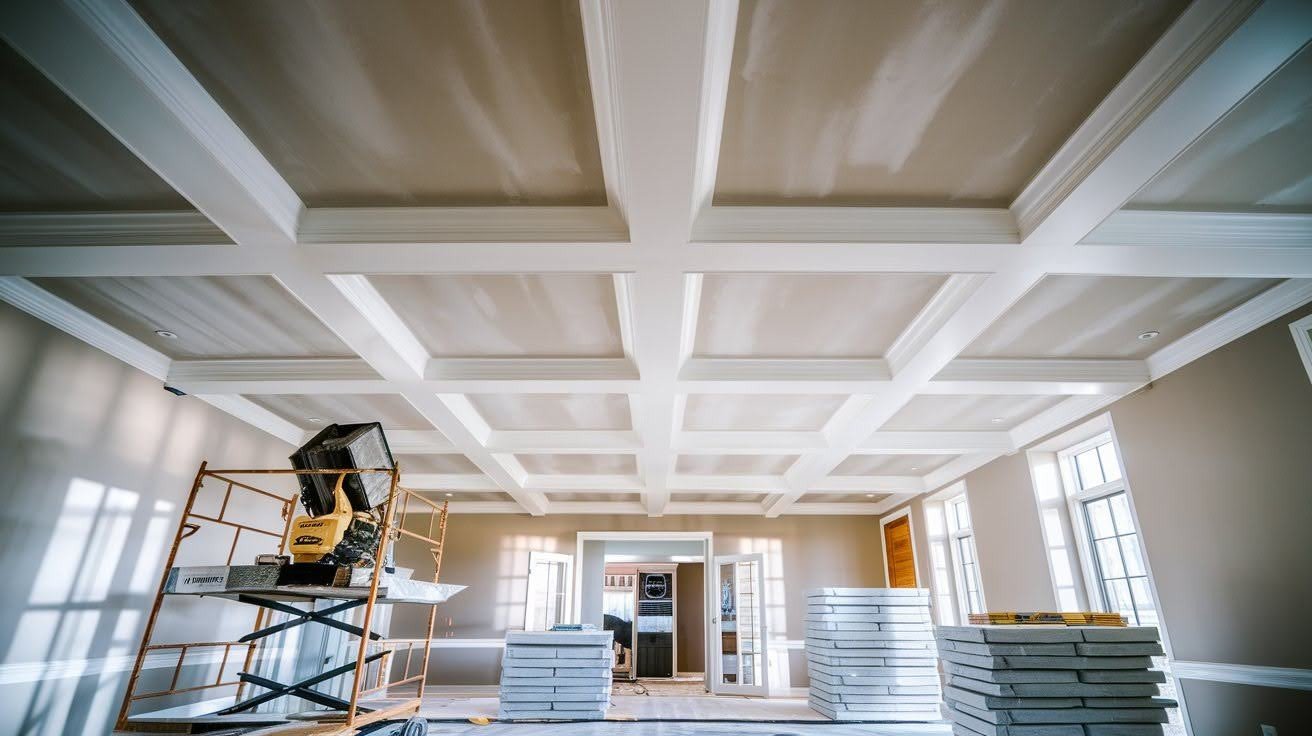
5/8-Inch Drywall for Ceilings (Industry Standard)
This is what I recommend for most ceiling projects. Five-eighths-inch drywall handles the job correctly. Why do contractors prefer it? Simple, it doesn’t sag.
You get solid performance with 24-inch joist spacing. No worrying about future problems or callbacks from unhappy customers. The weight difference matters less than you think. Standard panels weigh 70 pounds per 4×8 sheet.
Lightweight versions cut that down while keeping the same strength. Perfect for textured ceilings, too. Popcorn, knockdown, and orange peel, this thickness supports them all.
Here’s what you’re buying: Peace of mind. Your ceiling stays flat and smooth for decades. My advice? Spend the extra money upfront. It’s cheaper than fixing a sagging ceiling later.
Fire-Rated 5/8-Inch Options for Specific Areas
Some spaces require fire-rated drywall. Your garage ceiling is one of them. Type C drywall is the ceiling champion. It contains glass fiber and vermiculite, fancy words for “won’t burn easily.”
Building codes demand this in attached garages. Why? Fire protection between your car and your living space. Type X works too, but Type C performs better for ceilings specifically.
You’ll also need fire-rated panels in:
- Townhouse shared walls
- Basement ceilings under bedrooms
- Utility room ceilings
Don’t skip this requirement. Insurance companies and inspectors take fire codes seriously.
The cost difference is minimal compared to the protection you get. Your family’s safety is worth the upgrade.
Key Factors That Determine Ceiling Thickness Choice
Understand what affects the ceiling thickness choice. These key points help you choose the right size for safety, support, and lasting use.
Joist Spacing Requirements
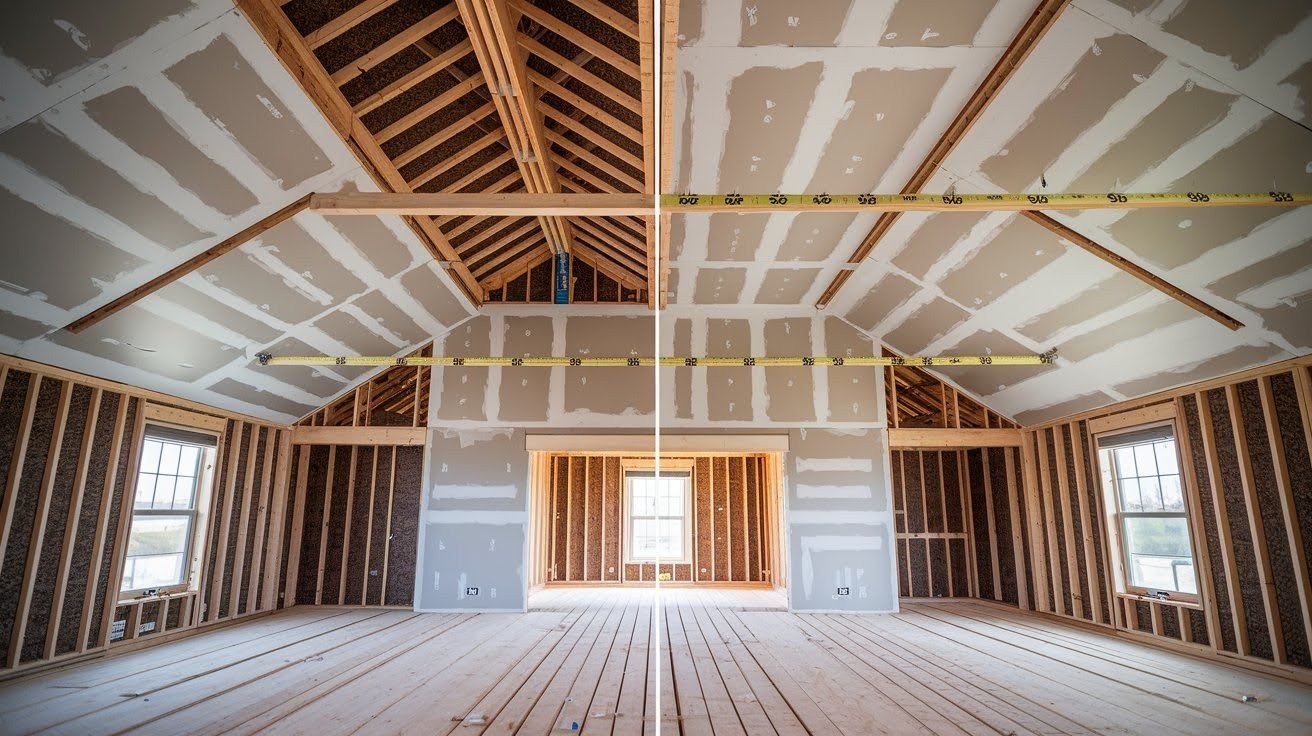
Your joist spacing controls everything. Measure this first it’s the most crucial decision factor. 16-inch spacing gives you options. Half-inch drywall works here, but I still prefer 5/8-inch thickness.
Here’s why thicker is better: Even with closer joists, gravity never stops pulling. Your ceiling experiences constant stress every single day.
24-inch spacing changes the game completely. You need 5/8-inch drywall, no exceptions.
Think about load distribution. Wider joist spacing means each panel carries more weight between support points.
I’ve seen too many sagging ceilings from homeowners who went cheap on thickness. The repair costs consistently exceed the original savings.
Long-term problems include:
- Visible seams at panel joints
- Nail pops from panel movement
- Cracks along tape lines
- Complete panel replacement needs
Save yourself the headache. Match your thickness to your joist spacing properly from the start.
Ceiling Load Considerations
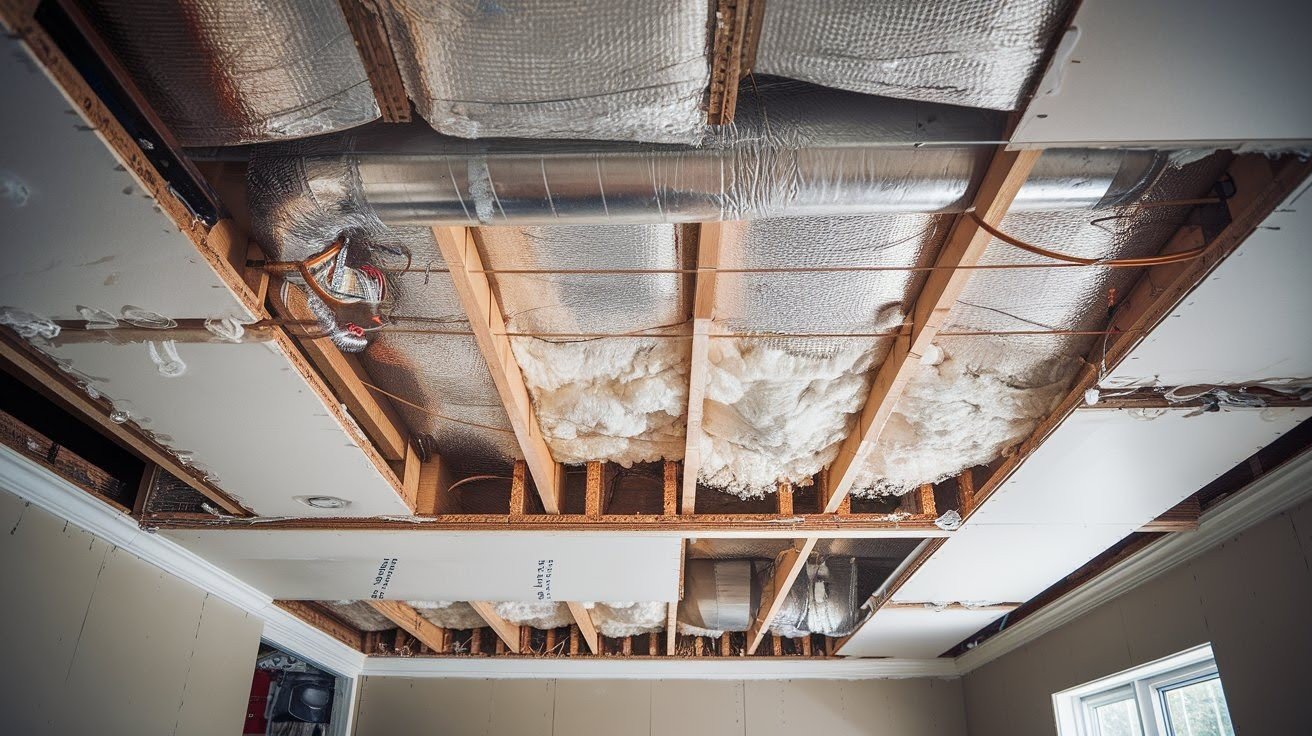
Weight adds up fast on ceilings. Every layer you add increases the load on your drywall. Popcorn texture weighs more than you think. This popular finish can add significant pounds per square foot.
Heavy paint finishes compound the problem. Multiple coats of thick paint create additional weight stress. Don’t forget what’s above your ceiling.
Blown-in insulation, ductwork, and electrical cables all press down on your panels. Humidity makes everything worse. Moisture absorption increases panel weight and reduces structural strength.
Your ceiling carries:
- Drywall panel weight
- Texture and paint layers
- Insulation materials above
- Moisture from humidity
- Dust accumulation over time
Combined weight factors require planning. Thicker panels handle these loads without sagging or failing.
Competent contractors calculate the total load before choosing panel thickness. This prevents expensive failures later.
Why 5/8-Inch is the Professional Standard for Ceilings?
Learn why many experts prefer 5/8-inch drywall for ceilings. It offers better strength, sound control, and long-term performance in homes.
Superior Performance Benefits
I install 5/8-inch drywall because it works. Simple as that. Sag resistance is everything when you’re fighting gravity 24/7. This thickness keeps your ceiling flat for decades.
Better span capability matters too. Your panels’ bridge joists should remain straight and level between supports. Want proof? Walk into any professional building.
You’ll see 5/8-inch panels on every ceiling. Heavy finishes need proper support. Textured ceilings, thick paint, and even wallpaper, this thickness handles it all without problems. Your ceiling stays looking new when you choose the right thickness from day one.
Building Code and Safety Requirements
Fire safety drives code requirements. Five-eighths-inch drywall provides better fire protection than thinner options. The International Building Code sets the standard.
Most areas require this thickness for specific applications. Garages need fire-rated panels between living spaces. You can’t use this drywall here legally.
Professional contractors know the rules. We chose 5/8-inch because it meets all code requirements without exceptions. Safety isn’t negotiable. Your family depends on proper fire protection between rooms and levels.
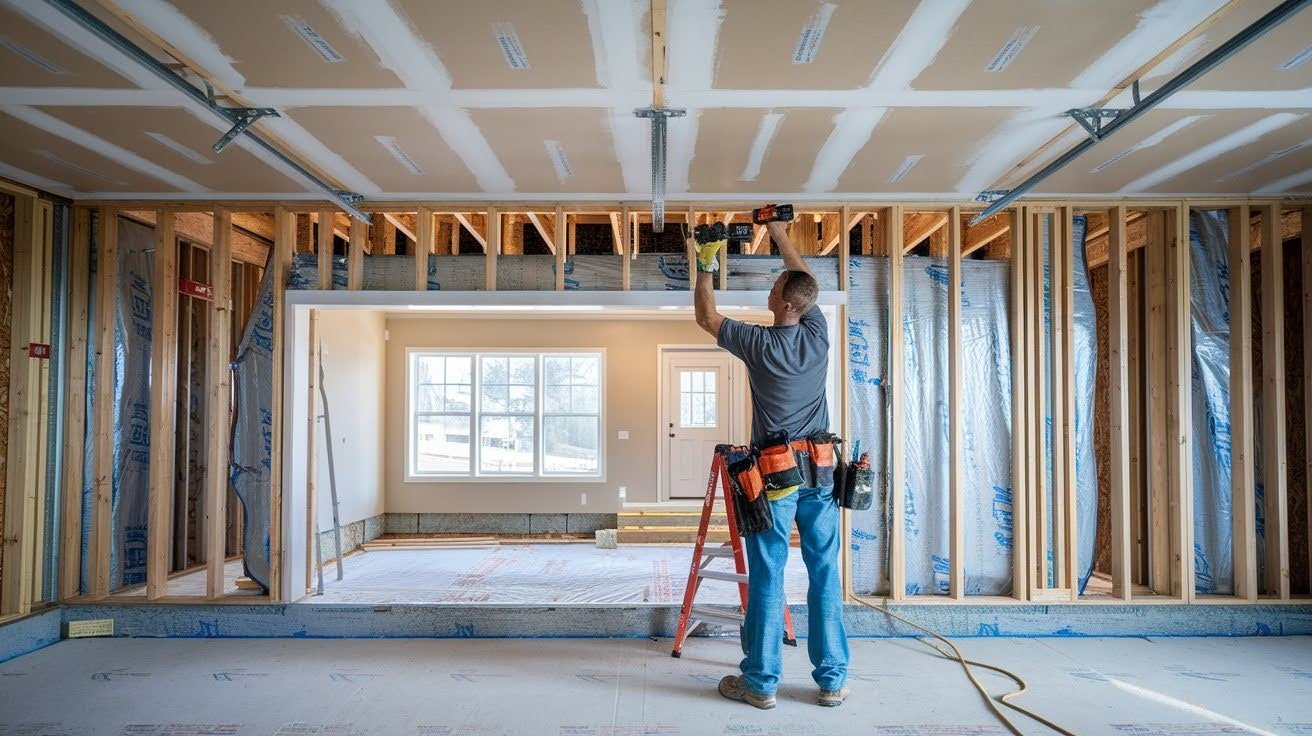
Proper Installation Requirements
Follow these key steps to ensure a safe, strong, and lasting installation. Avoid common mistakes and get the best final result.
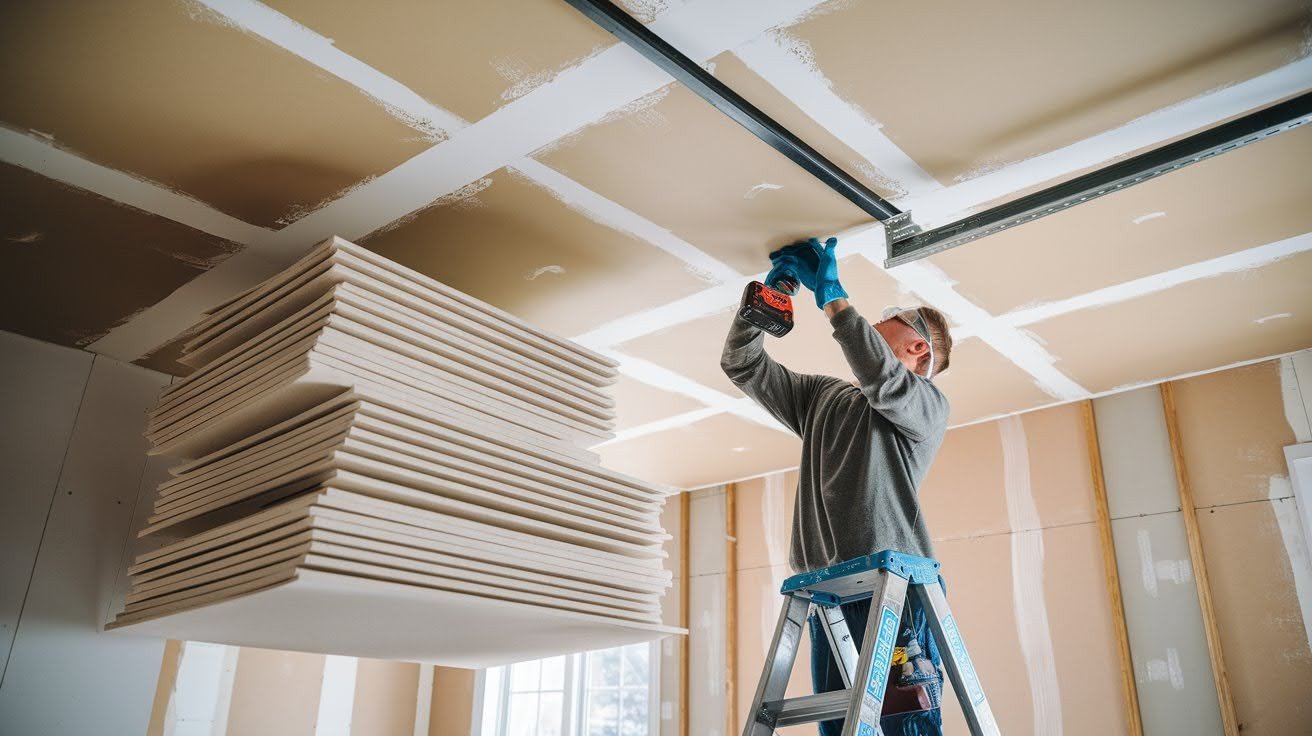
Fastener Selection by Thickness

Wrong screws ruin everything. Your drywall thickness determines which fasteners you need.
For 1/2-inch panels: Use 1 1/4 or 1 3/8-inch drywall screws. These penetrate joists adequately without overdoing it.
For 5/8-inch panels: Step up to 1 3/8 or 1 5/8-inch screws. Thicker panels need longer fasteners for solid attachment. Spacing matters as much.
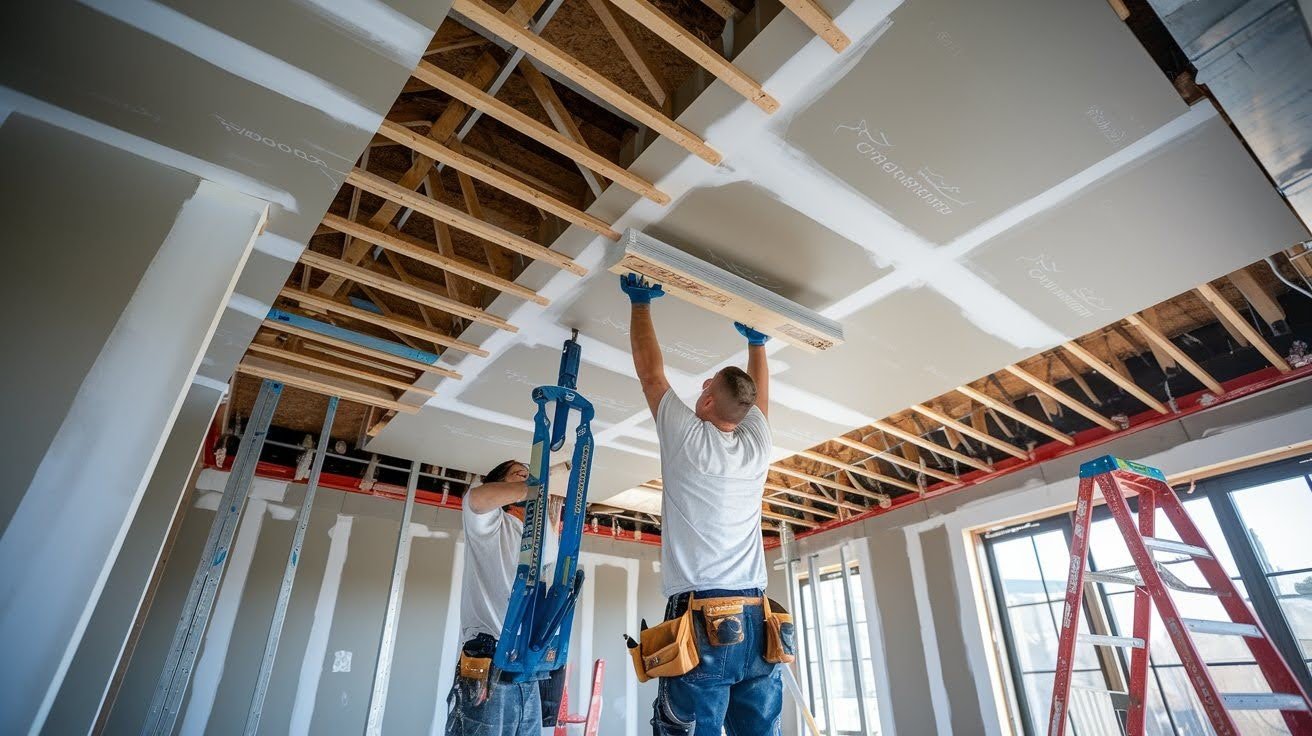
Place screws every 12 inches along joists for ceilings. Never skip this rule. Missing a joist is a disaster. Your screw holds nothing but air, and that panel will sag eventually. I always mark joist locations before hanging any panels. This prevents costly mistakes.
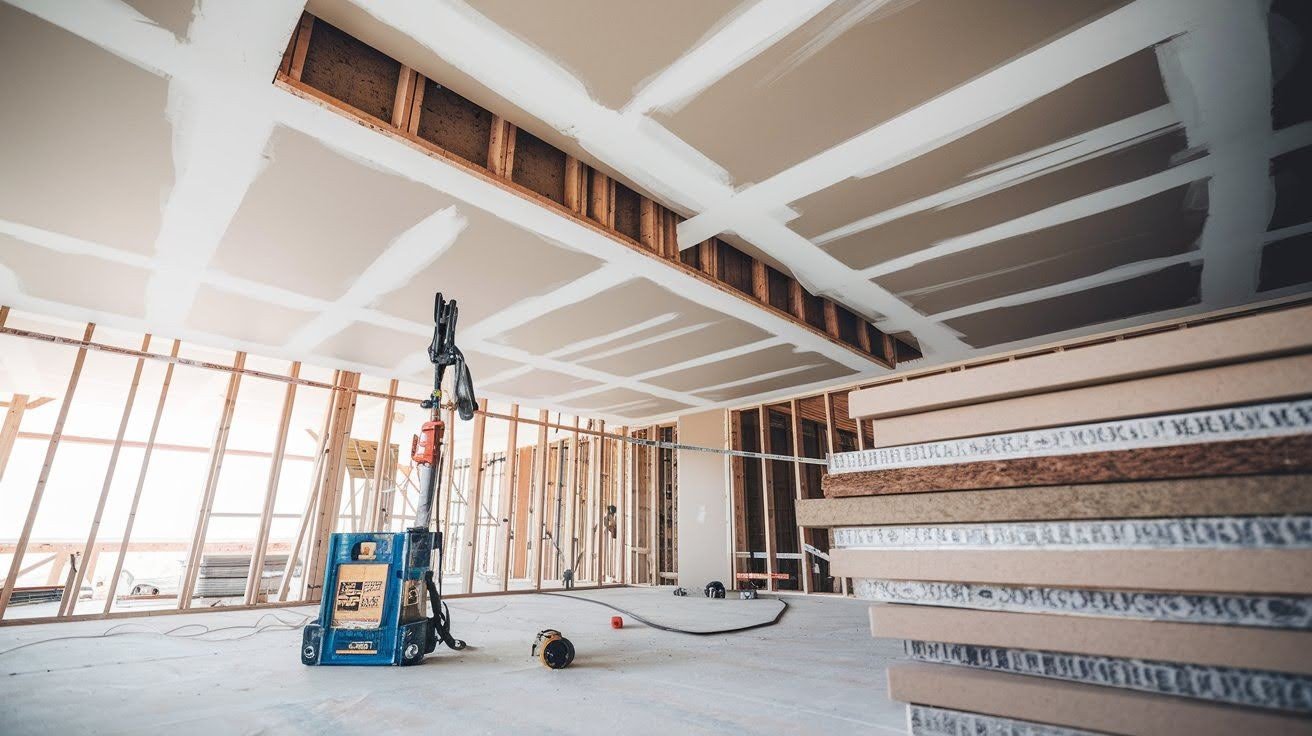
Installation Planning
Thoughtful planning saves your back and your budget. Think through panel placement before you start. Minimize seams whenever possible. Fewer joints mean less taping and a smoother finish.
Handling gets tricky with thickness. Half-inch panels weigh less but need more support during installation. Five-eighth panels are heavier but more forgiving once they’re up.
DIY ceiling work is challenging. You’re working overhead, fighting gravity, and managing heavy panels. Professional installers have the right tools and experience. Sometimes, paying for installation beats the struggle.
Common Ceiling Drywall Mistakes to Avoid
Avoid these common ceiling drywall errors to prevent cracks, sagging, and costly fixes. A few smart steps make a difference.
Thickness Selection Errors
Don’t make these expensive mistakes. I see them on every job site. Using 1/2-inch on 24-inch joists is asking for trouble. Your ceiling will sag within months.
Fire codes aren’t suggestions. Skip the required fire-rated panels and fail the inspection. Period. Texture weight matters more than you think. That heavy popcorn finish needs proper support underneath.
Cheap drywall costs more in the long term. Sagging ceilings require complete replacement, not just patching.
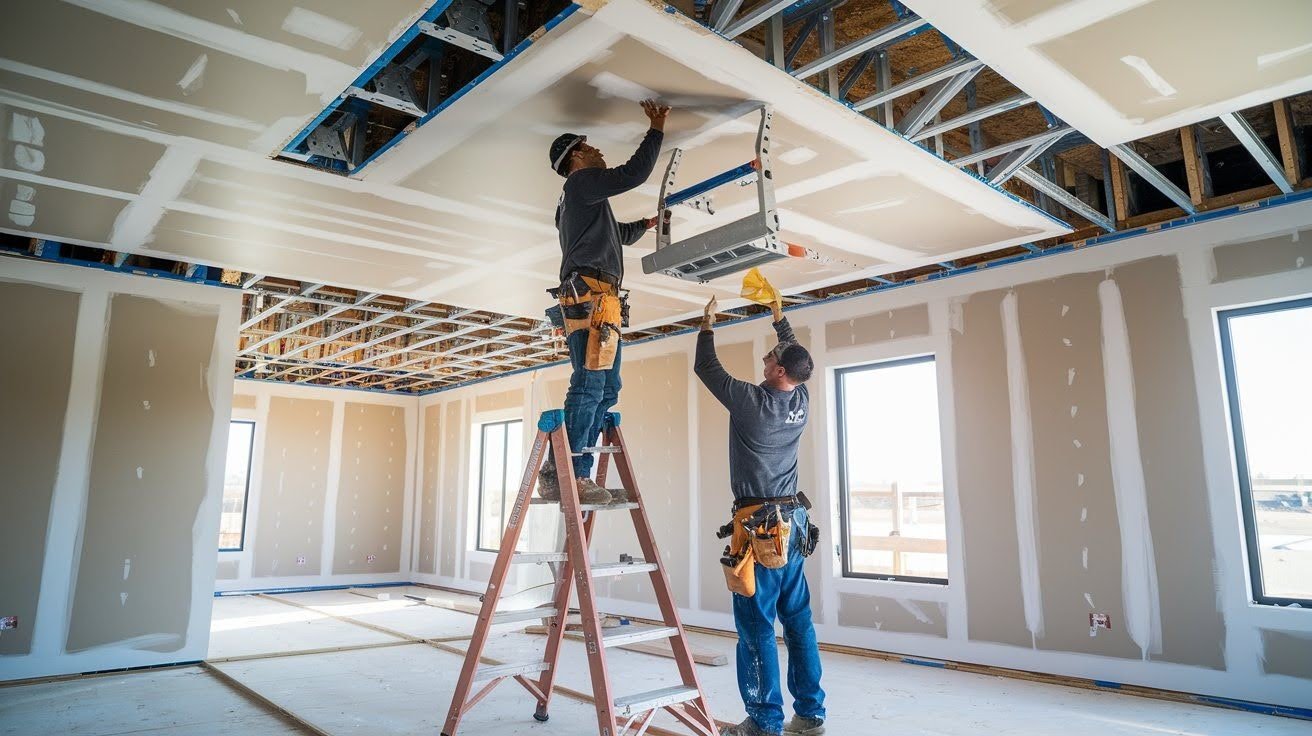
Installation Problems

The wrong fastener length creates weak spots. Your screws must penetrate joists properly for solid attachment. Poor planning means extra seams.
More joints equal more work and weaker finished surfaces. Ceiling work needs proper support. Here’s the truth: Working overhead without help leads to dropped panels and injuries.
Get a partner for ceiling installation. Two people make the job safer and faster. Rent proper lifting equipment if you’re doing this yourself.
When to Use Each Thickness?
Know which drywall thickness fits best. Each size works better in certain spaces, based on support, sound, and fire needs.
1/2-Inch Ceiling Applications

Half-inch drywall works in specific situations. But choose carefully, the margin for error is small. Perfect for 16-inch joist spacing with simple paint finishes.
No heavy textures or multiple paint coats. Budget projects sometimes require compromise. If money is tight and conditions are right, this thickness can work.
Keep finishes light, the simple latex paint, no popcorn texture, minimal decorative elements. Structural limitations might force your hand. Some older homes can’t handle extra ceiling weight.
5/8-Inch Ceiling Applications (Recommended)

This is my go-to thickness for ceilings. Here’s why: It works in every situation. All 24-inch joist spacing needs this thickness. No exceptions, no compromises.
Heavy finishes require proper support. Popcorn, knockdown, and thick paint, this thickness handles them all. Fire-rated areas demand this thickness. Garages, shared walls, and specific code requirements.
Professional quality means doing it right. Your ceiling will look perfect for decades. Long-term thinking saves money. Proper thickness prevents future repairs.
Conclusion
Now you know precisely what size drywall for ceiling projects works best. The choice comes down to your joist spacing and project needs. For 16-inch joists, 1/2-inch works, but 5/8-inch performs better long-term.
For 24-inch joists, 5/8-inch is your only wise choice. Fire-rated areas need 5/8-inch Type C or Type X, no substitutes allowed. You’re ready to shop with confidence and install like a professional.
Your ceiling will stay flat and beautiful for years to come. Got questions about your specific project? Drop a comment below, I’m here to help.
And if this guide solved your problem, share it with someone tackling their ceiling project. Happy building!
Frequently Asked Questions
What size drywall should I use for ceiling installation?
Use 5/8-inch drywall for best results. It works with both 16-inch and 24-inch joist spacing, prevents sagging, and supports heavy finishes. While 1/2-inch works for 16-inch joists, 5/8-inch provides superior long-term performance.
Can I use 1/2-inch drywall on ceiling joists 24 inches apart?
No, don’t use 1/2-inch drywall on 24-inch joist spacing. It will sag over time. Building codes allow it, but professional contractors avoid this combination. Always use 5/8-inch thickness for 24-inch spacing.
What’s the difference between 1/2-inch and 5/8-inch ceiling drywall?
5/8-inch drywall offers better sag resistance, supports heavier finishes, and provides superior fire protection. It’s thicker, heavier, and costs more upfront, but prevents long-term ceiling problems that 1/2-inch can’t handle.
Do I need fire-rated drywall for my ceiling?
Yes, for specific areas like garage ceilings, shared walls in townhouses, and basement ceilings under bedrooms. Use 5/8-inch Type C or Type X fire-rated drywall. Check local building codes for requirements.
What screws should I use for 5/8-inch ceiling drywall?
Use 1 3/8-inch or 1 5/8-inch drywall screws for 5/8-inch panels. Space screws every 12 inches along joists. Proper fastener length ensures that screws penetrate joists adequately for secure attachment.