

Creating a clean, even slap brush texture may seem tricky at first, but it’s easier than you think with the right prep and tools. I’ve worked on dozens of homes where this finish added the right amount of detail without being too much. Through trial, error, and plenty of hands-on jobs, I’ve learned what works and what to skip.
This guide gives you the same steps professionals use, minus the guesswork. You’ll learn which tools give the best results, how to prep your walls, and how to apply texture that looks smooth and even, not patchy or rough.
We’ll also go over common slip-ups and how to fix them without starting over. Everything here comes from real projects, not just theory. By the end, you’ll feel sure about handling slap brush texture on your own, and you’ll be proud of how it turns out..
Essential Tools and Materials
Getting the right tools makes all the difference. I’ve seen too many DIY projects fail because people tried to cut corners on materials.
Drywall Compound and Mixing
Start with premixed, all-purpose, lightweight drywall compound. This saves you time and gives consistent results. Skip the powdered versions unless you’re a pro. You’ll need an extra 5-gallon bucket for thinning.
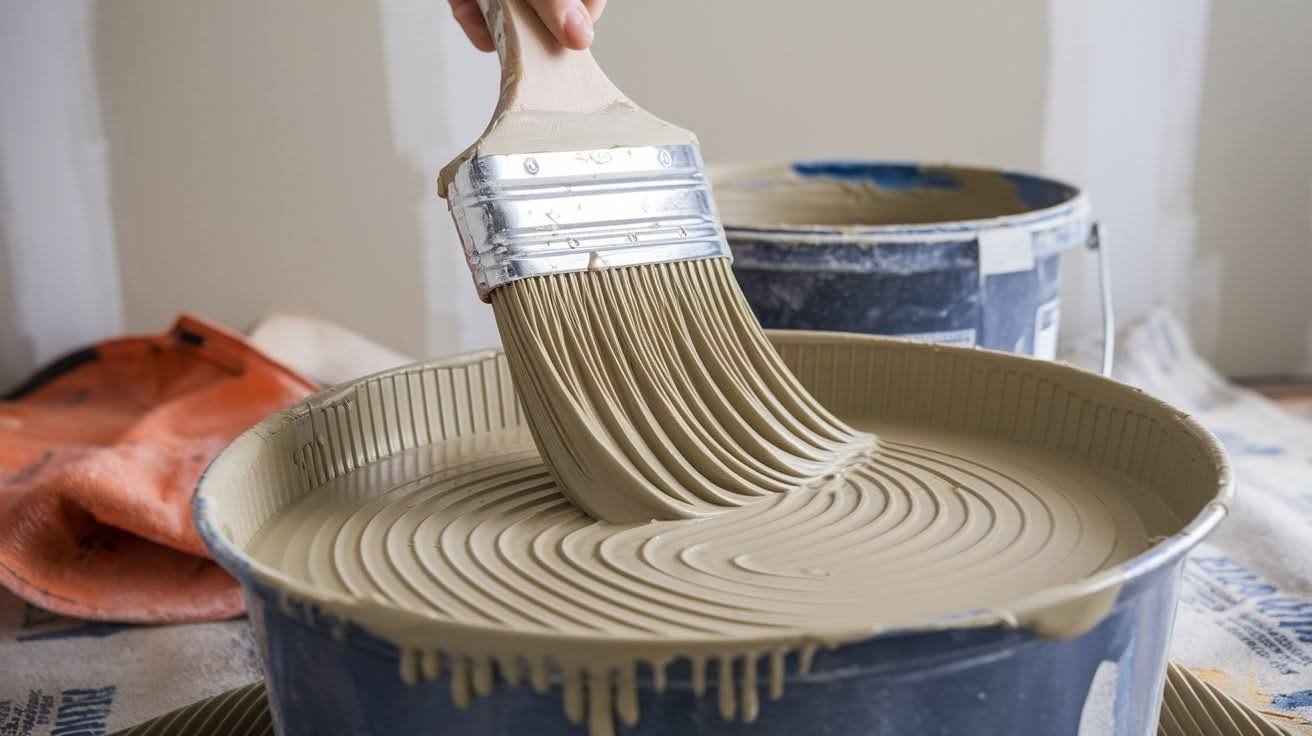
Mix your compound with water until it reaches the right consistency. Think thick paint or pancake batter – it should roll smoothly without dripping everywhere.
Here’s something most people don’t know: “Thin to Win” is the secret principle. Thinner mud creates smoother, more rounded edges. Too thick? Your texture will look chunky and amateur.
Application Tools
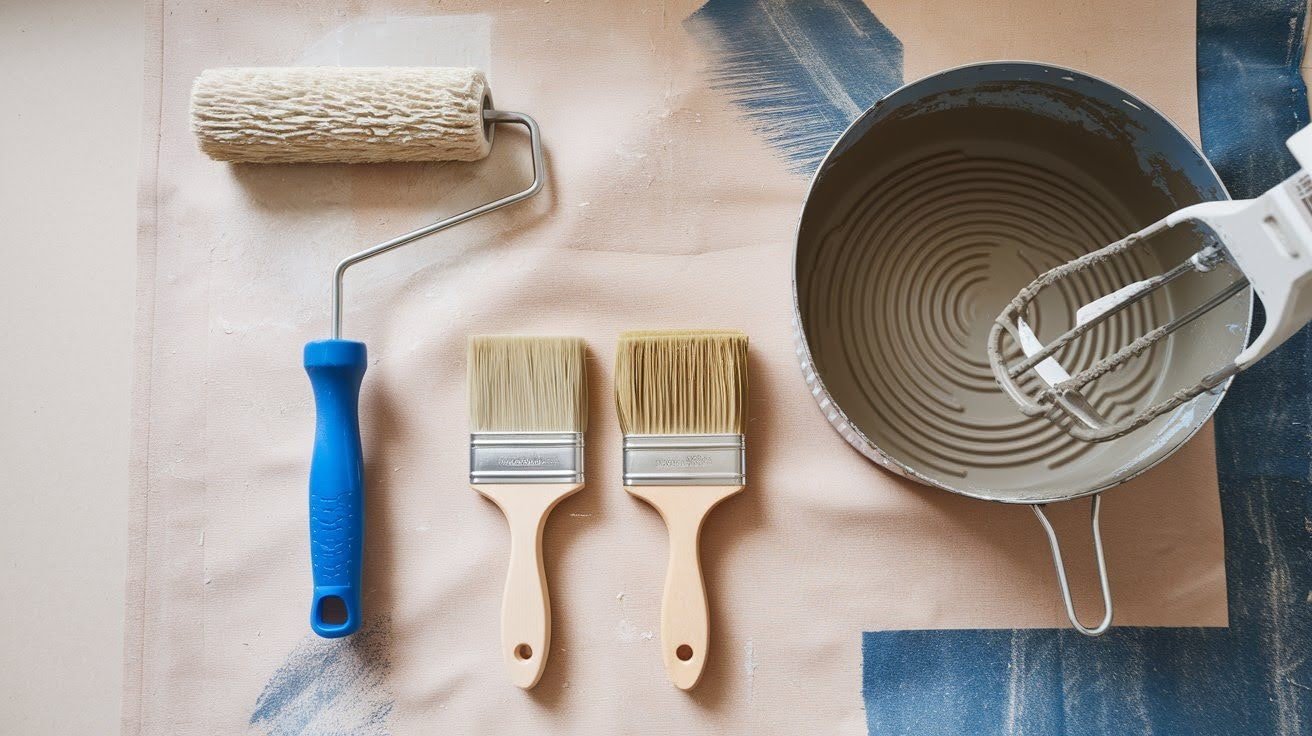
Your paint roller matters more than you think. Use a 1/2-inch to 3/4-inch nap roller cover with an extension pole. This combination gives you control and reach. For texture brushes, you have two choices.
A single brush creates asymmetrical patterns that look more natural. Double brushes make symmetrical patterns for a more formal look. Bristle stiffness controls your texture depth.
Stiffer bristles cut deeper ridges into the compound. Softer bristles create subtle textures. Don’t forget these extras: paint pan, 6-inch taping knife, and mixing paddle. Trust me, you’ll need them all.
Surface Preparation Essentials
New drywall needs at least a Level 3 finish. This means all joints are taped and coated smooth. No shortcuts here. Working over existing surfaces? Clean them thoroughly first. Sand any glossy paint so your compound sticks properly.
Poor prep equals poor results. Mask everything you want to protect. Walls, fixtures, floors – compound gets everywhere. Take the time to do this right.
Preparation Steps
Good prep work separates the pros from the amateurs. I always tell people: rush the prep, ruin the project.
Brush Preparation
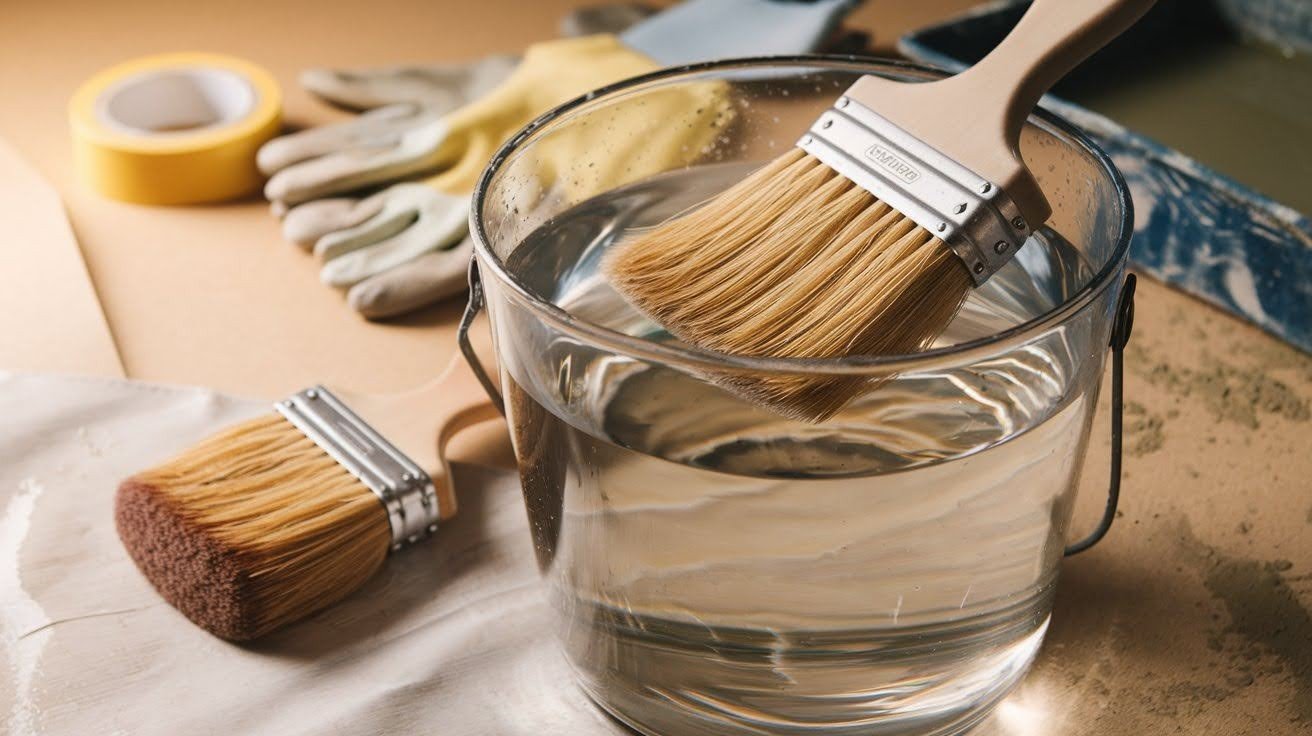
Soak your texture brush in warm water for at least one hour. Better yet, leave it overnight. This isn’t optional – it’s critical. Why does this matter?
Dry bristles are stiff and won’t create the texture you want. Soaking loosens the bristles so they bend and flex properly when you apply pressure. Skip this step, and your texture will look harsh and uneven. I’ve seen it happen countless times.
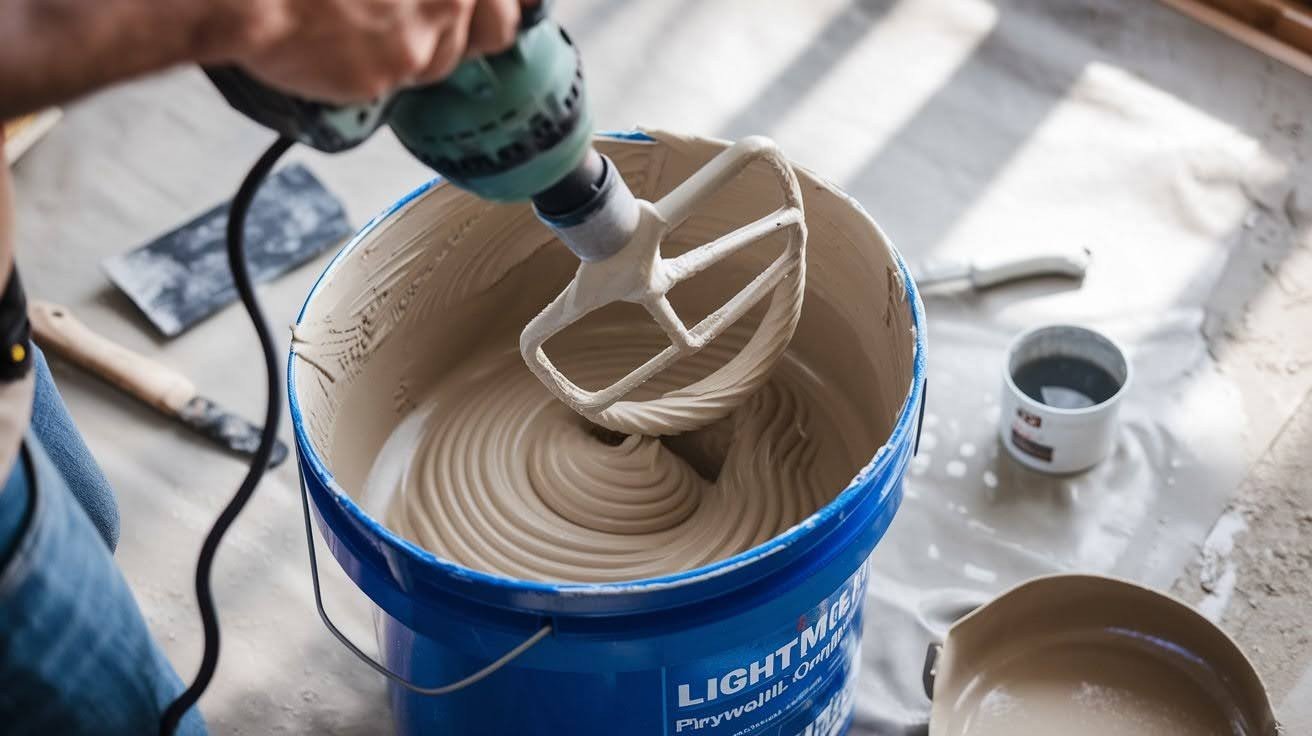
Mud Mixing Process
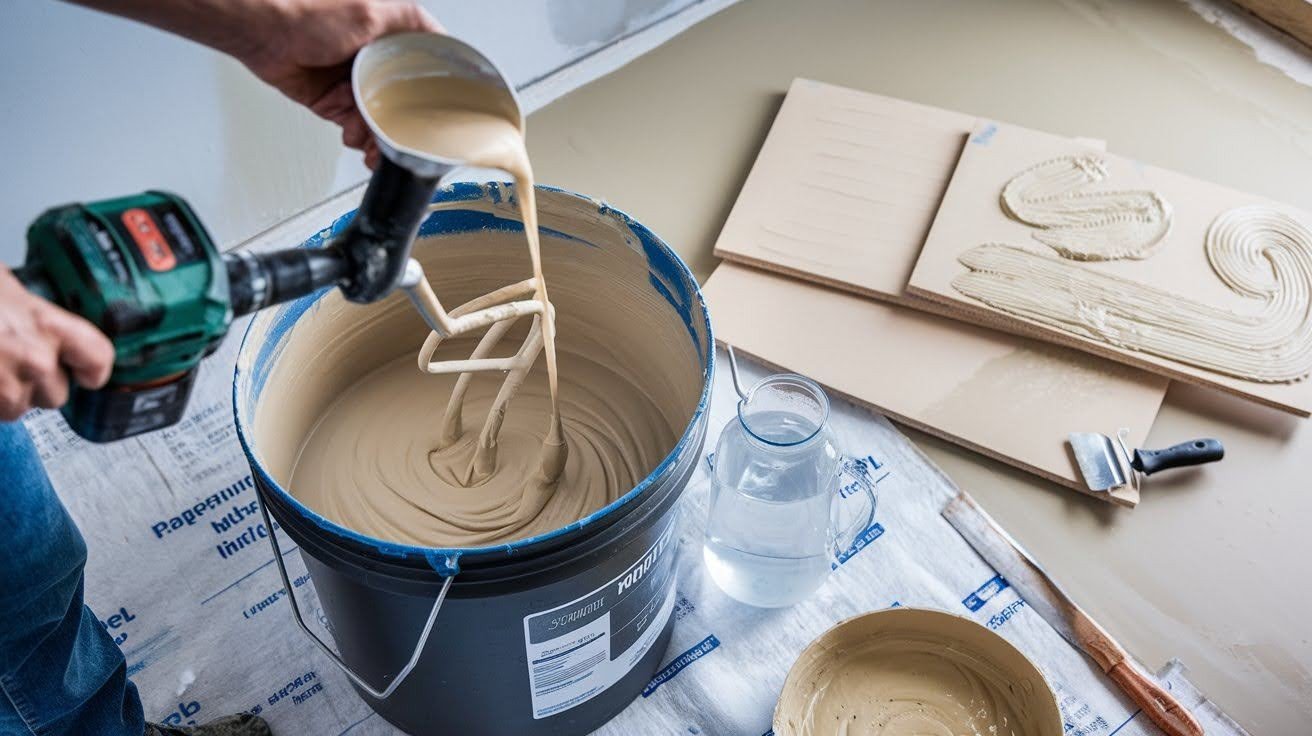
Add water gradually while mixing continuously. Don’t dump it all in at once. That creates lumps you’ll never get out. Use a paddle attachment on your drill for the best results.
Mix until you get a smooth, creamy consistency. No lumps, no streaks. Here’s something most people mess up: they don’t test first. Always practice on scrap materials before touching your actual walls.
I keep old pieces of drywall just for this purpose. Practice your rolling technique, test your brush strokes, and check your mud consistency. Ten minutes of practice saves hours of frustration. Once everything looks right on your test piece, you’re ready to start the real work.
Step-by-Step Application Technique
Follow this clear process to apply drywall the right way. Each step helps you get a smooth, strong, lasting finish.
Step 1: Prepare Your Roller
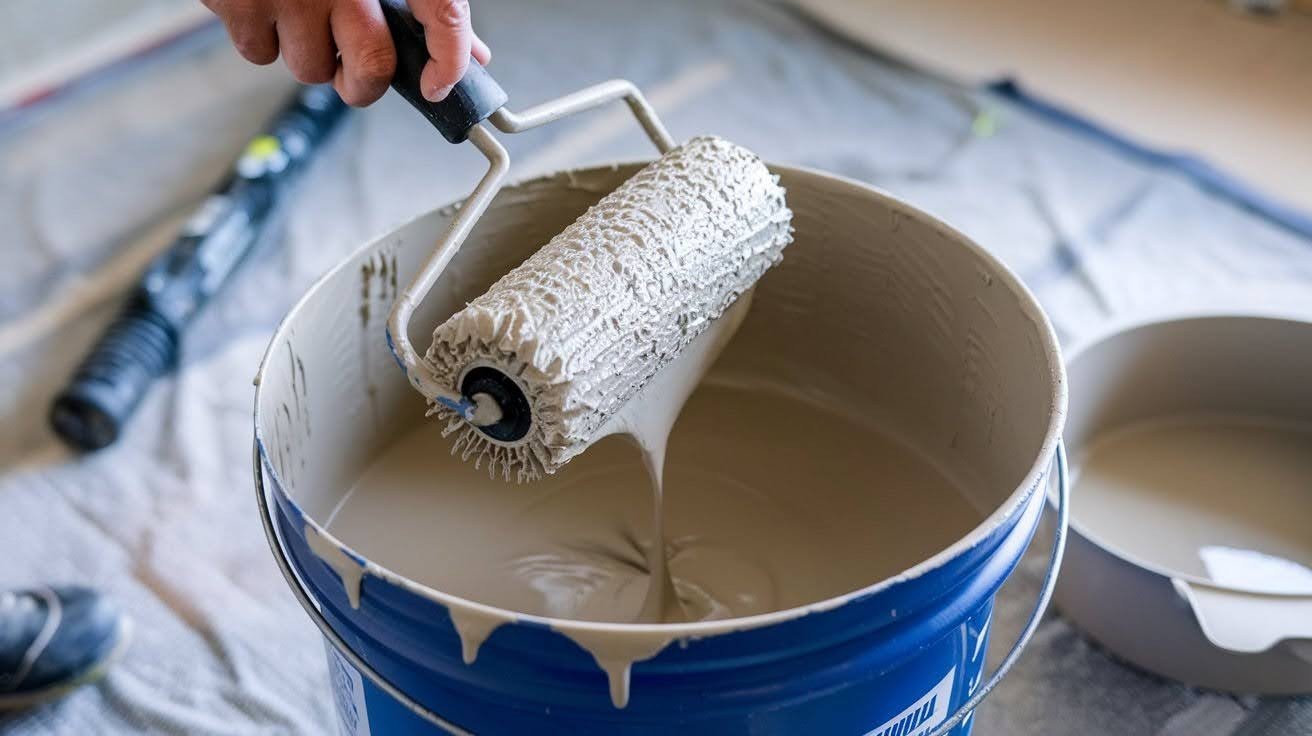
Dip your roller completely into the mud bucket. Please don’t be shy about it. Shake it once or twice to remove excess – you want coverage, not waste. Slide the roller across the bucket’s top edge. This controls dripping and gives you better control.
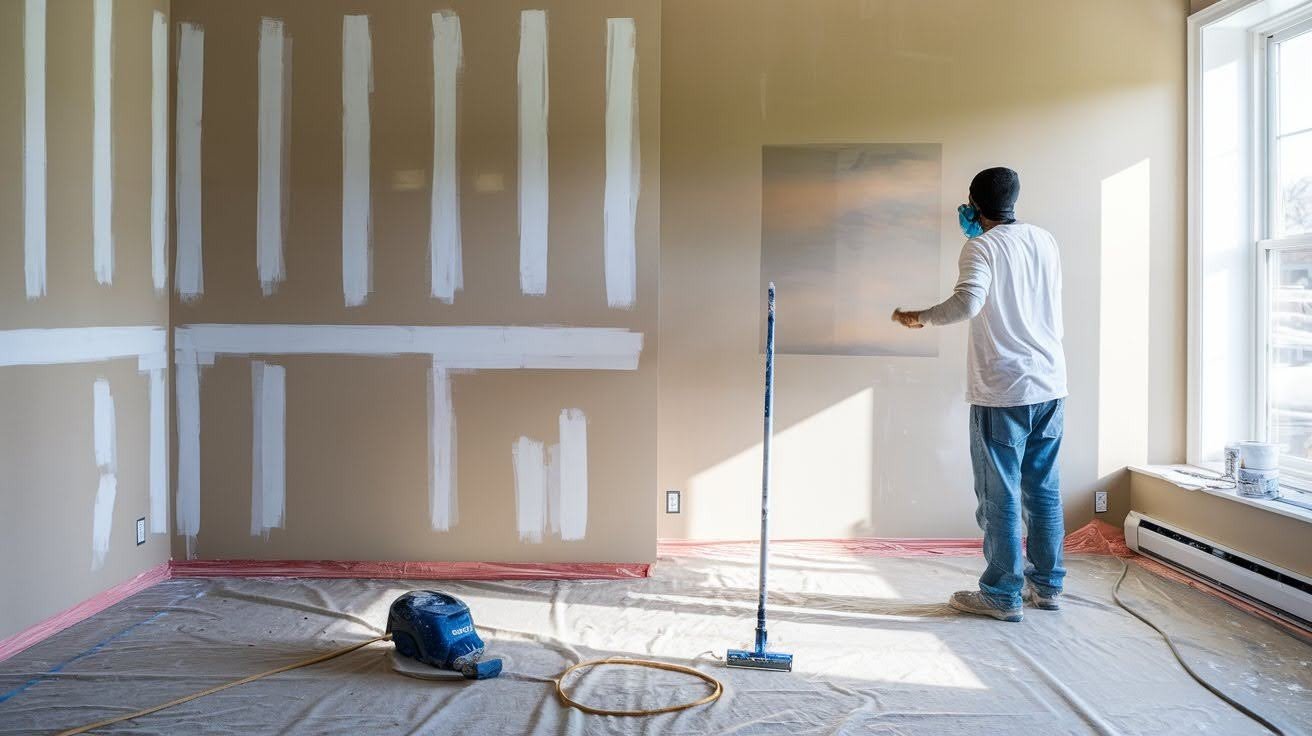
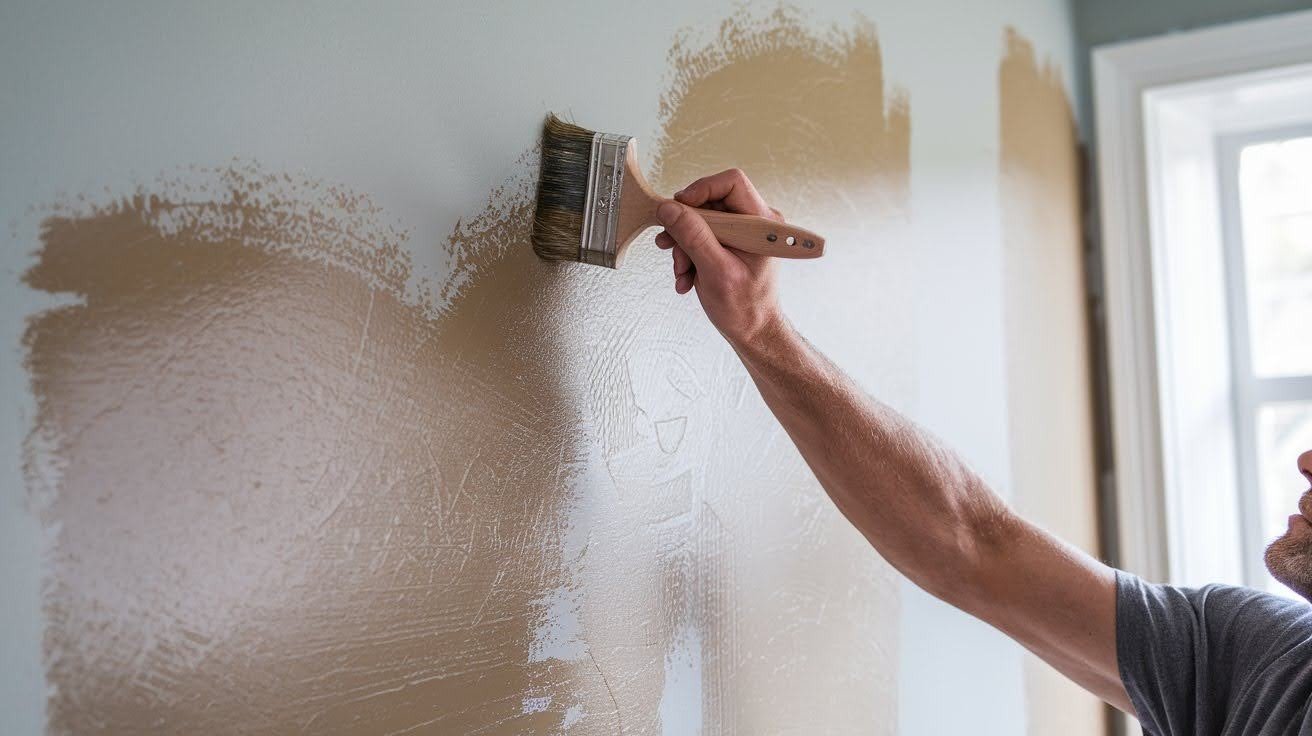
Step 2: Apply the Base Layer
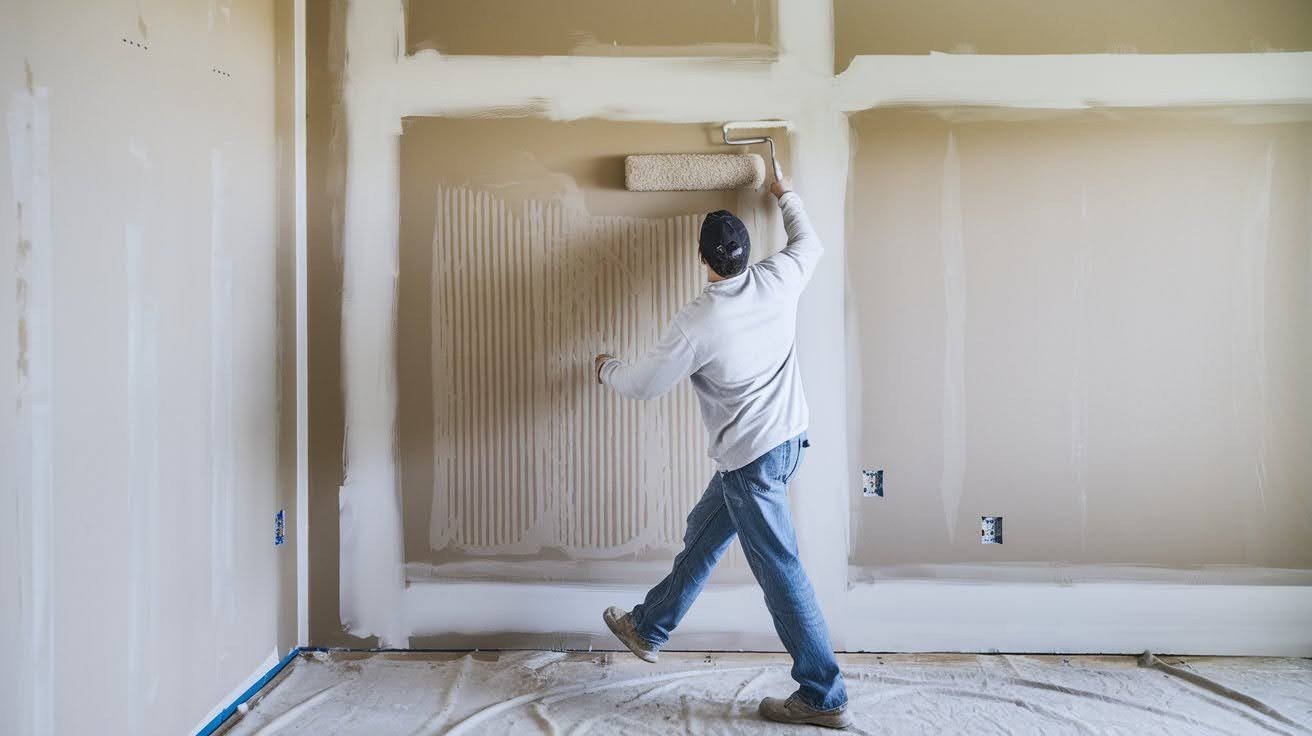
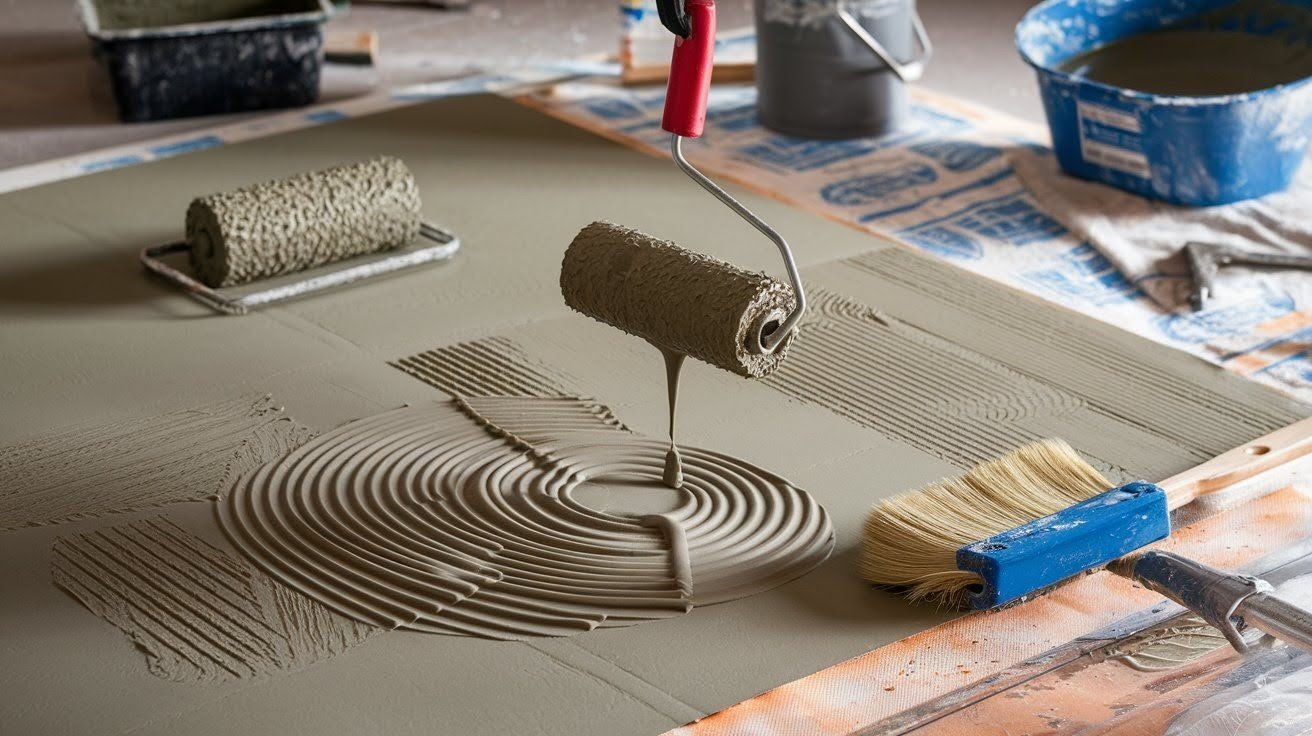
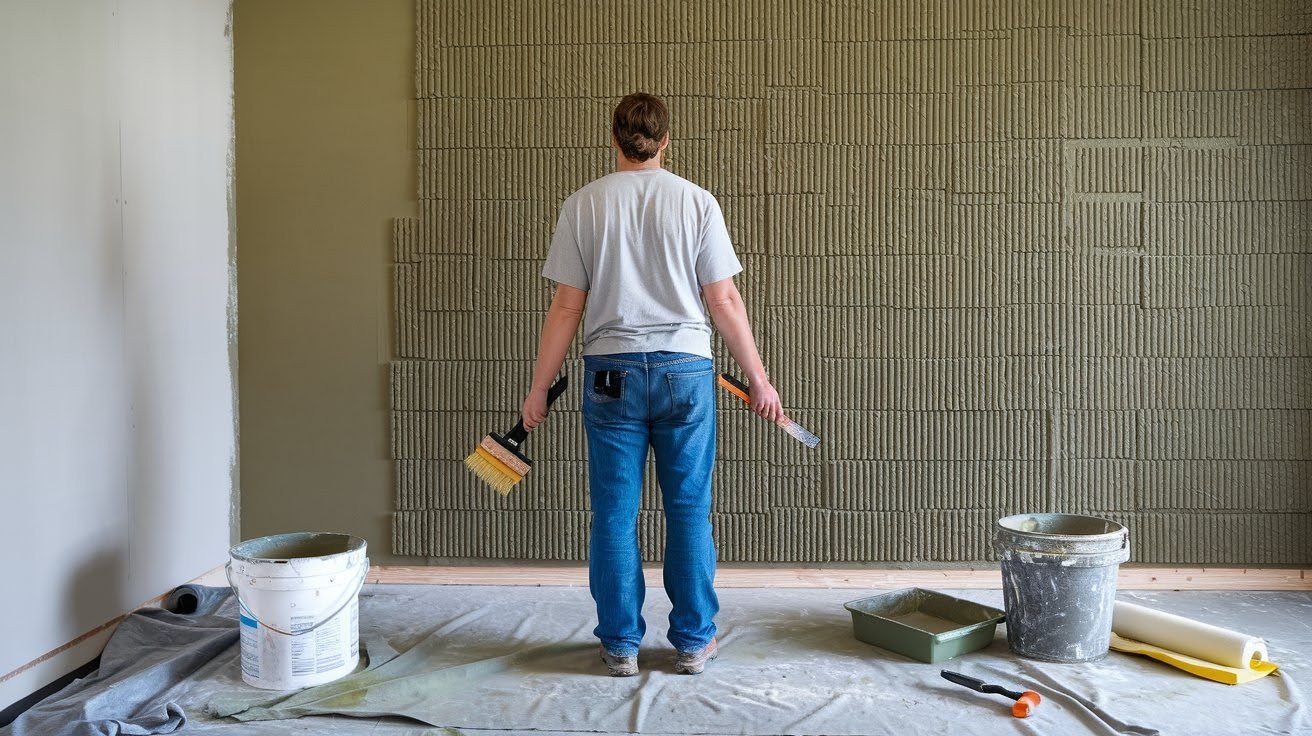
Work in 4×4-foot sections – manageable chunks that won’t dry before you texture them. Roll the mud in thin, even layers.
Consistent pressure is key. Too light and you get patchy coverage. Too heavy, and you create thick spots that look amateur.
Step 3: Create Even Coverage
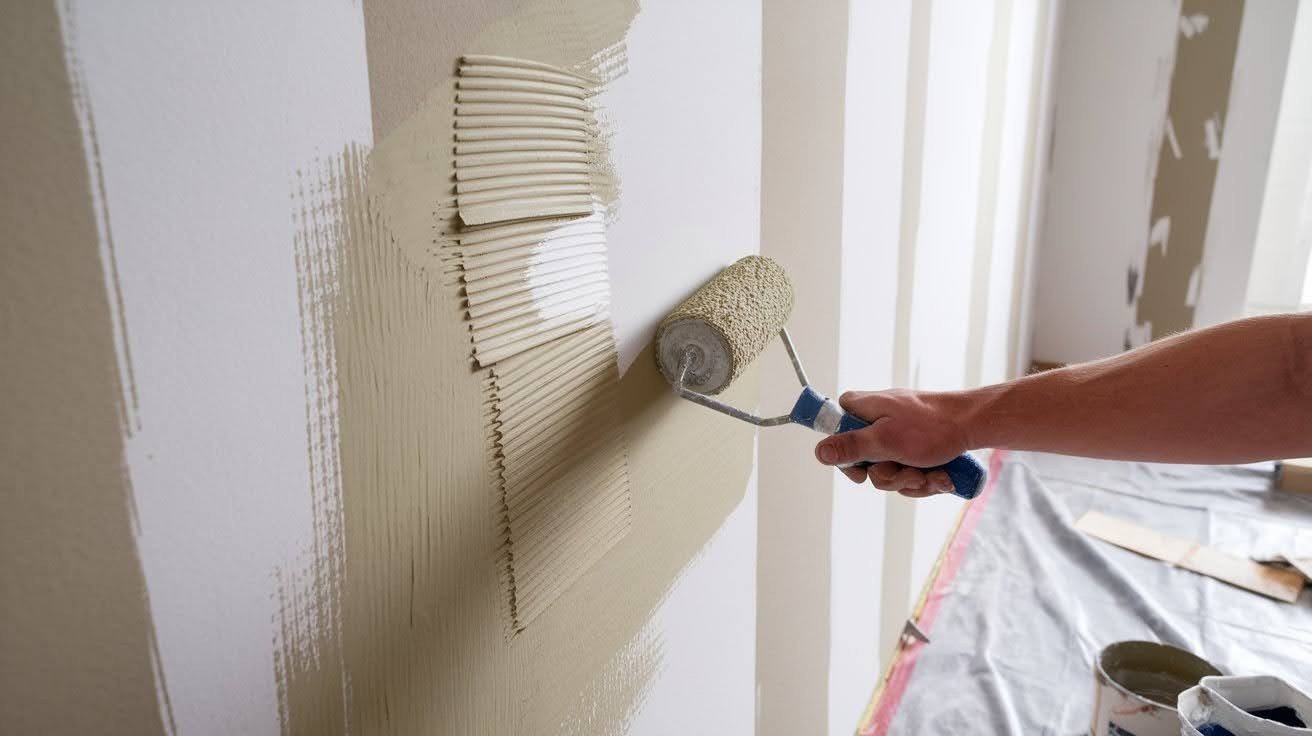
Roll in one direction first – either horizontal or vertical, your choice. Then cross over the same area rolling perpendicular to your first direction.
This crosshatch technique ensures uniform mud distribution. Even coverage means better texture results.
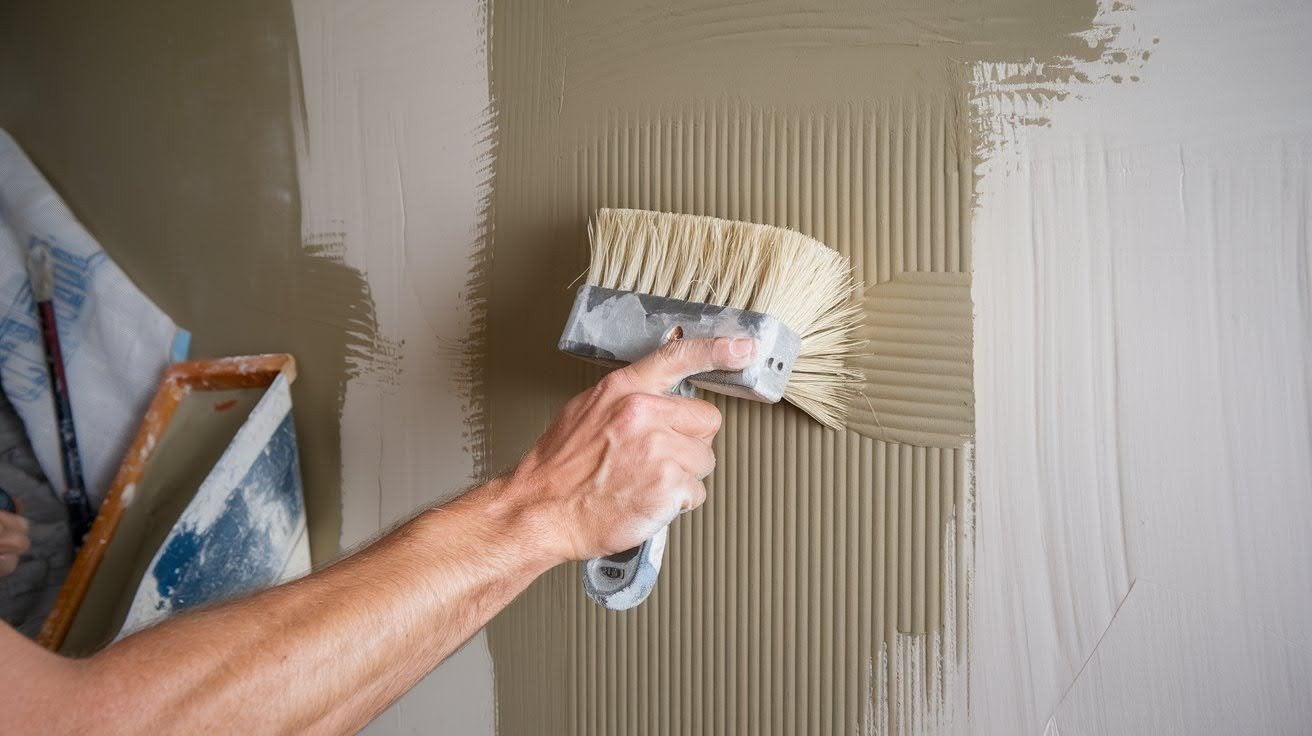
Step 4: Prepare the Brush
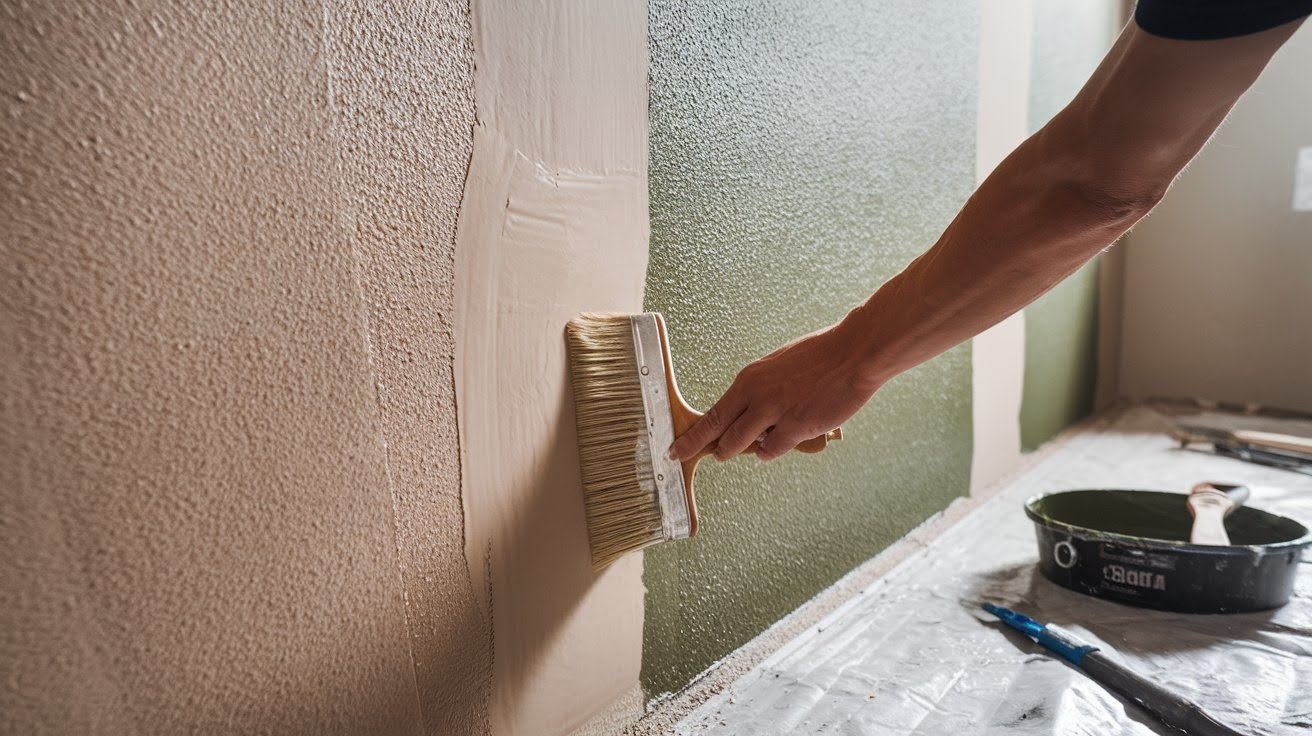
Load your brush with a generous mud bed when starting with a dry brush. You want the bristles well-coated but not dripping everywhere. This initial coating is crucial. It helps create consistent texture patterns from your very first stamp.
Step 5: Execute the Stamping Technique
Press the brush firmly into your freshly rolled surface. Apply steady, consistent pressure to create clear bristle impressions in the mud.
Here’s where people mess up: they press too hard. Don’t deform the drywall or pop screws. Firm pressure, not crushing pressure.
Step 6: Maintain Pattern Consistency
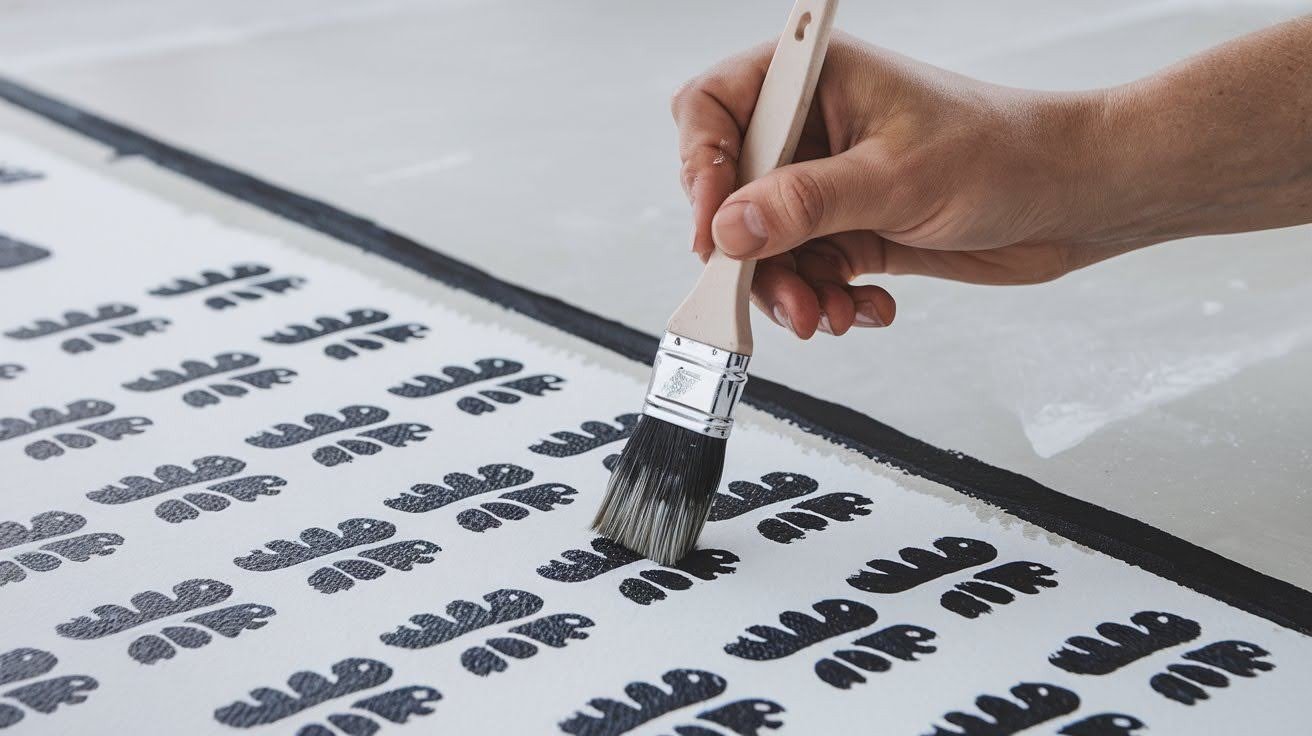
Spin your brush 1/4 to 1/2 turn between each stamp. This prevents repetitive patterns that look fake.
Work systematically across your section. Don’t skip around or you’ll miss spots. Keep your rotation consistent.
Step 7: Control Pressure and Coverage
Hit firmly enough to create your desired texture depth. Move methodically to ensure complete coverage.
Adjust your pressure based on mud consistency. Thinner mud needs lighter pressure. Thicker mud can handle more force. Practice makes perfect here.
Step 8: Manage Section Timing
Complete each area before the mud starts to dry. This is critical for professional results.
Here’s what most people don’t know: fresh mud sticks to dried mud, but textures won’t blend properly.
You’ll see obvious lines where sections meet. Work at a steady pace to keep your edges wet between sections.
Step 9: Blend Section Edges
Slightly overlap your brush strokes with the sections you’ve already completed. This creates seamless transitions. Focus on those section boundaries. Poor blending screams amateur work. Take extra time here – it’s worth it.
Step 10: Eliminate Application Marks

Slap away any visible roller lines or streaks you see in your texture. They stand out like a sore thumb.
Address missed spots immediately while the mud is still workable.
Don’t wait and hope nobody notices. Your final texture should look uniform across the entire surface. Consistent results separate good work from great work.
Advanced Techniques and Problem Solving
Learn expert-approved methods to handle tricky drywall issues. These tips help improve results and fix problems before they get worse.
Achieving Different Effects
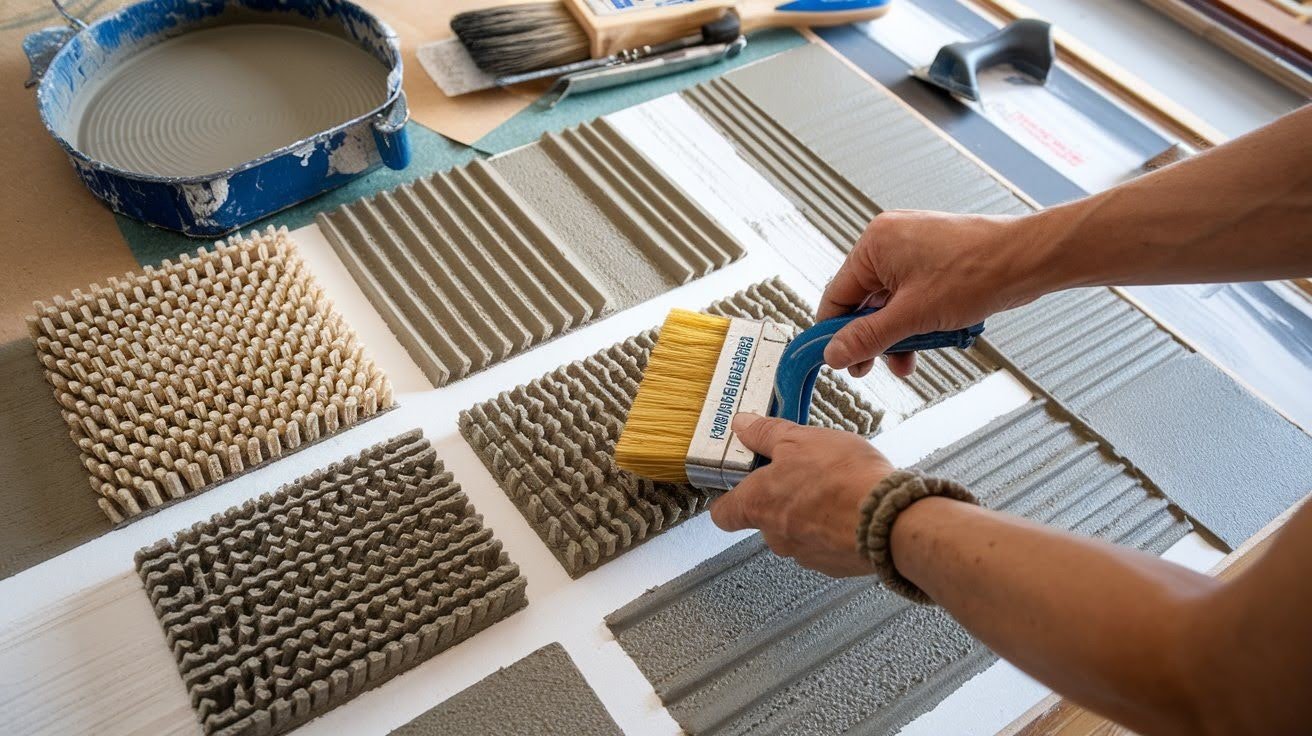
Adjust your stamp spacing to change the visual density of your texture. Closer stamps create busier patterns. Wider spacing gives a more open look. Want custom patterns? Cut your bristles to different lengths.
This creates unique textures you won’t find anywhere else. Here’s a pro trick: use a knife after 15 minutes to flatten sharp edges. This knockdown technique softens the texture for a more subtle finish.
Common Application Issues
The roller won’t spin smoothly? Your mud is too thick. Add more water to your mixture. Heavy buildup on your brush? You’re hitting too softly. Increase your pressure for better results.
Excessive dripping means too much mud on your roller. Perfect your bucket edge technique to control the load. Inconsistent patterns happen when you forget to rotate your brush. Stay focused on this step.
Patch and Repair Techniques
Blending new texture with existing requires overlapping your brush slightly with the original pattern. Match the pressure and rotation.
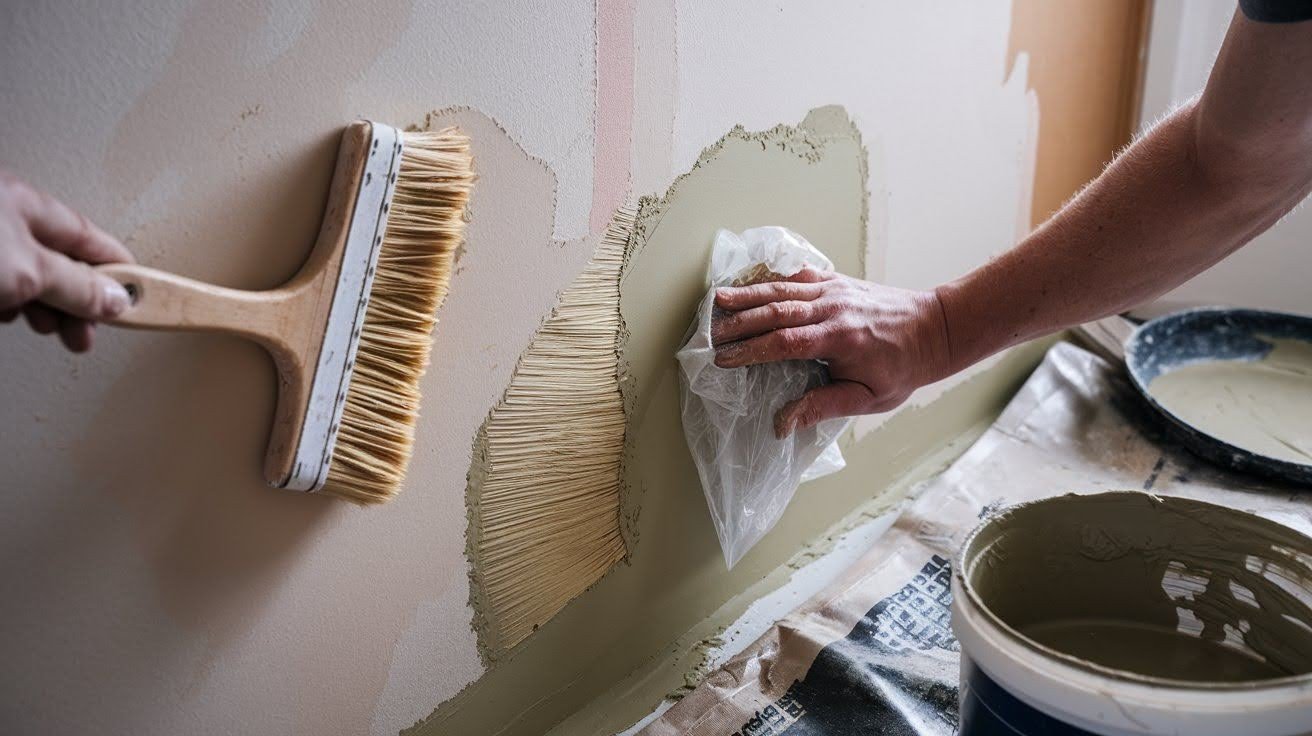
For edge treatment, use a plastic bag technique. Pre-texture patch edges while the mud is still wet. This creates seamless repairs.
Finishing Process
A smooth finish matters. Follow these simple steps to seal joints, hide seams, and prepare your ceiling for paint or texture.
Final Steps

Wait a full 24 hours before painting. I know you’re excited to see the finished result, but patience pays off here. Use your taping knife to clean excess mud from wall joints.
These areas collect extra compounds and look messy if left alone. Light sanding of rough spots might be needed. Don’t go crazy – smooth out any apparent problems.
Expert Tips for Professional Results
Maintain a steady rhythm and pressure throughout your entire project. Inconsistency shows up fast in texture work. Here’s the balance you need to strike: work at a pace that prioritizes quality over speed.
Rushing creates problems you’ll regret later. Step back frequently to check your work. What looks good up close might show patterns from a distance. Address problems while the mud is still workable.
Once it dries, you’re stuck with mistakes. The key is staying consistent from start to finish. Good texture work requires patience and attention to detail.
Conclusion
Applying slap brush texture doesn’t have to be intimidating once you know the right steps. With proper preparation, the right tools, and consistent technique, you can achieve professional-looking results on your walls.
The key is taking your time with each step, from soaking your brush to maintaining steady pressure throughout the application. Practice on scrap materials first, work in manageable sections, and don’t rush the process.
You now have all the knowledge needed to tackle your texture project with confidence. Your walls will look like a pro handled the job.
Have questions about your specific project? Drop a comment below – I’d love to help you troubleshoot any challenges you might face. Good luck with your texturing project!
Frequently Asked Questions
What is slap brush texture, and how does it work?
Slap brush texture is created by pressing a textured brush into wet drywall compound rolled on walls. The bristles leave impressions that create a decorative, dimensional surface pattern.
How long should I soak my texture brush before applying slap brush texture?
Soak your texture brush in warm water for at least one hour, preferably overnight. This softens the bristles so they create proper texture impressions in the compound.
What consistency should my drywall compound be for slap brush texture?
Mix your compound to a smooth, creamy consistency like thick paint or pancake batter. It should roll smoothly without excessive dripping for best texture results.
How long does the slap brush texture take to dry before painting?
Allow a minimum of 24 hours drying time before painting over your slap brush texture. This ensures the compound is completely set and ready for primer.
Can I repair damaged slap brush texture without redoing the entire wall?
Yes, you can patch the slap brush texture by overlapping your brush slightly with the existing pattern. Match the original pressure and rotation for seamless repairs.