

Your bathroom shower needs a refresh. The tiles may look outdated. Or the fixtures feel boring. The good news is that you don’t need a complete renovation. Small changes can make a huge difference. We’re talking about simple weekend projects that transform your space. No contractors are required.
Here’s what you’ll find: Budget-friendly tile updates, Easy fixture swaps, Creative storage solutions, and Simple lighting improvements.
I’ve helped hundreds of homeowners tackle these exact problems. These aren’t complicated projects that require special skills. Every idea comes with clear steps you can follow.
Most importantly, these upgrades add real value to your home. Your friends will think you hired professionals.
But you’ll know the truth – you did it yourself for a fraction of the cost.
Ready to give your shower the makeover it deserves? Let’s get started with ideas that work.
Quick Visual Impact Upgrades (Under 1 Day)
These projects take less than 8 hours. You can start Saturday morning and enjoy your new shower by dinner.
Instant Tile Accent Additions
Mosaic strips change everything. Using small flower-pattern tiles along the middle of the plain walls. They cost about $30 per strip and are installed with basic adhesive.
Subway tiles work great for accent walls, too. You don’t need to retile your entire shower. Pick one wall. Make it special. The wall behind your faucet is perfect for this. Natural stone elements add serious style:
- River rock strips
- Marble accent pieces
- Slate feature sections
Here’s a quick tip: Vertical patterns make low ceilings look taller. Horizontal patterns make narrow showers feel wider. Choose based on your space.
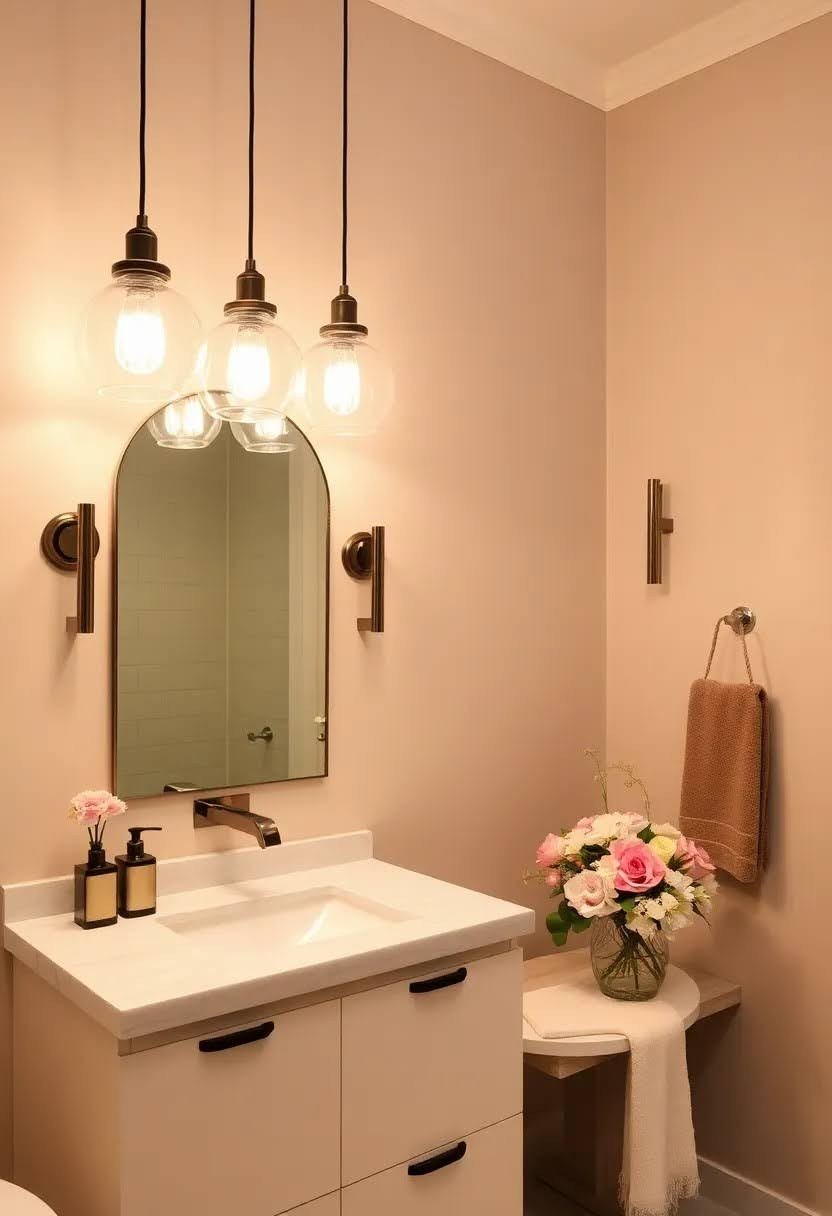
Hardware and Fixture Swaps
Your old shower head probably needs to go. New ones install in 10 minutes. No plumber is required.
Modern shower arms make a huge difference. The connection between your wall and shower head shouldn’t look outdated. Upgrade both at the same time. Don’t forget the small stuff:
- Drain covers (rust shows age)
- Trim pieces around fixtures
- Towel bars and hooks
Matte black is trending right now. Brushed nickel works with everything. Pick one finish and stick with it throughout your bathroom.
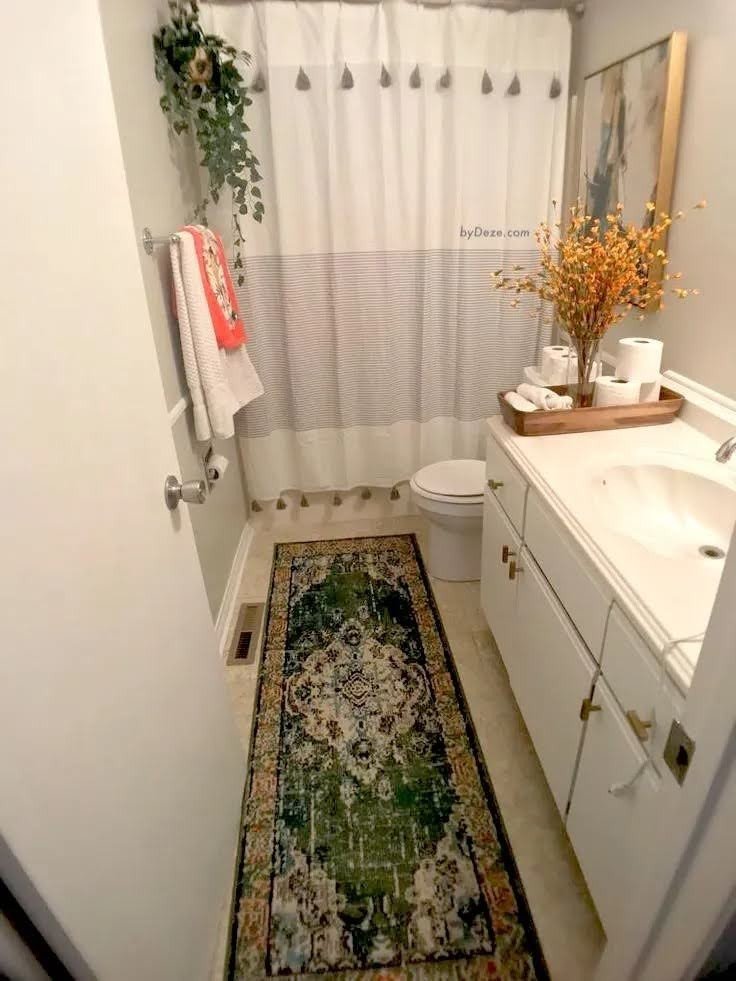
Functional Storage Solutions
Built-in storage beats hanging caddies every time. Corner shelves fit in most showers. You cut into the wall between studs and create a perfect niche.
Recessed soap holders keep things clean. No more bottles falling over. Everything has its place.
Custom bench seating serves two purposes. You get storage underneath and a place to sit. Perfect for shaving or relaxing. Wall-mounted accessories work when built-ins aren’t possible:
- Magnetic soap holders
- Suction cup organizers
- Over-door storage racks
Pro tip: Install storage at different heights. Kids and adults need different reach zones.
Surface Refresh Projects (1-3 Days)
These projects take a weekend or an extended holiday. The results last for years. Plan and gather all your materials first.
Strategic Tile Updates
You don’t have to replace every tile. Smart replacements save money and time. I focus on the most visible areas first.
Damaged tiles stick out like sore thumbs. Replace cracked or chipped ones immediately. Your shower will look 50% better with this simple fix.
Bullnose trim makes everything look professional. It covers rough edges where tiles meet walls. This detail separates amateur work from pro-jobs. Feature walls create focal points without breaking your budget:
- One wall with premium stone
- Accent strips at eye level
- Different textures behind the faucet
Size mixing adds visual interest. Try pairing 4×12 subway tiles with 16×16 squares. The contrast creates movement without looking busy.
Grout and Caulk Renewal
Old grout kills the look of good tiles. Fresh grout transforms everything. I remove the top layer and apply new material over the base.
Colour-changing grout creates drama. Switch from white to charcoal grey. The same tiles suddenly look expensive. Modern polymer sealants last longer than basic caulk:
- Mould resistant
- Flexible with temperature changes
Perfect caulk lines need tape. Apply painter’s tape along both edges. Smooth with your finger. Remove the tape immediately. Clean lines every time.
Wall Surface Alternatives
Smooth walls look modern and clean. Think upscale hotel bathrooms. This style works exceptionally well in small spaces.
Commercial coatings go over existing tiles. You skip demolition altogether. Two coats, and you’re done. The surface becomes completely waterproof.
Panel installations cost less than tile:
- Acrylic shower panels
- Fiberglass reinforced plastic
- Composite stone sheets
Waterproof paint works for quick updates. Choose epoxy-based formulas made for wet areas. Two coats give you a fresh look in one day. Surface prep matters most. Clean thoroughly. Sand glossy areas. Prime if needed. Your finish is only as good as your preparation.
Budget-Conscious Upgrade Strategies
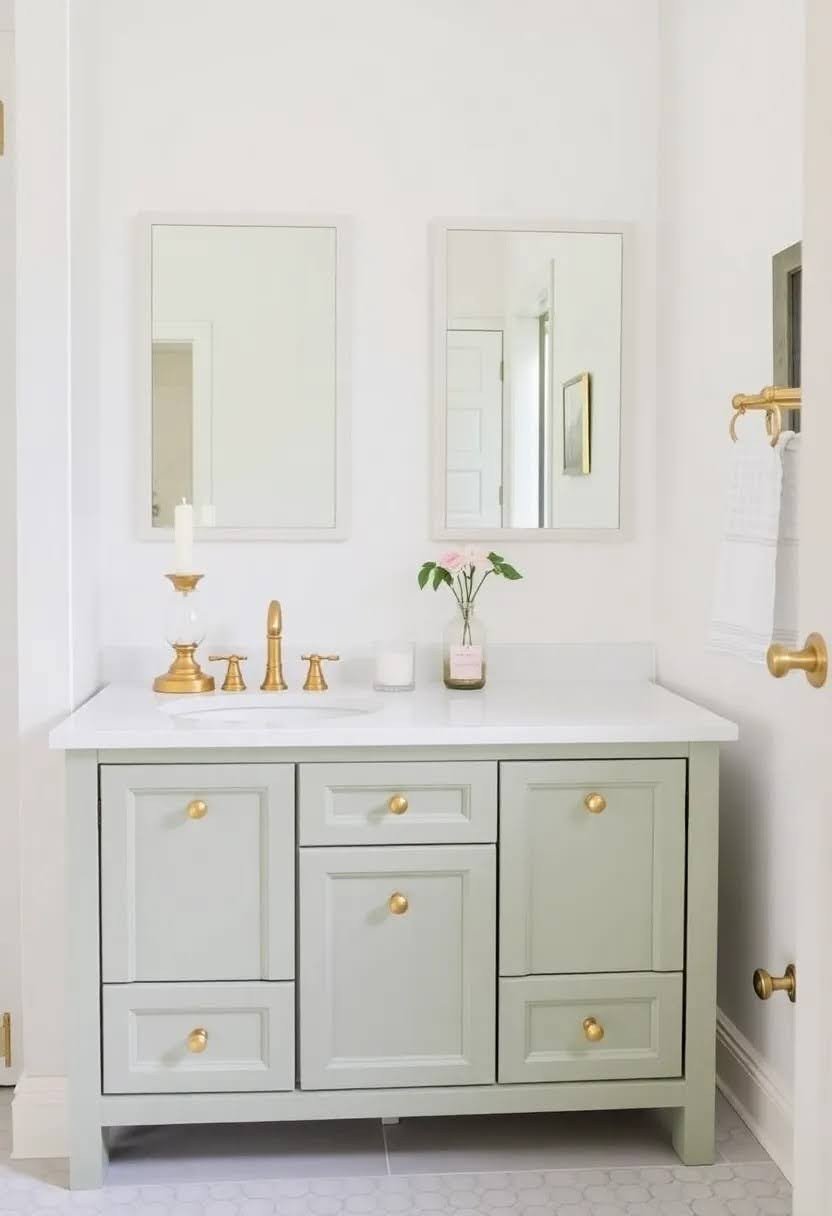
Significant shower upgrades don’t require huge budgets. Wise choices make every dollar count. I’ll show you where to spend and where to save.
Maximum Impact Minimum Cost Projects
Accent tiling offers the best value for your money. Budget $120-200 for materials. This covers about 15-20 square feet of premium tile strips. Here’s what that money gets you:
- Natural stone accent wall
- Mosaic border strips
- Feature niche backgrounds
- Subway tile focal points
Hardware upgrades cost $50-150 total. New shower heads start at $25. Faucet handles cost $15-$ 40 each. Drain covers cost under $20. Surface treatments range from $100 to $ 300:
- Grout renewal ($50-80)
- Caulk replacement ($30-50)
- Waterproof paint ($40-100)
- Polymer coatings ($150-300)
Brilliant material selection saves hundreds. Use stone sparingly for accents only.
Essential Tools and Materials for Quick Upgrades
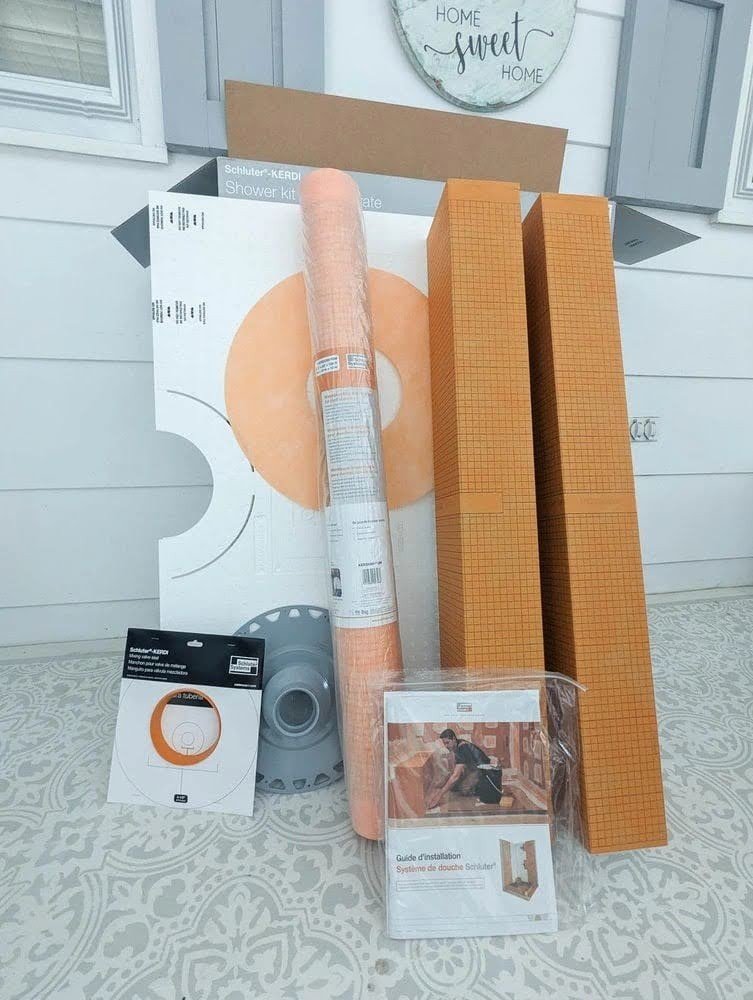
The right tools make projects easier and yield better results. Don’t try to cut corners here.
Basic Tool Kit Requirements
Tile cutting comes first. A score and snap cutter handles straight cuts on ceramic tiles. Nippers are used for making curved cuts and minor adjustments. These tools save hours of frustration. You’ll use them more than you think. Installation tools you can’t skip:
- Notched trowel
- Grout float for spreading material evenly
- A 2-foot level for keeping lines straight
- Rubber mallet for setting tiles properly
Finishing tools make the difference between amateur and professional results. A good grout sponge costs $8. Cheap ones fall apart and leave a residue.
Spend more for smooth, consistent beads. Your finished lines will thank you. Safety equipment protects you:
- Safety glasses (tile chips fly)
- Knee pads for floor work
- Dust masks for cutting
- Work gloves for handling sharp edges
Material Selection for Instant Results
Waterproofing comes before everything else. Tile choices affect your success rate:
- 12×12 ceramic squares (most manageable for beginners)
- Subway tiles (forgiving and classic)
- Large format tiles (fewer grout lines to maintain)
Avoid natural stone for your first project. It requires special adhesives and sealers.
Adhesive selection is more important than most people realise. Pre-mixed adhesives cost more but eliminate mixing mistakes.
Quality vs. cost breakdown: Invest in waterproofing and adhesives. These prevent expensive failures later. Save money on basic tiles and simple tools.
Generic tiles from big box stores work fine. But don’t skimp on the essentials that go behind them.
Step-by-Step Upgrade Execution
Planning prevents problems. Good preparation saves hours of fixing mistakes. I always take the time to prepare before applying any adhesive.
Planning and Preparation
Dry fit everything first. Lay tiles on the floor in your exact pattern. This shows you what the finished wall will look like.
Mark your centre point on the wall. Work outward from there. This creates balanced layouts with equal cuts on both sides. Protect existing surfaces you’re keeping:
- Plastic sheeting over tub edges
- Painter’s tape around fixtures
- Drop cloths on the floors
- Cardboard over finished surfaces
Fixture placement affects your whole design. Centre your pattern around shower heads and faucets. Avoid tiny slivers of tile next to the plumbing.
Small pieces look bad and break easily. The plan is to be at least 2 inches wide. Adjust your starting point if needed.
DIY Installation Guide
Your first row determines everything else. Use a level and mark a straight line. Don’t trust existing surfaces to be level. They usually aren’t.
Lippage happens when tiles stick up unevenly. Press each tile firmly into place. Use a slight twisting motion to spread the adhesive completely. Cutting around pipes requires patience:
- Measure twice, cut once
- Use nippers for curved cuts
- File rough edges smooth
- Test fit before applying adhesive
Timing matters with different materials. Ceramic tiles stay workable for 20-30 minutes. Natural stone sets faster. Work in small sections.
Finishing for Polished Results
Grout haze clouds your beautiful tiles. Remove it while it’s still damp. Use clean microfiber cloths and change them frequently. Sealing protects your investment:
- Seal natural stone before grouting
- Seal grout lines after they cure
- Reapply sealer annually
- Use penetrating sealers, not surface coatings
Inside corners need caulk, not grout. Grout cracks when surfaces move. Flexible caulk stays sealed. Final inspection catches problems early:
- Check all grout lines for gaps
- Look for loose tiles
- Test caulk adhesion
- Clean up any residue
Touch-ups happen after everything is cured. Wait 24-48 hours before final cleanup. Some problems only become apparent after the materials have dried completely. Perfect doesn’t exist in DIY projects. Good enough that you’re proud to show it off? That’s the real goal.
Conclusion
These DIY shower upgrades prove you don’t need a major renovation to create dramatic changes. From simple tile accents to strategic hardware swaps, minor improvements can make a big difference in how your bathroom looks and feels.
You now have everything needed to tackle these projects confidently. The techniques are straightforward, the materials are affordable, and the results speak for themselves.
Your shower transformation begins with selecting just one idea that excites you the most. It could be those mosaic accent strips or a sleek new shower head. Start small and build momentum.
Are these tips helpful? Share this guide with friends planning their bathroom updates. Have questions about a specific project? Drop a comment below – I’d love to help you succeed with your DIY shower makeover.
Frequently Asked Questions
What are the easiest DIY shower upgrades for beginners?
Start with hardware swaps, such as new shower heads and faucet handles, which can be installed in minutes. Adding mosaic tile strips or updating grout and caulk also creates a significant visual impact without requiring advanced skills or expensive tools.
How much do DIY shower upgrades typically cost?
Most projects range from $50 to $ 300. Hardware upgrades cost $50-150, accent tiling runs $120-200, and surface treatments like grout renewal cost $100-300. These prices deliver professional-looking results at a fraction of the cost of a contractor.
Can I upgrade my shower without removing existing tiles?
Yes! Add accent strips over existing tiles, install new fixtures and hardware, refresh grout and caulk, or apply waterproof coatings. These methods avoid demolition while still creating dramatic visual improvements to your shower space.