

Ready to transform an empty wall or awkward space into something both functional and beautiful?
Building your console table is one of the most rewarding furniture projects you can tackle, even as a complete beginner.
A DIY console table offers the perfect blend of practicality and style, whether you need extra storage in your entryway, a surface for displaying your favorite decor, or simply want to fill that gap behind your sofa.
The best part? You can create exactly what your space needs without breaking the bank.
In this guide, we’ll walk you through everything from planning your design to adding those finishing touches that make it look professionally made.
You’ll be amazed at what you can accomplish with basic tools and a weekend of work. Let’s get started on creating your custom piece!
Planning Your DIY Console Table Project
Decide the Purpose & Placement
Before you start cutting wood or shopping for materials, take a moment to think about where your console table will live and what it needs to do.
This decision will guide every choice you make moving forward.
Location Options to Consider:
- Entryway: Perfect for keys, mail, and seasonal decor that welcomes guests
- Hallway: Great for breaking up long corridors while adding storage
- Living room: Ideal for displaying books, plants, or entertainment accessories
- Behind-the-couch: Creates a visual barrier and extra surface space in open floor plans
Size and Storage Decisions: The placement will largely determine your table’s footprint. Entryways often call for narrower designs (8-12 inches deep) to avoid blocking foot traffic, while living room pieces can be wider (14-18 inches) for more substantial display space.
Consider whether you need open shelving for baskets and books, or if a clean, single-surface design better fits your vision.
Choose a Style
Your console table should complement your existing decor while reflecting your taste. Here are three popular approaches that work well for DIY builders:
Modern Minimal Clean lines, simple geometry, and neutral colors define this style. Think straight edges, basic rectangular shapes, and finishes in white, black, or natural wood tones. This approach is forgiving for beginners since precision matters more than ornate details.
Rustic Farmhouse Embrace imperfections and weathered charm with this cozy style. Distressed finishes, visible wood grain, and sturdy construction create that lived-in farmhouse feel. Pine or reclaimed wood works beautifully here, and small irregularities add character.
Mid-Century or Boho-Inspired. These styles often feature angled legs, warm wood tones, and interesting geometric shapes. Mid-century pieces lean toward walnut stains and tapered legs, while boho designs might incorporate curved elements or mixed materials like rattan accents.
Sketch or Visualize the Design
Even a rough sketch will save you time and materials later. You don’t need artistic skills – just basic measurements and proportions.
Quick Planning Methods: Start with a simple side-view drawing showing height, width, and depth. Note where shelves or decorative elements will go.
If you’re more tech-savvy, free apps like SketchUp or even smartphone apps can help you visualize the finished piece in 3D.
Standard Dimensions to Consider: Most console tables measure 28-32 inches high (similar to dining table height), 36-48 inches wide, and 10-16 inches deep. However, your space might call for something different.
Measure your intended location carefully, leaving at least 2-3 inches of clearance on each side for comfortable movement around the piece.
Space-Saving Tips: If you’re working with a tight area, consider a table that’s 30 inches wide or less. You can also design with legs that angle inward slightly, creating visual lightness while maintaining stability.
Gathering Materials and Tools
|
Category |
Option |
Best For |
Details |
|
Wood Types |
Poplar |
Clean & modern styles |
Smooth grain, takes paint beautifully, mid-range price |
|
Pine |
Rustic & budget-friendly builds |
Soft wood, easy to work with, shows character marks well |
|
|
Reclaimed wood |
Vintage charm projects |
Unique patina, eco-friendly, varies in price and availability |
|
|
Essential Tools |
Miter saw or handsaw |
All skill levels |
Miter saw for precision, handsaw for basic cuts |
|
Nail gun or hammer |
Assembly |
Nail gun speeds up the process, hammer works for smaller projects |
|
|
Sandpaper/sander |
Finishing prep |
Start with 120 grit, finish with 220 grit for smooth results |
|
|
Clamps |
Holding pieces |
At least 4 clamps for most console table builds |
|
|
Wood glue |
Strong joints |
Essential for durability, use alongside nails or screws |
|
|
Optional Upgrades |
Router |
Smooth edges |
Creates professional, rounded edges and decorative profiles |
|
Planer |
Surface smoothing |
Makes rough lumber perfectly flat and uniform in thickness |
Step-by-Step Build Tutorial
Step 1 – Measure and Cut Lumber

Start with your lumber list: top piece (your desired width x depth), two side panels, and back support. Double-check all measurements before cutting.
Use a miter saw for clean, square cuts. Label each piece immediately with painter’s tape – writing “top,” “left side,” “right side” saves confusion during assembly and prevents costly mistakes.
Step 2 – Assemble the Frame

Begin by connecting the top piece to your side panels using wood glue and finishing nails. Apply glue to contact surfaces, position pieces carefully, then secure with nails every 6-8 inches. Add the back support piece for stability.
Work on a flat surface and check corners with a square tool to ensure everything stays perfectly aligned.
Step 3 – Add a Shelf or Storage Option
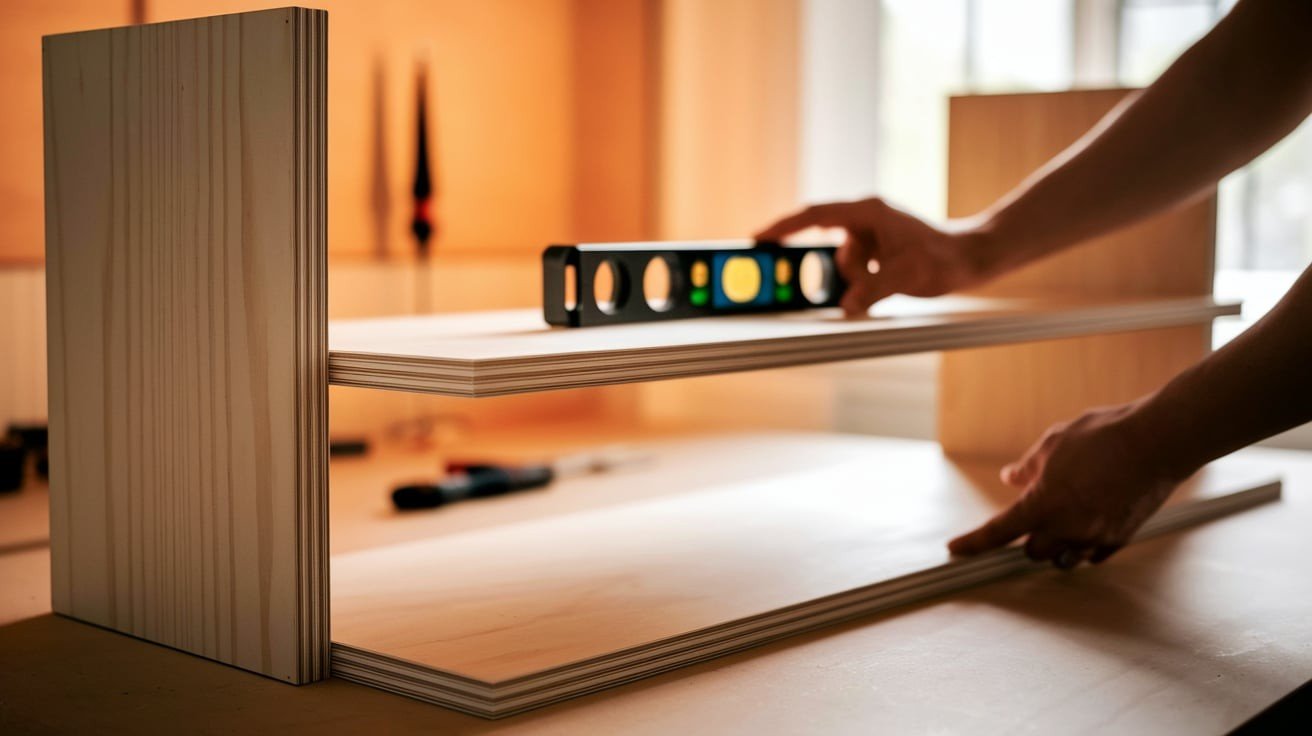
For a floating shelf look, cut your shelf piece to fit between the side panels with 1/4 inch clearance. Mark placement points on both sides, ensuring they’re level using a small level or measuring from the top.
Attach with wood glue and screws from the inside. Support the shelf while fastening it to prevent sagging during assembly.
Step 4 – Add Trim or Legs (Optional Style Enhancements)

Trim for boxed-in design: Cut trim pieces to frame the front edges, mitering corners at 45 degrees for a professional appearance.
Legs for elevated look: Attach four legs to corners using wood screws from inside the frame. Decorative brackets: Install corbels under shelves or at corners for visual interest and additional support strength.
Step 5 – Fill, Sand, and Smooth
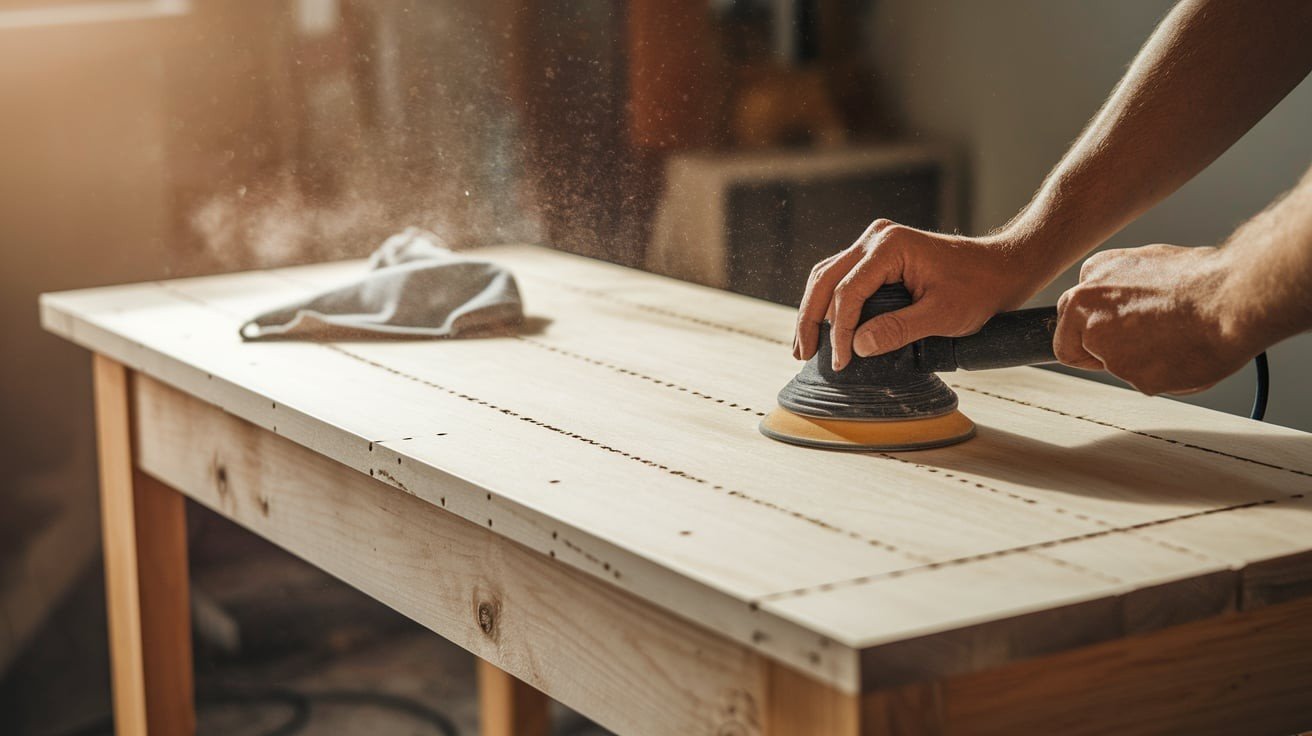
Fill nail holes and gaps with wood filler, or mix wood glue with sawdust for a budget alternative. Let dry completely, then sand starting with 120-grit paper, progressing to 220-grit for final smoothness.
Sand with the grain direction to avoid scratches. Wipe clean with a tack cloth before applying any finish coats.
Customize the Look with Paint or Stain
Choose a Finish
Your finish choice can completely transform your console table’s personality.
Natural wood showcases the grain’s beauty, perfect for quality lumber like poplar or oak.
Whitewash creates a coastal, farmhouse vibe by diluting white paint with water for a translucent effect.
Bold paint colors like navy, forest green, or charcoal make dramatic statements in modern spaces.
Traditional stains in walnut or cherry tones add warmth and sophistication.
Color blocking combines two complementary colors – try a natural wood top with a painted base for contemporary flair.
Application Tips
- Use painter’s tape to create crisp lines when color blocking or protecting hardware – remove tape while paint is still slightly wet to prevent peeling
- Choose the right tools: foam brushes for smooth paint application, natural bristle brushes for oil-based stains, and microfiber rollers for large flat surfaces
- Apply thin, even coats rather than one thick layer – multiple light coats prevent drips and ensure better coverage with professional-looking results
Sealing Your Table
Sealing protects your finish from daily wear, water rings, and scratches. It’s essential for high-traffic pieces like entryway tables or surfaces that will hold drinks and decorative items.
When to Seal: Always seal painted surfaces in entryways or living areas. Stained pieces need sealing if they’ll see regular use. Natural wood finishes require sealing for protection against moisture and stains.
Product Recommendations: For matte finishes, use water-based polyurethane or paste wax for subtle protection. Glossy finishes benefit from oil-based polyurethane or lacquer for maximum durability and shine.
Apply 2-3 thin coats, sanding lightly between applications with 320-grit paper.
Conclusion
Congratulations! You’ve just completed a furniture piece that’s uniquely yours – built to fit your exact space and style preferences.
Your new console table isn’t just functional storage; it’s a testament to what you can accomplish with basic tools and determination.
The skills you’ve learned here – measuring, cutting, assembling, and finishing – form the foundation for countless future projects.
That confidence you feel looking at your finished piece? That’s the satisfaction that comes from creating something with your own hands.
Take a moment to appreciate the details: those smooth, sanded surfaces, the perfectly aligned joints, and the finish that matches your vision exactly.
Every time you place keys on that surface or arrange decor on those shelves, you’ll remember the weekend you spent bringing this idea to life. Your space is now more organized, more beautiful, and completely personalized.
Frequently Asked Questions
How much does it cost to build a DIY console table?
Expect to spend $50-150, depending on wood choice and finish. Pine keeps costs low while hardwoods increase the budget.
How long does this project take for a beginner?
Most beginners complete their console table in one weekend – about 8-12 hours, including drying time for finishes.
What if I don’t have power tools like a miter saw?
Hand tools work fine! Use a handsaw and miter box for cuts. Many hardware stores also offer cutting services.