

Upgrade Your Bathroom on a Budget: Your Complete Guide to a DIY Shower Remodel
Tired of staring at those cracked tiles and outdated fixtures every morning? You’re not alone! Many homeowners dream of a spa-like shower but assume it requires hiring expensive contractors.
Here’s the truth: an attractive DIY shower remodel is absolutely within your reach, even if you’ve never picked up a tile saw before.
This comprehensive guide walks you through every aspect of renovating your shower space without breaking the bank.
From planning your budget to selecting materials, handling the installation process, and adding those finishing touches that make all the difference, we’ve got you covered.
Ready to create the shower of your dreams while saving thousands? Let’s get started on your transformation project today.
Why Remodel Your Shower Yourself?
Benefits of a DIY Shower Remodel
Taking on your shower renovation offers compelling advantages that go beyond simple savings.
You’ll cut project costs by 50-70% compared to hiring contractors, keeping thousands in your pocket for other home improvements or that vacation you’ve been planning.
More importantly, you maintain complete creative control. Choose exactly the tiles, fixtures, and layout that match your vision, no compromises with a contractor’s preferences or limited material selections.
Common Misconceptions About DIY Remodeling
Many homeowners hesitate because they believe shower renovation requires professional expertise or consumes months of work.
The reality? Modern materials and tools make installation more straightforward than ever. With proper planning and patience, most bathroom renovations can be completed within 1-2 weekends.
You don’t need years of experience, just a willingness to learn and follow instructions carefully.
Planning Your DIY Shower Remodel
Set a Budget and Timeline
A basic DIY shower remodel typically costs $800-2,500, depending on material choices and shower size. Factor in tiles ($3-15 per square foot), waterproofing supplies ($100-200), and fixtures ($150-500).
Most weekend warriors complete their project within 2-3 weekends, allowing proper drying time between steps.
Choose a Design Style and Layout
Modern styles feature clean lines with subway or large-format tiles, while rustic designs incorporate natural stone or wood-look materials. Spa-inspired spaces focus on neutral colors and natural textures.
Small bathrooms benefit from light colors and vertical tile patterns, whereas larger spaces can handle bold patterns and darker hues.
Gather Tools and Materials
Essential tools include a tile saw, level, drill, trowel, and safety equipment. Basic materials encompass cement backer board, waterproof membrane, tile adhesive, grout, and your chosen fixtures.
Create a detailed shopping list before starting to avoid mid-project trips to the hardware store.
Step-by-Step DIY Shower Remodel Process
Step 1: Demolition and Prep Work
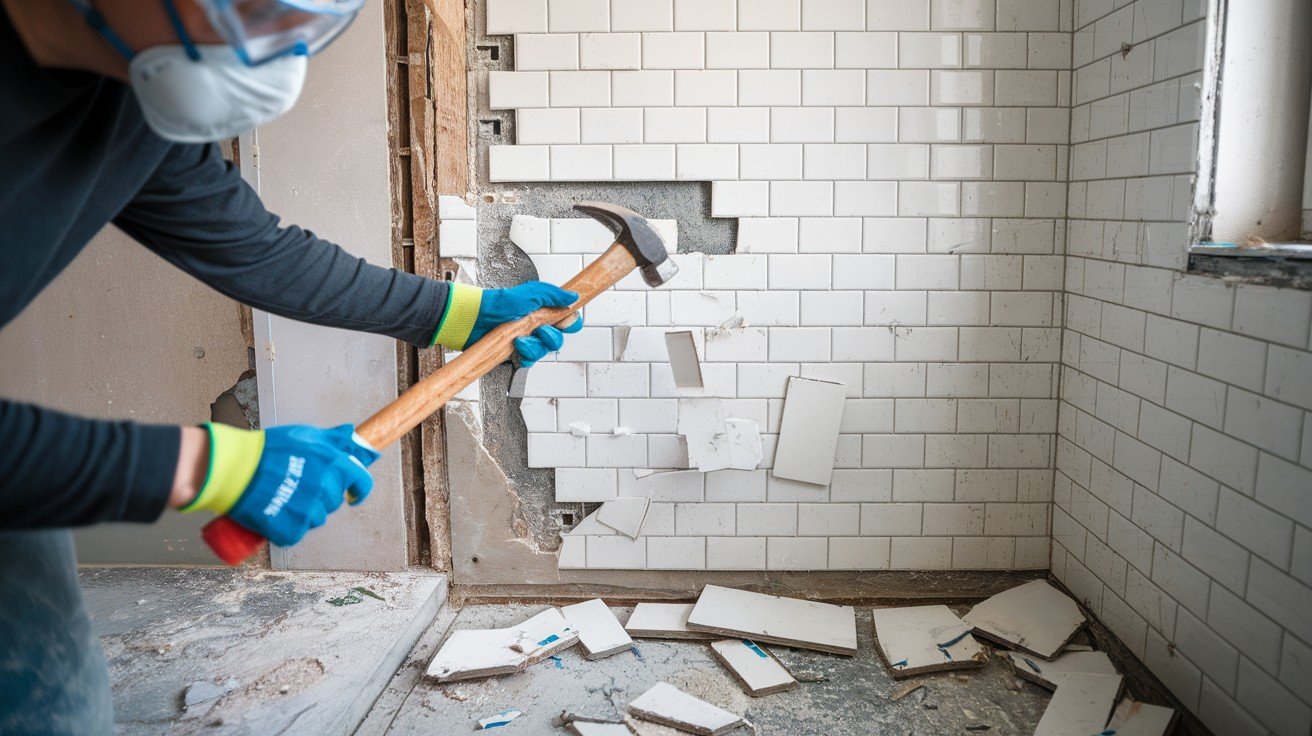
Wear protective gear, including goggles, gloves, and dust masks, before starting removal. Use a hammer and chisel to remove old tiles, then carefully disconnect and remove fixtures before cutting away damaged drywall.
Step 2: Plumbing and Electrical Updates
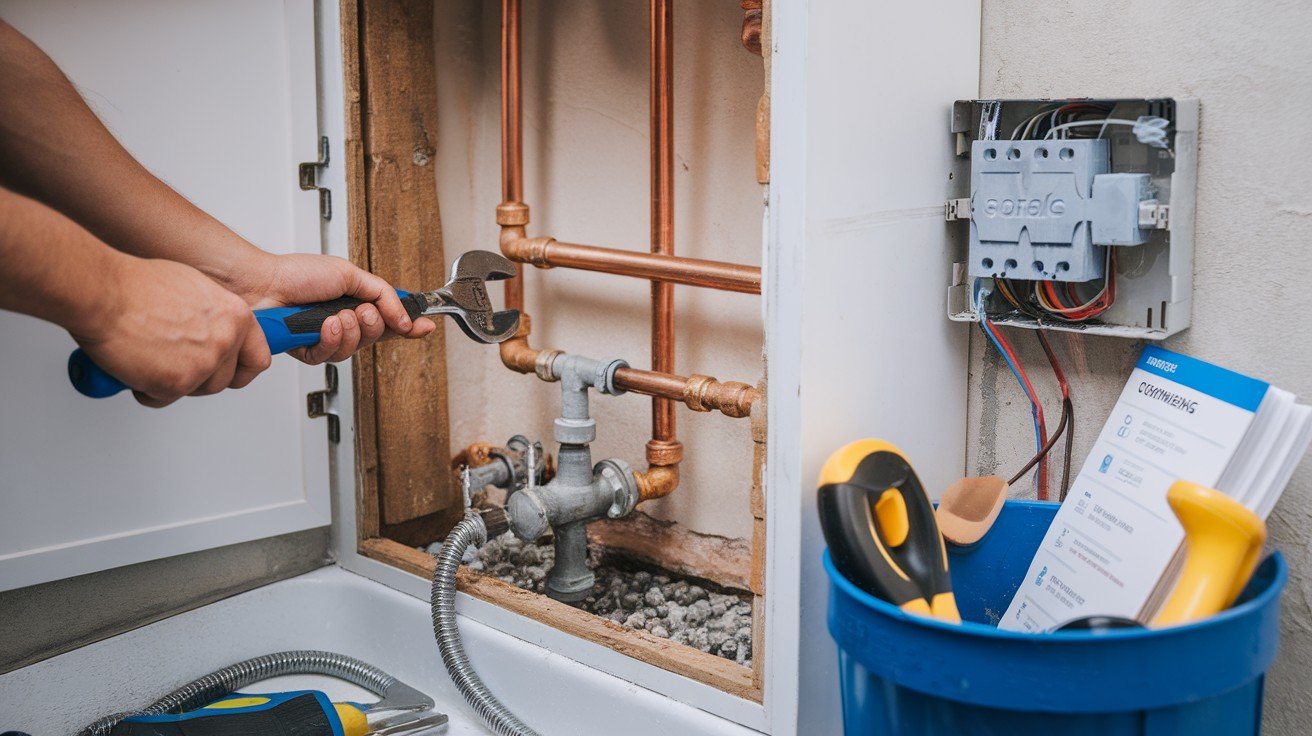
Call professionals for major changes like relocating drains or adding new electrical circuits. Handle simple tasks like replacing shower valves or updating existing fixture connections yourself with basic plumbing knowledge.
Step 3: Waterproofing and Wall Prep
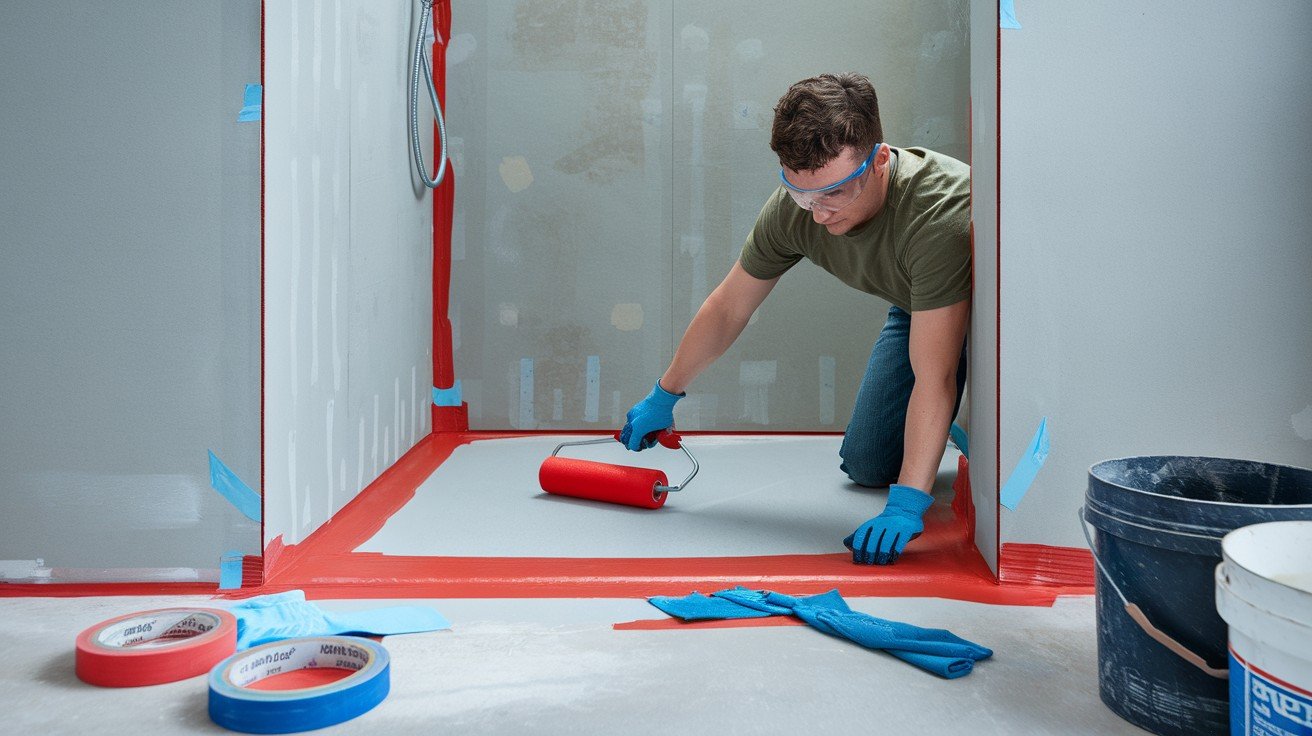
Proper waterproofing prevents costly water damage and mold growth behind your walls. Install cement backer board over studs, then apply a waterproof membrane or paint to create a moisture barrier.
Step 4: Tiling Your Shower Walls and Floor
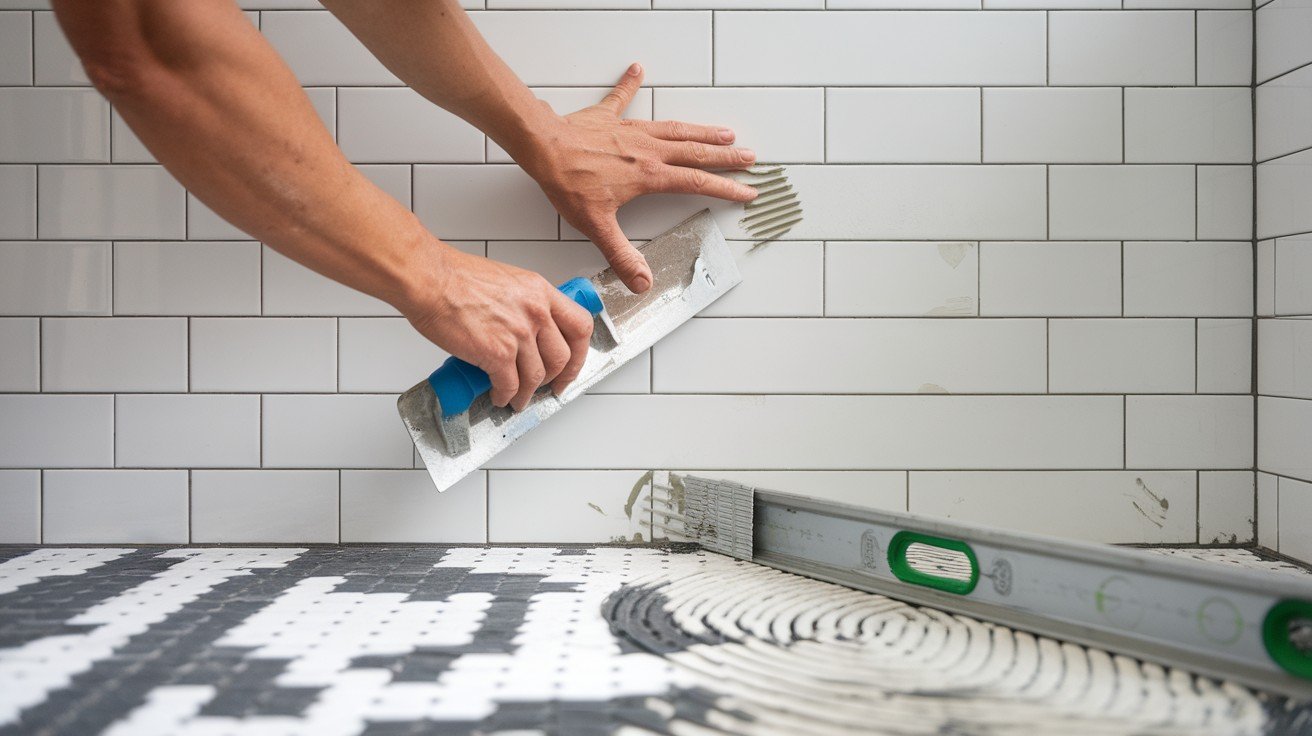
Start with floor tiles and work upward, using spacers for consistent gaps throughout. Apply adhesive evenly with a notched trowel and check each tile for level placement before moving forward.
Step 5: Installing Fixtures and Hardware
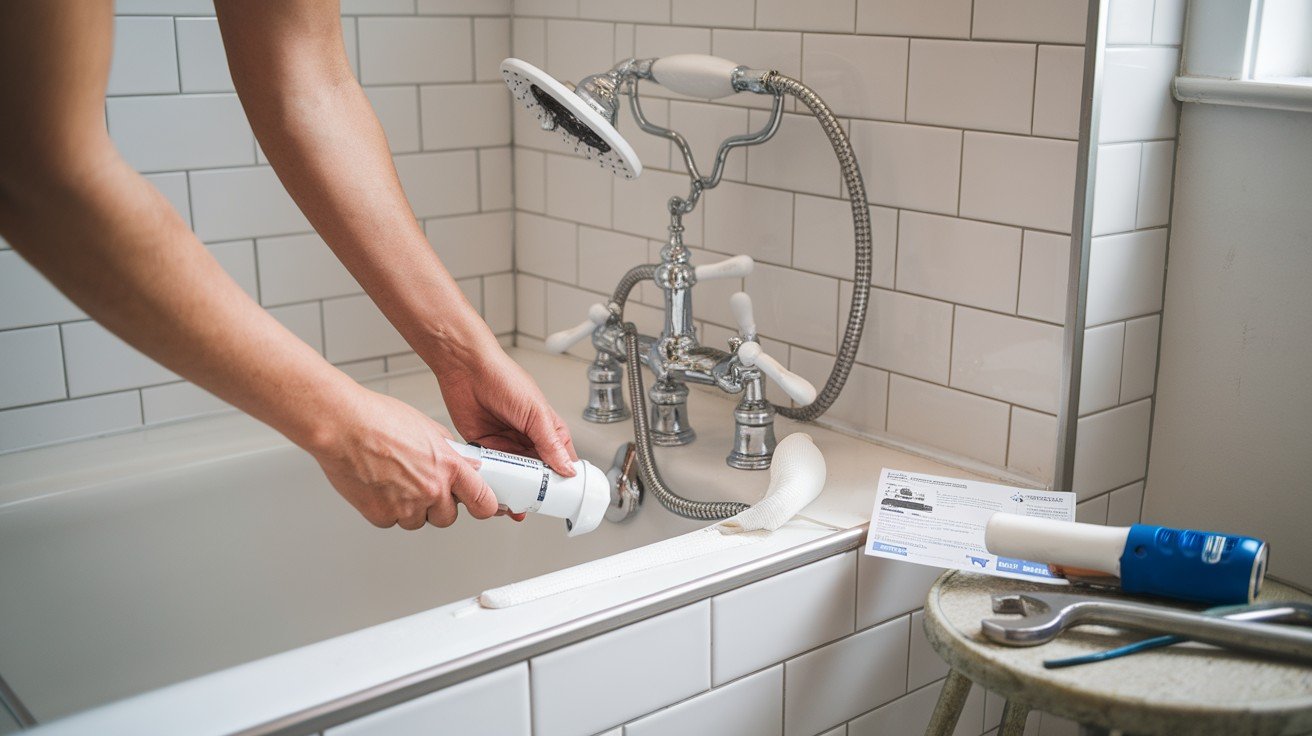
Mount showerheads, faucets, and handles according to the manufacturer’s specifications for proper alignment. Seal all connections with appropriate caulk and apply grout to tile joints for a finished appearance.
Cost Breakdown and Budget-Friendly Ideas
Sample Budget for a DIY Shower Remodel
|
Category |
Item |
Cost Range |
|
Materials |
Tiles (50 sq ft) |
$150-750 |
|
Materials |
Backer board & waterproofing |
$100-200 |
|
Materials |
Adhesive, grout, caulk |
$75-150 |
|
Materials |
Fixtures (showerhead, faucet, handles) |
$150-500 |
|
Tools |
Tile saw rental |
$40-60/day |
|
Tools |
Basic tools (trowel, level, spacers) |
$50-100 |
|
Extras |
Safety equipment & miscellaneous |
$50-100 |
|
Total |
Basic Remodel |
$615-1,860 |
Ways to Save Without Compromising Quality
|
Money-Saving Strategy |
Potential Savings |
Tips |
|
Reusing existing fixtures |
$100-400 |
Clean and refurbish faucets, handles, if functional |
|
Discount/salvage store shopping |
30-50% off retail |
Check for ceramic tiles, stone materials |
|
Affordable tile alternatives |
$5-10/sq ft savings |
Consider ceramic over natural stone, subway tiles |
|
Tool borrowing/renting |
$100-200 |
Rent expensive tools, borrow from friends |
Types of Showers to Consider
Walk-in Showers
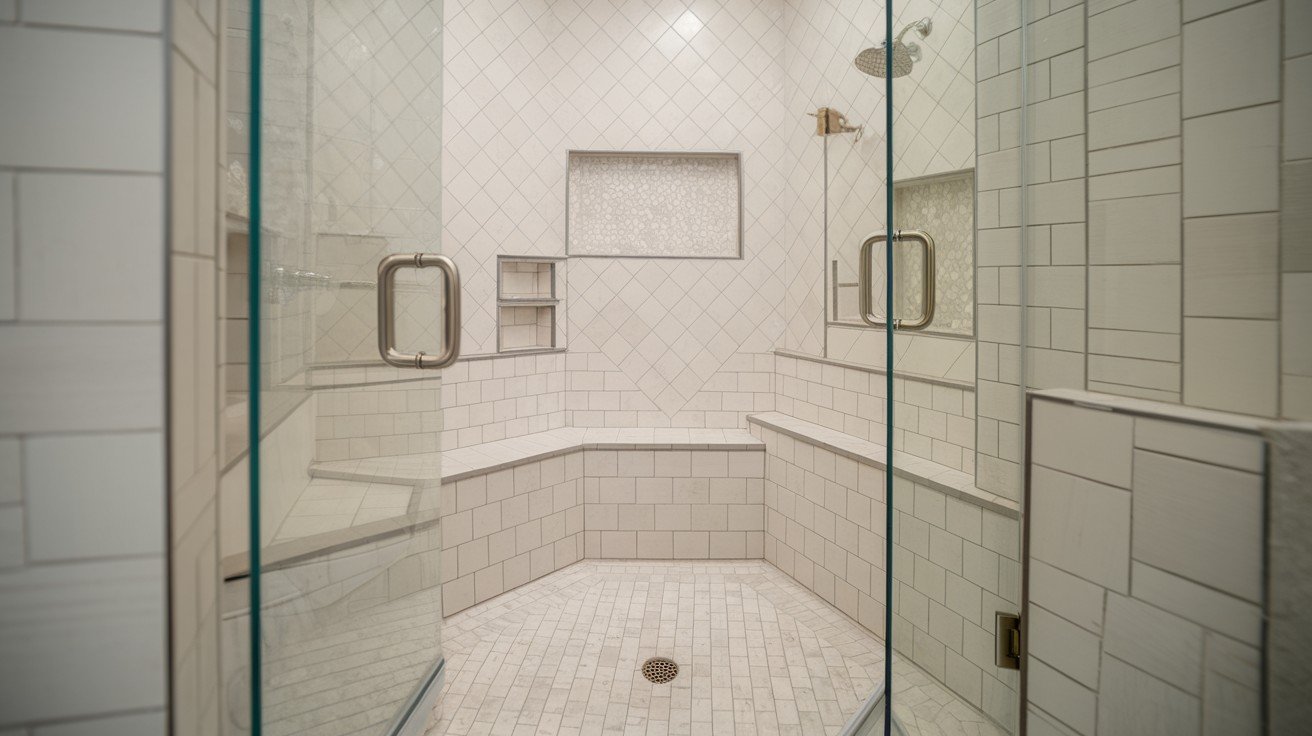
Walk-in showers offer barrier-free access with no threshold or door, creating a seamless flow from bathroom to shower area.
These spacious designs work best in larger bathrooms and provide excellent accessibility for all ages.
They typically feature glass panels or half-walls to contain water spray while maintaining an open feel.
Installation requires careful attention to drainage and waterproofing since there’s no enclosed barrier to prevent water from spreading throughout the bathroom space.
Alcove Showers
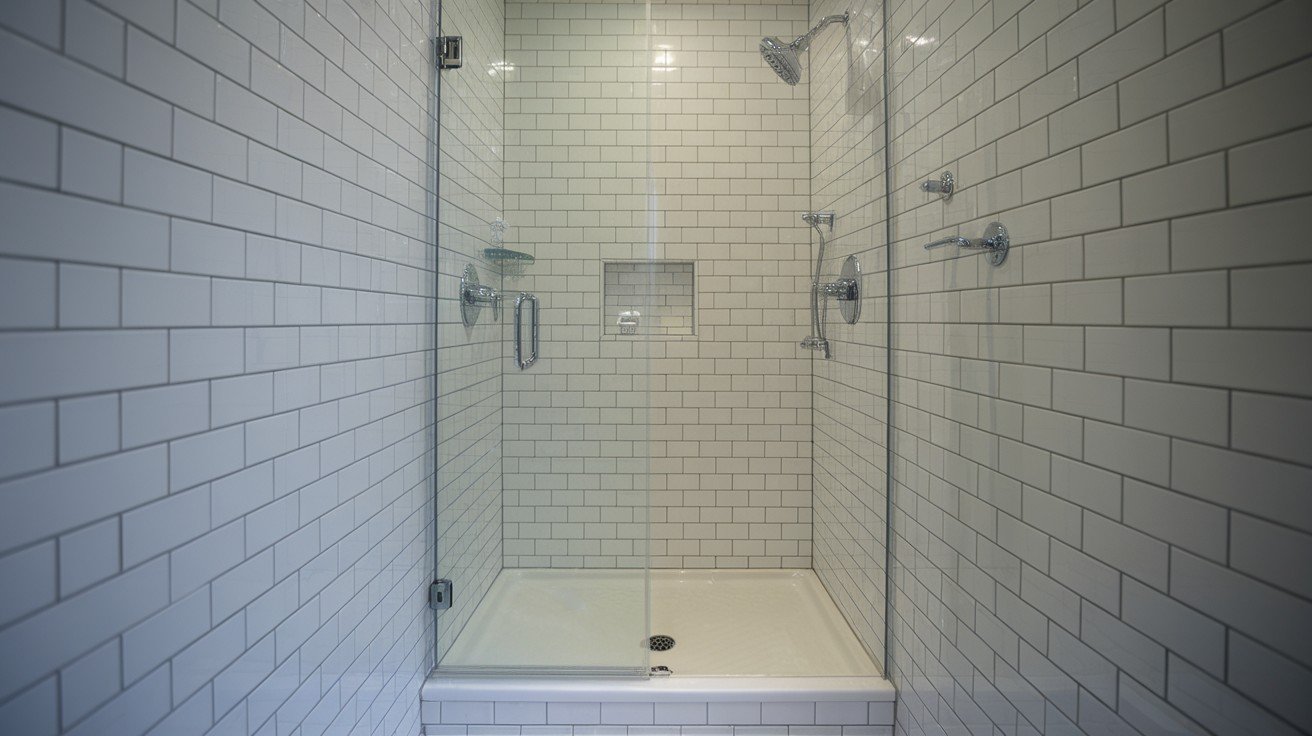
Alcove showers fit snugly between three walls, making them the most common choice for standard bathrooms.
This space-efficient design maximizes available square footage while providing a fully enclosed showering experience.
They work particularly well in smaller bathrooms where every inch counts. Installation involves fitting the shower base against existing walls and adding a door or curtain across the front opening.
Most prefabricated shower kits are designed specifically for alcove installations.
Corner and Neo-Angle Showers

Corner showers maximize space utilization by fitting into bathroom corners with angled or curved front entries.
Neo-angle designs feature a distinctive diamond shape that creates more interior room than standard corner units.
These showers work exceptionally well in compact bathrooms where traditional layouts won’t fit.
The angled door design provides easier entry and exit compared to standard corner models. Installation requires precise measurements and custom fitting to achieve proper water containment and door alignment.
Pros and Cons of Each Shower Type
|
Shower Type |
Space Efficiency |
Installation Complexity |
Cost Differences |
|
Walk-in |
|
|
|
|
Alcove |
|
|
|
|
Corner/Neo-angle |
|
|
|
Best Shower Flooring Materials
Mosaic Tiles
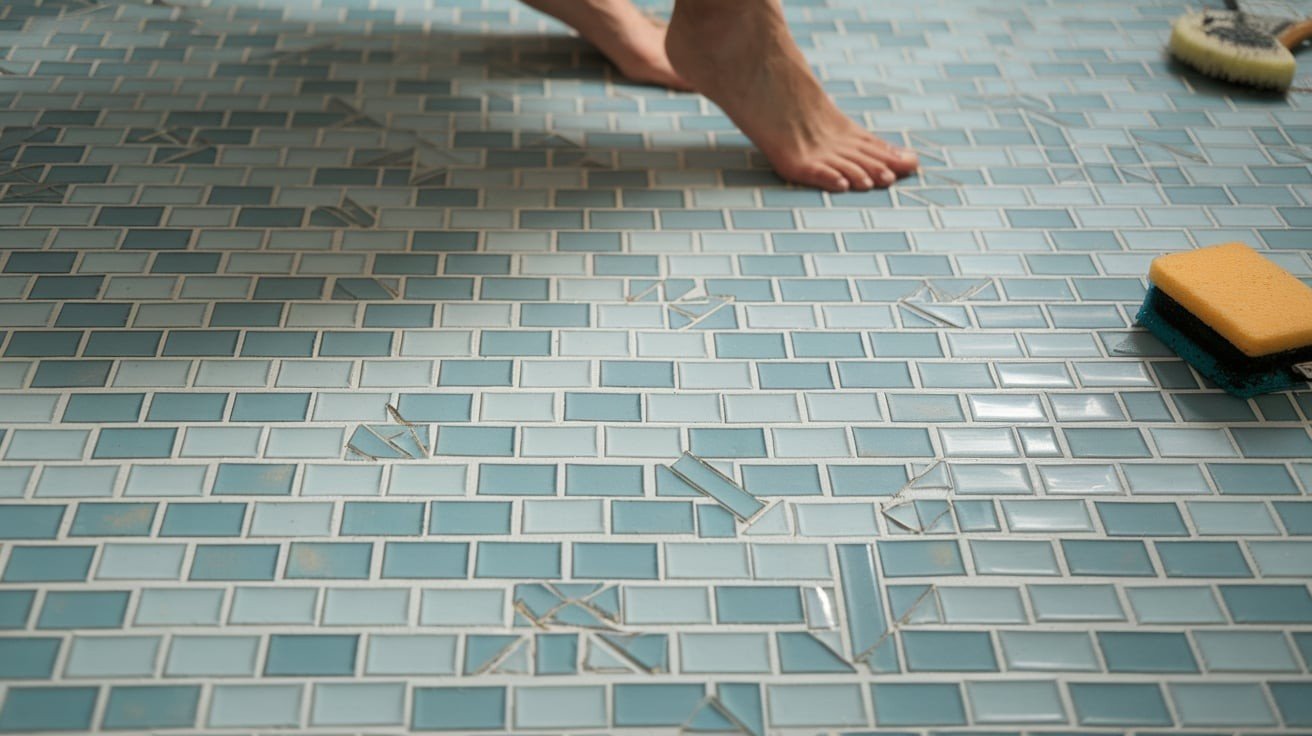
Mosaic tiles create an attractive visual appeal with countless color and pattern combinations available.
These small tiles provide excellent traction due to increased grout lines, naturally reducing slip risks.
Installation requires patience but offers rewarding results for DIY enthusiasts. Maintenance involves regular grout cleaning, though modern grout sealers make upkeep manageable.
Cost ranges from budget-friendly ceramic options to premium glass varieties.
Pebble Flooring
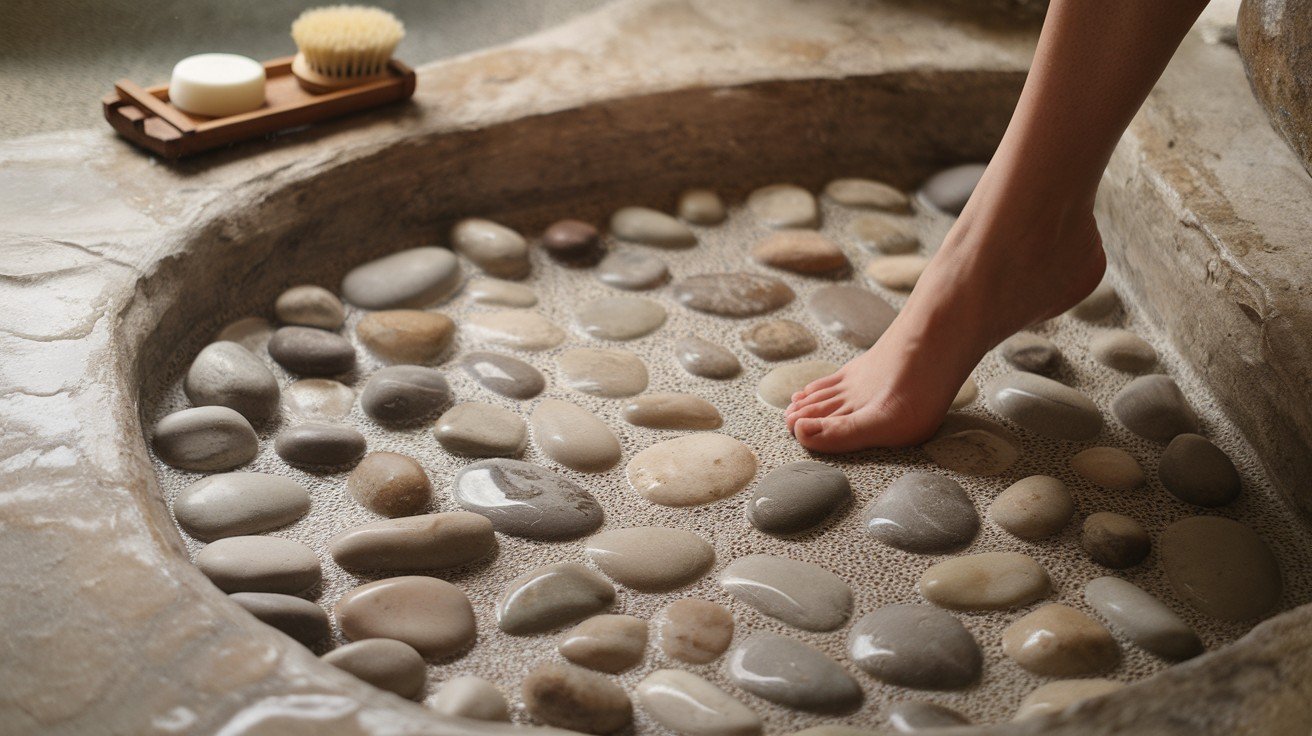
Natural pebble flooring brings a spa-like ambiance to your shower space while providing superior slip resistance through textured surfaces.
These stones offer natural drainage between gaps and create a massage-like experience underfoot. Installation involves setting pebbles in adhesive and grouting carefully around irregular shapes.
Maintenance requires occasional deep cleaning to prevent soap buildup between stones, but the natural look justifies the extra effort.
Prefabricated Pans
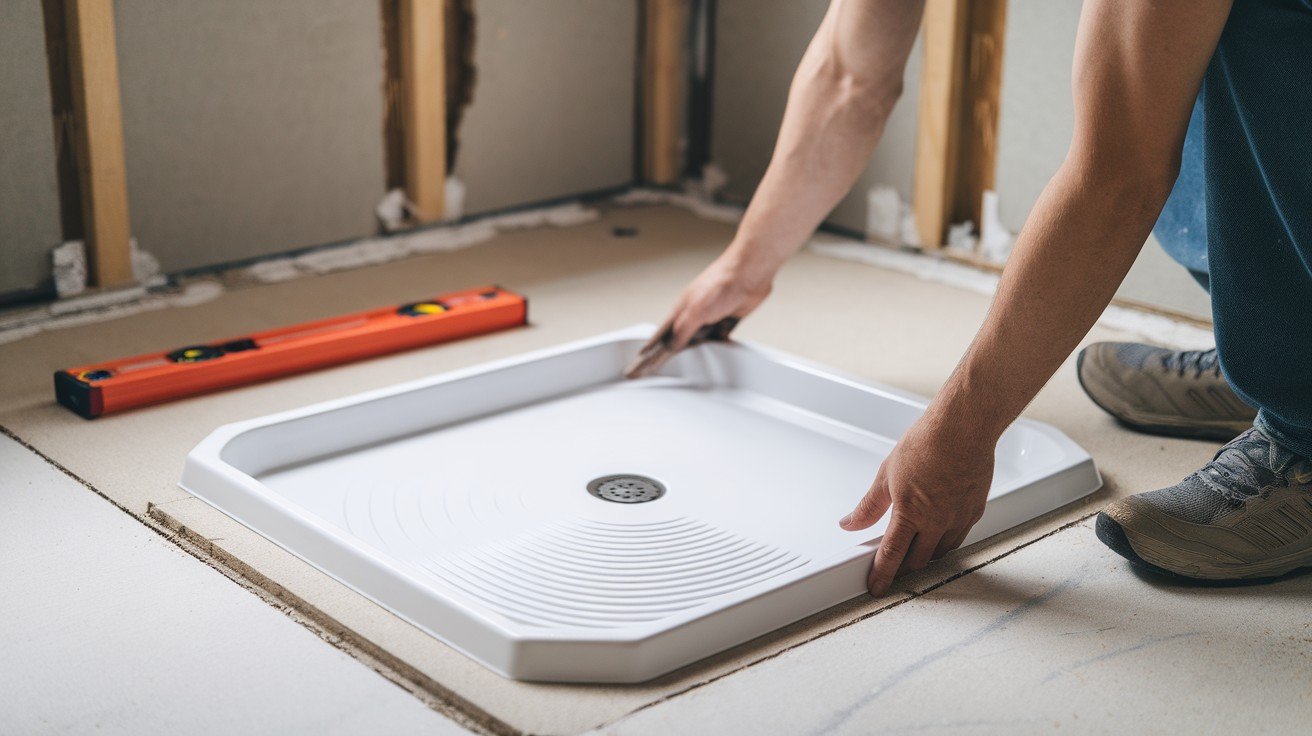
Prefabricated shower pans offer quick installation with built-in drainage systems and waterproof construction. These ready-made bases eliminate complex waterproofing steps and reduce installation time significantly.
Available in various sizes and materials, including acrylic, fiberglass, and stone composites. Installation simply requires level placement and connection to existing drain systems.
Cost-effective option that combines convenience with reliable performance for most standard shower dimensions.
Tips for a Slip-Resistant Shower Floor
Textured Surfaces
Choose materials with natural texture or raised patterns that provide grip when wet. Avoid polished tiles or smooth stone surfaces that become dangerously slippery.
Look for tiles rated for wet areas with slip-resistance ratings.
Sealants and Treatments
Apply anti-slip treatments to existing smooth surfaces or use textured grout for added traction. Regular resealing maintains both waterproofing and slip-resistance properties.
Consider anti-microbial sealers that prevent mold growth while maintaining safety features.
Prefabricated Pans
Ready-made shower pans offer the quickest installation option, coming pre-sloped with integrated drains and waterproof surfaces.
Materials include acrylic, fiberglass, and solid surface options that eliminate the need for custom waterproofing or slope creation.
These units typically feature textured surfaces for slip resistance and come in standard sizes to fit most shower configurations.
Installation involves setting the pan in place, connecting plumbing, and building walls around the perimeter, making it an excellent choice for beginners tackling their first shower project.
Tips for a Slip-Resistant Shower Floor
Textured Surfaces
- Choose tiles with matte or textured finishes rather than glossy surfaces for better traction
- Look for tiles rated for wet areas with slip-resistance ratings (COF 0.6 or higher recommended)
- Consider tiles with raised patterns, grooves, or natural texture variations
- Avoid large-format tiles in shower floors as they provide fewer grout lines for grip
Sealants and Treatments
- Apply penetrating sealers to natural stone and porous tiles to prevent water absorption
- Use anti-slip treatments on existing smooth surfaces to increase traction safely
- Regularly maintain grout lines with appropriate sealers to prevent deterioration
- Consider slip-resistant additives mixed into tile adhesive for additional safety measures
Conclusion
Completing a DIY shower remodel represents one of the most rewarding home improvement projects you can tackle.
With proper planning, quality materials, and patience, you’ll create a beautiful space while saving thousands compared to professional installation costs.
Remember that success comes from taking your time with each step, especially waterproofing and tile installation.
Don’t rush the process; allow adequate drying time between phases to ensure long-lasting results.
Your new shower will provide years of enjoyment and add significant value to your home. The skills you’ve gained during this project will serve you well for future renovations, too.
Take photos throughout the process to document your progress and celebrate your accomplishment.
You’ve proven that with determination and the right guidance, creating a professional-quality shower renovation is achievable for any motivated homeowner.
Frequently Asked Questions
How long does a DIY shower remodel typically take to complete?
Most DIY shower remodels take 2-3 weekends, allowing proper drying time between waterproofing, tiling, and grouting steps.
Can I remodel my shower without professional plumbing help?
Simple fixture replacements are DIY-friendly, but call professionals for drain relocation, new water lines, or electrical work.
What’s the biggest mistake first-time DIY remodelers make?
Skipping proper waterproofing steps. Always install vapor barriers and waterproof membranes to prevent costly water damage later.