

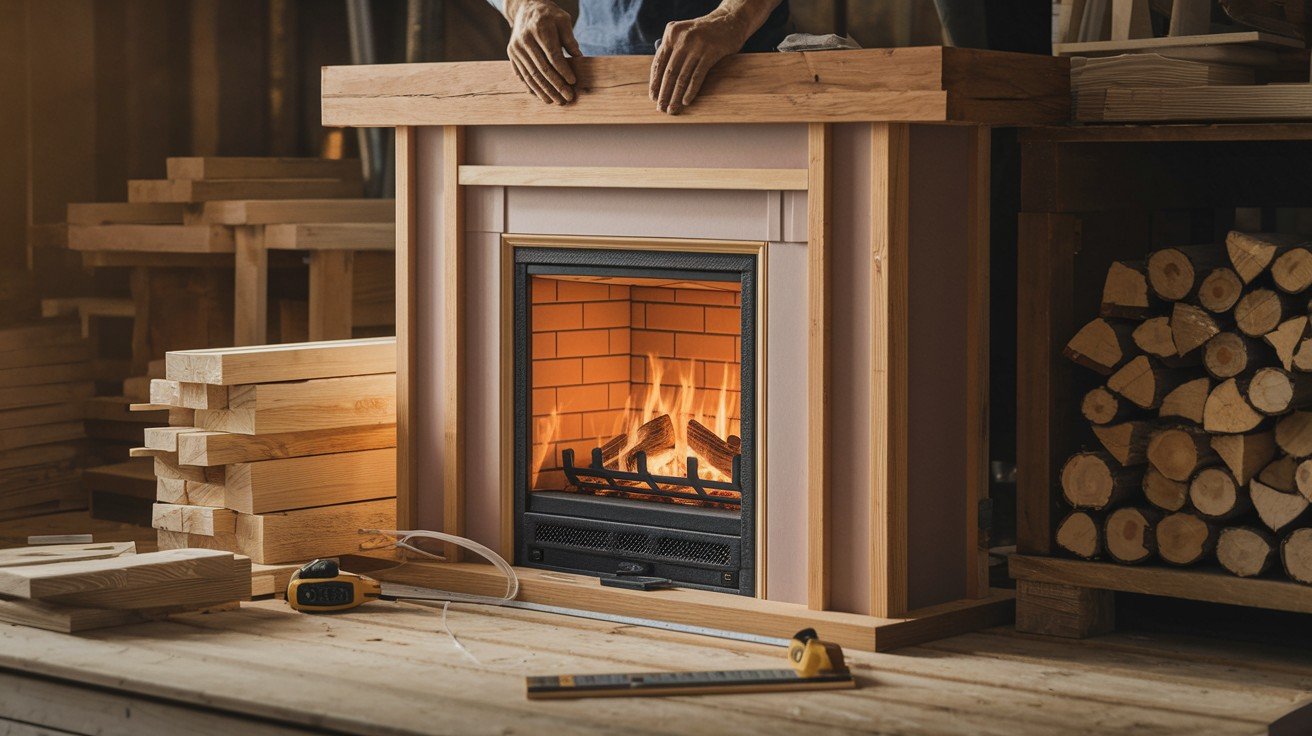
There’s something magical about a fireplace that instantly changes any room into a cozy gathering spot. But what if your home doesn’t have one? Or maybe you have a boring, outdated fireplace that needs a serious makeover?
Here’s the good news: You can build your beautiful fireplace frame from scratch. No contractor is needed.
In this guide, I’ll walk you through every single step of creating a custom DIY fireplace frame. We’ll cover planning and measuring your space, choosing the right materials and tools, and building the frame structure step-by-step. You’ll also learn how to install drywall and trim like a pro, plus add finishing touches that make it look professionally built.
I’ve helped hundreds of homeowners complete this exact project. You don’t need years of carpentry experience to pull this off successfully.
By the end of this article, you’ll have all the knowledge and confidence to create a striking focal point that changes your living space.
Essential Tools and Materials for Your Fireplace Frame
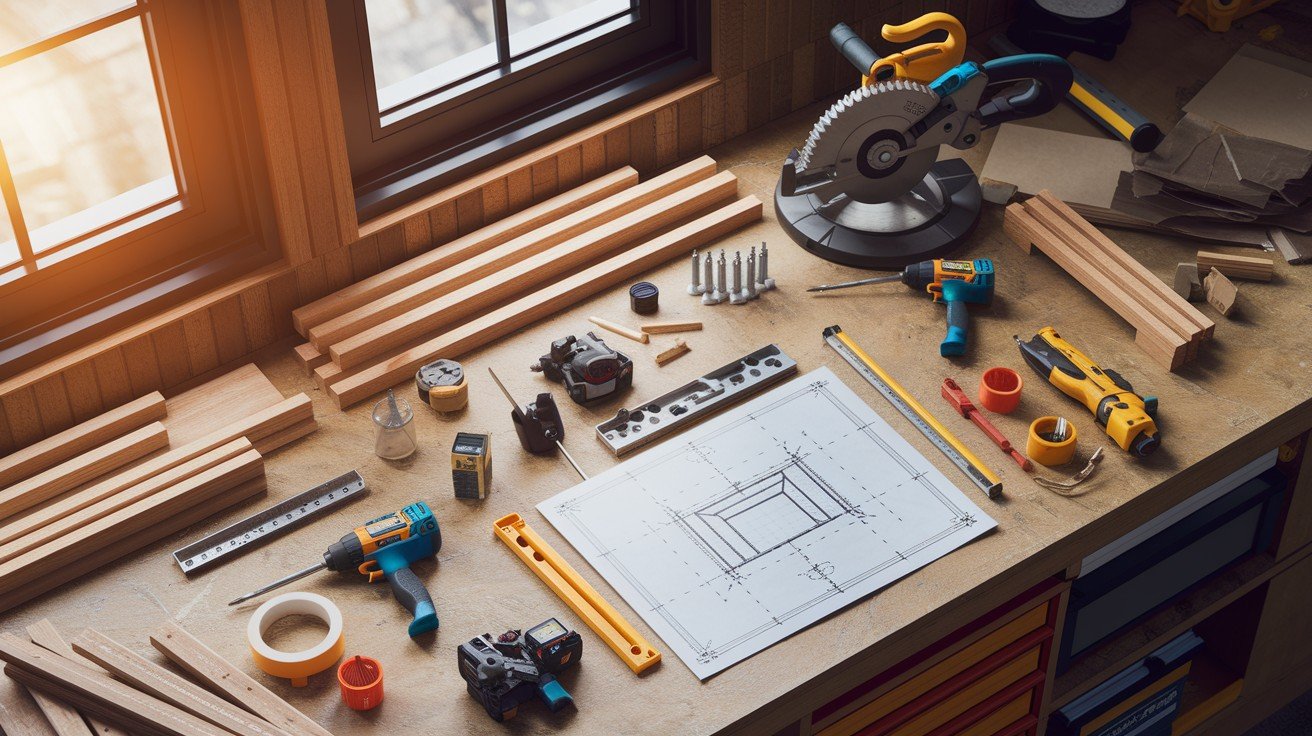
Building a fireplace frame requires the right supplies. Here’s what you need to get started.
Lumber Requirements
Use 2x4s and 2x6s for structural framing. These provide the strength your frame needs. For finishing work, get 1x3s through 1x8s in various widths for trim details.
Choose poplar or primed pine if you’re painting. Both cut cleanly and take paint well. Add plywood for backing and shelves – ¾-inch for shelves, ½-inch for backing.
Hardware and Fasteners
Stock up on 2.5-inch and 3-inch wood screws with star heads. They grip better than Phillips heads. Use 1¼-inch 16-gauge finish nails for trim work.
Always have wood glue and construction adhesive on hand for stronger joints. Drywall screws attach your frame to wall studs securely.
Drywall and Finishing Materials
½-inch drywall sheets form your surfaces. Consider 4x10ft sheets to reduce seams. Metal corner beads create sharp, professional edges.
You’ll need a joint compound and drywall tape for smooth finishes. Have your primer and paint ready in your chosen color.
Essential Tools
A miter saw with an 80-tooth blade cuts smoothly. Two drill/drivers speed up work – one for holes, one for screws. A nail gun handles trim installation efficiently.
Keep level, speed square, and corner clamps nearby for accuracy. Use a stud finder and measuring tools to locate wall attachment points. Mark all studs before starting construction.
Having everything ready prevents store trips and keeps your project moving forward.
Building the Frame Structure
The frame structure creates your fireplace foundation. Build it correctly from the start.
Wall Preparation
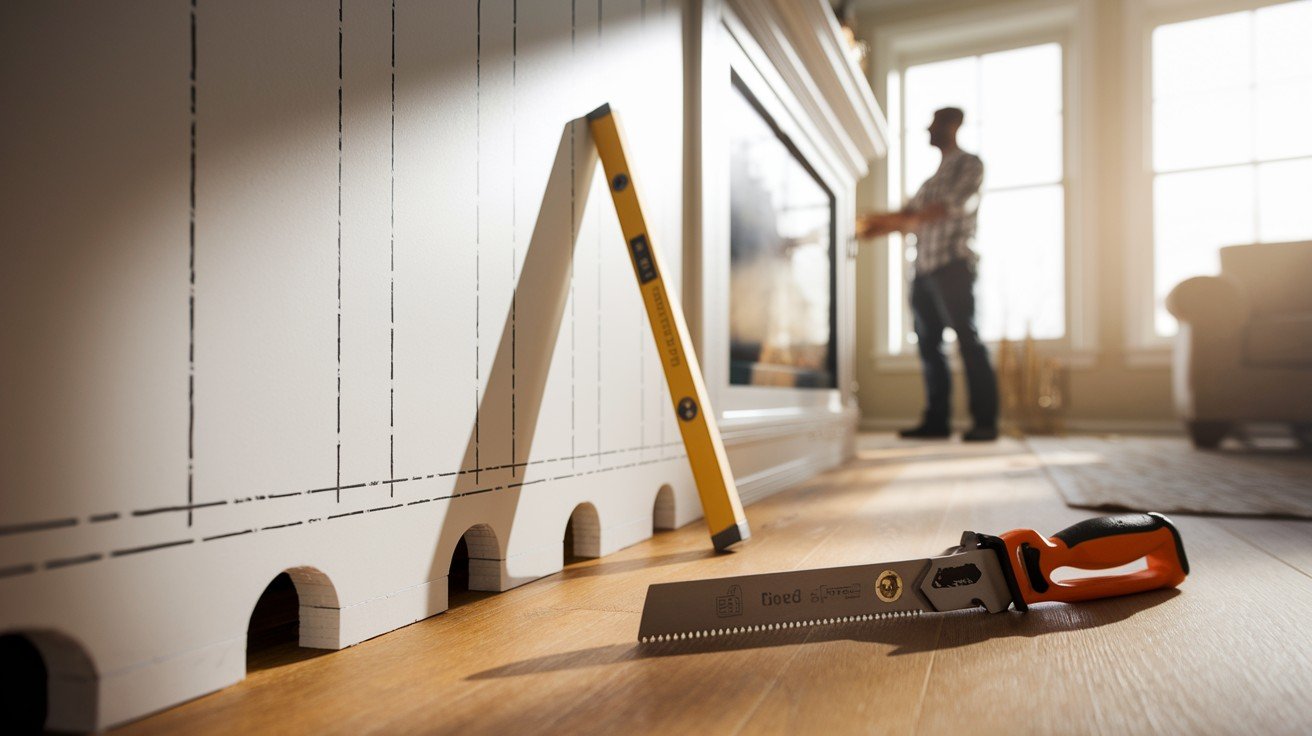
Locate and mark wall studs with your stud finder. Mark each stud clearly – these are your attachment points.
Notch baseboards where the frame sits. Use a handsaw for clean cuts. Only remove what’s necessary.
Create reference lines with your level. Draw vertical and horizontal guides where your frame attaches.
Constructing Side Frame Components
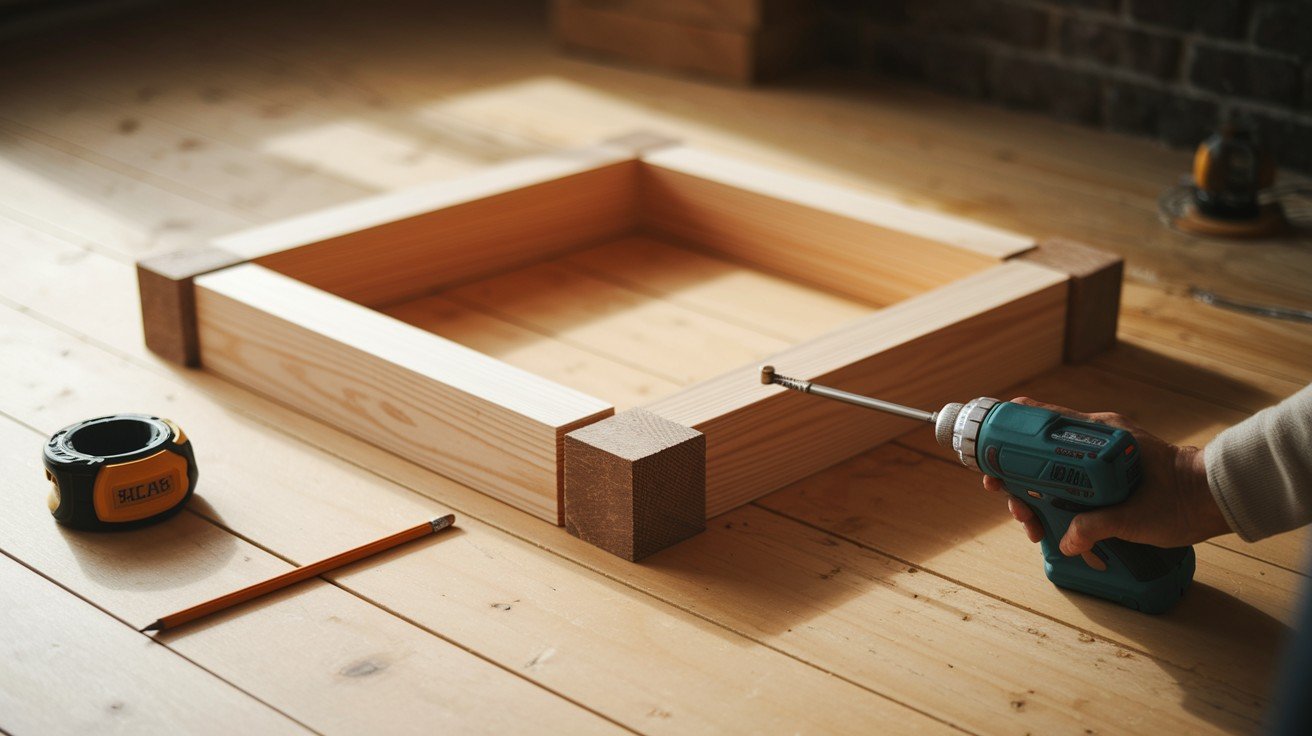
Build rectangular side frames by measuring the wall height minus your plate thickness. Cut 2×4 lumber to exact dimensions.
Each frame needs four pieces – two verticals and two horizontals. Use corner clamps for square assembly. Pre-drill all holes with countersink bits to prevent splitting.
Installing Wall Cleats
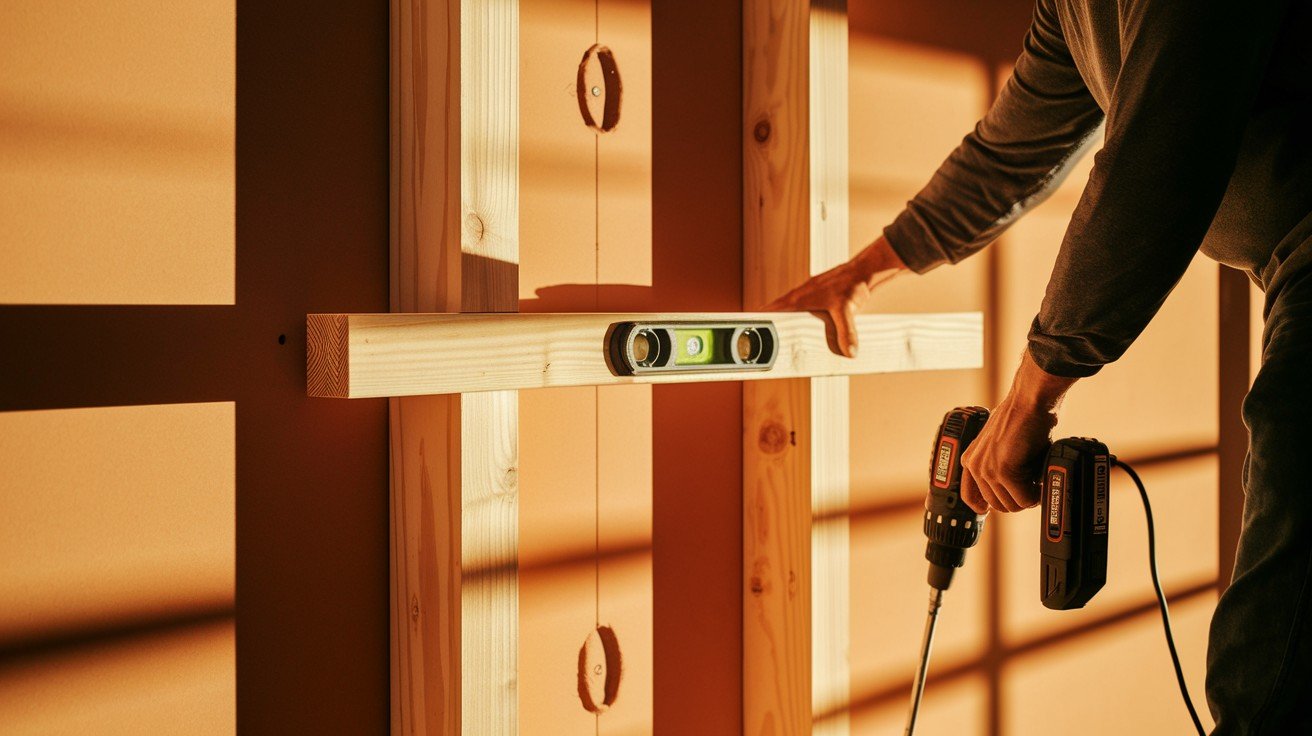
Cut 2×6 cleats to fit between side frames with ½-inch clearance on each end. Level and secure to wall studs using 3-inch screws into every stud.
These cleats distribute weight across multiple studs and create strong attachment points.
Assembling the Front Frame
Measure your fireplace insert first, then add a 1-inch clearance minimum on all sides. Cut frame pieces to exact sizes – too small means rebuilding, too large looks bad.
Add a 2×6 header above the fireplace opening for structural support. Use construction adhesive on all joints before screwing. Check the square after each piece installation.
Small errors compound quickly, so measure twice and cut once.
Adding Storage Features

Plan hidden drawer compartments in the mantel area. Most mantels fit drawers 4-6 inches deep without looking bulky.
Build drawer boxes with ½-inch plywood sides and ¾-inch bottoms. Cut ¼-inch dados for bottom panels and use wood glue for strength.
Install full-extension drawer slides with accurate measurements. Mark positions on both boxes and openings. Test each drawer – they should slide smoothly without binding.
Storage features take extra time but add significant value to your project.
Drywall Installation and Finishing
Proper drywall work makes your project look professional. Follow each step carefully.
Cutting and Installing Drywall
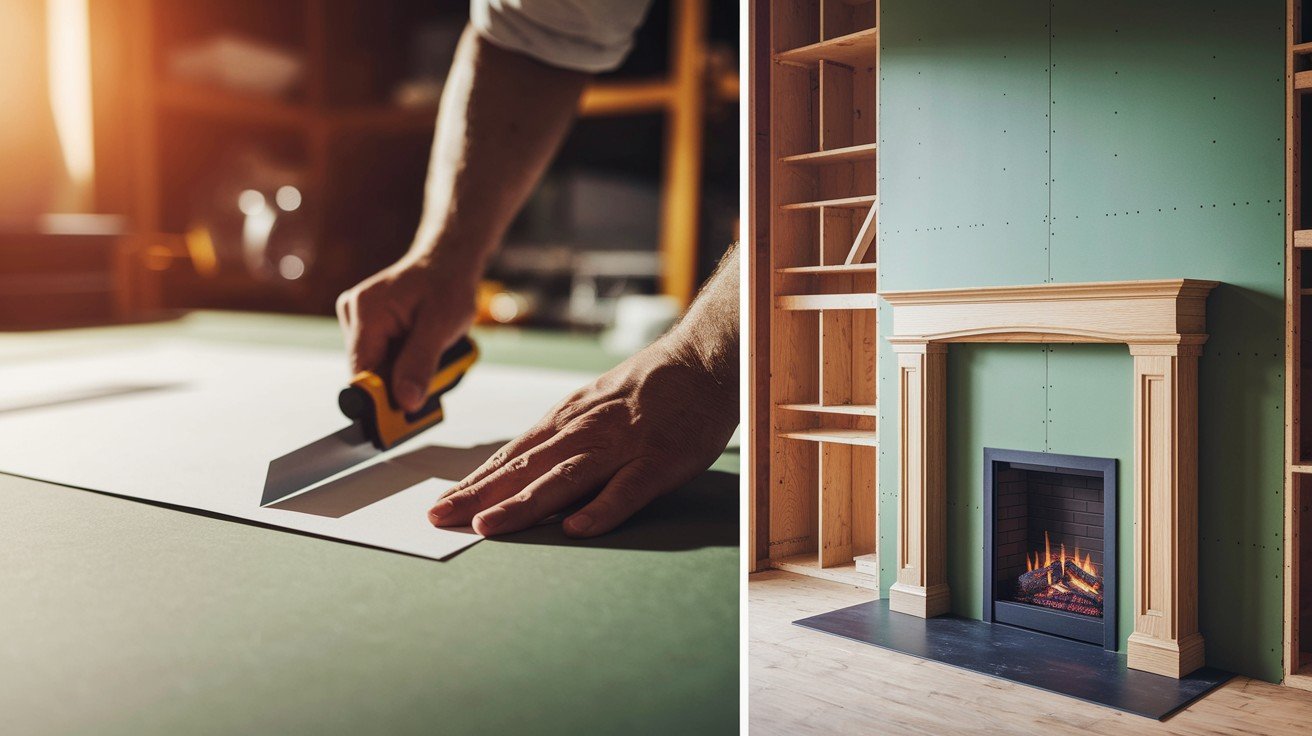
Measure and cut pieces to minimize seams. Use 4x10ft sheets when possible for fewer joints. Score the front paper, snap, then cut the back paper.
Create precise insert cutouts by measuring twice and cutting once. Secure with screws every 8 inches on the edges, and 12 inches in the field. Drive screws just below the surface without breaking paper.
Installing Corner Beads
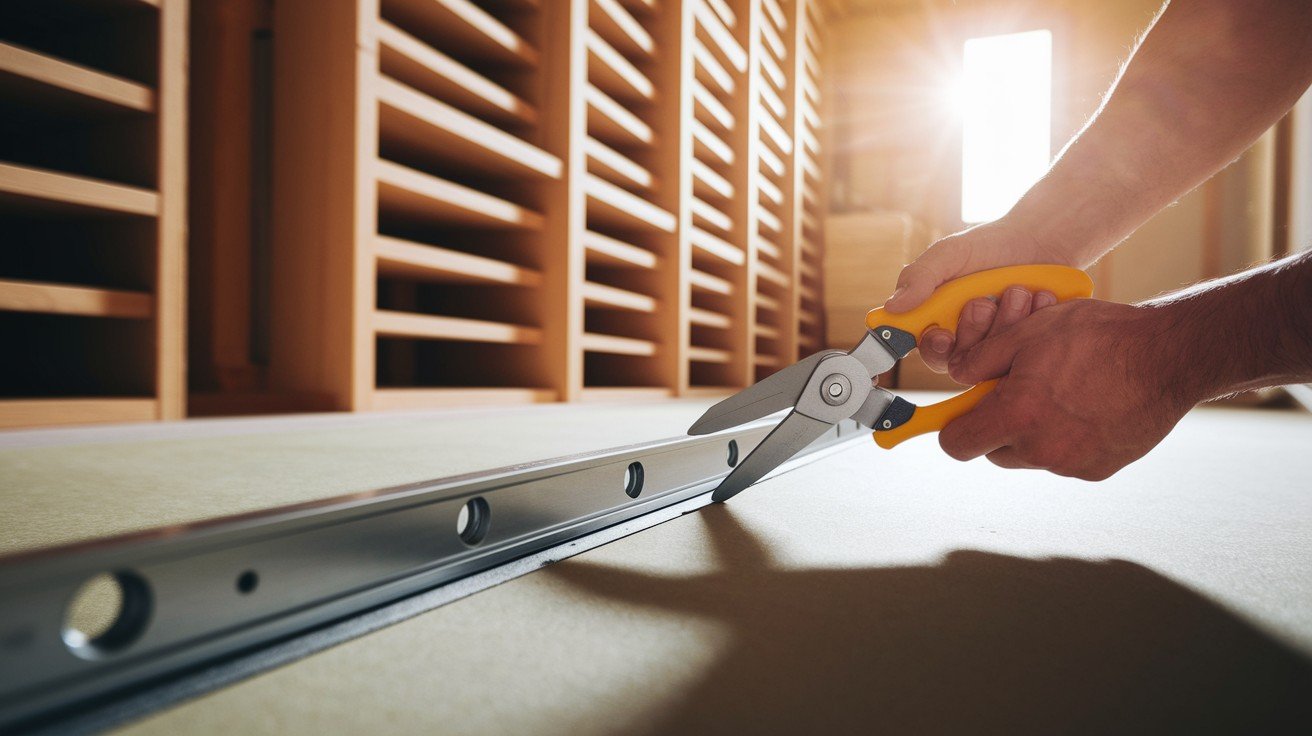
Cut metal beads to fit floor to ceiling with tin snips. Secure without over-driving screws – beads must lay flat on both surfaces. Check alignment with a level before the final attachment.
Taping and Mudding Process
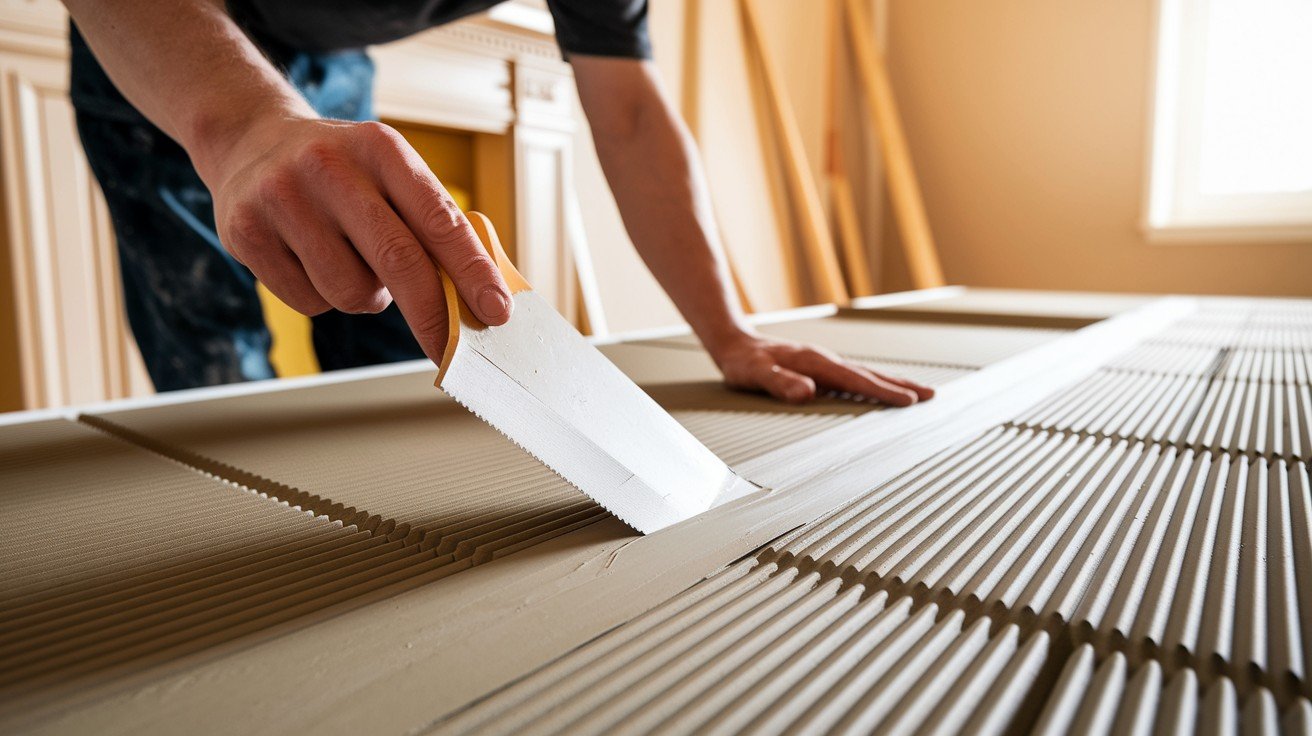
Apply compound systematically – butt joints, inside corners, then outside corners. Press paper tape into the wet compound with a 6-inch knife.
Cover screw holes and beads with compound. Build multiple coats – first embeds tape, second smooths, third feathers edges. Let each coat dry completely.
Sanding and Surface Preparation

Use a damp sponge to smooth the compound without dust. Hand sand with 220-grit for final smoothness. Don’t sand through to tape.
Wear safety equipment and use angled lighting to spot problems. Prime before painting.
Painting and Final Finishing
The final steps transform your construction into a beautifully finished fireplace. Quality materials and patience make the difference.
Priming and Painting
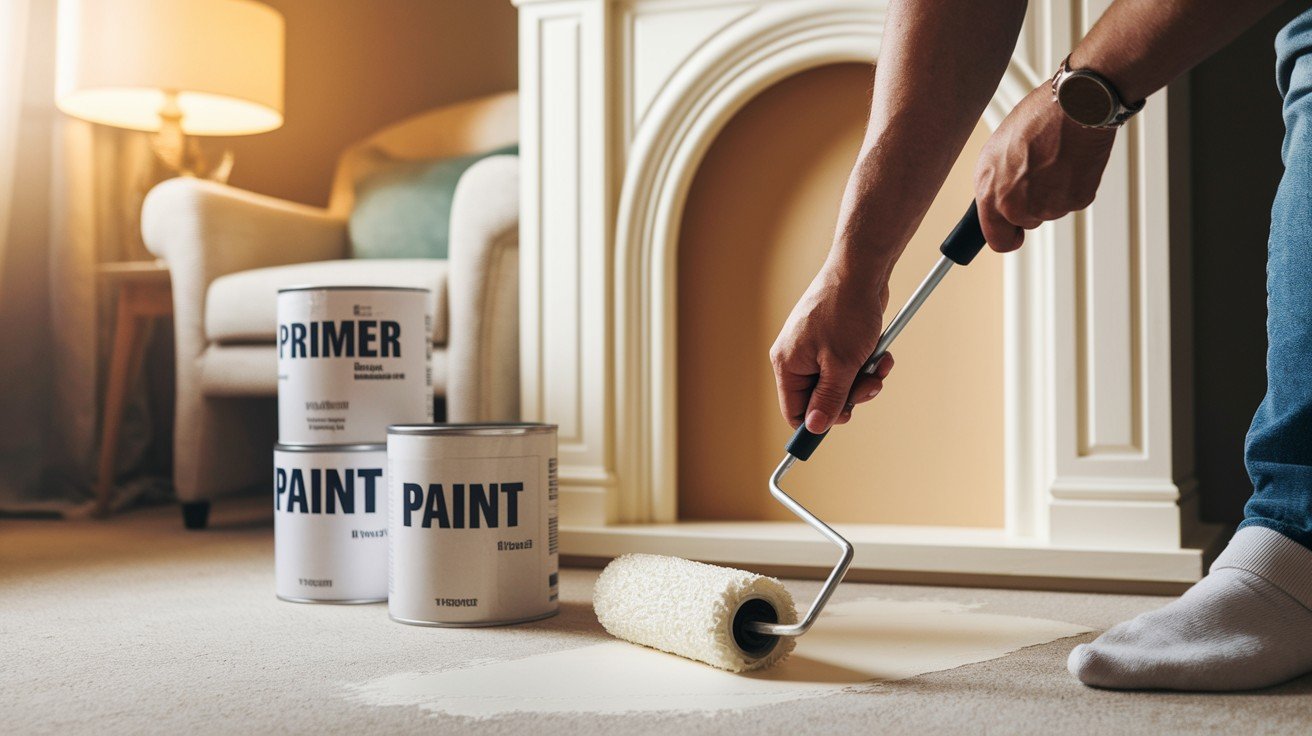
Use high-quality drywall primer to seal surfaces properly. Apply with a roller using a ½-inch nap sleeve. Cheap primer shows through paint and creates uneven coverage.
Choose the appropriate paint finish – matte hides imperfections but shows scuffs, eggshell cleans better and reflects light while hiding minor flaws.
Apply multiple coats – two minimum, three if covering darker colors. Let each coat dry completely to avoid lap marks and uneven color.
Staining Wood Components
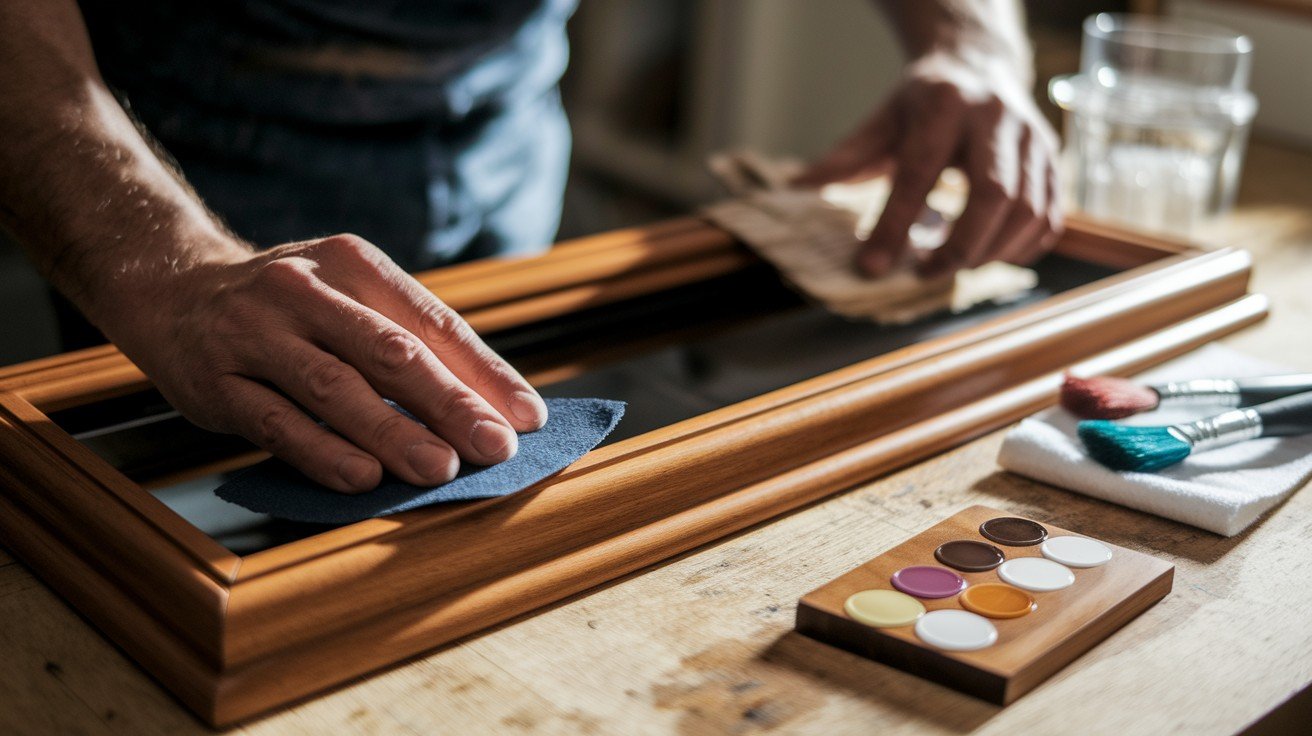
Prepare wood surfaces by sanding with 120-grit, then 220-grit paper. Sand with the grain and wipe dust with a tack cloth.
Apply water-based stains in thin, even coats using a brush or rag. Work quickly to maintain wet edges. Use multiple colors for depth – start light, and add darker tones.
Test stain colors on scrap wood first. What looks good in the can might surprise you.
Final Detail Work
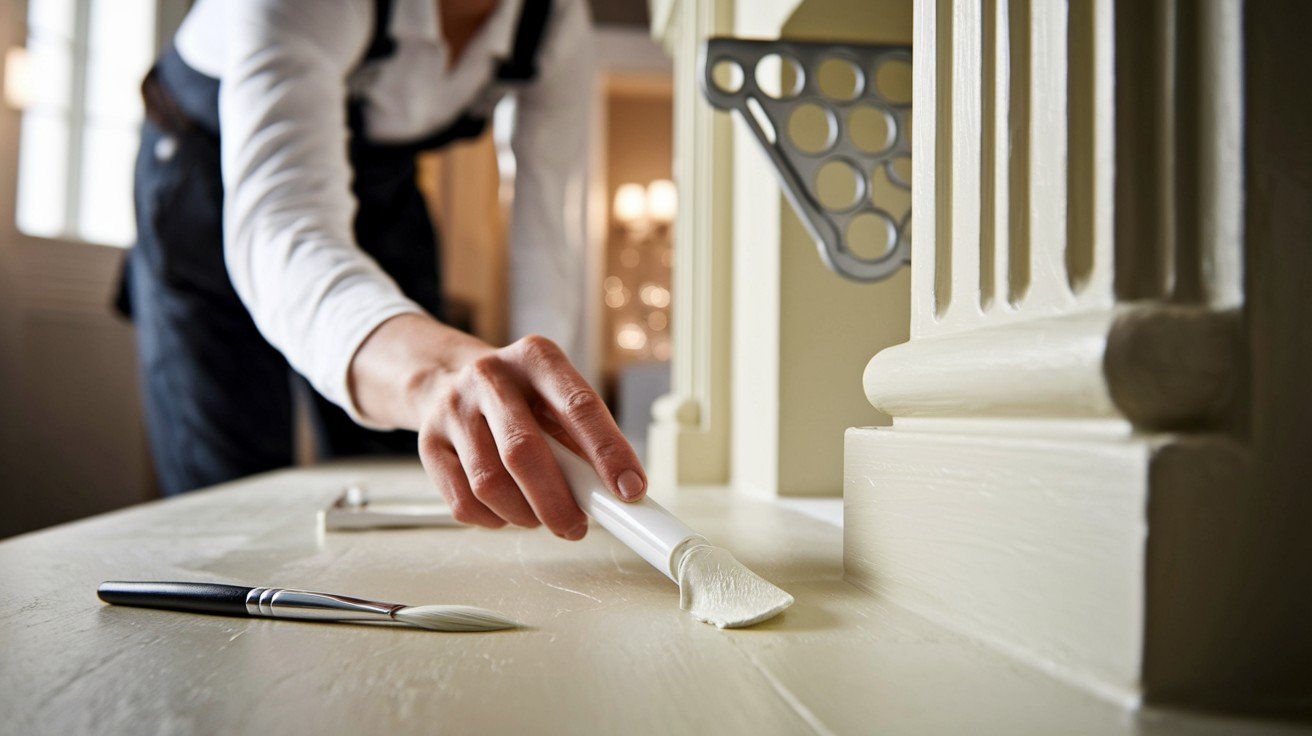
Caulk remaining gaps with paintable acrylic caulk. Run thin, consistent beads and smooth immediately. Don’t over-caulk – it looks unprofessional.
Touch-up paint where necessary with a small brush, feathering edges to blend. Install hardware as the final step – pre-drill holes to prevent splitting.
Check everything twice before finishing. Stand back with fresh eyes to spot missed issues. Clean up thoroughly and enjoy your completed fireplace.
Conclusion
Building your DIY fireplace frame might seem intimidating at first, but breaking it down into manageable steps makes it achievable. You now have everything you need to create a stunning focal point that transforms your living space.
Remember, this project doesn’t require professional carpentry skills. Take your time with measurements, use quality materials, and don’t rush the finishing work. The result will be a custom fireplace frame that looks like it costs thousands but only requires your weekend efforts.
Start with proper planning and preparation. Gather all your materials before beginning. Follow each step carefully, and you’ll have a beautiful fireplace frame that becomes the heart of your home.
Your friends and family will be amazed when you tell them you built it yourself. Now grab your tools and start creating!
Frequently Asked Questions
How much does it cost to build a DIY fireplace frame?
Expect to spend $700+ for materials, including lumber, drywall, hardware, and finishing supplies, depending on size and features.
What type of wood should I use for the frame structure?
Use 2x4s and 2x6s for framing, with poplar or primed pine for visible trim pieces that will be painted.
How long does it take to complete a fireplace frame project?
Most DIY builders complete the project in 3-5 weekends, depending on complexity and experience level with construction techniques.
Do I need special permits to build a fireplace frame?
Check local building codes. Most decorative frames don’t require permits, but electrical work might need professional installation and permits.
Can I build a frame around an existing fireplace opening?
Yes, measure existing openings carefully and follow National Fire Code requirements for a minimum 6-inch clearance from combustible materials.