

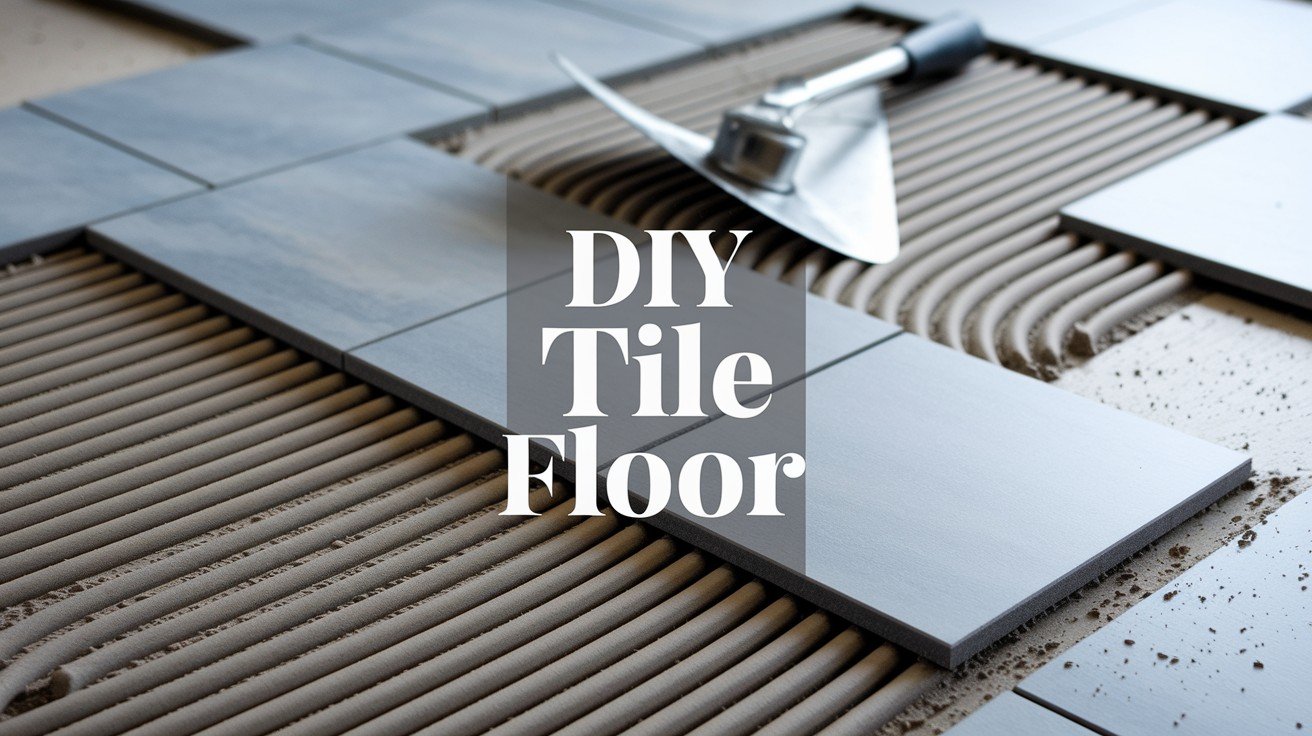


Stop Paying Contractors Thousands for Something You Can Do Yourself
That old flooring has been bothering you for months. Every time you walk across it, you think about how much better your space could look with new tile.
Installing tile flooring yourself saves serious money while giving you the satisfaction of completing a real home improvement project. You don’t need years of experience or fancy tools to get professional-looking results.
With the right approach and careful planning, most homeowners can handle this project successfully. The key is taking your time and following each step properly.
This guide walks you through the complete process from start to finish. You’ll learn how to prep your space, lay tiles correctly, and seal everything for a lasting finish. We’ll also share tips to help you avoid the most common mistakes that trip up first-time installers.
Tools and Materials You’ll Need
Getting the right tools and materials before you start saves time and prevents frustrating trips to the store mid-project. Most of these items are available at any home improvement store, and you might already own some basic tools.
Tools:
- Notched trowel
- Tile spacers
- Tile cutter or wet saw
- Grout float
- Rubber mallet
- Mixing bucket
- Sponge, rags, chalk line, level, safety gear
Materials:
- Tile (+10-15% extra)
- Thin-set mortar or tile adhesive
- Grout (sanded or unsanded)
- Backer board (if needed)
- Grout sealer (optional but recommended)
Buy about 10-15% more tile than you think you need to account for cuts, breaks, and future repairs. Having everything ready means you can focus on the actual installation instead of running around looking for missing supplies.
Prepare the Subfloor and Layout
Your subfloor needs to be clean, dry, level, and stable before you start laying tiles. Install backer board over wood subfloors to prevent movement and cracking. Fix any cracks in the concrete and make sure everything is solid underfoot.
Use chalk lines and the 3-4-5 rule to create a square layout that looks straight and professional. Dry-lay your tiles with spacers first to see how everything fits together. This preview step helps you spot potential problems before you start using adhesive.
How to Install a DIY Tile Floor?
Follow these six steps in order to get professional-looking results. Take your time with each step – rushing leads to mistakes that are hard to fix later.
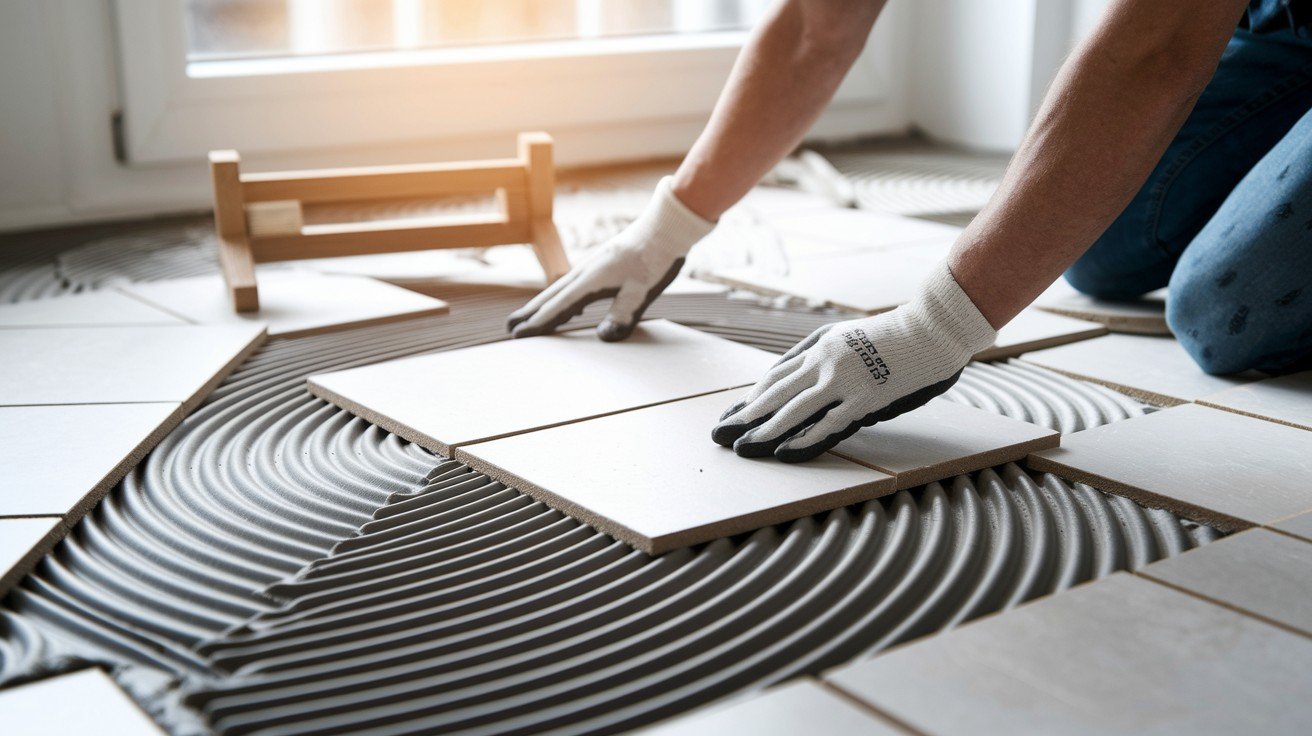
Step 1: Mix and Apply Mortar
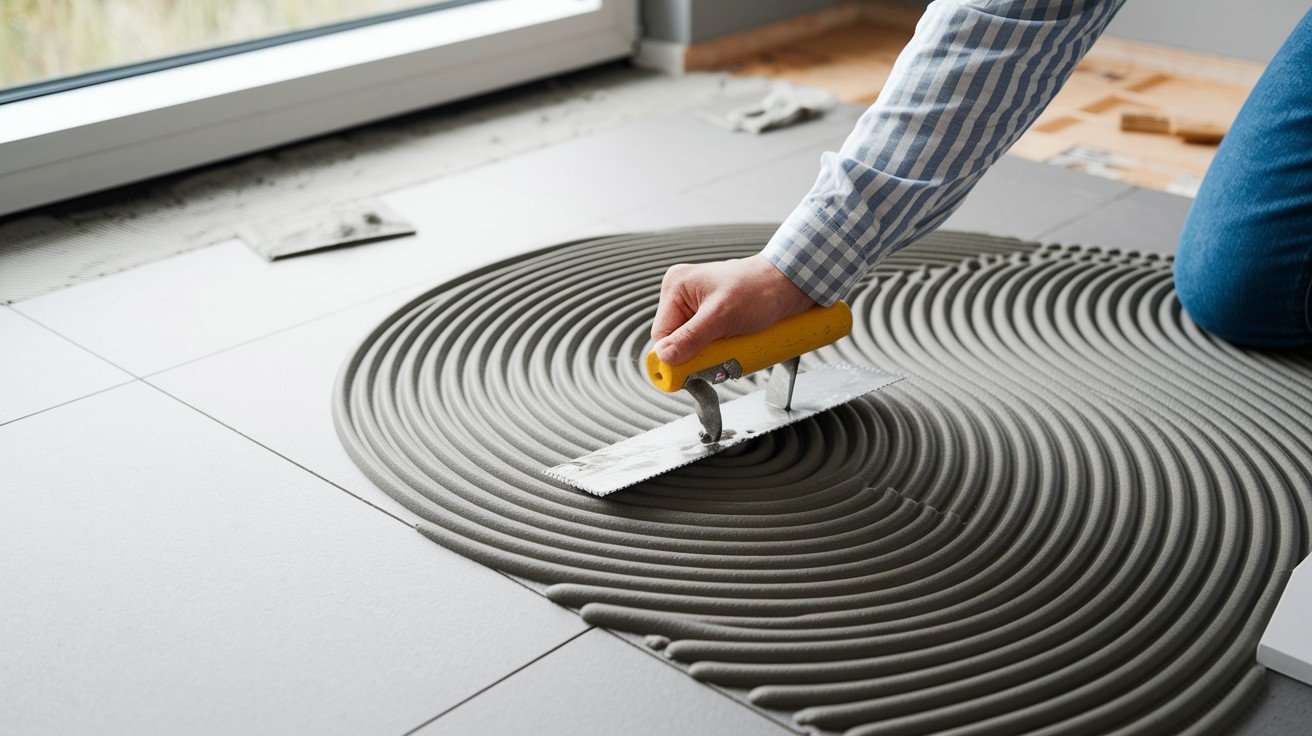
Mix your mortar to the right consistency – it should hold its shape but spread easily. Spread it with the flat side of your trowel first, then comb ridges with the notched edge. The ridges help the tile stick properly.
Work in small sections so the mortar doesn’t dry out before you place your tiles. Only spread as much as you can tile in about 15-20 minutes.
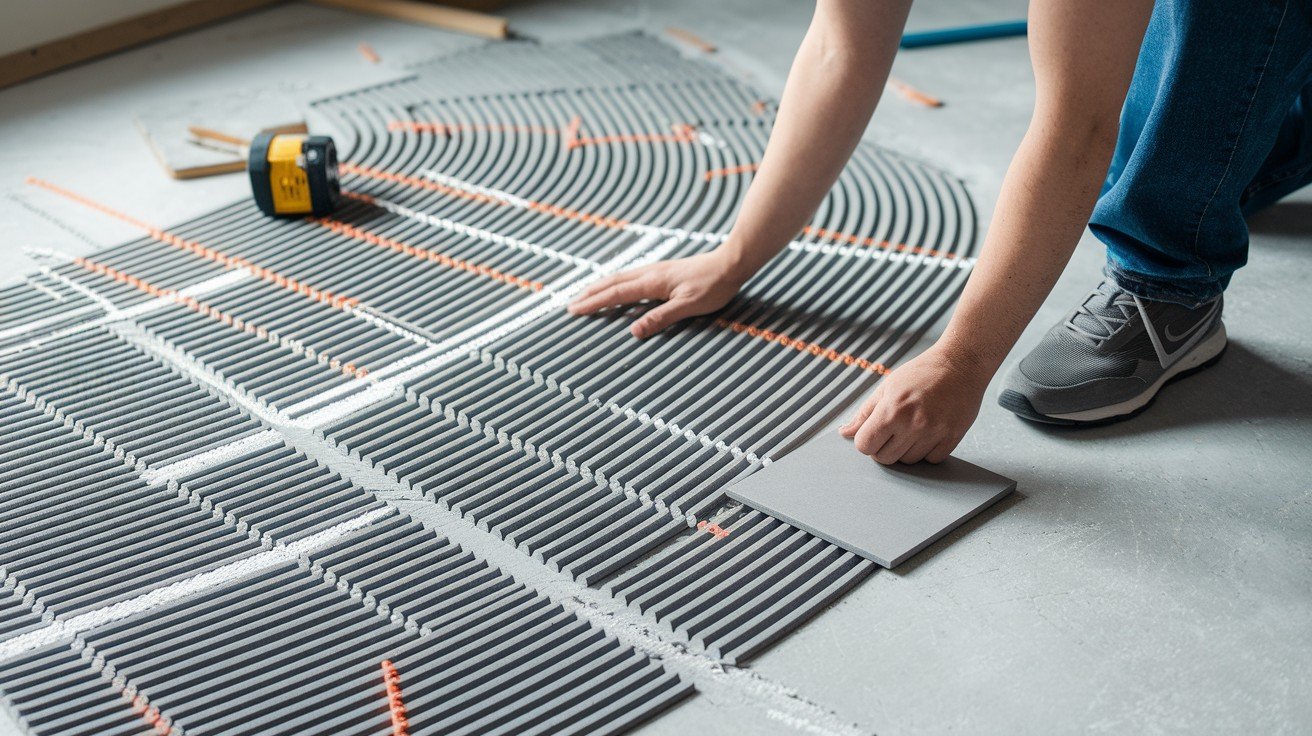
Step 2: Set the Tiles
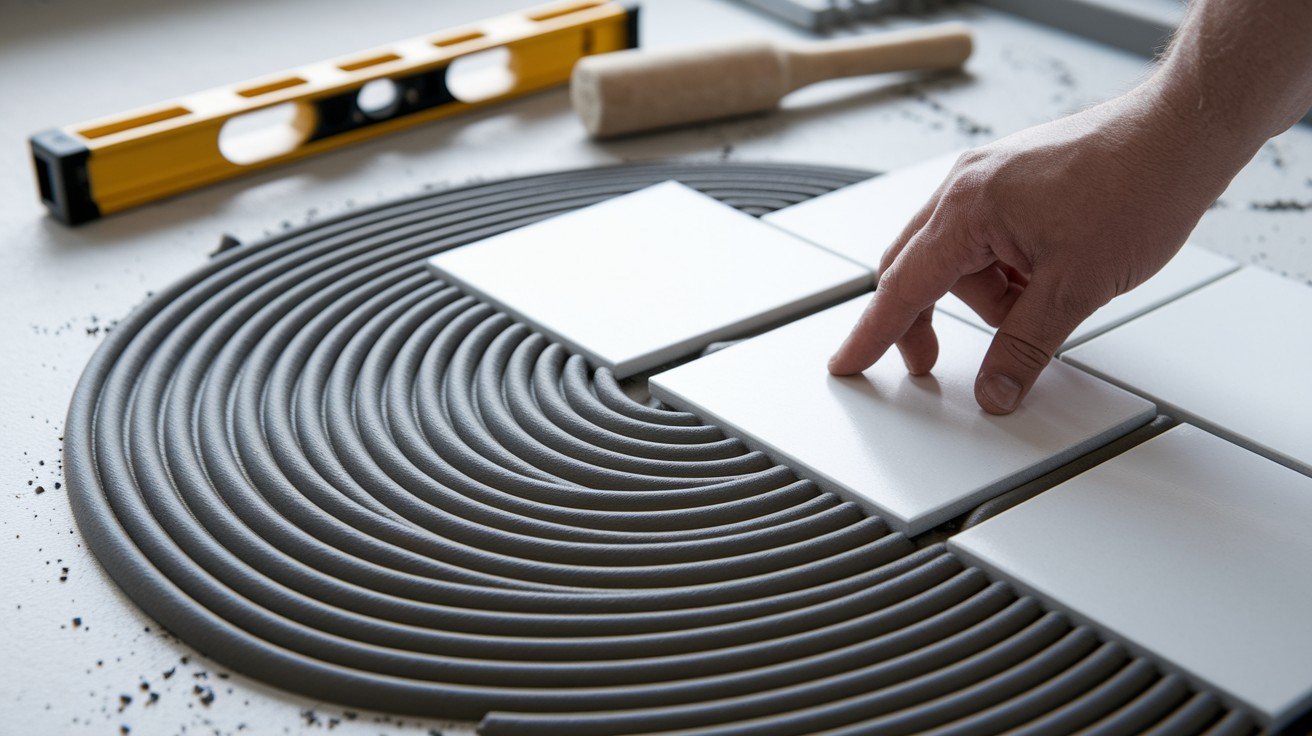
Start at your layout lines and work outward in a systematic pattern. Press each tile down with a slight twisting motion to help it bond with the mortar. This ensures good contact and prevents hollow spots.
Use spacers between every tile and check with a level frequently. Tap tiles gently with a rubber mallet to make them level with the surrounding tiles. Don’t be afraid to lift and reset a tile if it’s not sitting right.
Step 3: Cut and Fit Edge Tiles
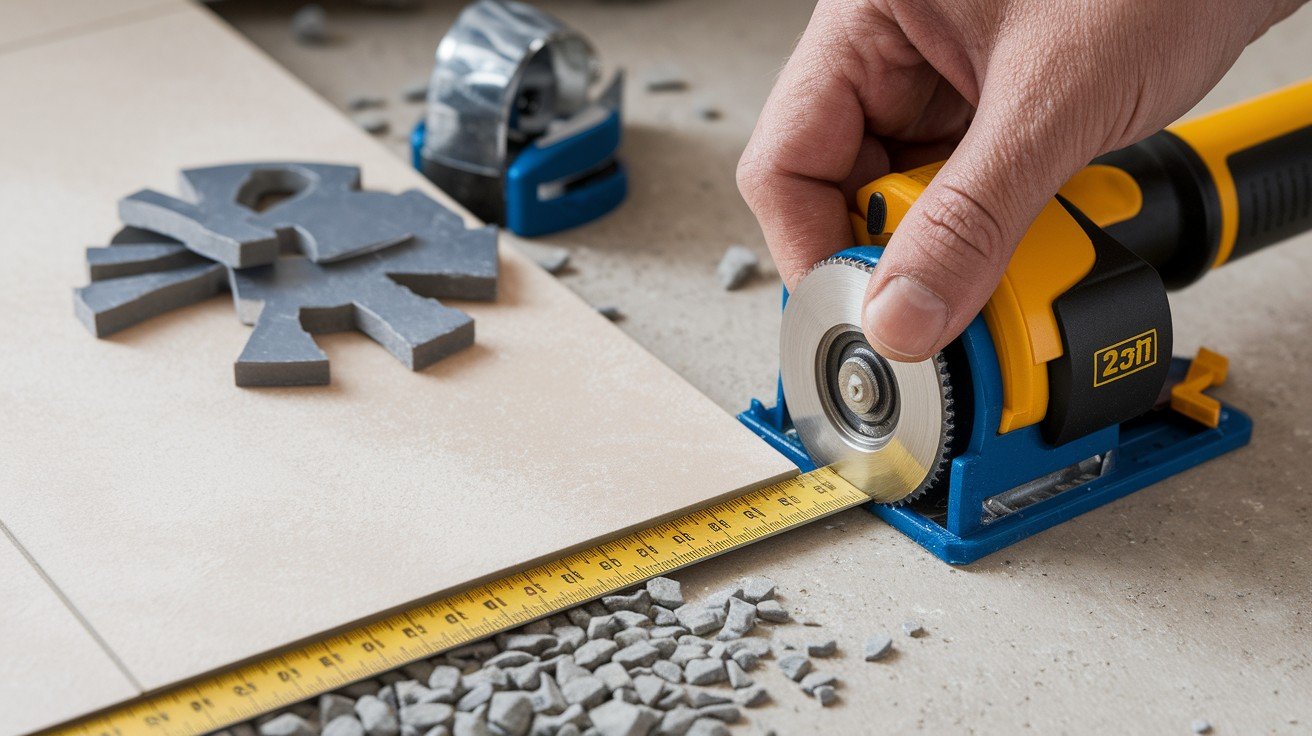
Measure each edge tile carefully since walls are rarely perfectly straight. Use a snap cutter for straight cuts or a wet saw for corners and curves. Take your time – rushed cuts lead to wasted tiles.
Leave a 1/4-inch gap between tiles and walls for expansion. This gap gets covered by baseboards later. Don’t force tiles into tight spaces, or they might crack.
Step 4: Let Mortar Cure
Wait at least 24 hours before walking on your new tiles or starting to grout. The mortar needs this time to set properly and create a strong bond. Rushing this step can ruin your whole project.
Avoid putting any weight on the tiles during curing time. If you must cross the room, use a piece of plywood to distribute your weight across multiple tiles.
Step 5: Grout the Tile Floor
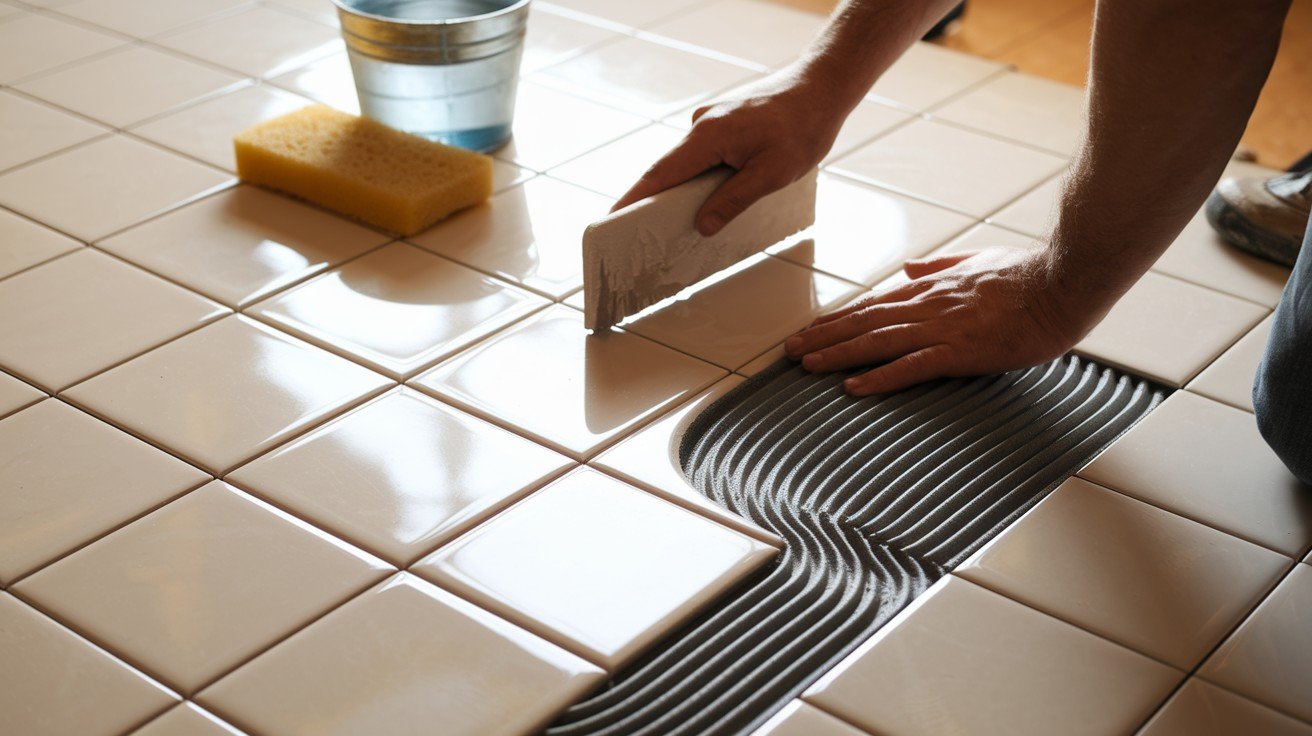
Remove all spacers before you start grouting. Mix grout according to package directions and apply it with a grout float held at a 45-degree angle. Press firmly to fill all joints.
Wipe away excess grout with a damp sponge, rinsing it frequently in clean water. Work in small sections and clean as you go. Let the grout cure according to the manufacturer’s instructions before sealing.
Step 6: Seal the Grout (Optional)
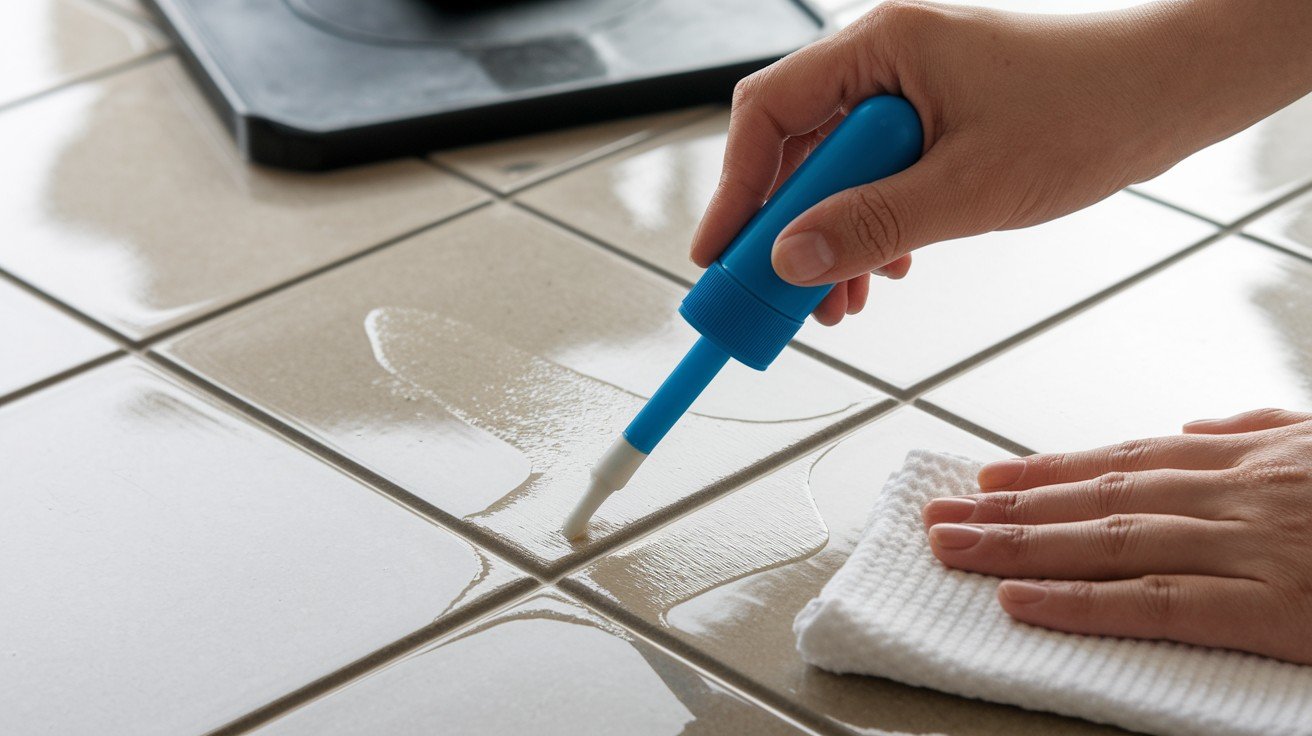
Apply grout sealer once the grout is completely dry – usually after 24-48 hours. Use the applicator that comes with the sealer and work in small sections. This step helps prevent stains and water damage.
Wipe off any excess sealer from tile surfaces before it dries. Sealer that dries on tiles can leave a hazy film that’s hard to remove later.
Common Mistakes to Avoid
Learning from other people’s mistakes saves you time, money, and frustration. These are the most common problems that trip up DIY tile installers, but they’re all easy to prevent with proper planning.
- Poor subfloor prep – rushing this step leads to cracked tiles and failed installations
- No layout planning – results in crooked rows and awkward cuts at edges
- Skipping spacers creates uneven gaps that look unprofessional
- Overmixing or reusing old mortar weakens the bond and causes tiles to come loose
- Walking on tiles too early can shift tiles and ruin your layout
- Forgetting to seal grout in wet areas allows water damage and staining
Take your time with each step and don’t skip the basics. Most tile failures happen because someone tried to rush through the process or cut corners on preparation work
Conclusion
Tiling your floor is a rewarding project that pays off in both value and appearance. You save thousands of dollars while gaining the satisfaction of completing a real home improvement project yourself.
With proper preparation, the right tools, and attention to detail, you’ll have a clean, professional-looking floor that lasts for years. The key is taking your time with each step and not rushing the process.
Start with good subfloor prep, plan your layout carefully, and follow each installation step in order. Your new tile floor will be something you can be proud of every time you walk across it.
FAQs
How long before I can walk on a tile floor?
Usually 24 hours for light foot traffic. Wait 48+ hours before moving heavy furniture or appliances back into the room.
Do I need to seal the grout?
Yes, especially in bathrooms or kitchens. Sealing protects grout from stains and moisture damage that can cause problems later.
What’s the best tile for beginners?
Ceramic or porcelain tiles in larger sizes with a straight grid pattern. They’re forgiving to work with and hide small imperfections better.
Can I tile over existing flooring?
Only if the existing floor is flat, solid, and properly cleaned or primed. Most experts recommend removing old flooring first.
How do I clean grout haze?
Use a damp sponge to wipe tiles shortly after grouting. If the haze has dried, use a commercial haze remover following the package directions.
