

Turn Any Boring Wall Into a Designer Feature
That plain white wall has been staring at you for months. You know it could look so much better, but hiring a contractor costs thousands of dollars.
Wood slat walls create instant visual interest and make any room feel more expensive. These vertical wooden strips work perfectly in living rooms, bedrooms, hallways, and home offices. The best part? You can build one yourself in a weekend.
This modern wall treatment adds texture and warmth without breaking your budget. People will think you hired a professional designer when they see the finished result.
This guide walks you through every step of the process. You’ll learn what tools you need, how to measure and cut your materials, and how to install everything for a perfect finish that lasts for years.
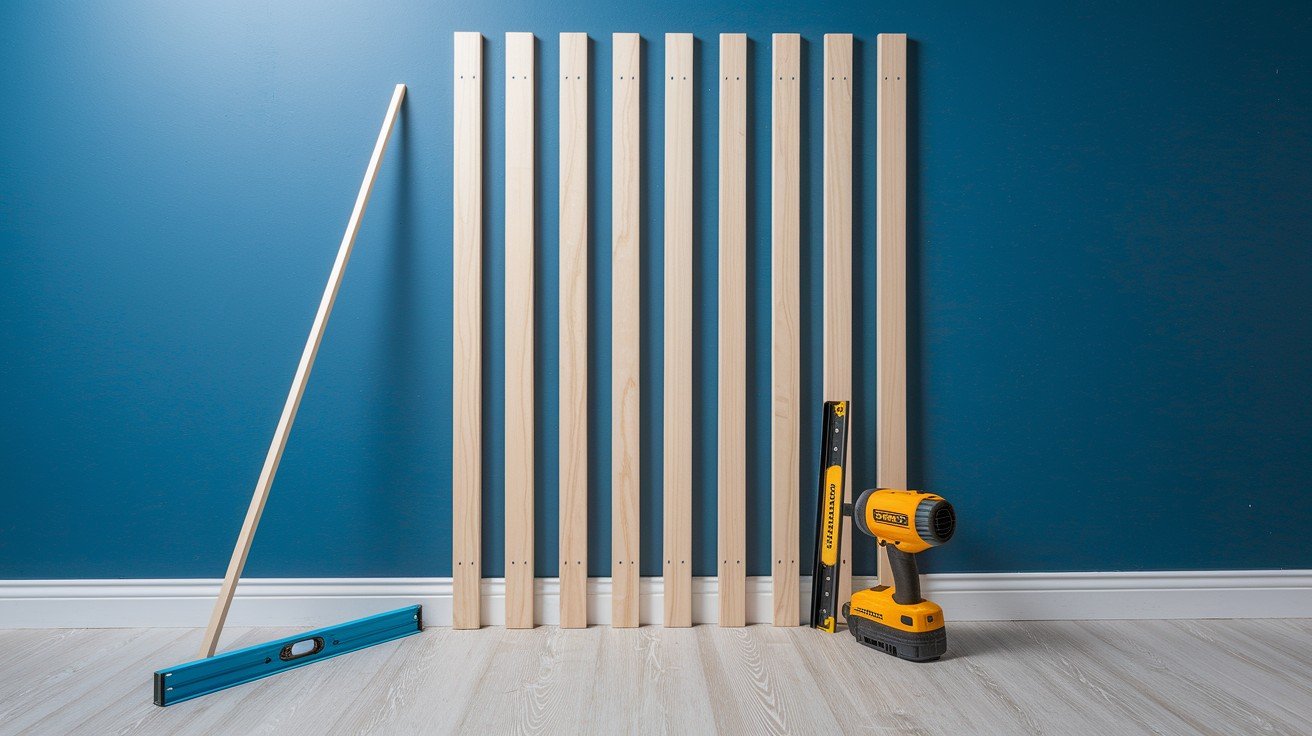
Tools and Materials You’ll Need
Getting the right tools and materials before you start saves time and prevents frustrating trips to the store mid-project. Most of these items are available at any home improvement store, and you might already own some basic tools.
Tools:
- Miter saw or table saw
- Orbital sander or sanding sponge
- Brad nailer or trim nailer
- Tape measure
- Laser level
- Stud finder
- Safety gloves and goggles
Materials:
- MDF or wood slats (e.g., 1x2s or 4×8 MDF cut into strips)
- Wood stain or paint
- Paint the wall (dark background recommended)
- Wood glue or Liquid Nails
- Caulk and caulking gun
- Wood filler
- Tile spacers or scrap wood for even gaps
Buy about 10% more slats than you think you need to account for mistakes and future repairs. Having everything ready means you can focus on the actual installation instead of running around looking for missing supplies.
Step-by-Step Instructions
Follow these eight steps to create a professional-looking wood slat wall. Take your time with each step – rushing leads to mistakes that show in the final result.
1. Plan Your Design
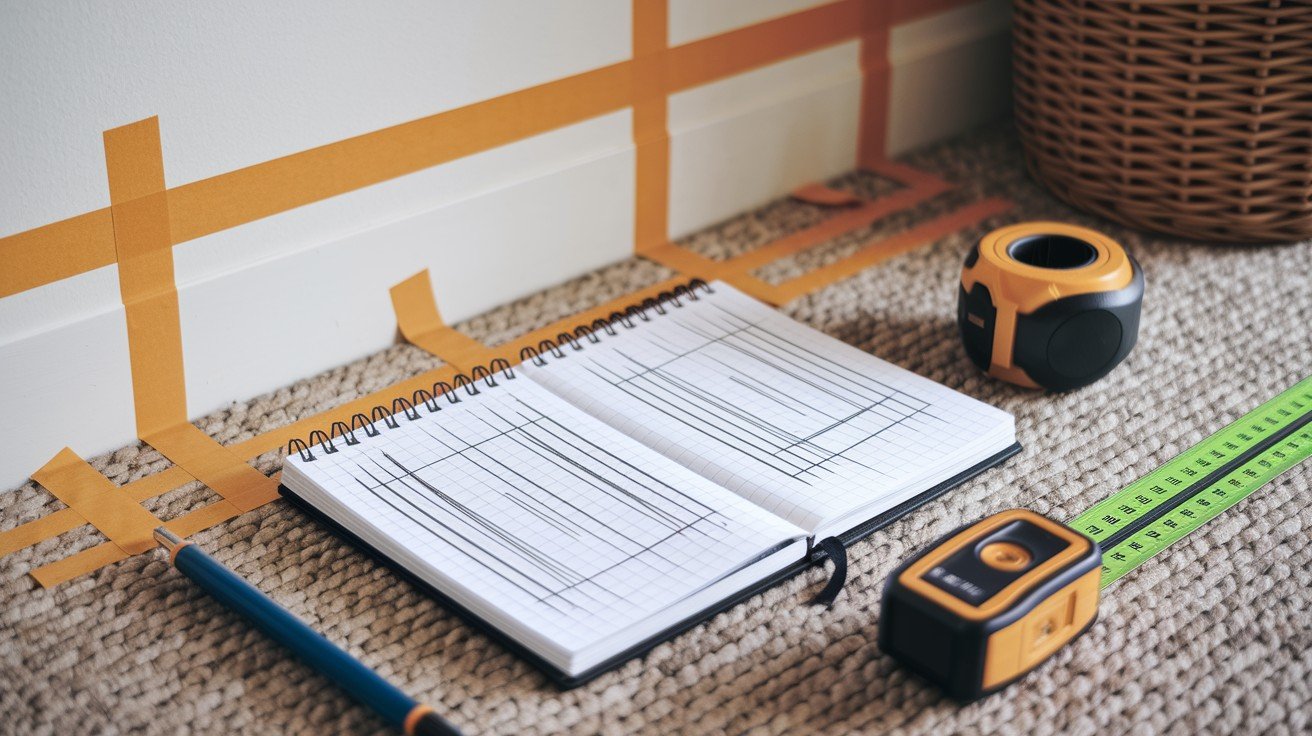
Decide which wall you want to cover and how much of it you’ll treat with slats. Consider going from floor to ceiling for maximum impact, or halfway up for a wainscoting effect. Measure the space carefully and sketch your design on paper first.
Think about adding floating shelves, accent lighting, or crown molding to make your slat wall even more special. These extras can be installed during or after the slat installation process.
2. Paint the Wall

Paint your base wall in a dark, matte color like Valspar Noir or Tricorn Black for the best contrast. The dark background makes the wood slats pop and creates depth between the gaps. Light colors don’t create the same dramatic effect.
Let the paint dry completely before moving to the next step. Rushing this part can cause problems when you start installing slats over wet or tacky paint.
3. Cut the Wood Slats
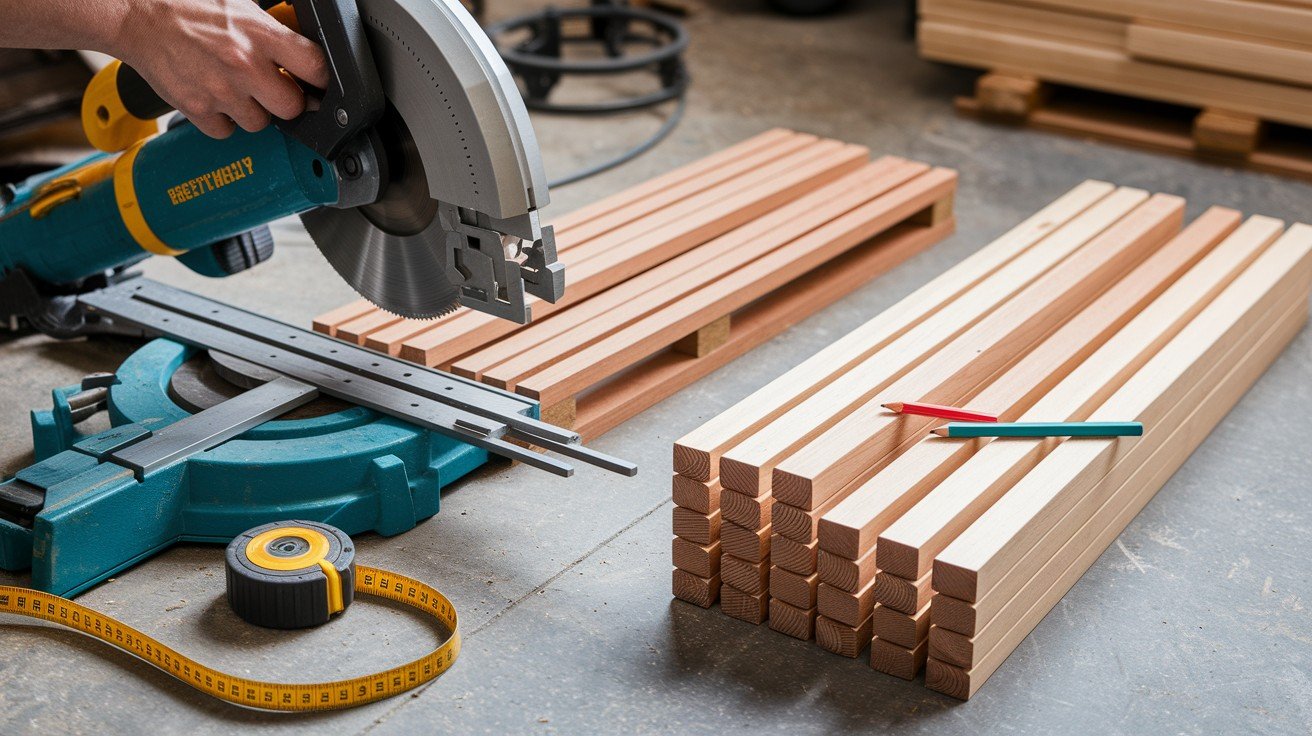
Measure your wall height at multiple points since floors and ceilings are rarely perfectly level. Use the shortest measurement to ensure all slats fit properly. Mark your measurements clearly on each piece before cutting.
Cut all your slats at once to save time and ensure consistency. Double-check your measurements before making cuts – you can’t add wood back once it’s cut too short.
4. Sand Each Slat
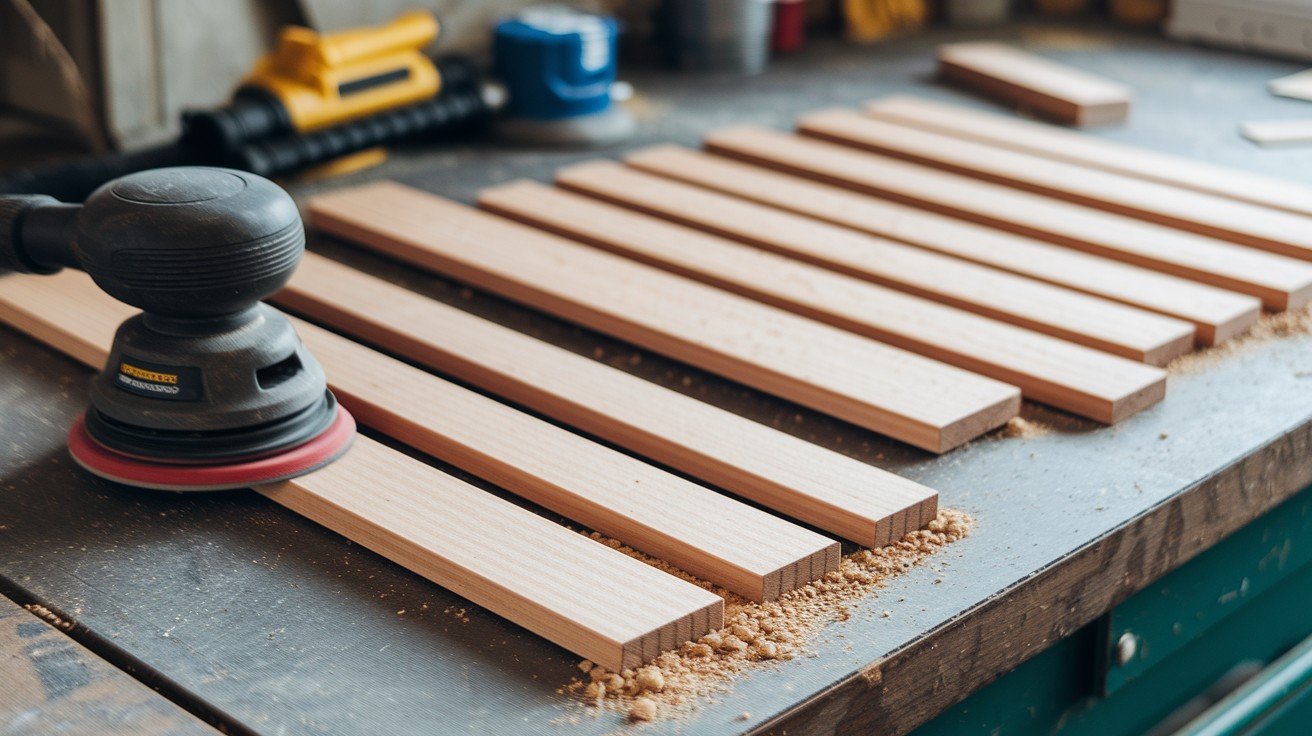
Smooth all surfaces to remove splinters and rough spots that could snag clothing or hurt fingers. Focus on the front face and side edges since these are the parts people will see and touch. The back doesn’t need sanding since it won’t be visible.
Use gloves and safety goggles while sanding to protect yourself from dust and splinters. An orbital sander speeds up the process, but hand sanding with a sanding sponge works fine for smaller projects.
5. Stain or Paint the Slats
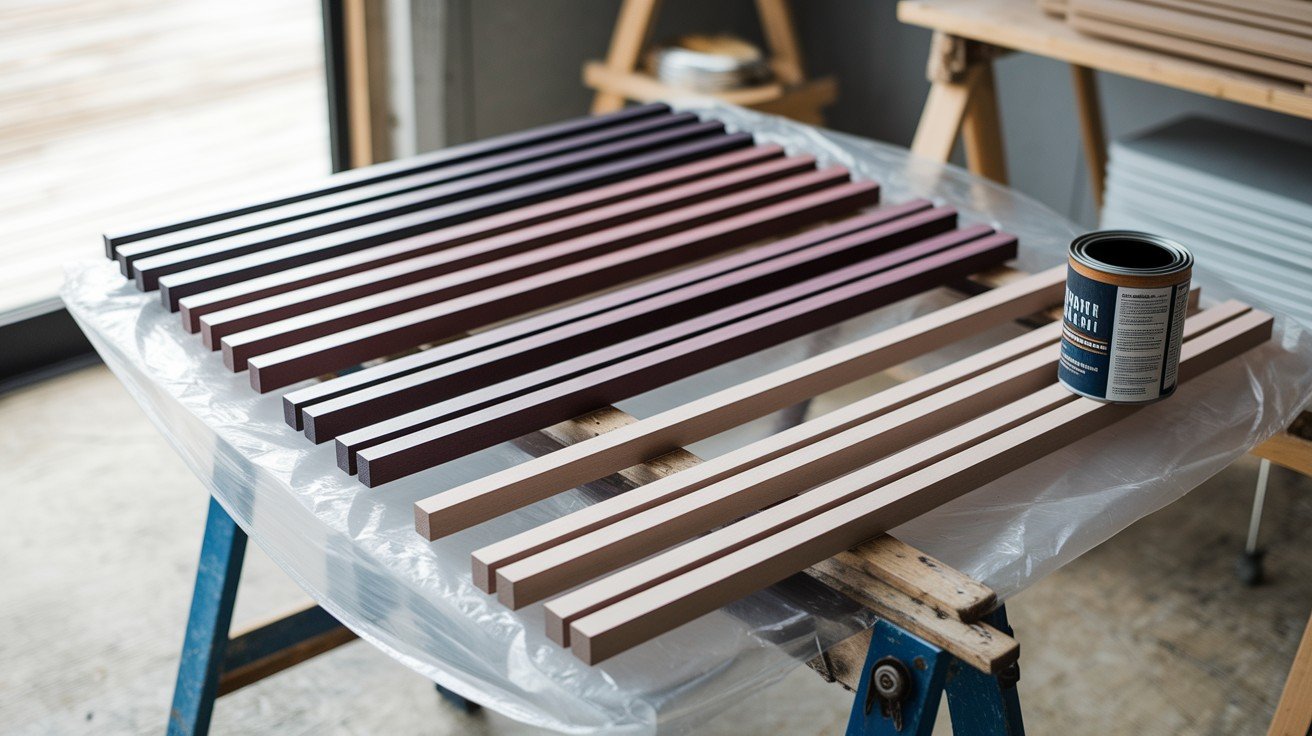
Apply stain or paint to the visible parts of each slat – the front and edges. You don’t need to finish the back since it goes against the wall. Work in a well-ventilated area and follow the product instructions for best results.
Let everything dry completely before handling the slats. This usually takes 20-60 minutes, depending on the product and humidity. Test a hidden spot to make sure it’s dry before moving slats around.
6. Install the Slats
Start with one perfectly level reference slat using a laser level or traditional level. This first slat determines how straight your entire wall will look. Use both liquid nails and brad nails for the strongest hold.
Place spacers between each slat to maintain even gaps throughout the installation. Tile spacers or small pieces of scrap wood work perfectly for this. Keep checking with your level as you go to prevent the slats from drifting out of alignment.
7. Fill Nail Holes
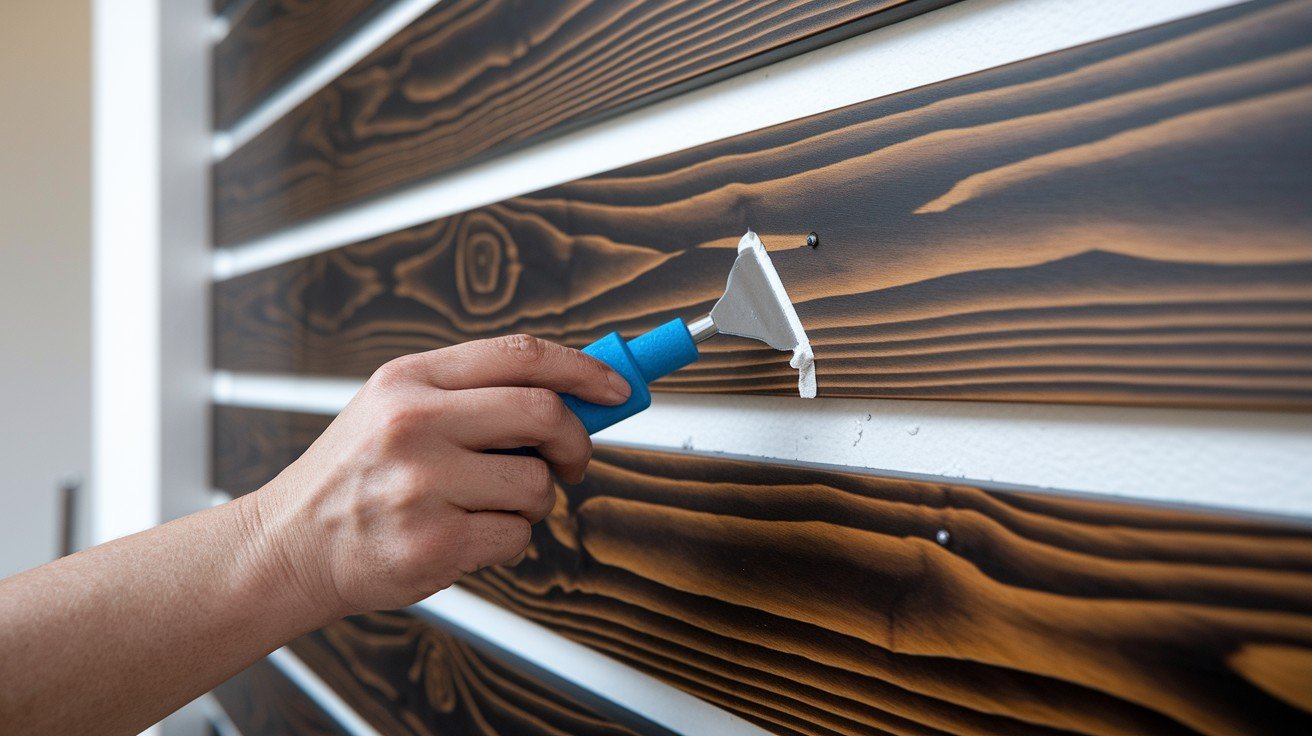
Use wood filler that matches your stain or paint color for a seamless finish. Apply it with your finger or a small putty knife, then wipe off any excess immediately. Don’t let filler dry on the surface of your slats.
Let the filler dry completely according to package directions before moving to the next step. This usually takes 15-30 minutes, depending on the size of the holes and room temperature.
8. Final Sanding & Touch-Ups
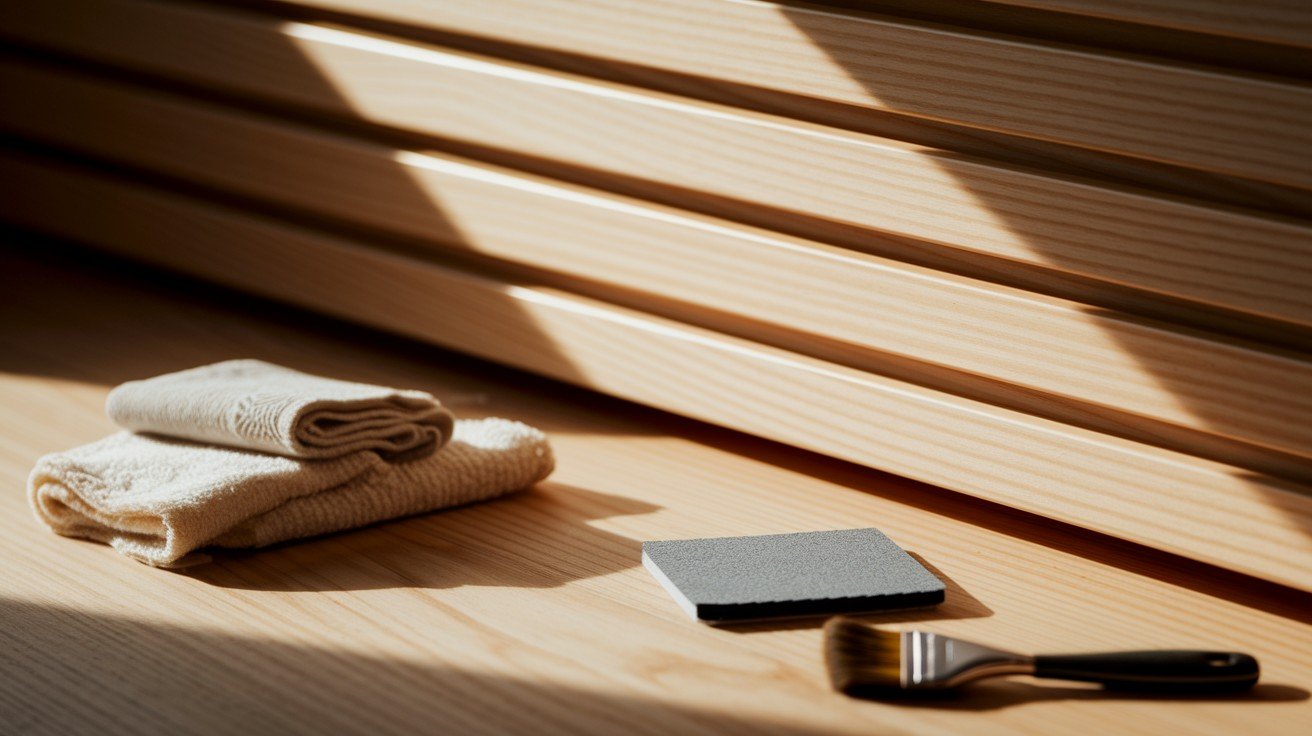
Lightly sand any filled nail holes until they’re flush with the surface. Use fine-grit sandpaper to avoid scratching your finish. Wipe away all dust with a clean, dry cloth.
Apply a final coat of stain or paint to any areas that need touch-ups. Step back and inspect your work from different angles to catch any spots you might have missed. Clean up all dust and tools when you’re satisfied with the results.
Cost Estimate and Time Commitment
Most wood slat wall projects cost between $100 and $300, depending on your material choices and wall size.
MDF strips keep costs low, while solid wood or premium materials increase the budget. The money you save doing it yourself instead of hiring contractors makes this a smart investment.
Plan for 1-2 days to complete most projects from start to finish. Full wall coverage or adding extra features like lighting or shelves will take longer. Working on weekends means you can finish in one weekend without rushing through important steps.
Style Tips for a Pro Look
Small design choices make the difference between a DIY project that looks homemade and one that looks professionally installed. These styling tips help you create a wood slat wall that feels intentional and polished.
- Vertical full-height slats – create a modern, clean look that makes ceilings appear taller
- Half-wall height – gives a cozy, balanced feel that works well in bedrooms and dining rooms
- Black wall with oak slats – creates a trendy contrast that works with most home styles
- Use the same stain as nearby furniture – creates cohesion and makes the wall feel like it belongs in the room
The key is choosing a style that fits your existing decor rather than fighting against it. Your slat wall should feel like a natural part of the room, not something that was added as an afterthought
Conclusion
Building a wood slat wall is worth every minute you spend on it. The visual impact is immediate, and people will notice the difference as soon as they walk into the room.
Start with a small wall or corner if this is your first time. You can always expand to other walls once you see how much you love the results. The skills you learn on a small project make bigger ones much easier.
This simple upgrade boosts both your home’s visual appeal and its value. You’ll get the satisfaction of creating something beautiful with your own hands while saving thousands compared to hiring contractors.
FAQs
What Is the Best Wood for a Budget-Friendly Slat Wall?
MDF is the most budget-friendly option and takes paint beautifully. Pine costs more but offers natural wood grain if you prefer staining. Plywood falls in the middle price-wise and works well for painted finishes.
Can a Wood Slat Wall Be Installed on Textured Walls?
Textured walls create adhesion problems and uneven gaps between slats. Sand down heavy texture or install a smooth backing board first. This extra step ensures your slats sit flat and look professional.
How Do I Soundproof a Room Using Slat Wall Panels?
Regular slat walls are decorative, not functional for soundproofing. Add acoustic felt or foam backing behind the slats for some sound absorption. This helps reduce echo but won’t block sound from traveling between rooms.
Will Slat Walls Work in Humid Areas Like Bathrooms?
Moisture can cause wood to warp and finishes to fail over time. Use water-resistant materials like sealed MDF or marine-grade plywood. Apply extra coats of sealant in high-humidity areas for better protection.
Can I Remove a Wood Slat Wall Without Damaging the Drywall?
Carefully pry off each slat starting from one end, using a putty knife to break the adhesive bond. Expect some minor drywall damage that you can patch with spackle. Sand and repaint the wall after removing all adhesive residue.