

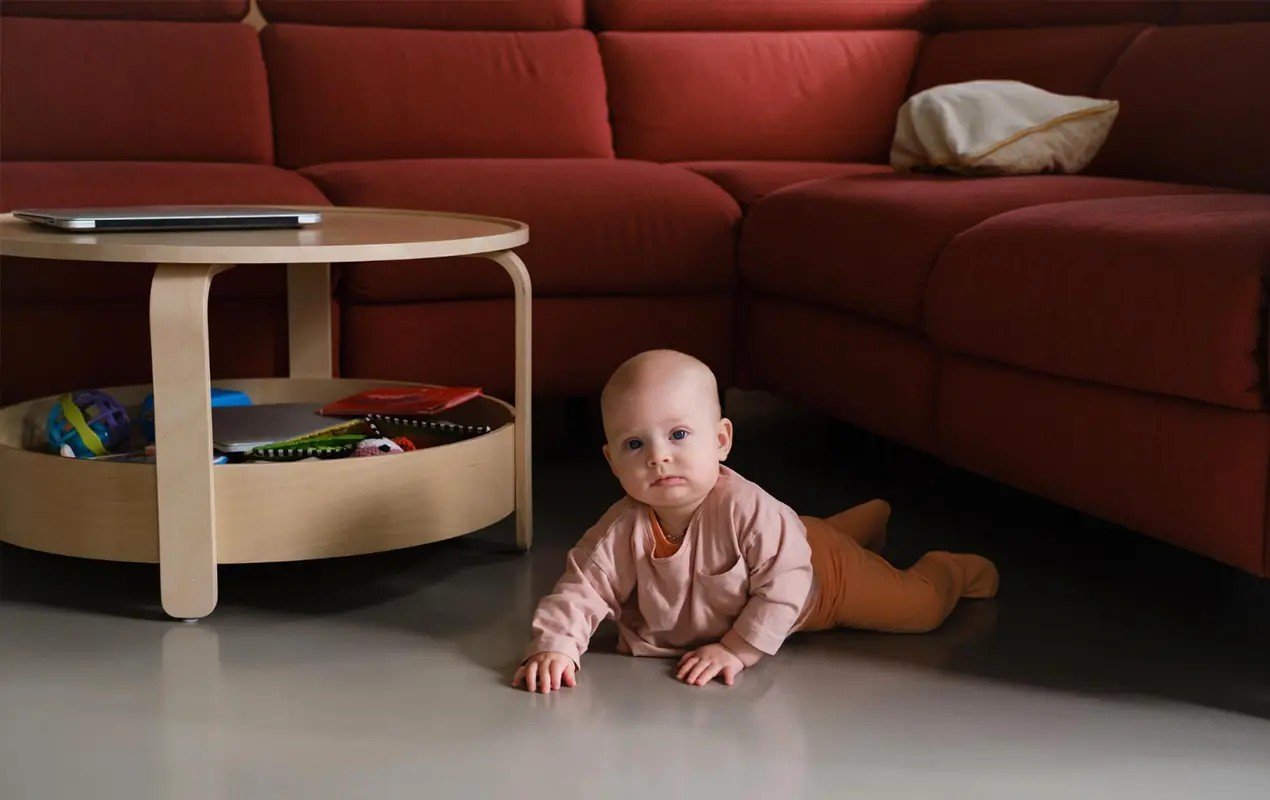
Your coffee table used to be furniture. Now, it’s a danger zone.
Every parent knows this feeling. You’re sipping your morning coffee when suddenly you spot your toddler making a beeline for those sharp table corners. Your heart skips a beat. Again.
Here’s the truth: You don’t need to hide your coffee table in the garage or wrap it in bubble wrap. You need the right strategies.
In this article, you’ll find 7 practical solutions that work. No fancy gadgets that break after a week. No expensive furniture replacements. These are just simple, tested methods that keep your little one safe while preserving your living room.
I’ve been where you are. I’ve tested these methods with my kids and seen them work in countless homes. These aren’t theoretical tips – they’re real solutions from birth parents who’ve solved this exact problem.
Your coffee table can be both beautiful and safe. Let me show you how.
Genius Baby-Proof Coffee Table Hacks
The Strategic Table Swap Method
Sometimes, the best solution is the simplest one.
Should you remove or modify it? Here’s my rule: If your child is under 18 months and constantly falling, remove it. If they’re older and just exploring, modify it.
During those crazy toddler months, I moved our coffee table to the basement. That was the best decision ever. We used floor cushions and a small side table for drinks.
Pro tip: Set up a dedicated play table at your child’s height. Add soft floor cushions around it. They’ll have their own space, and you’ll worry less.
Here’s what changed everything for us: Ottomans.
Why Ottomans work so well:
- Soft edges mean fewer injuries
- Perfect height for little legs
- Extra seating when friends visit
- Hidden storage for toys
“Ever since having kids, we’ve been a team ottoman family,” says Sarah, mom of two. “Our living room finally makes sense.”
Budget-friendly picks under $150: Target’s storage ottomans, IKEA’s STRANDMON, or Walmart’s Better Homes collection.
The bonus? When your kids grow up, you’ll still love having them.
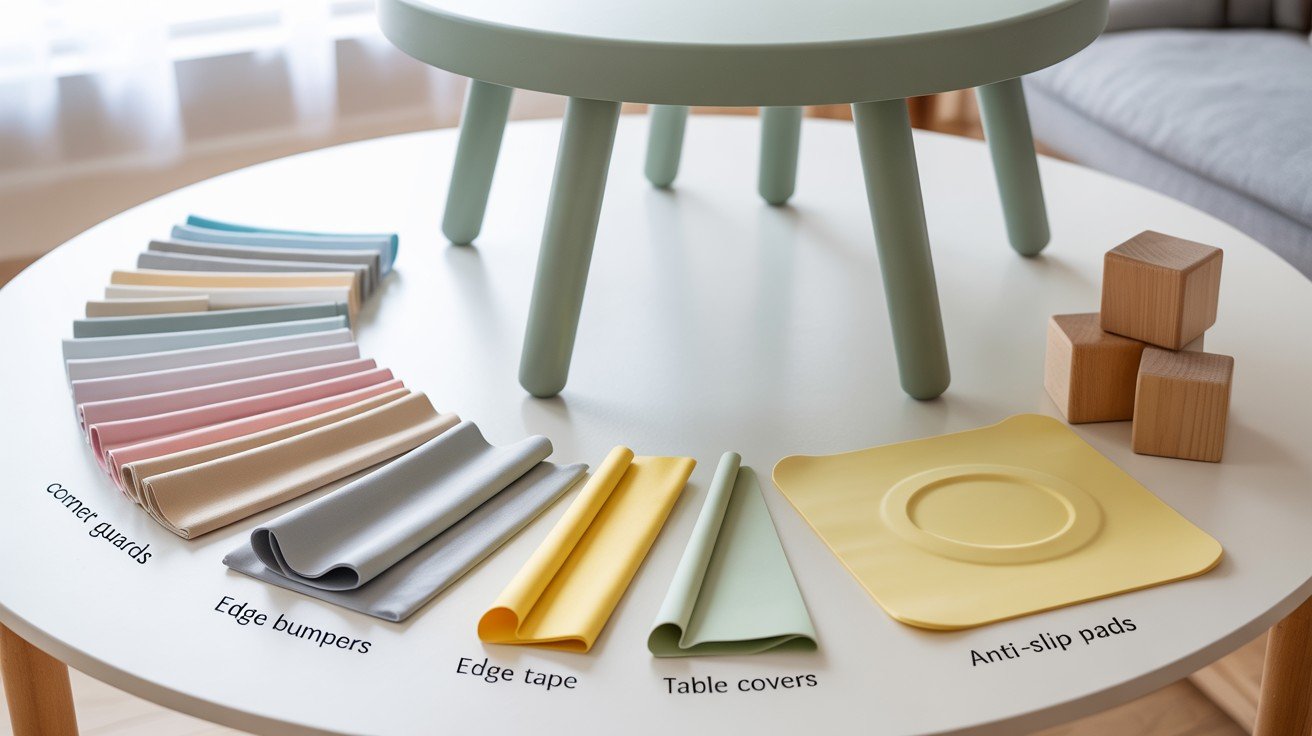
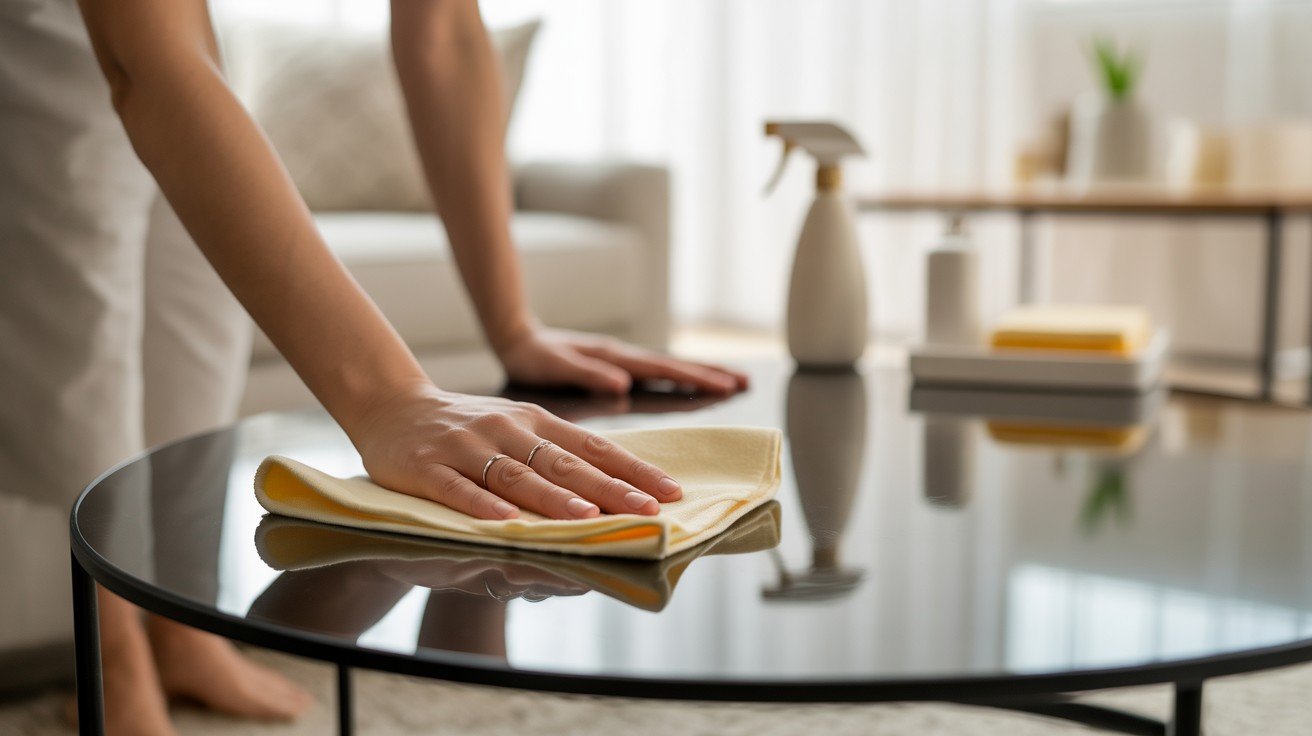
Advanced Corner and Edge Protection Systems
Those basic foam bumpers? They don’t always cut it.
Standard foam protectors look cheap and fall off constantly. I learned this the hard way when my son knocked one off and promptly bumped his head on the exposed corner.
You need protection that stays put and doesn’t scream “baby house.”
One parent found clear rubber guards for $25. “They camouflaged with the room perfectly,” she told me. “Guests didn’t even notice them.”
Foam Protectors: Great for quick fixes. Get ones at least 1 inch thick. Thinner versions are useless.
Rubber Guards: My top choice. They absorb impact better and stick properly. Installation takes 10 minutes max.
Plastic Protectors: Create a firm barrier but offer less cushioning. Suitable for older kids who need boundaries more than padding.
Think outside the box:
Pool noodles wrapped in matching fabric blend right in. Cut woven baskets in half and attach them as corner guards-genius and stylish.
Place climbing cushions near table edges. Your toddler gets a play area, and sharp corners become soft landing spots.
Sometimes, the best solutions don’t look like safety gear at all.
The Anchor and Stability System
A wobbly table is a dangerous table.
Here’s what most parents get wrong: They anchor to drywall instead of wall studs. Don’t make this mistake.
Your anchor weight rating should be double your table’s weight. If your table weighs 50 pounds, use 100-pound-rated anchors minimum.
Find those wall studs with a stud finder. Drywall anchors will fail when your toddler decides to climb.
Anti-slip pads work differently on each floor type:
- Hardwood: Rubber pads with adhesive backing
- Carpet: Gripper pads that dig into fibers
- Title: Silicone pads for smooth surfaces
This sounds fancy, but it’s simple. Motion-activated air sprayers give a harmless puff of air when kids get too close.
Place them at table height, not floor level. Kids need to trigger them before they reach danger zones.
Check batteries monthly. Dead batteries mean no protection.
Important: This is temporary. As your child grows and learns boundaries, you can remove these devices.
The goal isn’t to scare your child. It’s to create a gentle reminder that helps them learn safe spaces naturally.
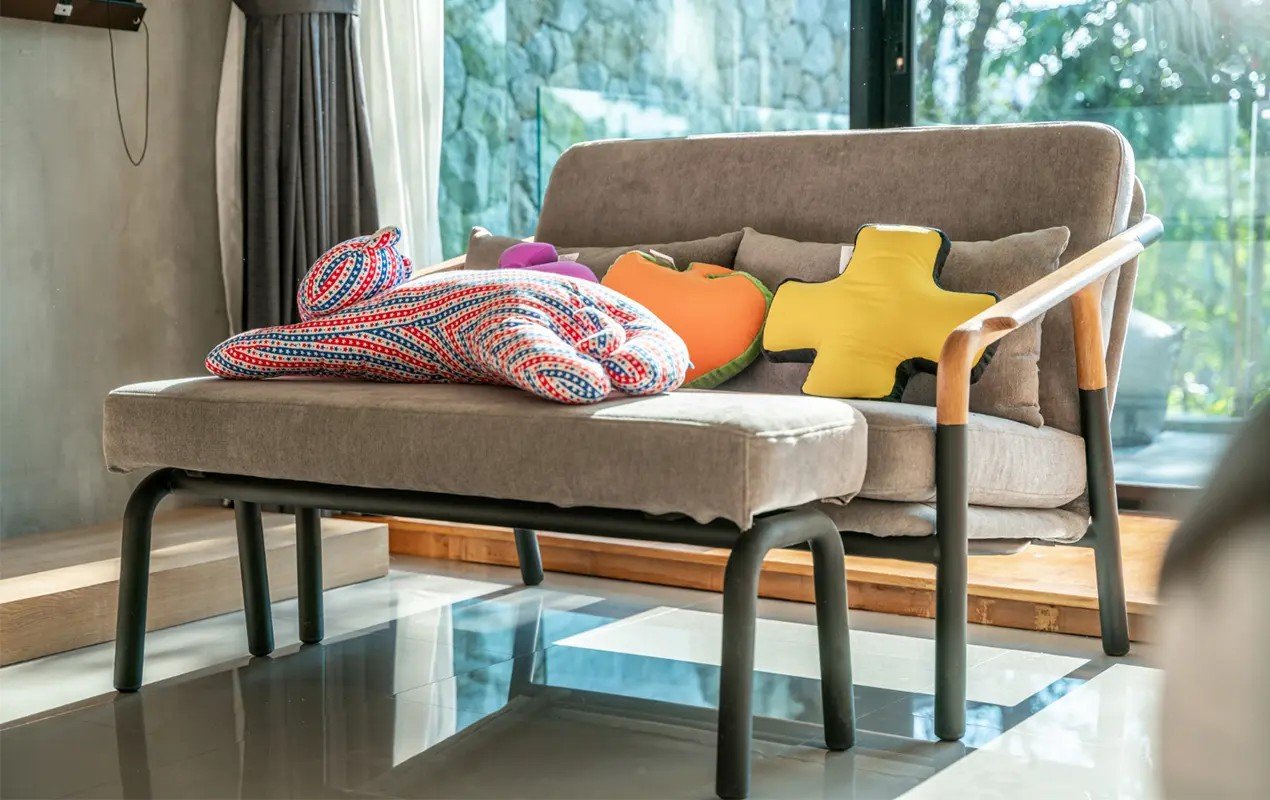
The Smart Storage and Decoy Strategy
What’s on your coffee table right now? If it’s breakable, dangerous, or small enough to swallow, it needs to go.
I learned this after finding my daughter with a handful of decorative marbles. Never again.
Keep only safe items on top:
- Large wipe-clean books (board books work great)
- Heavy ceramic bowls filled with nothing breakable
- Soft fabric items that can’t hurt anyone
Install childproof locks on any under-table storage. Those cabinets are toddler magnets.
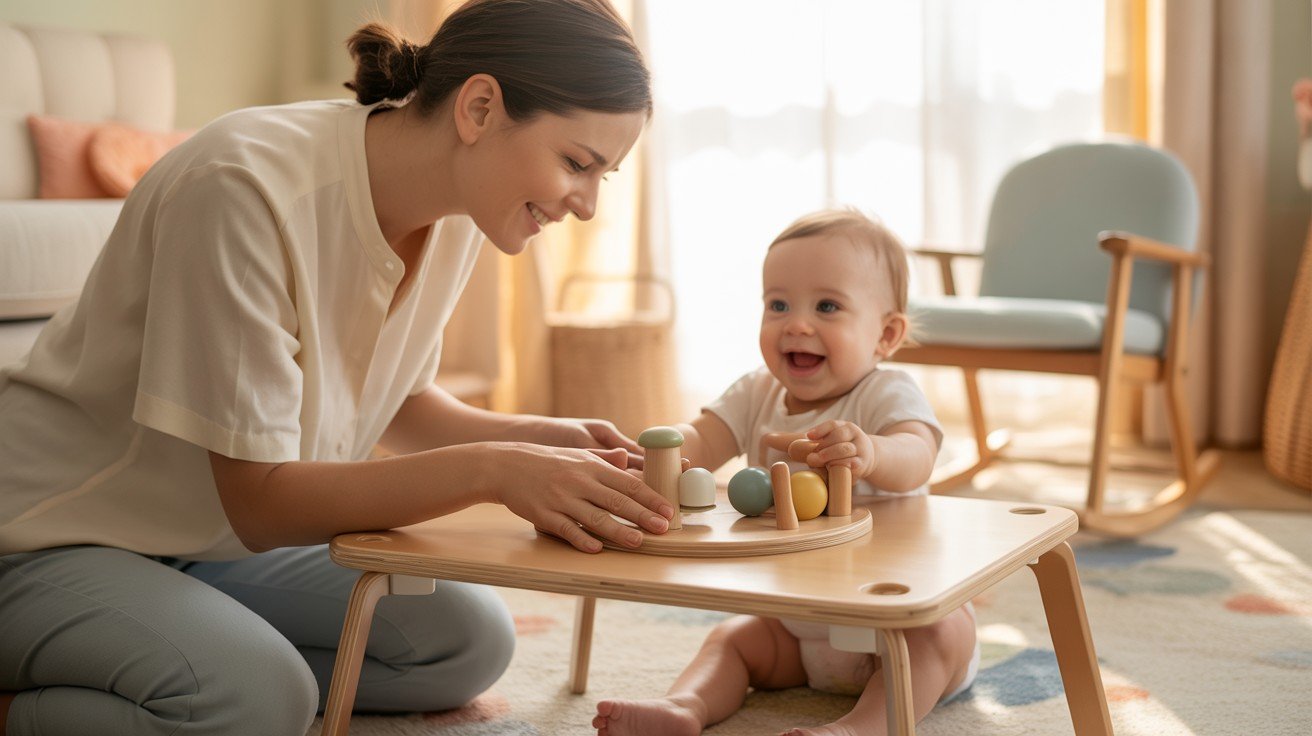
Here’s my secret weapon: give them their table.
Set up a small play table nearby with age-appropriate activities. Blocks, crayons, puzzles. Make it more interesting than your coffee table.
Position it where they can see both tables. They’ll choose the fun one every time.
Keep rotating the activities. Boredom leads to trouble.
Use that under-table shelf space wisely-store remotes in locked containers. Keep coasters in childproof boxes.
The rule: If it fits in their mouth or breaks when dropped, it goes up high or gets locked away.
Out of sight, out of mind works both ways.
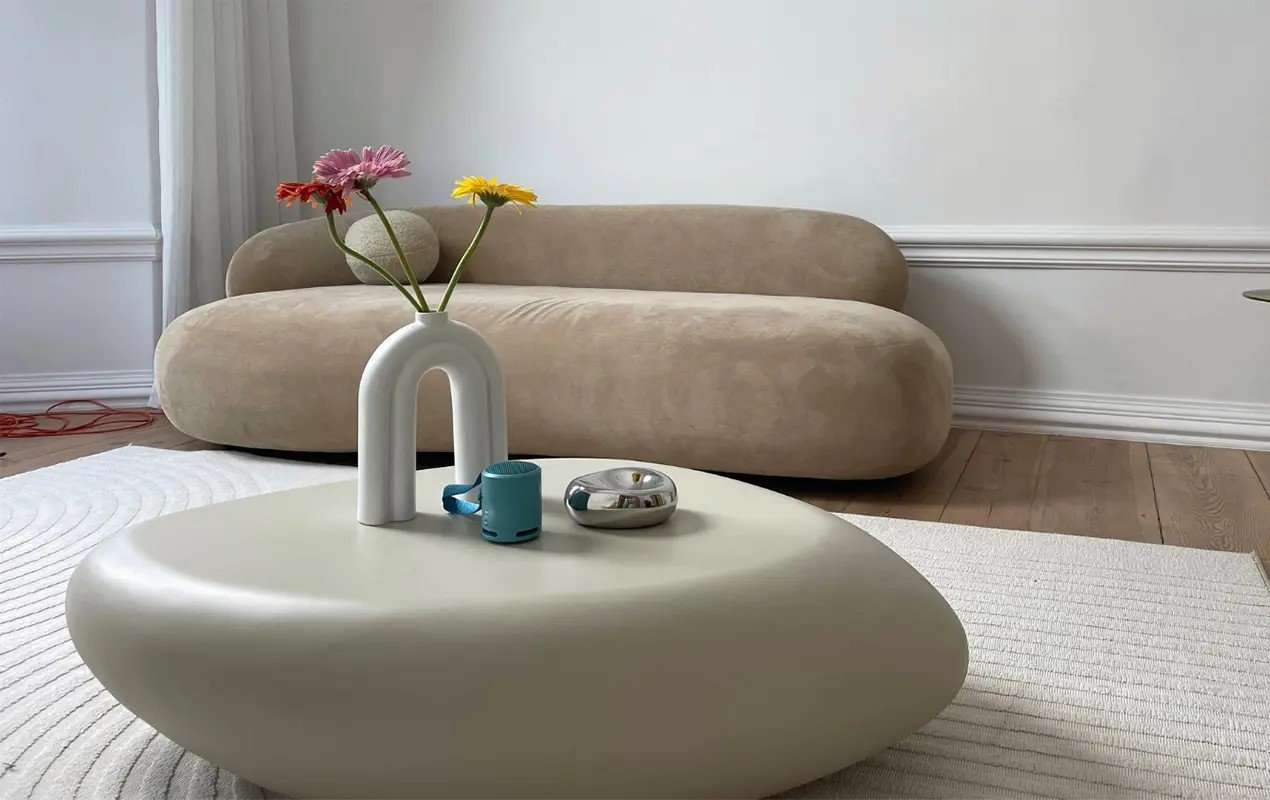
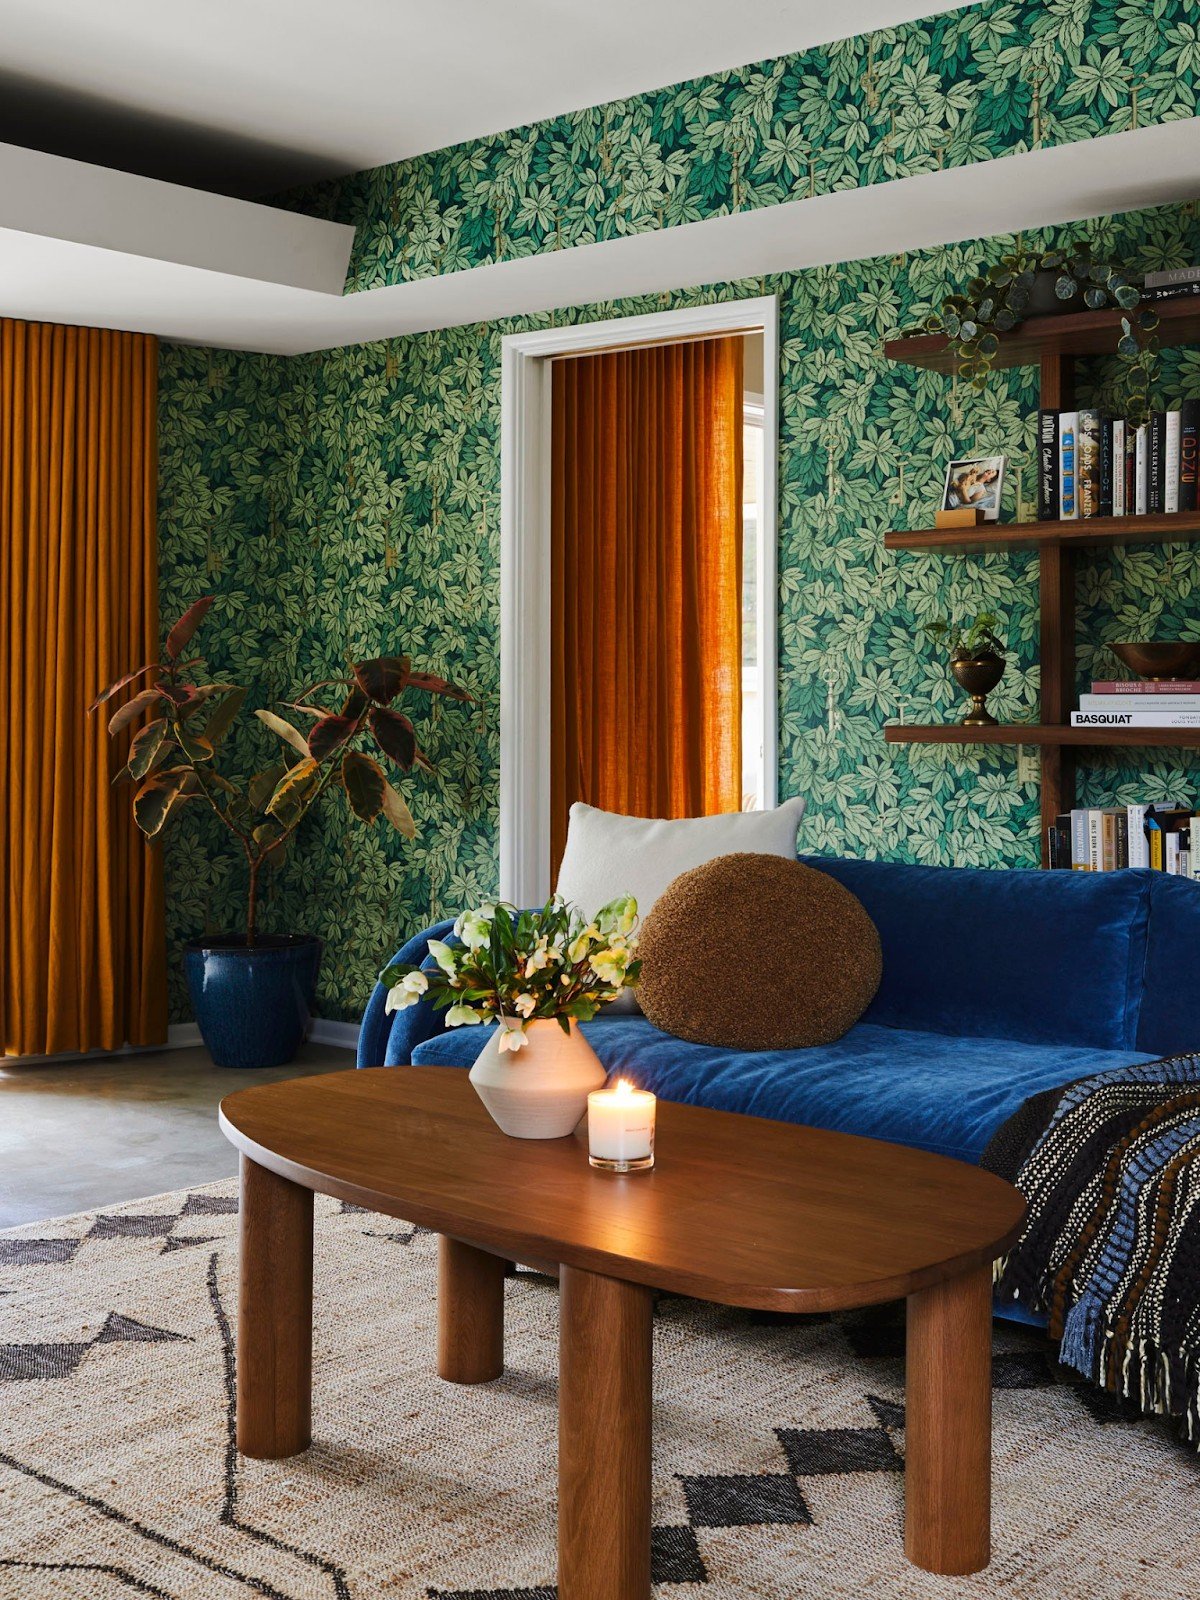
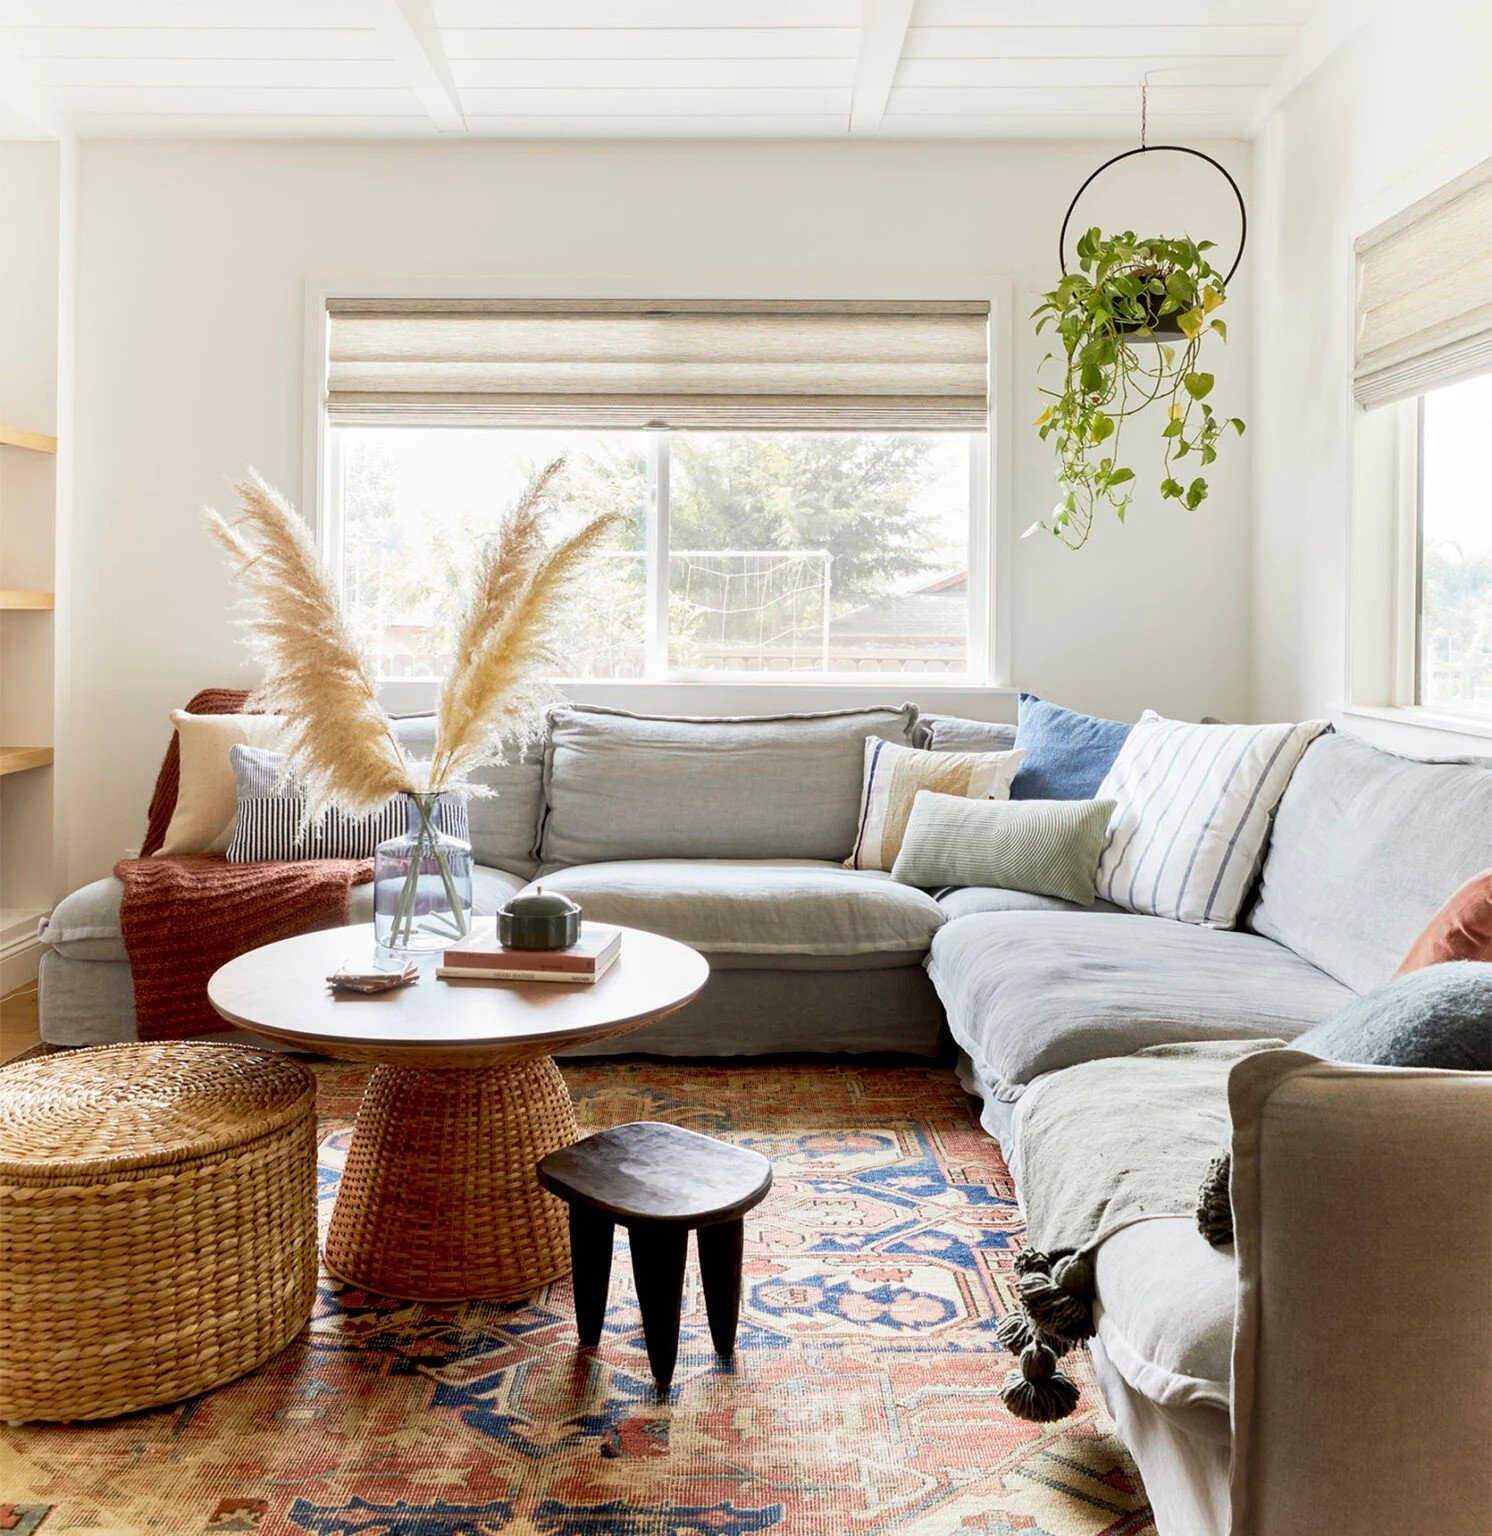
Shape-Smart Coffee Table Selection
The shape of your table matters more than you think.
No corners mean no corner injuries. It’s that simple.
Round tables work exceptionally well in small spaces where kids move around a lot. Consider scale carefully – a tiny round table looks lost with a large sectional.
Nesting tables are brilliant for growing families. Start with the smaller one when kids are little, then add the larger piece as they grow.
Budget options start at $100. Investment pieces can run $800+. Both can be equally safe.
My friend Sarah swears by her heavy Saarinen-style table. “There’s zero chance of my kids moving it around,” she says.
Weight is your friend. Heavy tables don’t tip or slide when kids lean on them.
Oval shapes give you the benefits of round tables while still providing plenty of surface space. You get safety without sacrificing function.
Live edge wood tables have natural curves that work beautifully in family homes-no manufactured sharp edges.
Kidney-shaped tables are having a moment right now. They offer soft curves with a modern style.
These organic shapes feel intentional, not like safety compromises.
Material-Based Safety Selection
The material you choose can make or break your safety plan.
Rattan gives you texture without busy patterns. It’s forgiving when little hands grab it.
Here’s the trade-off: Lightweight rattan moves easily (bad for climbing toddlers), but heavy rattan with storage stays put.
Look for rattan pieces with built-in storage compartments. The extra weight keeps them stable, and you get bonus toy storage.
Leather wins for families with messy kids. Spills wipe right off.
If you prefer fabric, choose performance fabrics designed for heavy use. Crypton and Sunbrella handle whatever kids throw at them.
Mix textures to keep things interesting. Smooth leather ottoman, textured throw pillows, woven rug. No matchy-matchy required.
Not all wood finishes are created equal. Avoid glossy finishes – they show every fingerprint and scratch.
Sand any rough spots yourself. Run your hand along all edges. If it catches your skin, it’ll see your child’s.
Natural wood ages beautifully with family life. Those little dings and marks become part of your story.
Choose wood that looks better with wear, not worse.
The Tray System Solution

Here’s the game-changer most parents miss: trays.
Your beautiful ottoman doesn’t hold drinks well. Add a tray.
Trays create stable surfaces on soft furniture. Your coffee stays put, your phone doesn’t slide off, and everything looks intentional.
Wood trays feel warm and natural. Metal trays look modern and clean easily. Decorative trays add personality while solving problems.
I call this “Charlie-approved” styling – named after my chaos-loving toddler.
During playtime, remove all trays and decorative items. Let the kids have their space.
When adults are over, add trays back with a few simple items-instant grown-up space.
Keep decorative elements in a basket nearby. Quick changes take 30 seconds max.
Trays keep minor choking hazards contained-no more hunting for tiny objects.
Create activity zones:
- Art supplies in one tray
- Snacks in another
- Remote controls in a third
When cleanup time comes, carry the whole tray away. Everything stays organized, and nothing gets lost under cushions.
Simple systems work best with busy families.
Step-by-Step: How to Baby-Proof Your Coffee Table
Step 1: Assess Your Current Table
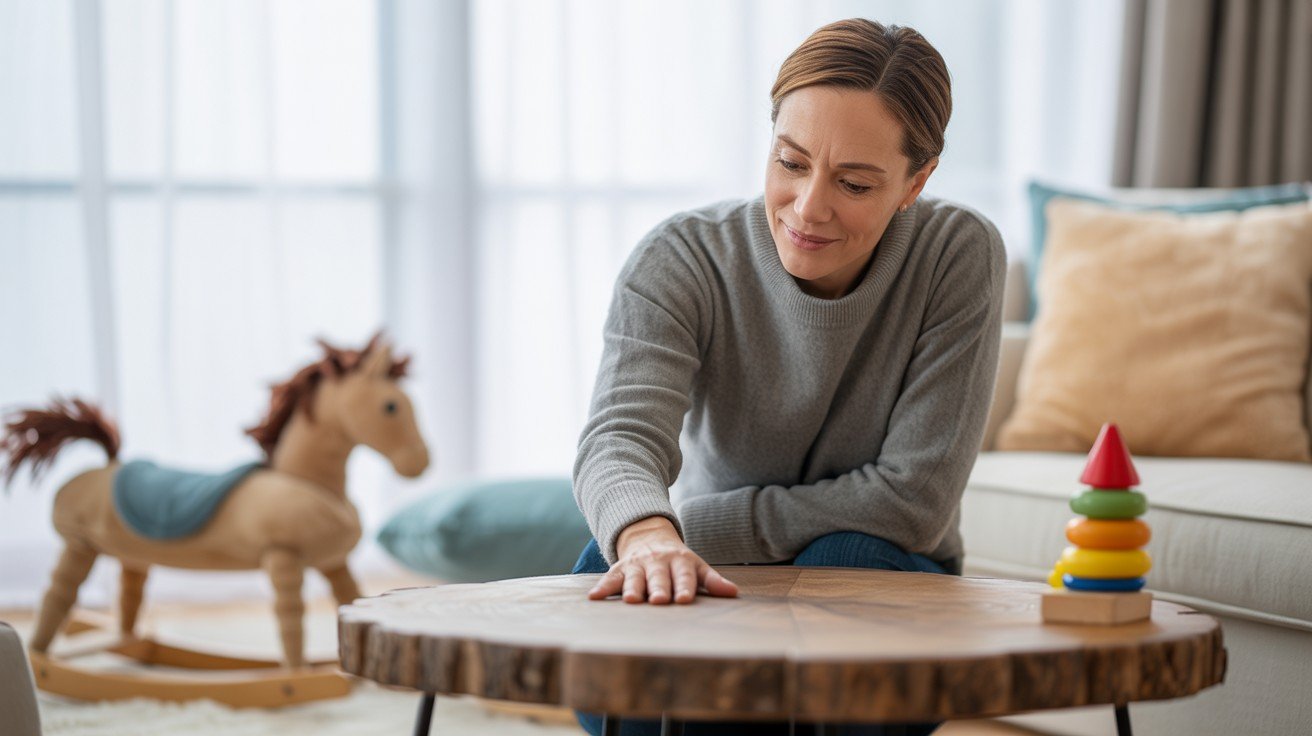
Walk around your table like a toddler would.
Get down on your hands and knees. Seriously. This shows you exactly what your child sees.
Look for:
- Sharp corners at head height
- Wobbly legs or an unstable base
- Small objects they can grab
- Glass surfaces that show fingerprints
Take photos from your child’s eye level. You’ll be surprised by what you notice.
Step 2: Choose Your Protection Strategy
Pick one main approach based on your table type:
Glass table = Corner guards + removal of breakables. Wood table = Edge padding + anchoring. Metal table = Soft bumpers + anti-slip pads
Don’t try to fix everything at once. Focus on the most significant danger first.
Step 3: Clean and Prep
Start with an immaculate surface.
Wipe down all edges and corners with rubbing alcohol. Let dry completely.
Why this matters: Dirt and oils prevent adhesives from sticking properly. Your safety guards will fall off if you skip this step.
Remove everything from the table surface. Store breakables elsewhere during the process.
Step 4: Install Corner Guards
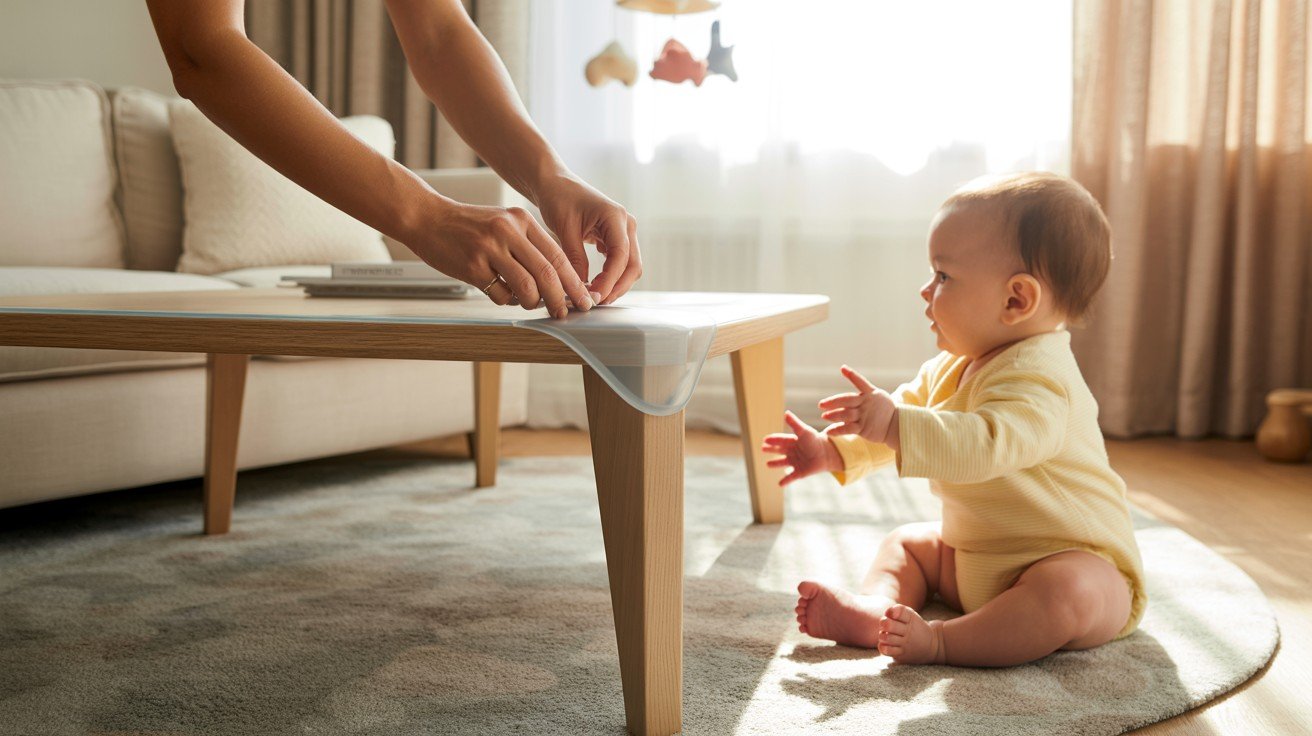
Test fit before removing the adhesive backing.
Hold each guard in place. Make sure it covers the entire sharp edge. If it doesn’t fit perfectly, don’t force it.
Remove the adhesive backing one guard at a time. Press firmly for 30 seconds each. Don’t let go early.
Check each guard by gently tugging. If it moves, remove and clean the surface again.
Step 5: Add Stability Features
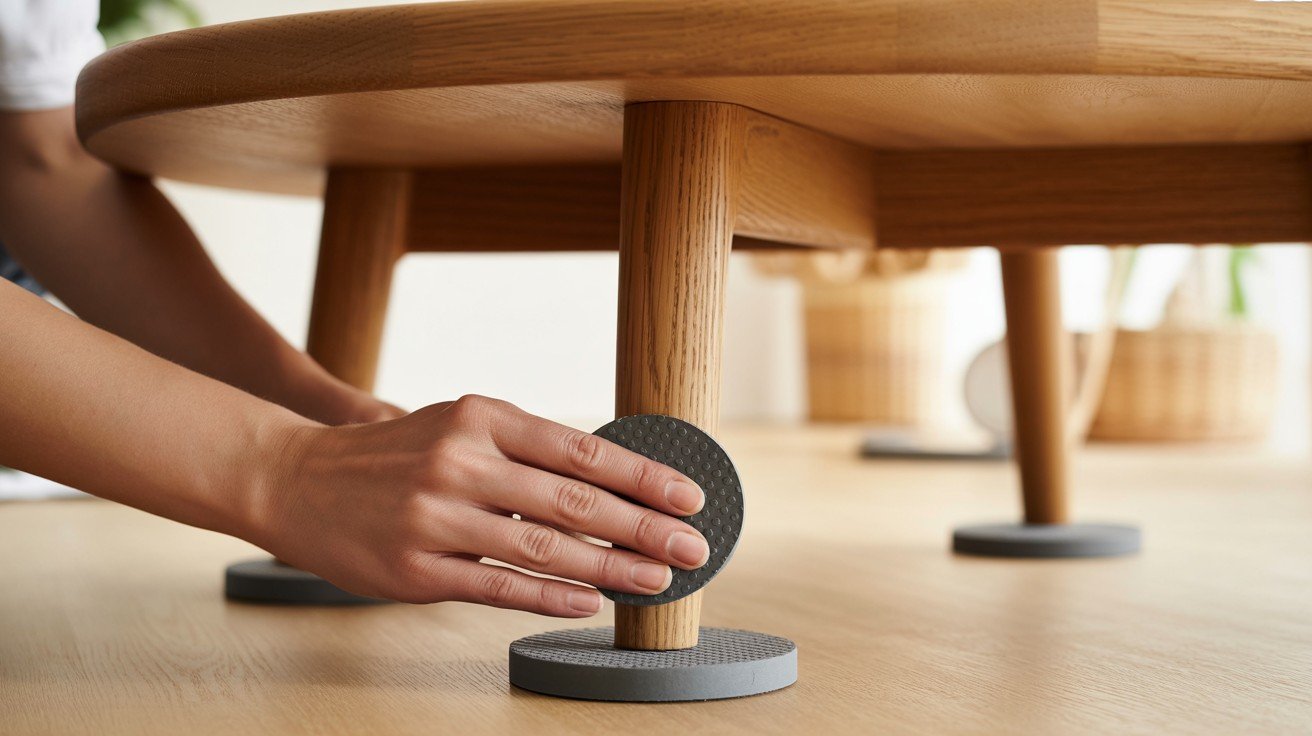
Prevent tipping and sliding accidents.
Place anti-slip pads under each table leg. Press down firmly to activate the grip.
For tall or narrow tables, use furniture anchors to secure the wall. Find wall studs first – drywall anchors aren’t strong enough.
Test stability by gently pushing the table. It shouldn’t rock or slide.
Step 6: Final Safety Check
Get back down to your child’s level.
Crawl around the table again. Run your hands along all edges. If you feel anything sharp, add more protection.
Try to grab and pull on the guards. They should stay put. Place a few safe items back on the table. Nothing small, breakable, or dangerous.
Your table is now child-safe and still functional.
Materials Needed
Basic Protection Kit:
- Corner guards (4-8 pieces)
- Rubbing alcohol for cleaning
- Anti-slip pads (4 pieces)
- Measuring tape
For Advanced Safety:
- Furniture anchor straps
- Wall anchors or screws
- Stud finder
- Screwdriver
Optional Additions:
- Edge foam padding
- Cable ties
- Scissors for trimming
- Cleaning cloths
Cost Range: $25-50 for most tables
Time Required: 30-45 minutes for installation
Conclusion
You don’t have to choose between a beautiful living room and a safe one. These seven baby-proof coffee table strategies prove that protecting your little one doesn’t mean sacrificing your home’s style.
From strategic table swaps to wise material choices, you now have practical solutions that work. Your family’s safety comes first, but that doesn’t mean living in a house that looks like a daycare center.
Start with the hack that fits your situation best. There could be corner guards today and a new ottoman next month. Small changes make significant differences.
Which solution will you try first? Share your coffee table safety wins in the comments below – other parents need to hear what works in real homes with real kids.
Your living room can be both gorgeous and safe. Now you know how.
Frequently Asked Questions
What is the safest baby-proof coffee table option for toddlers?
Round or oval ottomans with soft edges are the safest choice. They eliminate sharp corners while providing stable surfaces. Look for heavier options that won’t tip over when climbed on.
How do I baby-proof a glass coffee table without removing it?
Install thick rubber corner guards on all edges and corners. Add anti-slip pads underneath for stability. Consider temporary removal during peak toddler months (12-24 months) for maximum safety.
Are corner bumpers enough to baby-proof coffee table edges?
Basic foam bumpers often aren’t sufficient. Use rubber guards at least 1 inch thick for better impact absorption. Ensure they adhere properly to prevent removal by curious hands.
When should I start baby-proofing my coffee table?
Begin babyproofing when your child starts crawling (around 6-10 months). This gives you time to implement solutions before they become mobile enough to reach dangerous areas.
What’s the most budget-friendly way to baby-proof coffee table furniture?
Temporary removal costs nothing and is highly effective. Alternatively, rubber corner guards under $25 provide excellent protection. Pool noodles wrapped in fabric offer a creative DIY solution.