

Looking to add character and functionality to your home without breaking the bank? A barn door DIY installation might be exactly what you need.
These sliding doors offer a perfect blend of rustic charm and modern practicality, making them ideal for closets, pantries, or any space where traditional swing doors feel cramped.
The best part? Installing a barn door is more straightforward than you might think. With the right tools, materials, and step-by-step guidance, you can complete this rewarding home improvement project in just a weekend.
This comprehensive tutorial will walk you through everything from selecting the perfect door and hardware to hanging it like a pro.
Ready to give your home a stylish upgrade while maximizing your space?
Tools Required
|
Tool |
Purpose |
Notes |
|
Power drill |
Creating pilot holes and driving screws |
Cordless is recommended for mobility |
|
Level (2-4 feet) |
Ensuring the track is perfectly straight |
Critical for smooth door operation |
|
Tape measure |
Measuring door, track, and spacing |
25-foot minimum recommended |
|
Stud finder |
Locating wall studs for secure mounting |
Electronic type preferred |
|
Socket wrench set |
Tightening bolts and hardware |
Include both metric and standard |
|
Pencil |
Marking mounting points |
Use a sharp tip for precision |
|
Safety glasses |
Eye protection during drilling |
Required for all power tool use |
|
Screwdriver set |
Hand-tightening and adjustments |
Phillips and flathead varieties |
Materials Checklist
|
Material |
Quantity |
Description |
|
Barn door slab |
1 |
Pre-made or custom door (36″ minimum width) |
|
Barn door hardware kit |
1 complete set |
Includes track, rollers, and mounting brackets |
|
Wood screws (3-4 inches) |
8-12 pieces |
For securing the track to the studs |
|
Lag bolts |
4-6 pieces |
Heavy-duty mounting for track brackets |
|
Spacers/shims |
As needed |
For leveling and proper clearance |
|
Header board (2×8 or 2×10) |
1 piece |
Optional structural support beam |
|
Wall anchors |
4-6 pieces |
Backup support if studs aren’t available |
Optional Supplies
|
Item |
Purpose |
Benefits |
|
Wood stain or paint |
Door finishing |
Matches existing decor |
|
Floor guide |
Bottom door stability |
Prevents swinging and wear |
|
Soft-close mechanism |
Smooth door operation |
Reduces noise and impact |
|
Door handle/pull |
Easy door operation |
Various styles available |
|
Sandpaper (120-220 grit) |
Surface preparation |
For finishing raw doors |
|
Drop cloth |
Floor protection |
Prevents a mess during installation |
How to Choose the Right Door?
Door Sizing Guidelines
- Width: Your barn door should be 4-6 inches wider than the door opening to ensure complete coverage
- Height: Standard doors range from 80-84 inches, but measure your ceiling height for custom options
- Overlap: Plan for 2-3 inches of overlap on each side of the opening for privacy and visual appeal
Door Material Options
- Solid Wood: More durable and authentic appearance, but heavier (requires stronger hardware)
- MDF (Medium Density Fiberboard): Lighter weight, budget-friendly, accepts paint well, but is less durable
- Hollow Core: Lightest option, but offers minimal sound dampening and less structural integrity
Selecting Hardware
Track Length Considerations
- Choose a track that’s twice the width of your door opening
- Add an extra 6-12 inches for smooth operation and complete door clearance
- Standard tracks come in 6, 8, 10, and 12-foot lengths
Weight Capacity Requirements
- Solid wood doors: 150-200 lb capacity hardware
- MDF doors: 100-150 lb capacity hardware
- Hollow core doors: 75-100 lb capacity hardware
Style and Finish Options
- Matte black for modern farmhouse appeal
- Brushed nickel for contemporary spaces
- Antique bronze for rustic charm
- Stainless steel for industrial looks
Measuring Your Doorway
Critical Measurements
- Above clearance: Minimum 8 inches from the top of the opening to the ceiling
- Side clearance: At least 1 inch beyond door width for track mounting
- Floor clearance: A ½ to ¾ inch gap prevents carpet interference
- Wall depth: Ensure 1-2 inches for door thickness when fully open
Pro Measuring Tips
- Measure twice at different points to account for uneven walls
- Check for electrical outlets or switches that might interfere
- Consider baseboard height and trim work
Should You Use a Header Board?
A header board is a horizontal support beam mounted above your doorway that distributes the barn door’s weight across multiple wall studs.
This 2×8 or 2×10 lumber piece creates a solid foundation for your sliding track, especially important for heavy doors or challenging wall conditions.
Consider your door weight, wall type, and structural requirements when deciding.
|
Pros |
Cons |
|
Distributes weight across multiple studs |
Adds installation time and complexity |
|
Provides a solid, reliable mounting surface |
Requires additional materials and cost |
|
Reduces wall stress and potential damage |
May affect room aesthetics negatively |
|
Allows for easier track adjustment |
Reduces ceiling height slightly |
|
Essential for drywall-only situations |
Creates more visible hardware |
When Header Board is Necessary: Use for drywall-only mounting, doorways wider than 36 inches, heavy solid wood doors over 100 pounds, or ceilings lower than 9 feet.
Skip Header Board When: You have reliable stud placement every 16 inches, lightweight doors under 75 pounds, concrete/masonry walls, or professional-grade heavy-duty hardware.
Step-by-Step Barn Door Installation Guide
Step 1: Measure and Mark Mounting Points
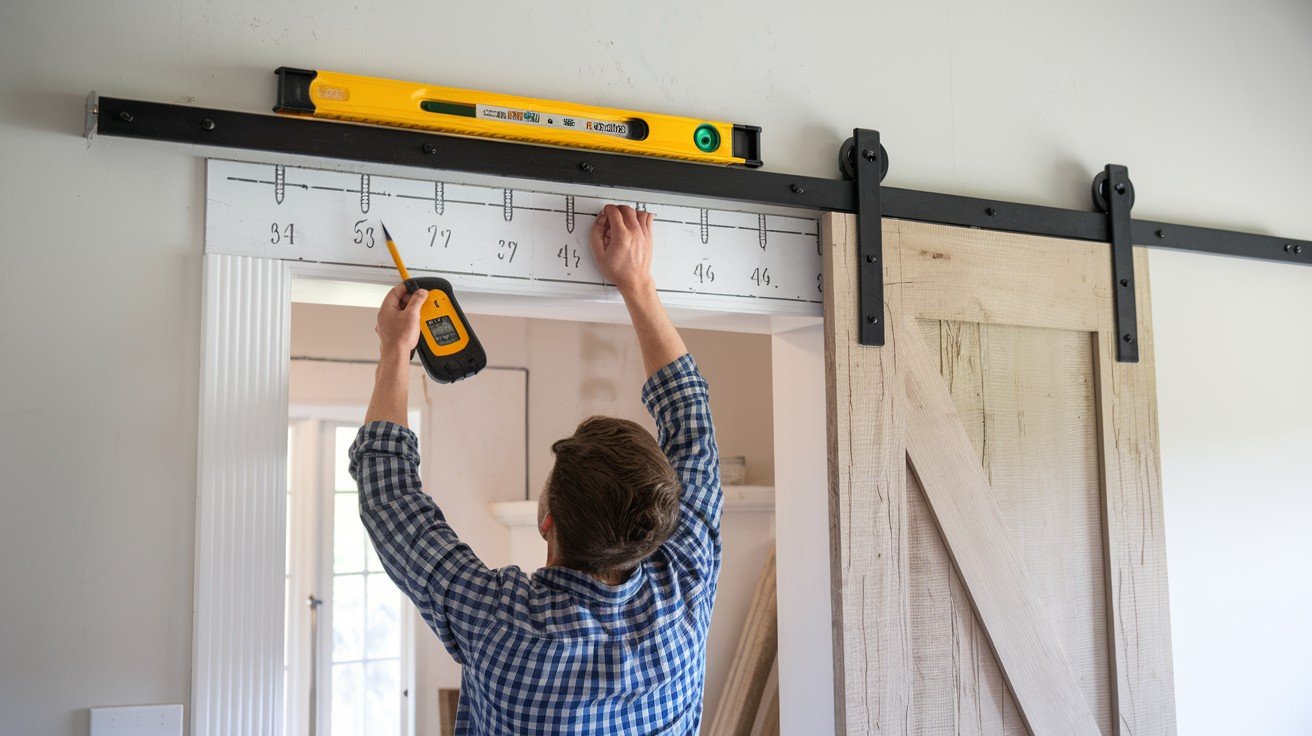
Use your stud finder to locate wall studs across the entire track length. Mark each stud location with a pencil, then measure and mark the exact height where your track will be mounted.
Typically, this is 1-2 inches above the door frame. Double-check measurements and ensure marks are level using your 4-foot level before proceeding.
Step 2: Install the Header Board (if applicable)
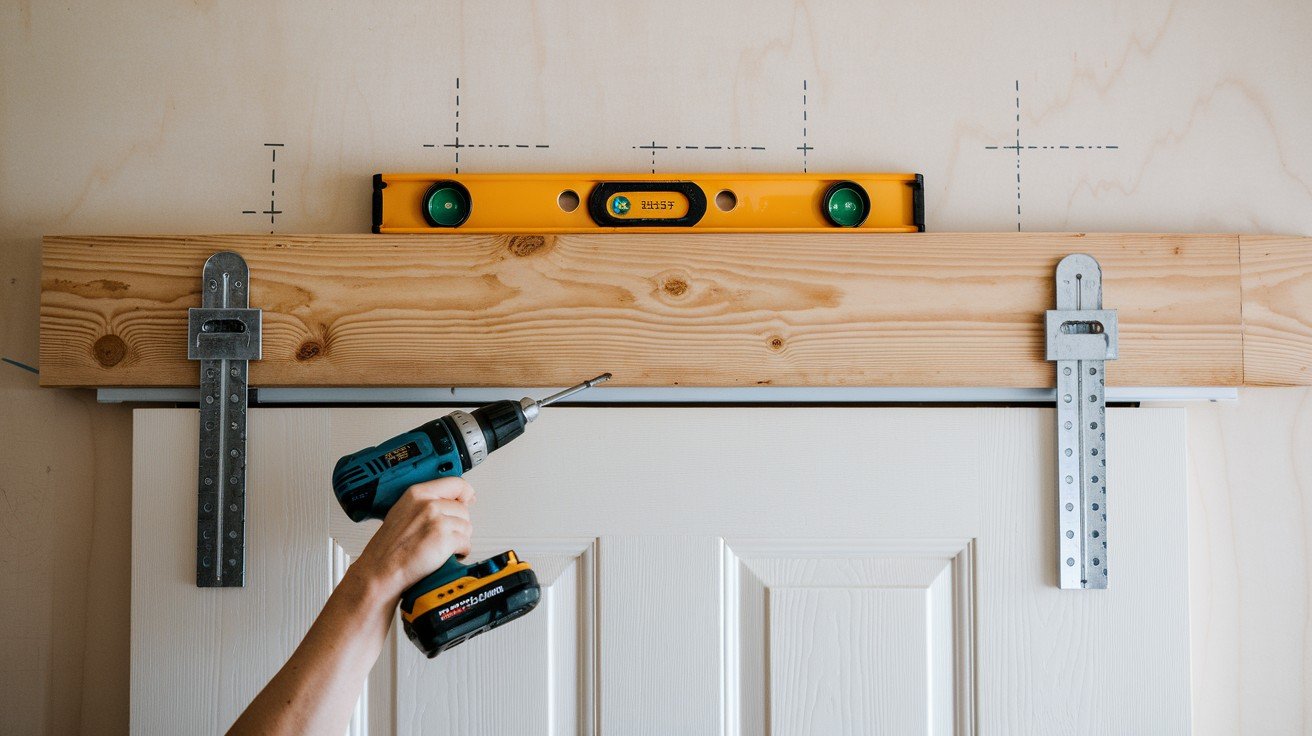
Cut your 2×8 or 2×10 header board to the appropriate length, typically 6-12 inches longer than your track. Position the board horizontally above the doorway, aligning it with your marked stud locations.
Secure the header board using 3-4 inch lag bolts driven into each stud. Verify the board is perfectly level before final tightening.
Step 3: Attach the Sliding Track
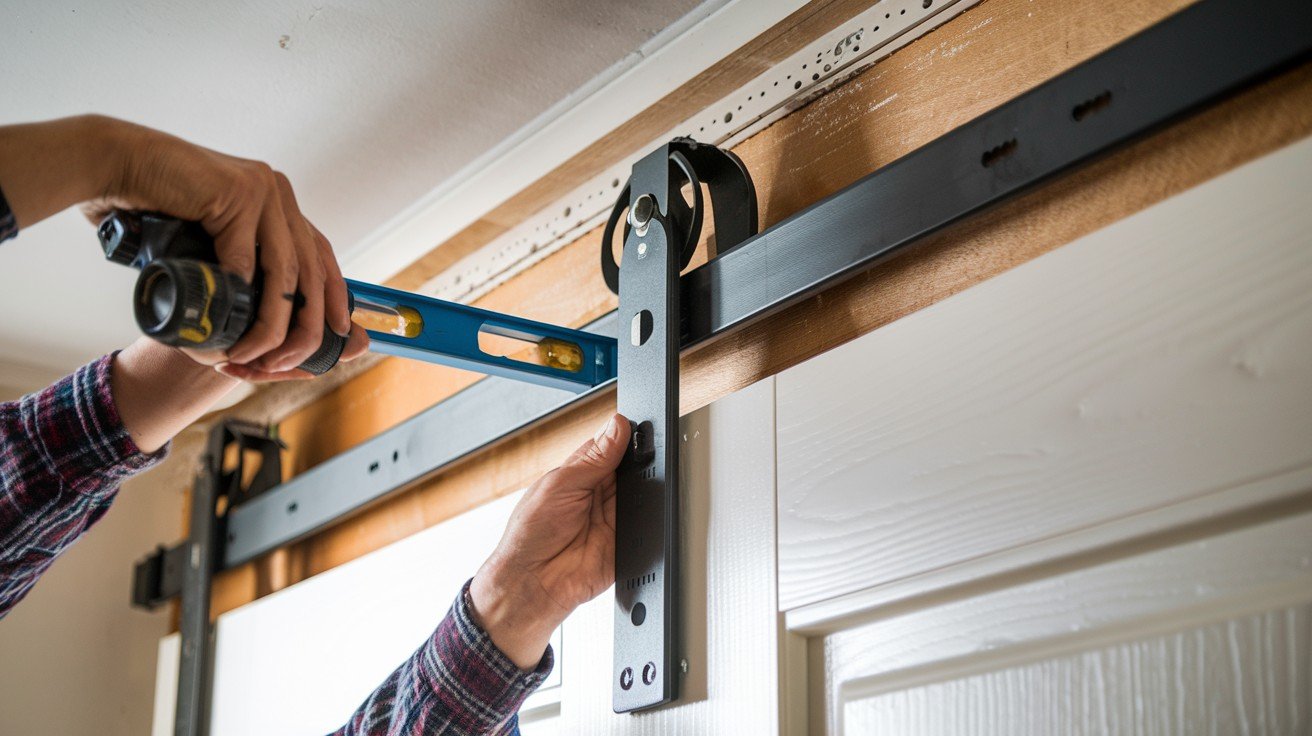
Position your sliding track on the header board or directly onto the marked wall studs. Use your level to ensure perfect horizontal alignment, then mark mounting holes.
Pre-drill pilot holes to prevent splitting, then secure the track using provided bolts or heavy-duty screws. Test the track by sliding the included roller hardware along its length.
Step 4: Install Rollers on the Barn Door
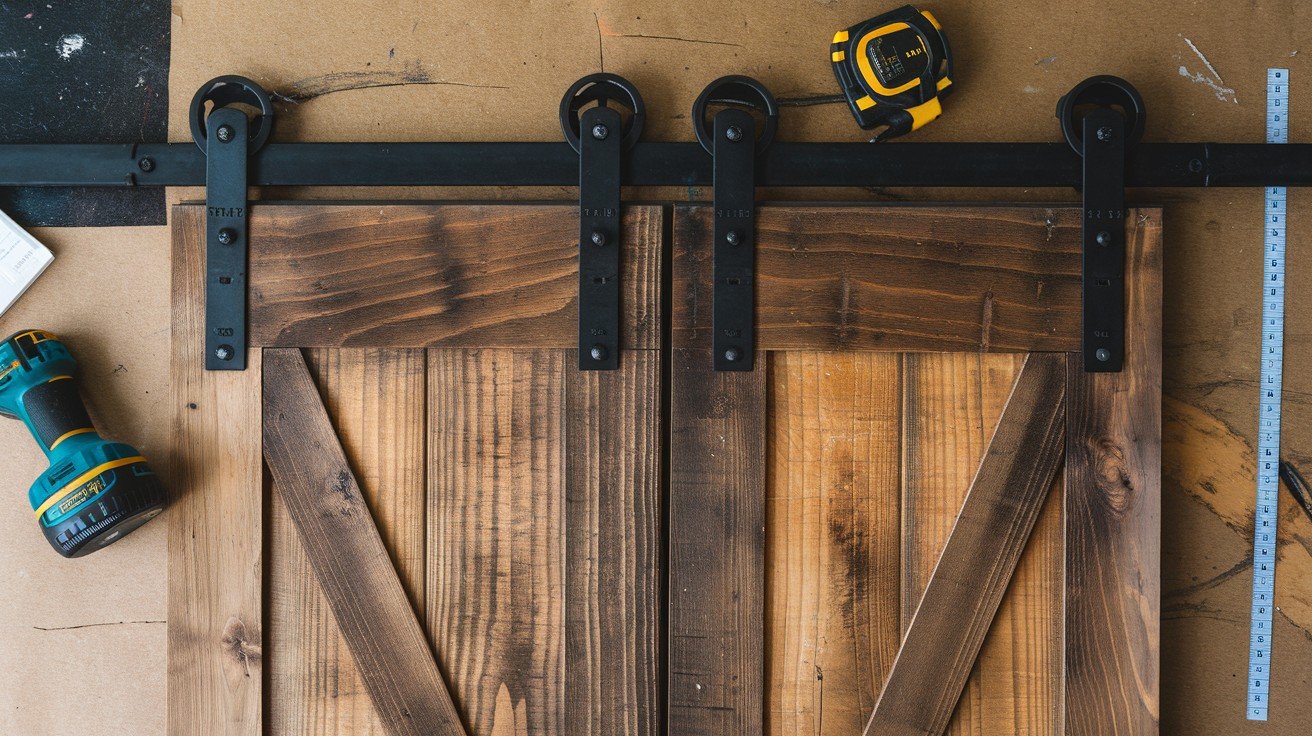
Following the manufacturer’s instructions, position the roller brackets on top of your barn door. Most systems require brackets to be placed 6-8 inches from each end of the door.
Mark mounting holes, pre-drill, and attach rollers using provided bolts. Ensure rollers are aligned parallel to the door edge and properly tightened for smooth operation.
Step 5: Hang the Barn Door
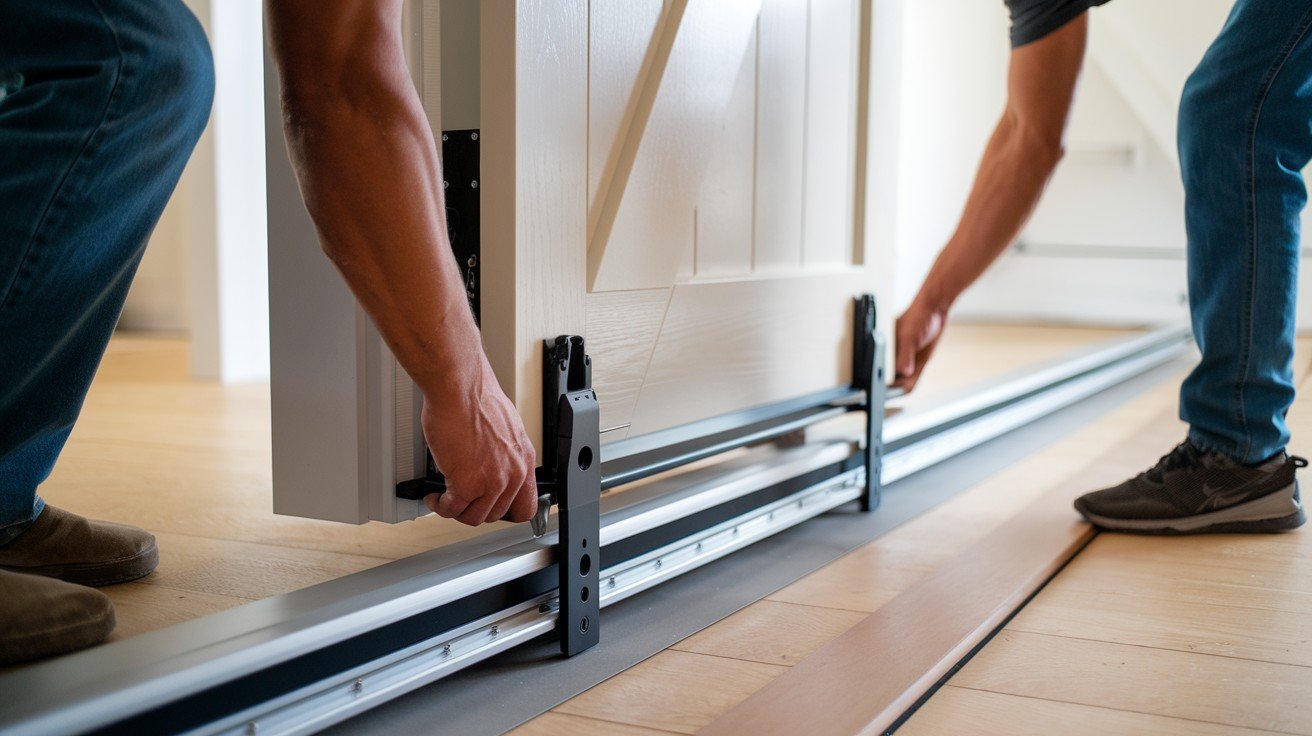
With assistance from another person, carefully lift the barn door and position the rollers onto the track. Start from one end and work across, ensuring each roller properly seats in the track groove.
Test the door’s sliding motion gently, checking for smooth operation and proper clearance from the wall and floor throughout the entire range.
Step 6: Add Door Guides and Stoppers
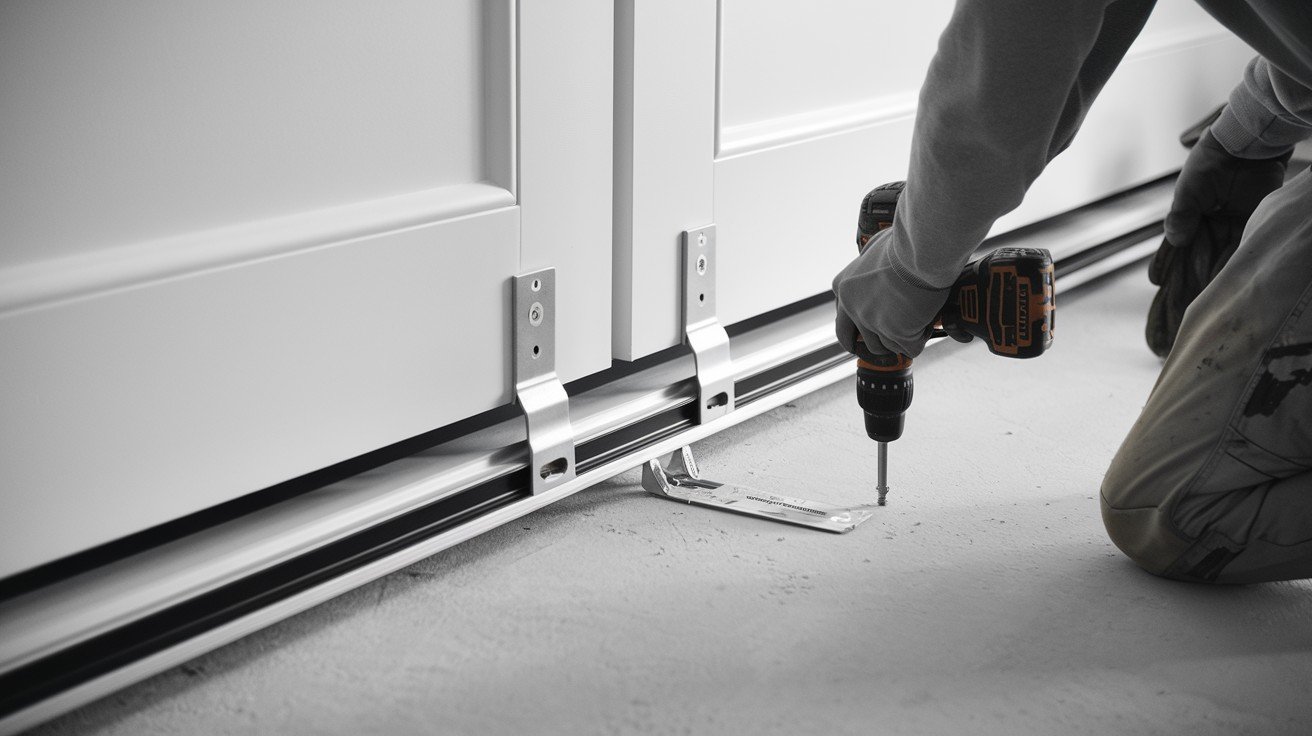
Install the bottom door guide on the floor to prevent the door from swinging away from the wall. Position it so the door slides smoothly without binding.
Attach end stops to the track to prevent the door from sliding too far in either direction. Adjust guide and stopper positions as needed for optimal door operation.
Step 7: Attach Handle or Pull
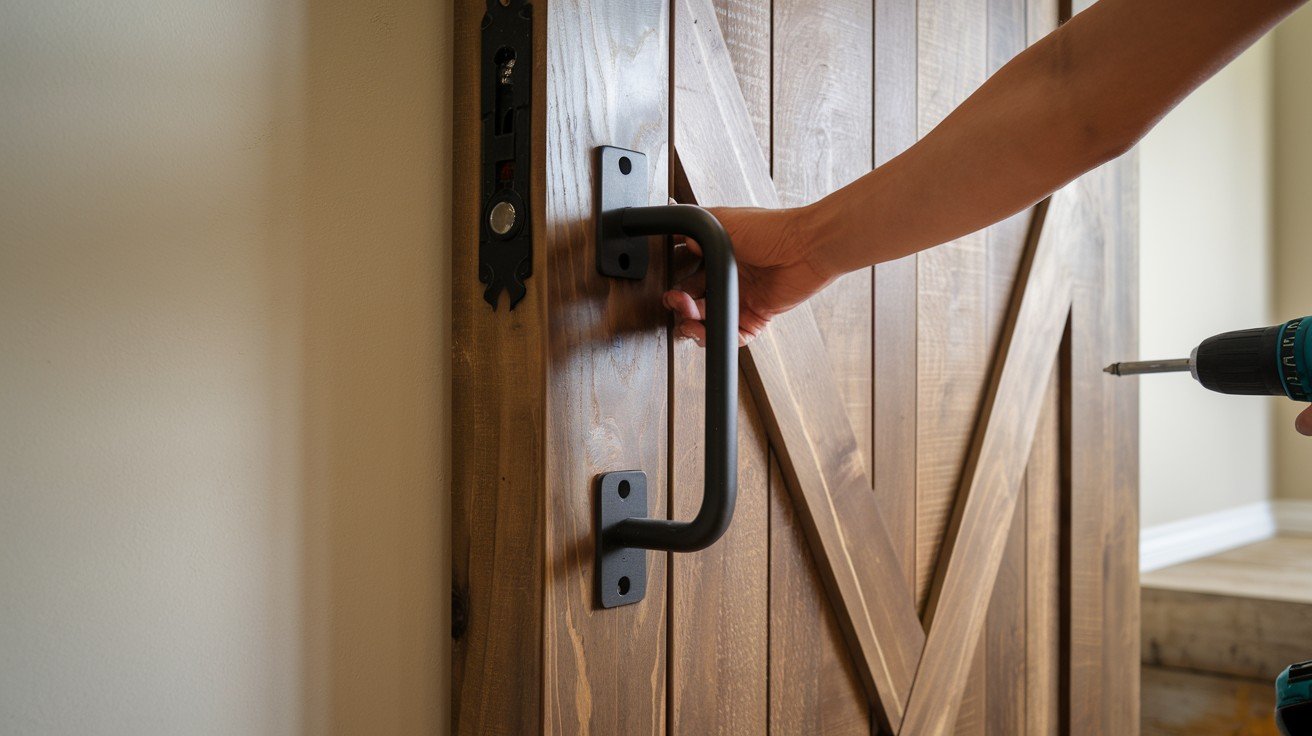
Select a handle style that complements your door design and room decor. Position the handle at a comfortable height, typically 36-42 inches from the floor.
Mark mounting holes, pre-drill to prevent wood splitting, then secure the handle using provided screws. Test the handle’s grip and ensure it’s firmly attached before regular use.
Style and Design Tips
Door Finish Options
Stain finishes highlight natural wood grain for authentic rustic appeal, while painted doors offer unlimited color possibilities to match any decor.
Distressing techniques create aged, weathered looks perfect for farmhouse styles.
Choose rustic finishes with visible knots and texture for traditional charm, or opt for modern approaches with clean lines and smooth surfaces for contemporary spaces.
Matching Hardware Finishes to Decor
- Matte black hardware complements both modern farmhouse and industrial aesthetics.
- Brushed nickel works well with contemporary and transitional decor styles.
- Antique brass adds warmth to traditional and rustic settings.
- Stainless steel suits modern, minimalist spaces perfectly. Consider your existing fixtures, cabinet hardware, and lighting when selecting finishes for cohesive design.
Space-Saving Benefits
Barn doors excel in tight spaces where traditional swing doors would interfere with furniture or traffic flow.
- Closets gain full access without door swing restrictions.
- Pantries benefit from wide openings for easier grocery storage.
- Laundry rooms maximize functionality in compact areas.
- Small bedrooms save precious floor space while adding character and style to cramped quarters.
Conclusion
Installing a barn door is a rewarding home improvement project that combines functionality with style.
With proper planning, the right tools, and attention to detail, you can complete this installation in a weekend.
Remember to prioritize safety by securing your track to wall studs and choosing hardware rated for your door’s weight.
The versatility of barn doors makes them perfect for various applications throughout your home.
From maximizing space in small rooms to adding rustic charm to modern interiors, these sliding doors offer both practical and aesthetic benefits.
Take time to select finishes that complement your existing decor, and don’t rush the measurement and installation process.
Your new barn door will provide years of reliable service while adding character and value to your home. Enjoy the satisfaction of completing this DIY project and the enhanced functionality it brings to your living space.
Frequently Asked Questions
How much weight can a barn door track support?
Most standard tracks handle 150-200 pounds, but check your specific hardware’s weight rating before installation.
Can I install a barn door without finding wall studs?
Not recommended. Always secure to studs or use a header board for safe, reliable installation.
What’s the minimum ceiling height needed for barn door installation?
You need at least 8 inches of clearance above your door opening for proper track mounting.