

When it comes to keeping your home comfortable and energy-efficient, choosing the proper insulation makes all the difference. But standing in the home improvement store, staring at batt insulation and roll insulation options, can leave you scratching your head.
What’s the real difference between these two? Which one works better for your specific project? And most importantly, which option gives you the best value for your money?
Here’s the thing: making the wrong choice can cost you hundreds of dollars and leave your home poorly insulated. That’s why we’ve put together this straightforward comparison.
In this article, you’ll learn how batt and roll insulation differ, which type works best for different spaces, installation requirements for each option, cost comparisons to help your budget, and performance differences that matter.
We’ll give you the honest facts. No sales pitch, just practical information from years of real-world experience helping homeowners make smart insulation decisions. You’ll walk away confident in your choice and ready to tackle your insulation project the right way.
Material Composition and Performance
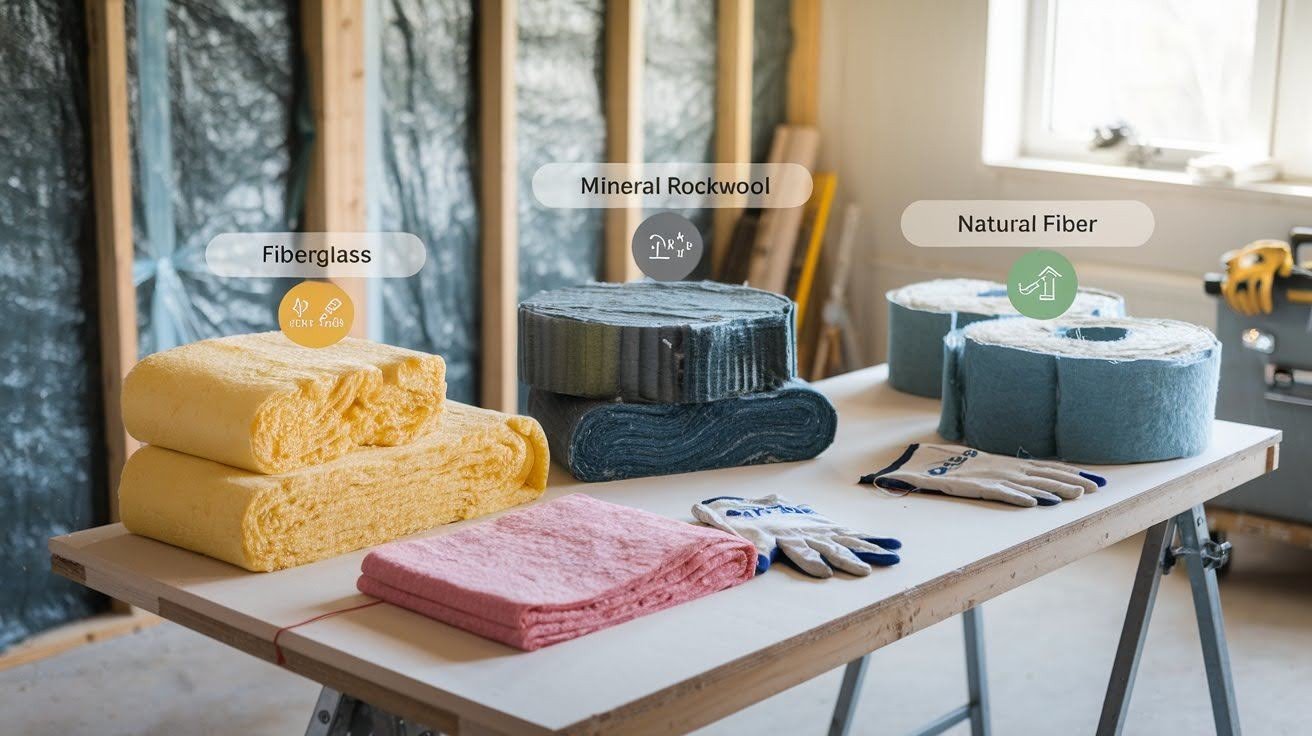
Let me clear up a common misconception right away. Both batt and roll insulation use the same materials. The only difference is how they’re packaged and sold.
Fiberglass dominates the market for good reason. It’s lightweight, affordable, and gets the job done. You’ll find this option in most home improvement stores.
Mineral wool, also called rockwool, costs more but offers something special. It resists fire better than fiberglass and blocks sound exceptionally well. Perfect for basements or media rooms.
Natural fibers like cotton provide an eco-friendly alternative. They’re safe to handle without gloves, though they typically cost more than synthetic options. Facing options matters too. You can choose paper backing, foil facing, or vapor barriers depending on your moisture control needs. Here’s what matters: both types perform identically.
The R-value range sits between R-2.9 and R-3.8 per inch for standard materials. Dense materials can reach R-4.3 per inch. Proper installation determines effectiveness, not the packaging format.
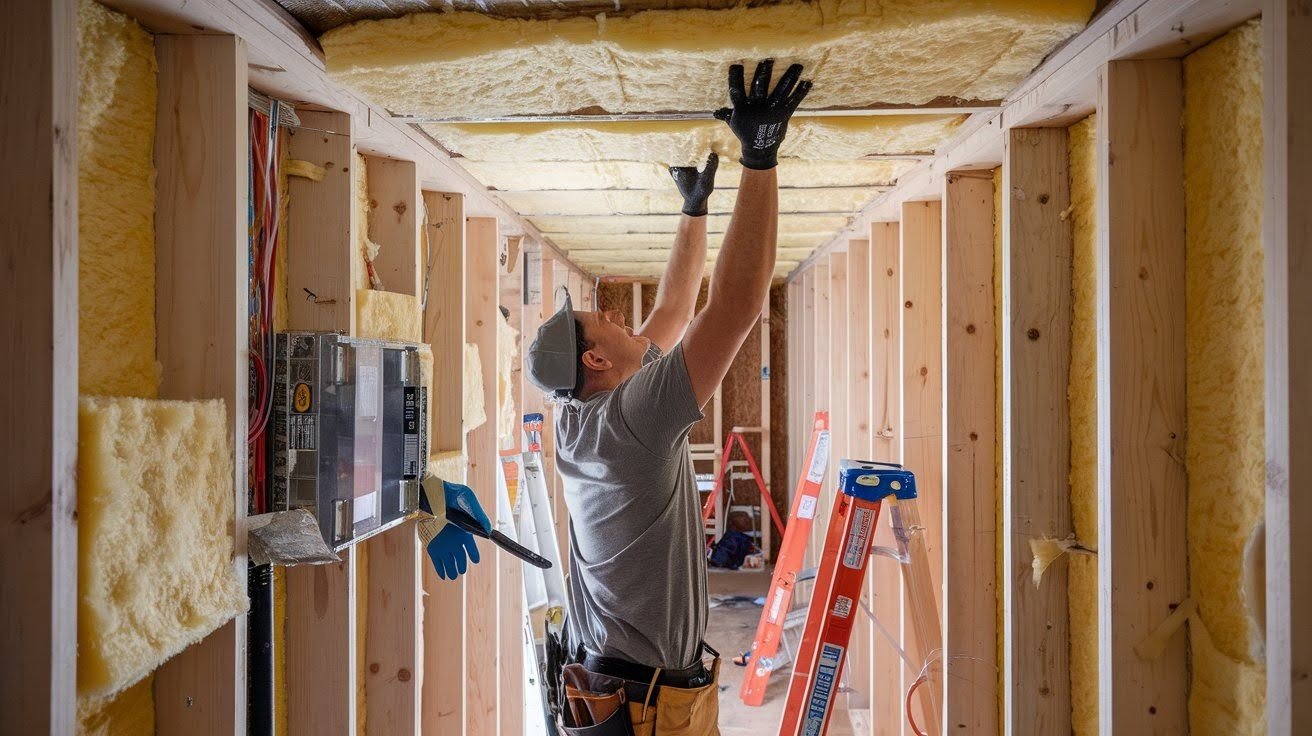
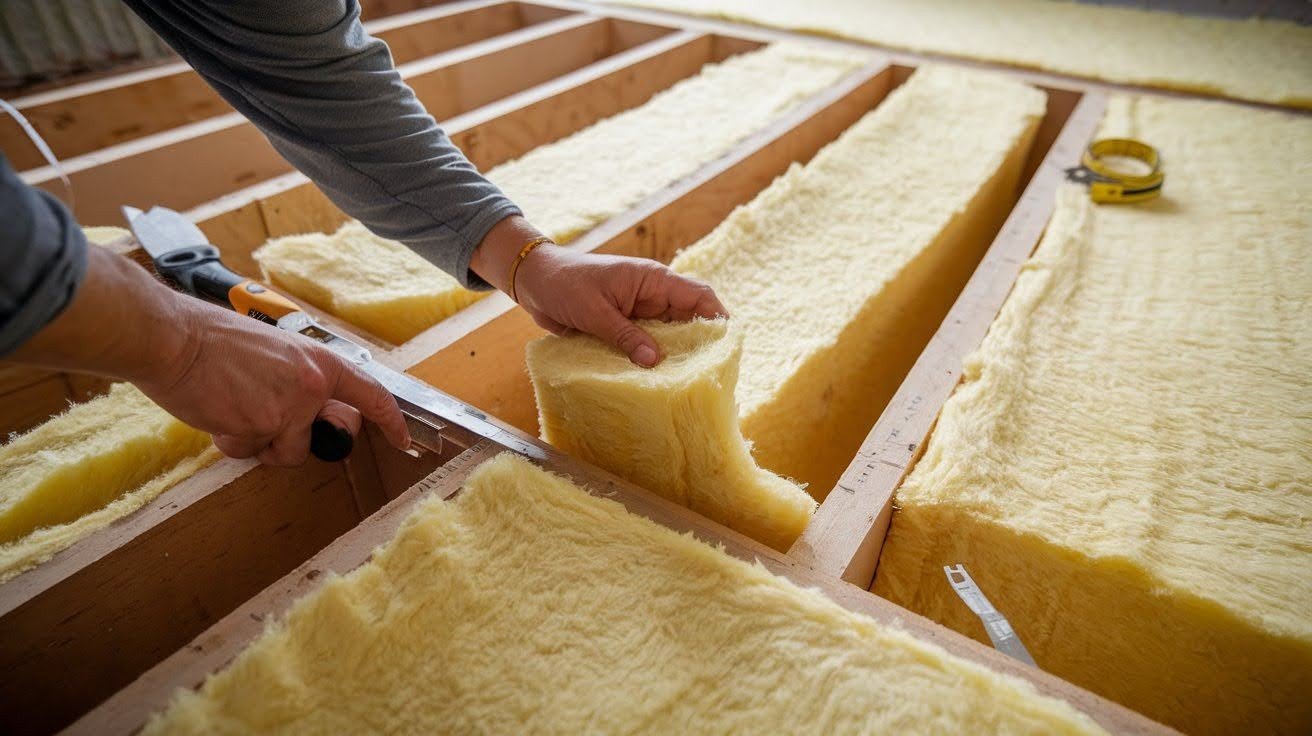
What is Batt Insulation?
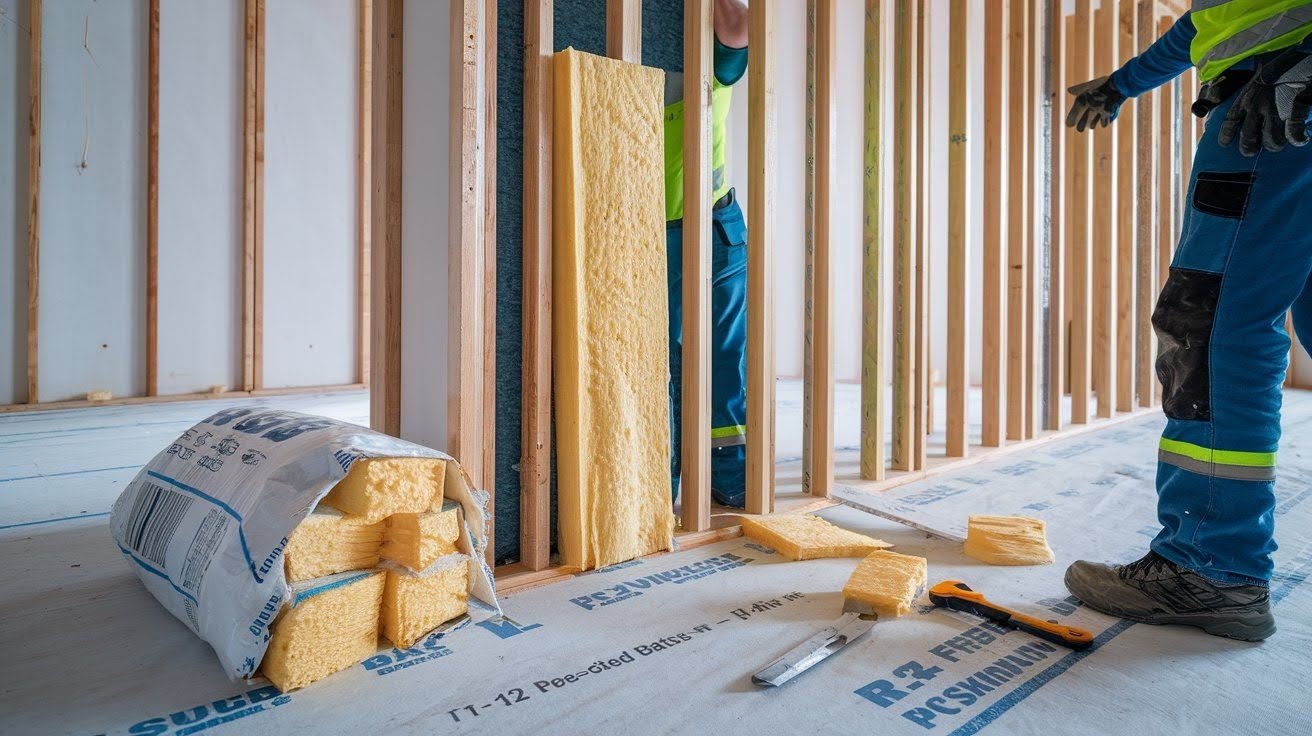
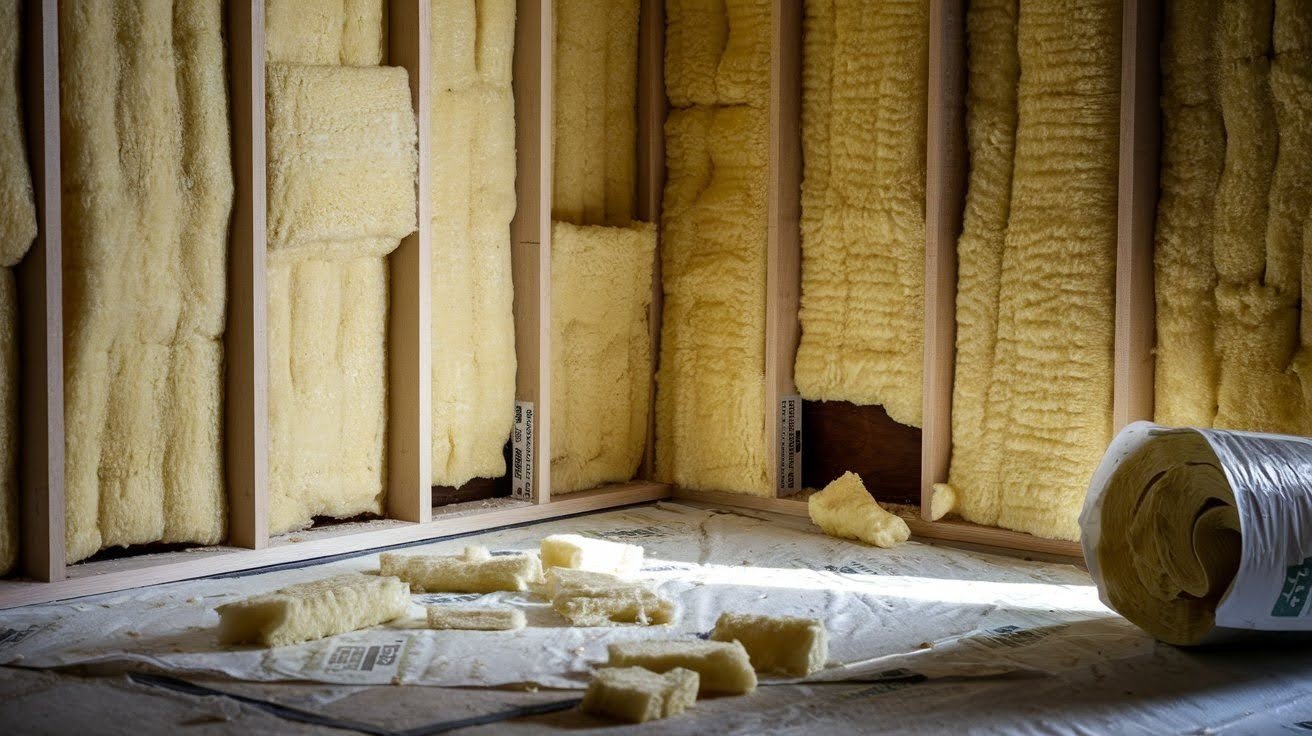
Think of batt insulation like pre-cut puzzle pieces for your walls. Each piece comes ready to fit standard spaces in your home. Batt insulation arrives as individual blocks. These pre-cut pieces match common wall and ceiling dimensions – typically 16 or 24 inches wide.
You can’t reshape these rigid blocks easily. They’re designed to maintain their form. This differs from other insulation types that bend and flex. The packaging makes storage simple.
Batts come compressed in bags, which saves space during transport. Once you open the bag, they expand to full thickness. Standard cavities get perfect fits. Manufacturers size batts for typical wall, floor, and ceiling spaces.
Measuring comes first. You need exact counts and sizes before starting your project. Installation moves quickly once you begin. Each piece slides between studs, joists, and beams.
The pre-cut sizing speeds up the work significantly. Obstacles require extra attention. You’ll need to carefully cut around wiring, pipes, and electrical boxes for proper coverage.
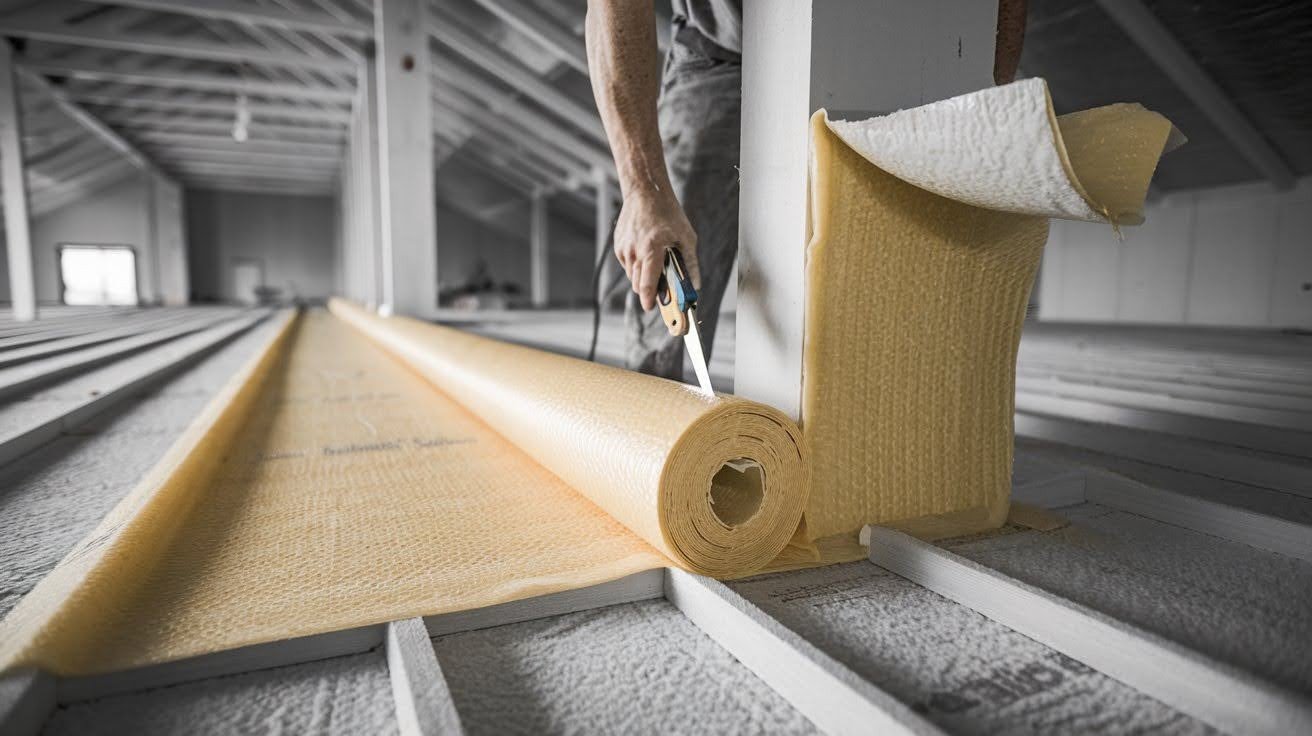
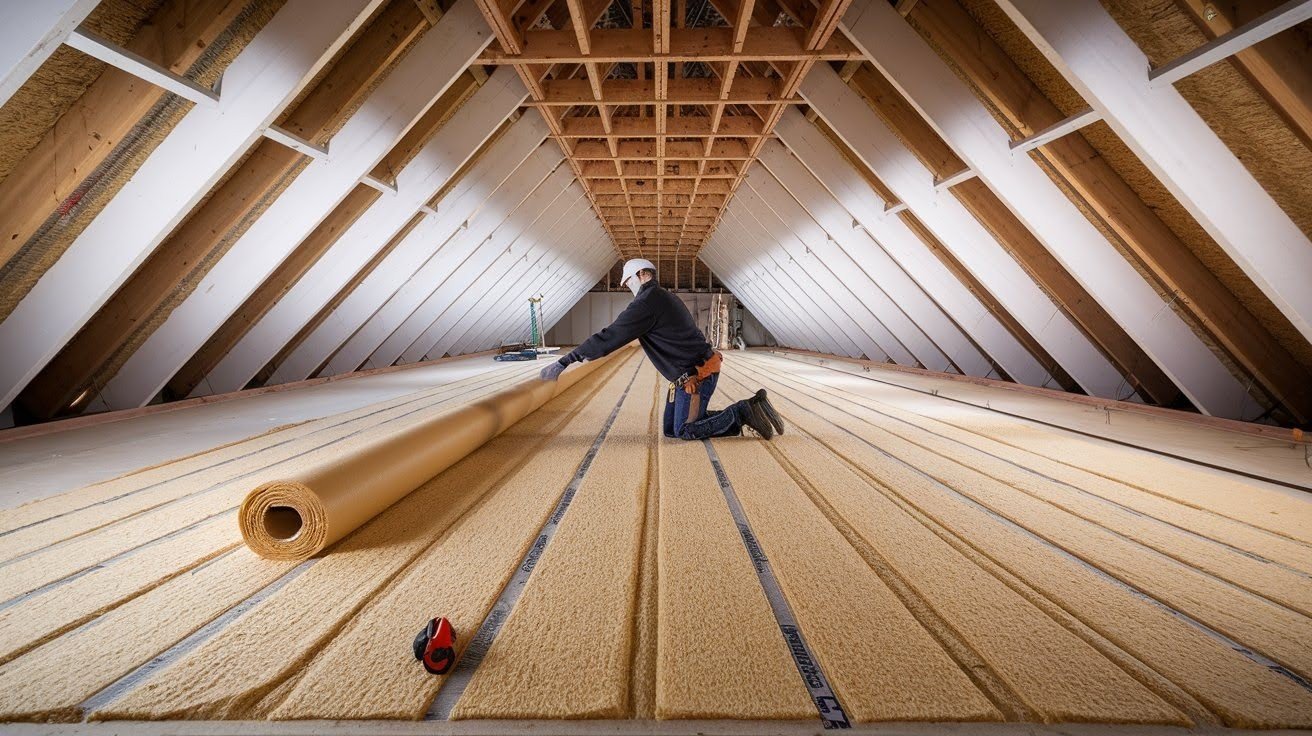
What is Roll Insulation?
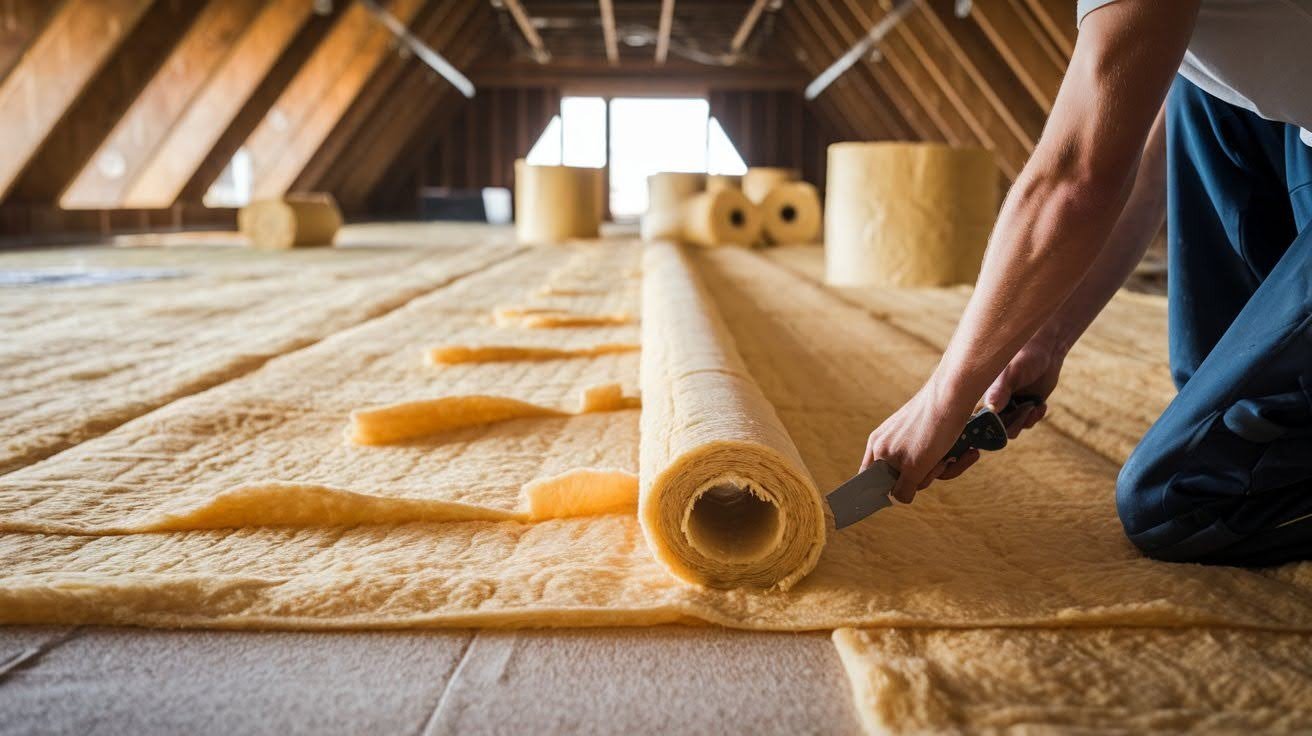
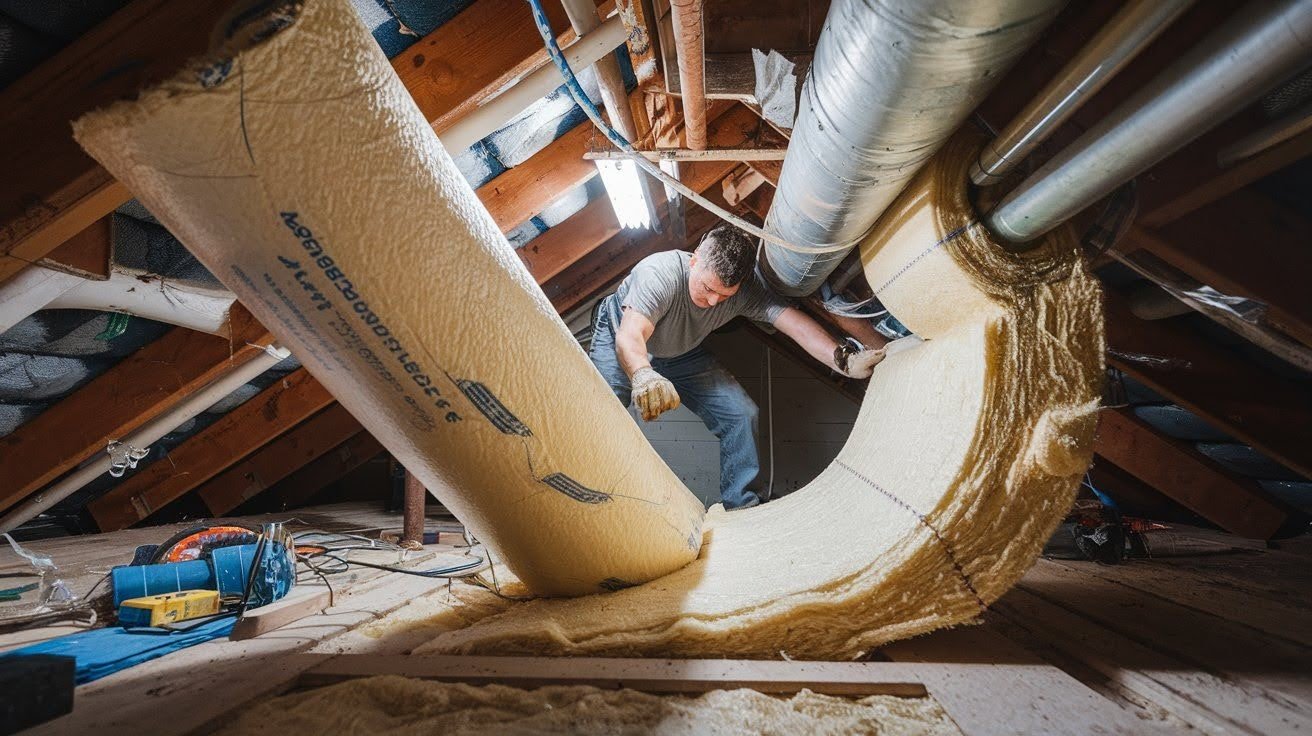
Picture unrolling a giant carpet across your attic floor. That’s precisely how roll insulation works. Roll insulation comes in continuous lengths. You roll it out as you install it, covering large areas without seams.
The material feels thin and flexible in your hands. You can bend, fold, and shape it easily. This flexibility makes it perfect for irregular spaces. Here’s the catch: these rolls get heavy and awkward.
Moving them around tight spaces can be challenging. You might need help carrying larger rolls.
Cutting happens on the spot. You measure and trim the material to fit precisely where you need it.
Start rolling and keep going. The installation process flows smoothly across large, open areas. You’ll do more measuring and cutting compared to batts. Each space gets custom-fitted pieces. This takes extra time but ensures better coverage. Long, open spaces work best.
Think attic floors or basement ceilings with few interruptions. Fewer obstacles mean faster work. Roll insulation shines in spaces without lots of wiring or pipes.
Cost Analysis
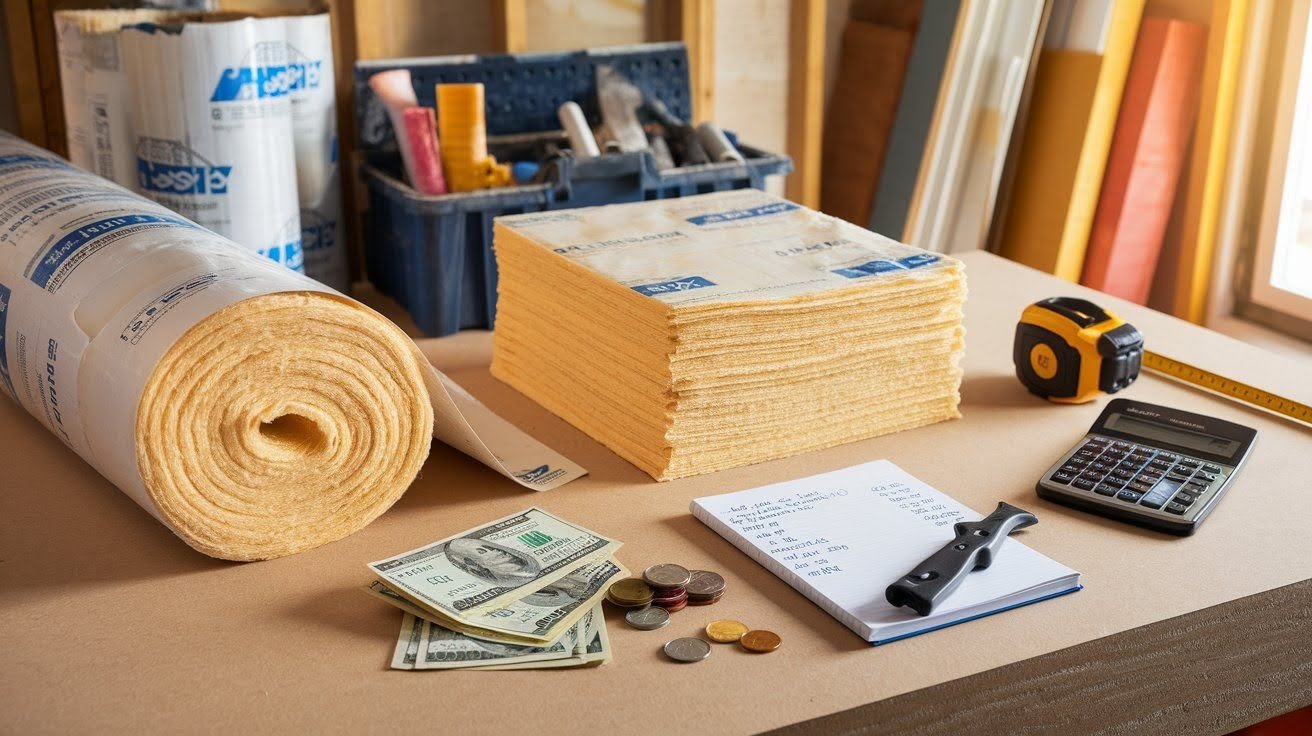
Let’s talk about money. The price difference might surprise you. Roll insulation costs less upfront. A typical roll covers 49 square feet for about $10.
That works out to just 21 cents per square foot. Batt insulation costs more per square foot. You’ll pay around $42 for 77 square feet of coverage. That’s 55 cents per square foot.
But wait – pricing changes based on several factors. Material type, R-value, and manufacturer all affect the final cost. Here’s good news: both types work for DIY projects. You can install either one yourself and save on labor costs. No special tools or professional experience required.
Advantages and Disadvantages Comparison
Learn the main pros and cons side by side to help you make smarter, quicker, and more confident choices.
Batt Insulation Benefits
Speed matters when you’re working overhead. Pre-cut pieces let you move quickly from cavity to cavity without stopping to measure. Precision comes built-in.
Standard dimensions match your wall studs perfectly. You’ll make fewer measurement mistakes. Transportation gets easier with compression-packed bags, no wrestling with bulky rolls through doorways.
Obstacles become manageable. You can work around pipes, wires, and electrical boxes more easily. Each piece fits independently around fixtures.
Batt Insulation Limitations
Gaps can form in tight spots. Hard-to-reach areas might not get proper coverage with rigid pieces. Flexibility doesn’t exist.
You can’t reshape batts for unusual spaces. What you buy is what you get. Vapor barriers need extra attention. Many batts require a separate moisture control installation.
Perfect fits aren’t guaranteed. Slightly off-sized cavities create coverage problems.
Roll Insulation Advantages
Large spaces get covered fast. Continuous material means fewer seams and joints across significant areas. Cutting happens easily. The thin material cuts cleanly with a utility knife.
No special tools needed. Fewer joints mean better coverage. There’s a reduced chance of air gaps when using continuous pieces.
Adaptability works in your favor. You can shape and mold the material to fit irregular spaces
perfectly.
Roll Insulation Drawbacks
Tearing happens more often. The thin construction makes the material fragile during installation. Heavy rolls create handling problems. You might need help moving large rolls through tight spaces.
Obstacles cause snags. The material catches on pipes, wires, and ventilation systems easily. Space requirements matter. You need room to unroll and work with the material effectively.
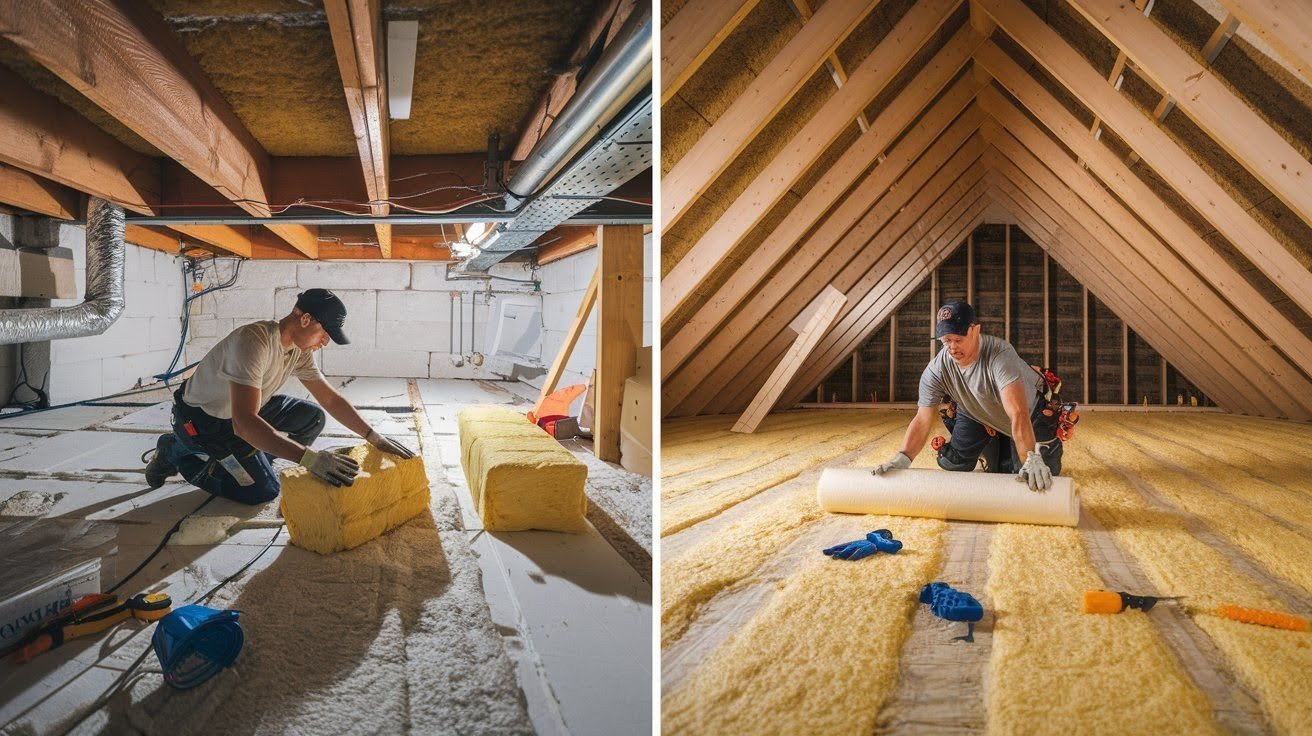
Best Application Scenarios
Choosing the right type depends on where you’re installing it. Let me break down the best uses for each.
When to Choose Batt Insulation
Tight spaces favor bats. When you’re working in cramped ceiling areas, pre-cut pieces make life easier. Obstacles everywhere?
Batts work better around ventilation systems, electrical cables, and plumbing. You can fit individual pieces around each obstruction. Standard wall cavities get perfect coverage.
Most homes have regular 16-inch or 24-inch spacing between studs. Batts match these dimensions exactly. Precision matters around fixtures. Light boxes, outlets, and pipes need careful fitting. Batts lets you work around each one individually.
When to Choose Roll Insulation
Open areas are a role territory. Large spaces with few obstacles let you cover ground quickly.
Long runs work perfectly. Continuous coverage between ceiling joists eliminates seams and gaps.
Thermal bridging is eliminated when insulation is run across joists instead of between them. An ample working room makes rolls practical. You need space to unroll and position the material properly.
Decision-Making Factors
Three key areas will guide your choice. Let’s scrutinize each one.
Workspace Assessment
How much room do you have? Cramped spaces make rolling out long materials nearly impossible. Can you reach everything easily? Some areas require crawling or stretching.
Pre-cut pieces work better in these spots. Count the obstacles. Pipes, wires, and ducts create challenges. More obstacles favor batt insulation.
Project Characteristics

Size matters for your wallet. Large areas might save money with rolls, while small projects work fine with batts. Budget constraints affect decisions.
Rolls cost less per square foot but require buying larger quantities. Your comfort level counts. New DIYers often prefer pre-cut pieces. Experienced installers handle rolls easily.
Safety Considerations
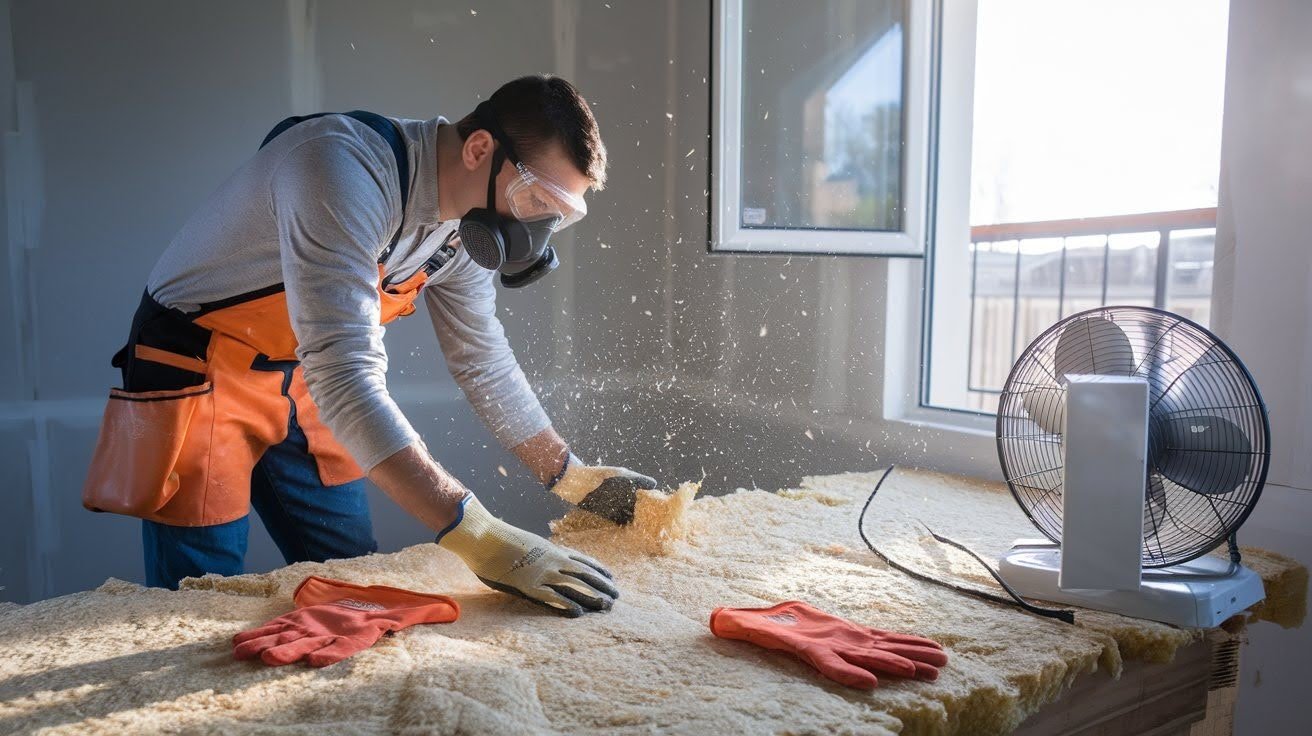
Protection isn’t optional. Both types require safety glasses and dust masks during installation.
Fiberglass irritates everything.
Your eyes, lungs, and skin all need protection from tiny particles. Ventilation prevents problems. Open windows or use fans to keep air moving during work.
Expert Recommendations
After years of insulation projects, I’ve seen what works best in real homes. Most situations favor batt insulation for practical reasons. The pre-cut sizing saves time and reduces frustration during installation.
Your workspace tells the story. Open attics with few obstacles might work fine with rolls. But most homes have plenty of pipes, wires, and vents to work around.
Batt insulation wins for typical residential projects. It’s the most cost-effective option when you factor in installation time and material waste.
Here’s my advice: choose batts unless you have large, open areas with minimal obstacles. You’ll finish faster and get better coverage in most situations.
Conclusion
Now you know the real story behind batt vs roll insulation. Both types use identical materials and provide the same thermal performance, but their packaging makes all the difference.
Batt insulation works better for most home projects. The pre-cut pieces handle obstacles easily and install faster in typical residential spaces. Roll insulation shines in large, open areas with minimal obstructions.
Your workspace conditions determine the best choice. Consider your room to maneuver, obstacle density, and project size when making your decision.
You’re now equipped to make a wise insulation choice that fits your specific needs and budget, no longer standing confused in the store aisle.
Got questions about your specific project? Drop a comment below – I’d love to help you figure out the best approach for your home.
Frequently Asked Questions
What is the main difference between batt vs roll insulation?
Batt insulation comes in pre-cut pieces designed to fit standard wall cavities, while roll insulation comes in continuous lengths that you unroll and cut to size. Both use identical materials and provide the same thermal performance.
Which costs less – batt or roll insulation?
Roll insulation typically costs less per square foot (around 21 cents) compared to batt insulation (around 55 cents per square foot). However, pricing varies based on material type, R-value, and manufacturer.
Is batt or roll insulation easier to install?
Batt insulation is generally easier for DIY installation because the pre-cut pieces fit standard spaces and work better around obstacles like pipes and wires. Roll insulation requires more cutting and measuring during installation.
When should I choose roll insulation over batts?
Choose roll insulation for large, open areas with minimal obstacles, such as attic floors or basement ceilings. The continuous coverage eliminates seams and works well for long runs between joists.
Do batt and roll insulation have the same R-value?
Yes, both types offer identical thermal performance with R-values ranging from R-2.9 to R-3.8 per inch for standard materials. Dense materials can achieve up to R-4.3 per inch regardless of format.