

Your fireplace sits there looking plain and boring. You walk past it every day, wishing it could be the stunning centerpiece your home deserves.
Board and batten fireplaces are changing how people think about their living spaces. This simple design uses vertical wooden strips placed over smooth panels. The result? A classic look that makes any fireplace stand out.
This guide walks you through everything you need to know. You’ll learn what board and batten mean, see different style options, and follow our step-by-step instructions. We’ll also share the materials you need, common mistakes that cost time and money, and real lessons from actual projects.
Ready to turn that plain fireplace into something special? Let’s get started.
What Is a Board and Batten Fireplace?
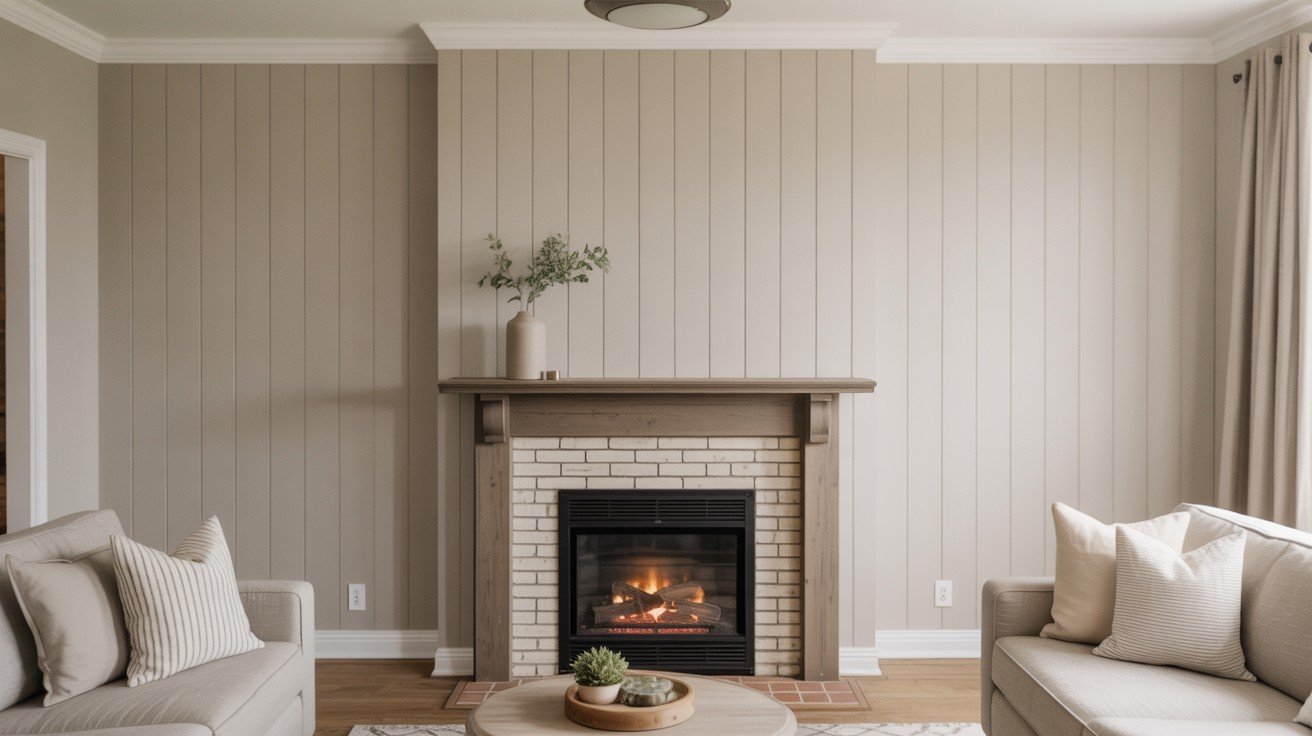
Board and batten is a wall treatment that combines flat panels with thin vertical strips of wood called battens. The battens sit on top of the panels, creating lines that draw your eyes upward. This simple technique has been used for hundreds of years on barns and homes.
This design makes your fireplace wall look taller and more important in the room. It works well with modern, farmhouse, and traditional styles. The vertical lines add texture and depth to what might otherwise be a flat, boring wall.
Benefits of a Board and Batten Fireplace
Building a board and batten fireplace gives you the high-end custom look without the high-end price tag. This simple project can change how your whole room feels and looks.
- Creates a custom, high-end look affordably.
- Makes the room appear taller and more spacious
- Works with electric, gas, or wood-burning fireplaces
- Easy to build yourself with basic tools and planning
The best part? You can complete this project in a weekend with materials from your local home improvement store.
Tools and Supplies Checklist
Getting the right tools and materials before you start saves time and prevents trips back to the store. Most of these items are basic DIY supplies you might already have.
- 1/8″ plywood
- Trim or battens (1x2s or similar)
- Brad nailer + nails
- Construction adhesive
- Wood filler
- Paint + sprayer or brush
- Caulk and painter’s tape
- Level, saw, safety gear
Having everything ready means you can focus on building instead of hunting for missing supplies.
Step-by-Step Process to Build a Board and Batten Fireplace
Follow these six steps to build your board and batten fireplace from start to finish. Take your time with each step – rushing leads to mistakes that cost extra time to fix.
Step 1: Prep and Plywood Installation
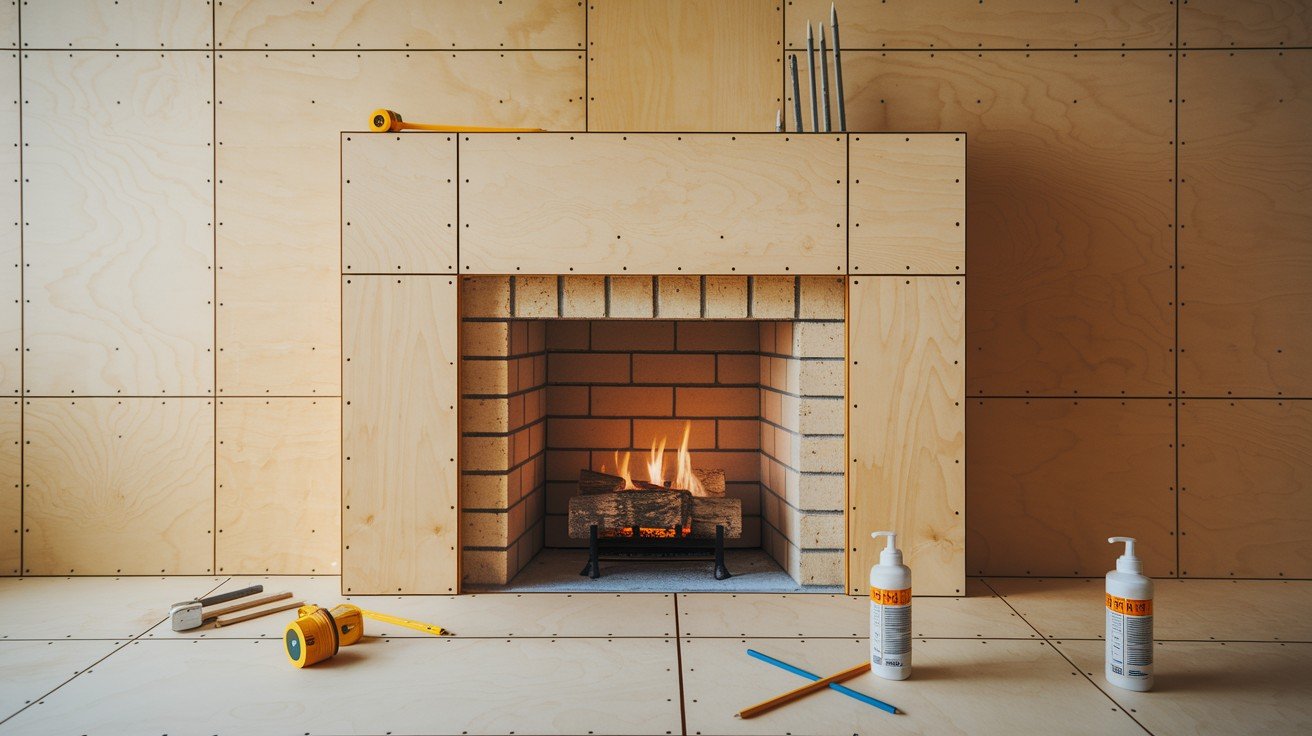
Start with smooth plywood instead of trying to work over textured walls. Textured walls make it hard to get clean, straight lines. The plywood gives you a flat surface that looks professional when finished.
Measure your wall carefully and cut the plywood to fit. Mark where the wall studs are located – you’ll need to hit these when nailing. Double-check measurements for any cable holes or outlets before cutting.
Step 2: Batten (Trim) Placement
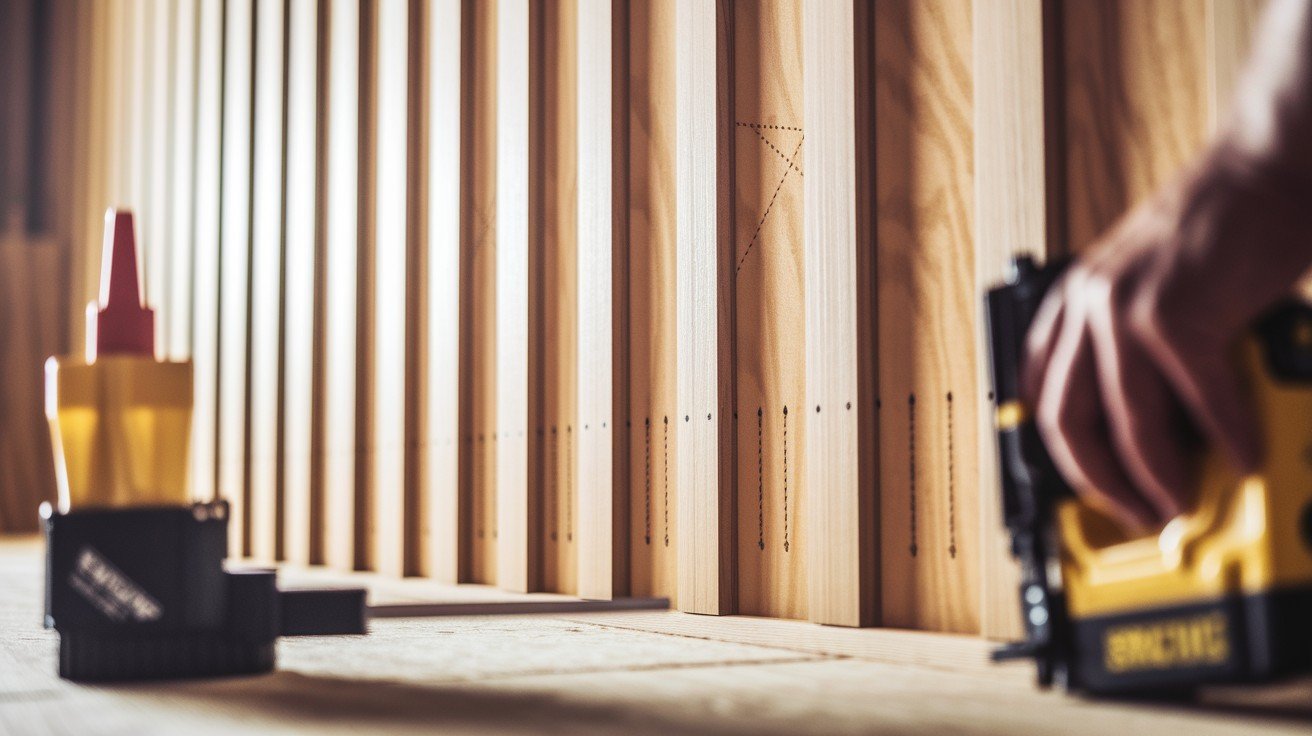
Plan your batten spacing before you start nailing. Most people space battens 12 to 16 inches apart, but you can adjust based on your wall size. Mark all your batten locations with a pencil first.
Use both construction adhesive and brad nails to secure each batten. The adhesive holds it in place while you nail, and the nails keep it secure long-term. Plan how your battens will work around your mantel area.
Step 3: Seam Filling and Smooth Surface Finishing
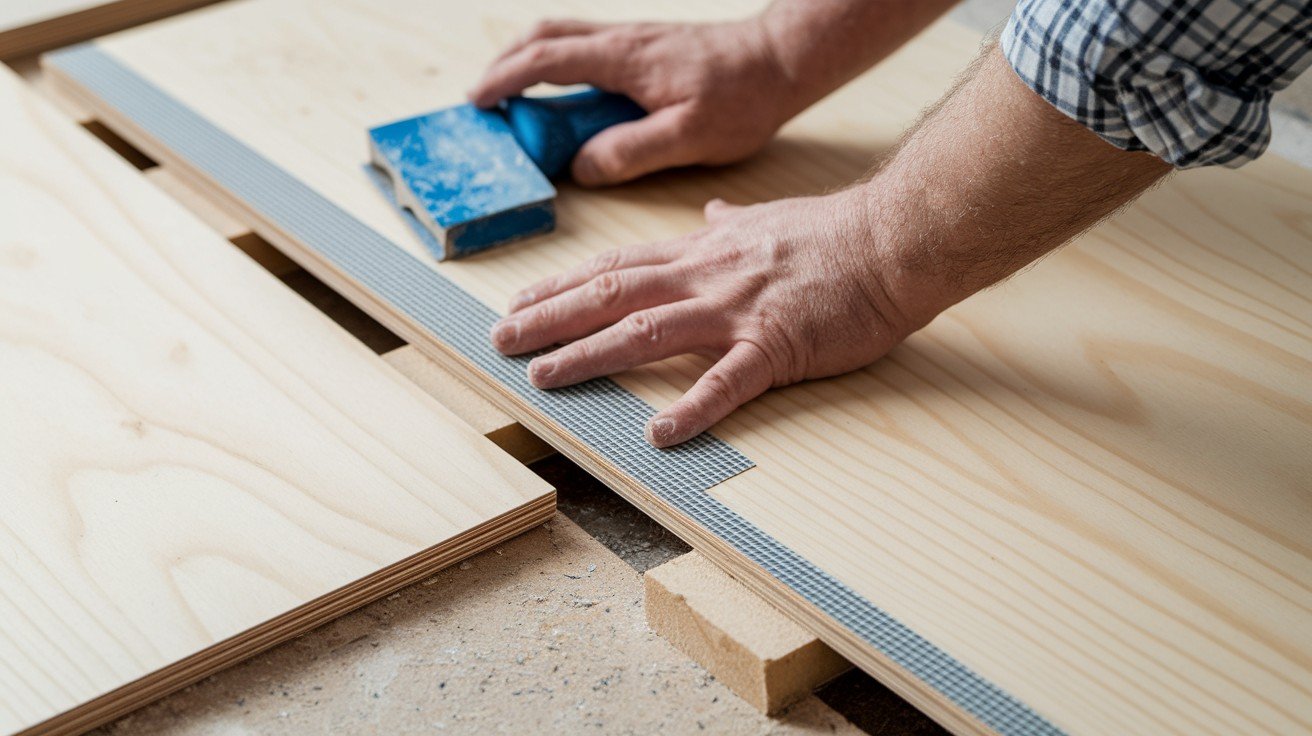
Even careful cuts can leave small gaps or uneven seams. Don’t worry – these are easy to fix with the right approach. Small imperfections are normal in DIY projects.
Use mesh tape and spackle to fill any gaps between boards. Apply the spackle, let it dry completely, then sand smooth. This method prevents cracks from forming later.
Step 4: Painting Tips
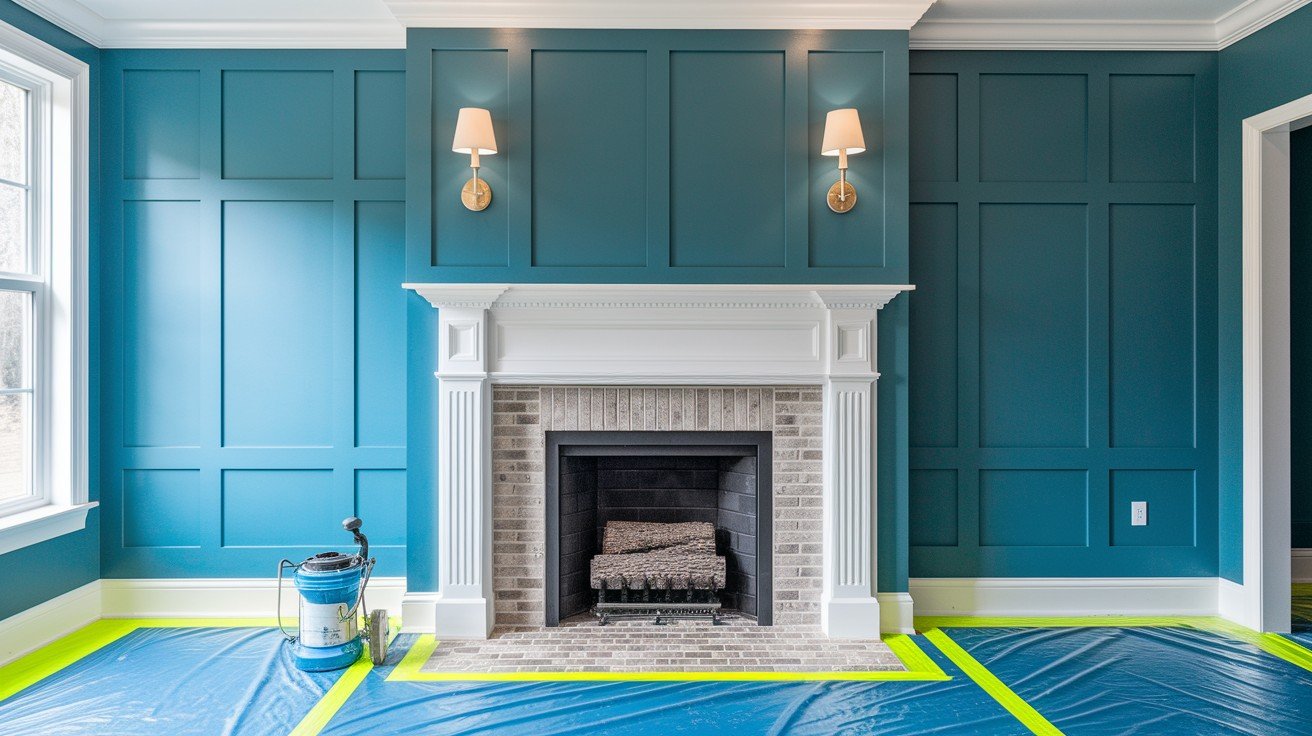
Good prep work makes painting much easier. Cover your floors and furniture with plastic sheets. Remove any dust from sanding before you start painting.
A paint sprayer gives you the smoothest finish, especially in the grooves between battens. Practice your spraying technique on cardboard first. Keep the sprayer moving to avoid drips and buildup.
Step 5: Building the Fireplace Mantle
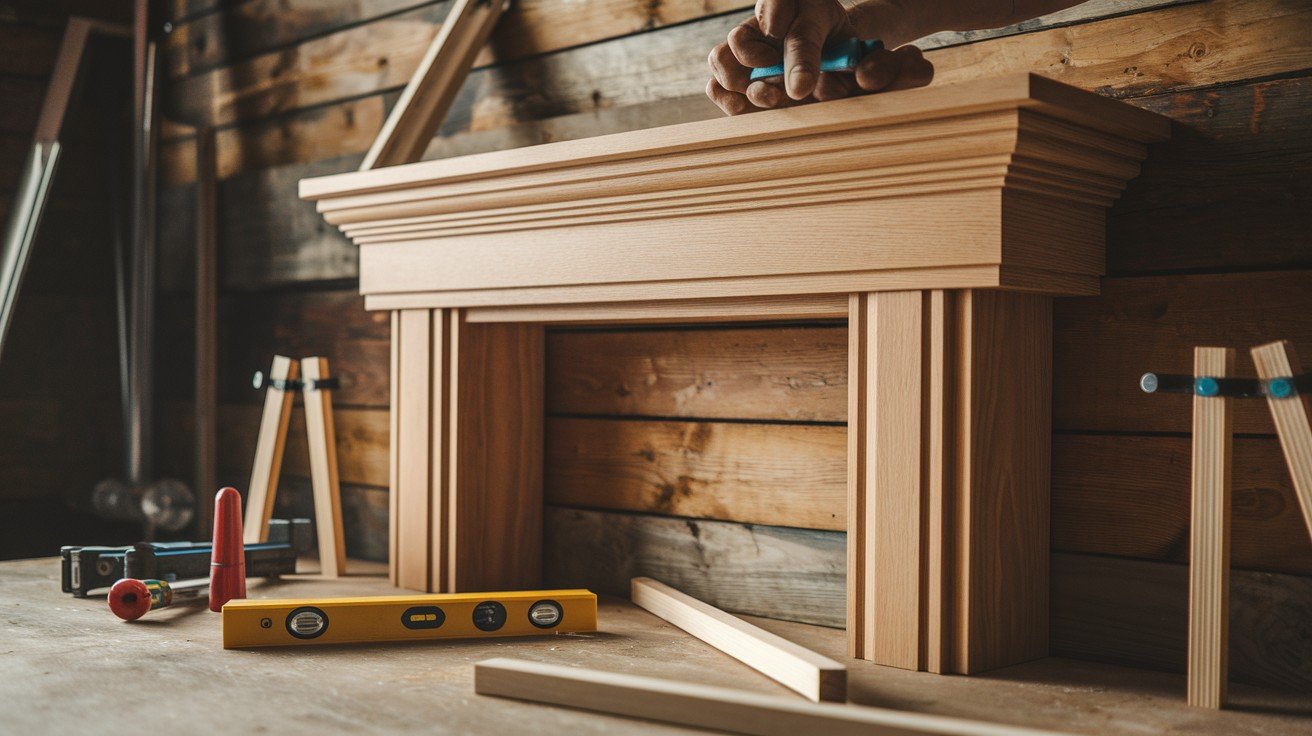
You can join mantle pieces with either mitered corners or simple butt joints. Mitered corners look cleaner but require more precise cuts. Butt joints are easier for beginners and still look good when painted.
Build your mantle in this order: cut the backboard first, then the sides, then the top piece. Use strong brackets inside the mantle to support the weight. Make sure everything is level before final assembly.
Step 6: Final Touches (Caulking and Touch-Ups)
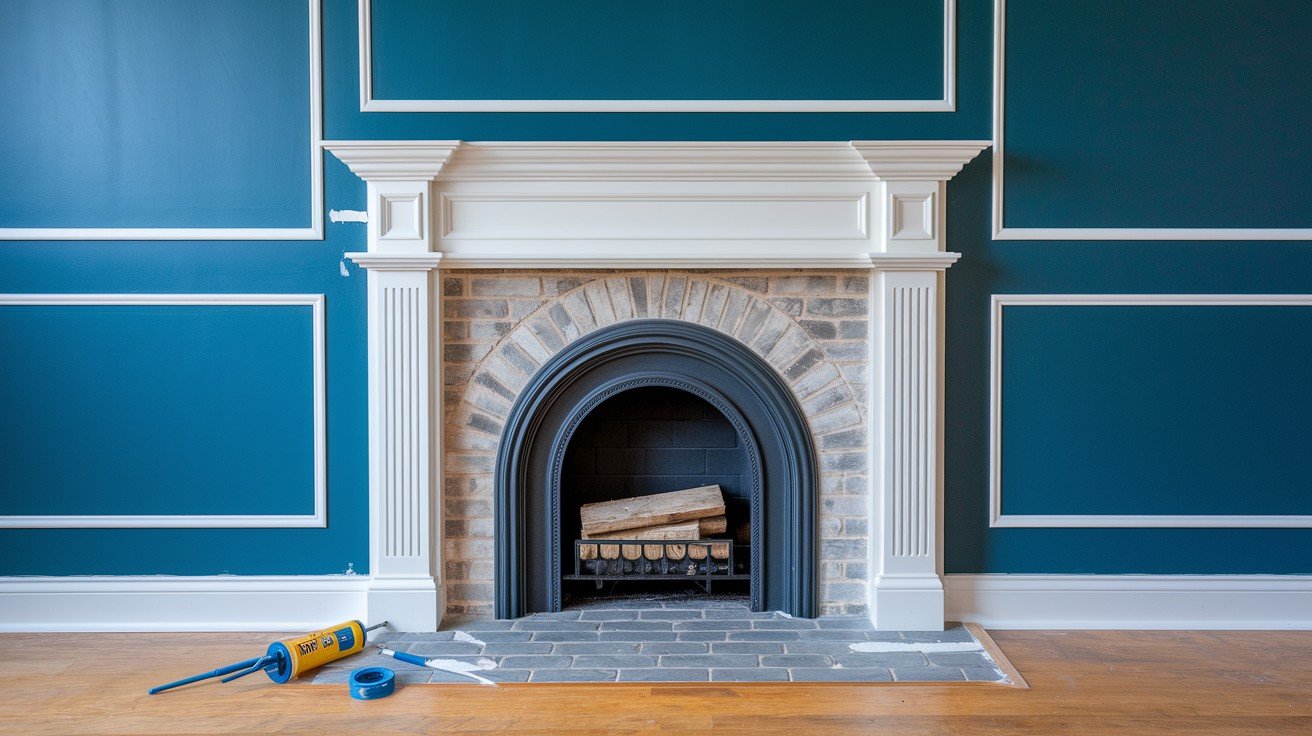
Caulk fills the tiny gaps that give your project a professional finish. Use painter’s caulk that can be painted over. Run a smooth bead along all seams where wood meets wood or wood meets wall.
Mask off areas carefully to keep caulk lines clean. Remove the tape while the caulk is still wet for the best results. Touch up any paint spots after the caulk dries completely.
Popular Style Ideas for Board and Batten Fireplace Walls
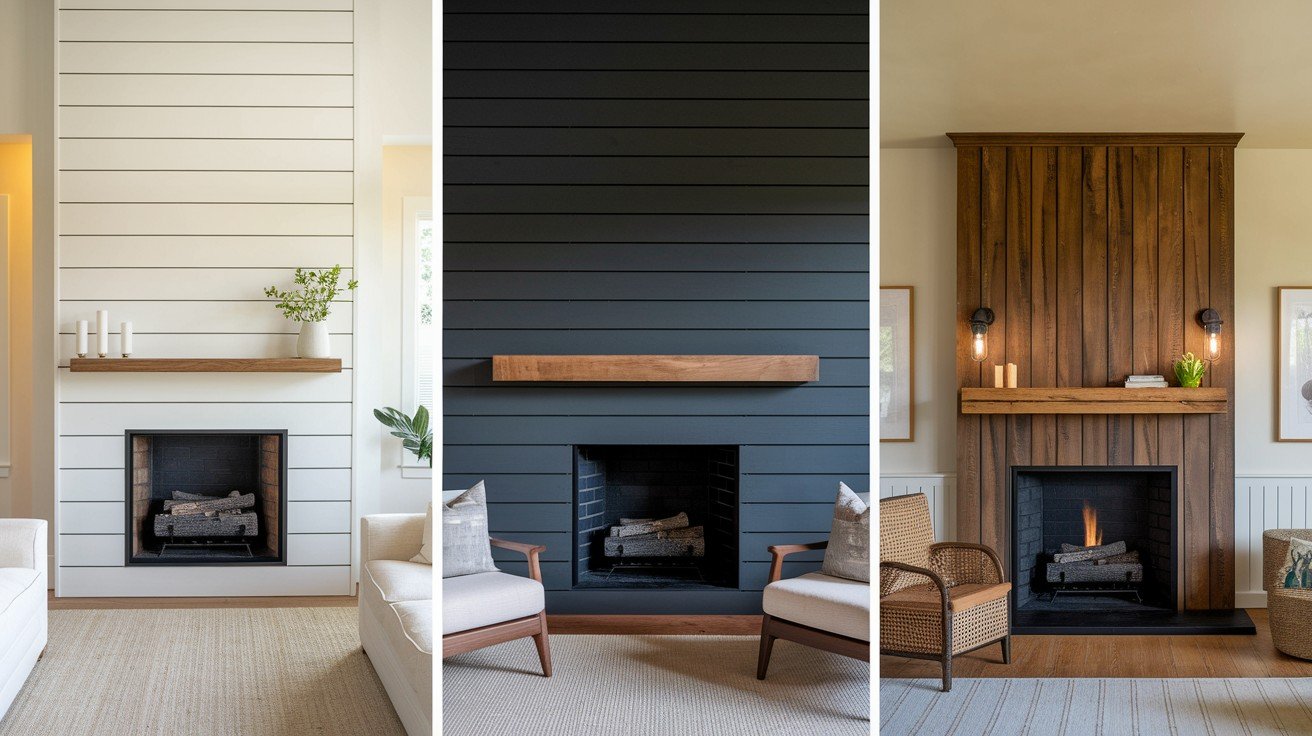
Board and batten works with almost any home style. The key is choosing the right color and finish to match your room’s mood and existing decor.
- Clean White & Neutral Looks – Bright, classic colors that work with any decor style. White and cream tones make rooms feel larger and brighter.
- Dark & Moody Charcoal Tones – Bold colors create modern appeal and make a strong statement. Dark walls look great with white or light-colored mantles.
- Natural or Stained Wood Accents – Wood stains give a warmer, rustic feel that works well in cozy or traditional spaces. The natural grain adds texture and warmth.
Pick a style that feels right for your home. You can always change the paint color later if you want a different look.
Common Challenges & How to Avoid Them
Even experienced DIYers run into problems with board and batten projects. Knowing what to watch for helps you avoid the most common mistakes.
- Misaligned plywood or uneven seams – Measure twice, cut once. Use a level to check alignment before nailing anything down.
- Gaps in battens due to poor cuts – Take your time with measurements. Small gaps can be filled with caulk, but large gaps look unprofessional.
- Paint drips or overspraying – Practice with your sprayer first. Keep it moving and maintain a consistent distance from the wall.
- Fragile mitered edges – Pre-drill nail holes in delicate corners. Use smaller nails and gentle hammer taps.
- Missing structural studs for mounting the mantle – Find and mark all studs before you start. Use a stud finder and double-check by tapping the wall.
Most problems come from rushing through steps. Take your time and check your work as you go.
Project Timeline and Cost Estimate
Plan for 2 to 5 days to complete your board and batten fireplace project. Simple designs with basic materials take less time, while complex layouts with custom mantles need more days. Working on weekends means you can finish in 2-3 weekends.
Most projects cost between $100 and $400, depending on your material choices. Basic pine battens and standard paint keep costs low. Hiring a contractor costs $800 to $2,000, but you save time and avoid potential mistakes.
Lessons Learned (First-Hand DIY Insights)
The paint sprayer made the biggest difference in getting a smooth, professional finish. Wood filler also worked better than expected for hiding small gaps and nail holes. These two steps made the final result look like custom millwork.
Don’t get overconfident with measurements – double-check everything before cutting. Rushing through steps to save time usually creates more work later. Remember that small imperfections add character to handmade projects, and most people won’t notice minor flaws.
Conclusion
Board and batten fireplaces give you a custom look without the custom price. This simple project makes any room feel more finished and polished. You get the satisfaction of building something yourself while adding real value to your home.
Make it your own by choosing colors and styles that fit your space. Every home is different, and your fireplace should reflect your taste.
The best part comes at the end when you sit back and enjoy what you built. Your friends will ask who did the work, and you’ll smile knowing you did it yourself.
Ready to start your project?
FAQs
Can I install a board and batten fireplace wall over textured walls?
Yes, but use smooth plywood panels first for the best finish. Textured walls make it hard to get clean lines and professional results.
What paint finish works best?
Semi-gloss or satin finishes work well because they’re easy to clean and add subtle shine. Flat paint shows scuffs and fingerprints more easily.
Should I build the mantle before or after the battens?
Either approach works fine. Just plan your dimensions and alignment so everything fits together properly.
Can I stain the mantle instead of painting it?
Yes! Staining adds warmth and shows off the natural wood grain. This creates a nice contrast if you paint the battens a different color.