

Nothing ruins a drywall project faster than bubbles forming under your tape. You apply everything perfectly, step back to admire your work, and there they are – ugly air pockets mocking your efforts.
We get it. Those bubbles aren’t just annoying. They create weak spots that crack later. They show through paint. They make your walls look unprofessional.
Here’s the good news: bubble prevention is achievable when you know the right techniques.
This guide breaks down exactly how to stop bubbles before they start. You’ll learn why bubbles form in the first place, proper compound application methods, essential tools that make the difference, step-by-step prevention techniques, and professional tips from experienced contractors.
We’ve helped thousands of DIYers and contractors solve this exact problem. Our methods are tested, practical, and easy to follow.
No more frustrating do-overs. No more patching and repairing. Just smooth, professional results from the start.
Let’s fix this bubble problem once and for all.
Understanding Why Bubbles Form in Drywall Tape
Let me tell you something about drywall bubbles. They don’t just happen by accident. There’s always a reason. Understanding that reason is your first step to prevention.
Root Causes of Bubble Formation
Poor installation tops the list. Most bubbles form because the compound wasn’t properly embedded under the tape. It’s that simple. Here’s what goes wrong: insufficient compound application where you didn’t put enough mud down before placing the tape, wrong compound consistency that’s either too thick to spread or too watery to stick, and rushed installation because speed kills quality every time.
I’ve seen contractors skip the base layer entirely. Big mistake. The tape needs something to grab onto. Inadequate compound embedding creates air pockets. Those pockets become bubbles later when moisture hits them.
Technical Factors
Now for the technical stuff that trips people up. Excessive pressure during application works against you. Press too hard and you squeeze out all the compound from under the tape. No compound equals no adhesion.
Here’s what else causes problems: tape expansion during the second coat when the tape absorbs water and swells, quality issues with pre-mixed compounds where some batches are just bad, and a lack of adhesion between the tape and the drywall surface.
The second coat application is critical. When you apply wet compound over dry tape, the paper absorbs moisture and expands. If there’s no compound underneath to hold it, bubbles form. Poor-quality compound from frozen batches won’t bond properly. Always check your materials first.
Essential Materials and Proper Setup
Getting the right materials matters more than you think. Quality compound makes or breaks your project. Don’t cheap out here.
Selecting Quality Joint Compound
Your compound should feel like smooth, warm cake batter. That’s the perfect consistency. Here’s how to test quality: spread an 8-inch patch on clean, drywall, let it dry completely, then try scraping it off with a putty knife. If it’s hard to remove, the batch is good.
Water-based compounds are your best bet. They’re easier to work with and more forgiving. Avoid frozen batches at all costs. Freezing destroys the bonding agents. Check the expiration date too.
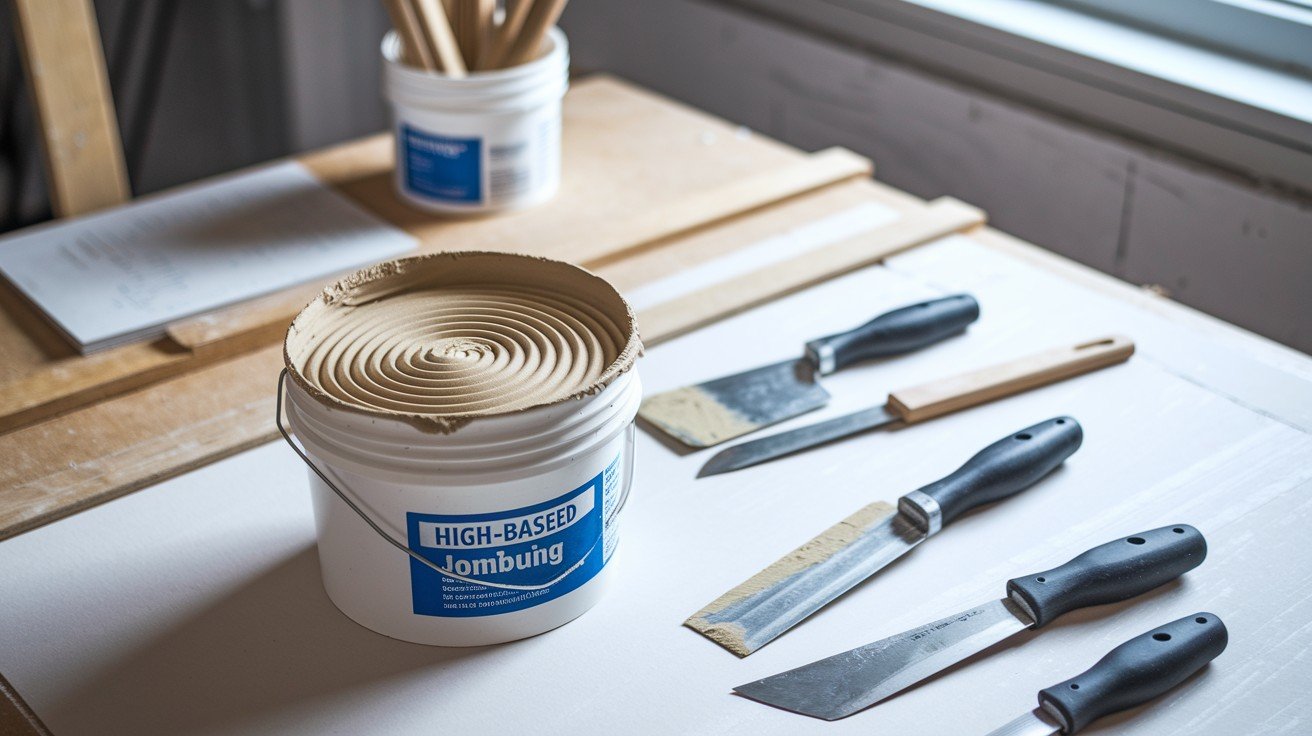
Critical Tools for Prevention
The right tools make prevention possible. Wrong tools guarantee problems. You need these essentials: a 5-inch flexible taping knife perfect for initial application, an 8-inch trowel for smooth finishing coats, a clean, sharp utility knife for cutting and trimming, and proper workspace setup with good lighting and ventilation.
Tool cleanliness matters. Dried compound on your knife creates ridges and imperfections. Keep your knives sharp. Dull blades tear tape instead of cutting it cleanly.
Step-by-Step Prevention Techniques
Time for the real work. These steps prevent bubbles before they start. Follow this process exactly. No shortcuts.
Pre-Installation Preparation
Preparation prevents problems. Skip this and you’ll regret it later. Start with these steps: lightly wet your tape with just a quick pass under water, mix the compound to correct consistency and test it first, clean the drywall surface to remove dust and debris, and check all your tools to ensure they’re sharp, clean, and ready to go.
Don’t soak the tape. Wet, not soaked. Big difference. Compound consistency should allow smooth spreading without fighting you.
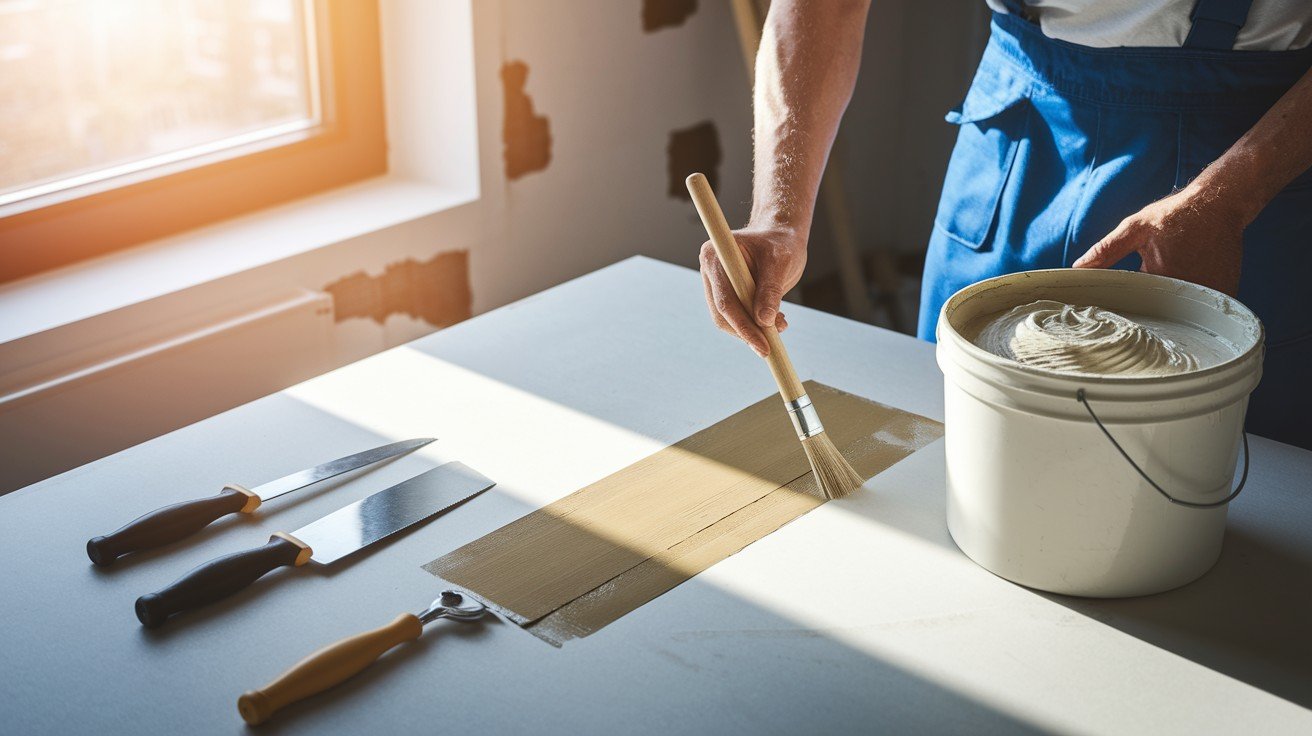
Proper Application Method
Here’s where most people mess up. Get this right and bubbles won’t form. Apply a quarter-inch-thick base layer of compound. That’s thicker than most people use, but it’s necessary.
Key application points include generous coverage extending beyond tape width, centering the tape over the joint, applying even pressure without over-pressing, and working systematically down the entire seam. Don’t press too hard. You want to embed the tape, not squeeze out all the compound.
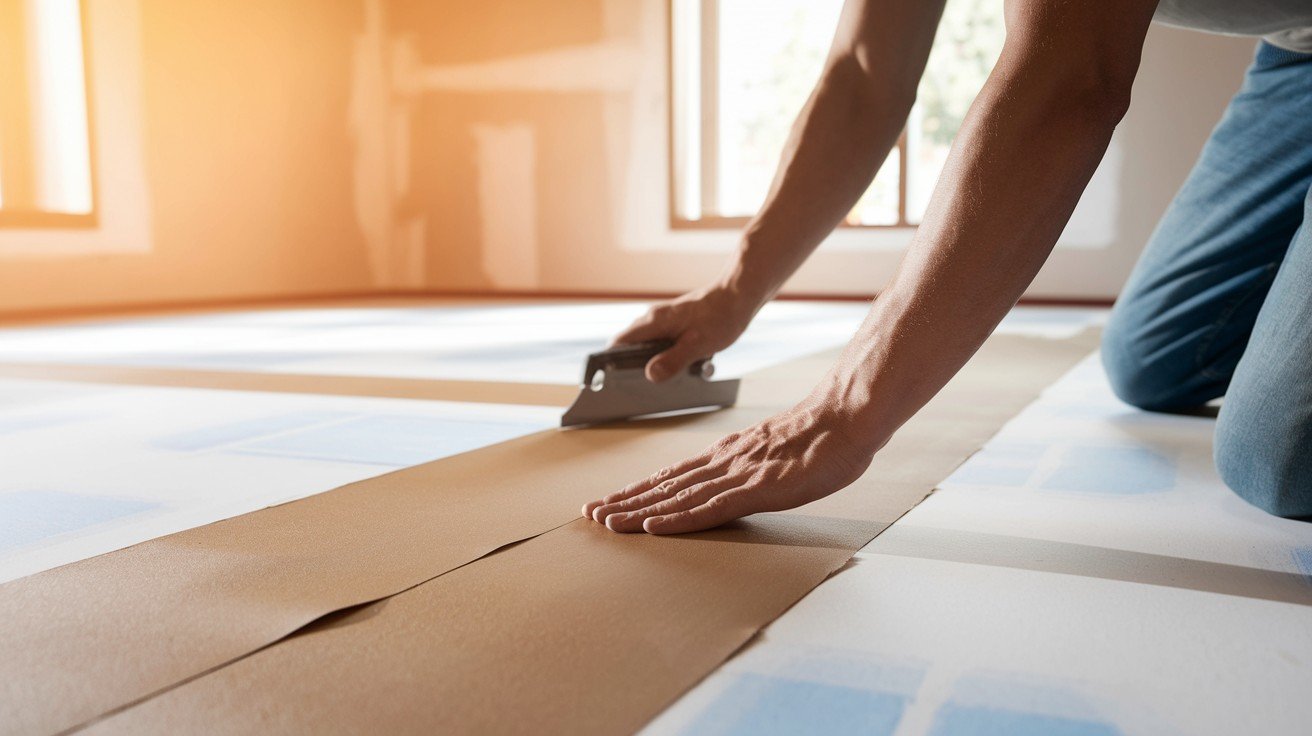
Embedding and Finishing

Proper embedding eliminates air pockets. This step determines your success. Watch for compound oozing from the tape edges. That’s your signal, the tape is properly embedded.
Follow these finishing steps: verify complete embedding along the entire length, smooth out any imperfections immediately, apply thin topcoats with 1/16 inch maximum thickness, and maintain consistent technique throughout. Complete embedding means no air spaces between the tape and the compound.
Professional Prevention Strategies
Real professionals use these advanced techniques. They separate good work from great work.
Quality Control During Application
Continuous monitoring prevents surprises. Check your work as you go. Watch for bubble formation in real-time, fix problems immediately rather than waiting, maintain consistent pressure and technique, and clean tools regularly during application. Immediate correction saves time later. Fix small problems before they become big ones.
Optimal Drying and Coating Process
Patience pays off here. Rushing the drying process creates bubbles. 24-hour drying periods between coats are non-negotiable. Moisture needs time to escape.
Critical drying factors include thin, even layers that dry more uniformly, multiple coat systems that build strength gradually, temperature and humidity that affect drying time, and air circulation that speeds proper curing. Temperature control matters. Too hot or too cold affects compound performance.
Professional Tips for Success
These insider tips separate amateurs from professionals.
Skill Development Focus
Hand-eye coordination improves with practice. Start with small sections. Focus on these skill areas: consistent technique practice where repetition builds muscle memory, attention to detail because small things make big differences, professional standards where you don’t accept “good enough,” and continuous improvement by learning from each project. Practice makes permanent. Practice correctly from the start.
Long-term Prevention Benefits
Proper technique pays dividends beyond just this project. Cost savings add up quickly. Prevention costs less than repairs. Benefits you’ll see include time efficiency through proven methods, superior finish quality that lasts, increased confidence in your abilities, and professional results every time.
Quality work builds your reputation. Word spreads fast in construction. Learn these techniques once and they’ll serve you for life.
Conclusion
Preventing bubbles in drywall tape comes down to mastering the basics. Apply generous compound layers. Embed your tape properly. Use the right tools and techniques.
The key is taking your time during installation. Rushing leads to poor embedding and trapped air. Quality compound consistency makes a huge difference, too.
Remember these critical points: quarter-inch base layers, even pressure application, and 24-hour drying between coats. Consider fiberglass mesh tape for foolproof results.
These methods work. We’ve seen countless projects transform from bubble-filled disasters to smooth, professional finishes. The investment in proper technique pays off immediately.
Stop fighting bubble repairs. Start preventing them from day one. Your walls will look better, last longer, and make you proud of your work.
Master these techniques once, and you’ll never deal with drywall tape bubbles again.
Frequently Asked Questions
What causes bubbles to form under drywall tape?
Poor installation with inadequate joint compound embedding between the tape and the drywall surface is the primary cause of bubble formation.
Should I wet the tape before applying it?
Yes, lightly pre-wetting tape helps prevent bubbles by ensuring better adhesion, but avoid over-soaking, which creates new problems.
How thick should the base compound layer be?
Apply approximately quarter-inch-thick compound base layer, ensuring generous coverage that extends slightly beyond the tape width for prevention.
Can I use fiberglass mesh tape to prevent bubbles?
Yes, fiberglass mesh tape’s self-adhesive properties and porous design significantly reduce bubble formation compared to traditional paper tape.
How long should I wait between coats?
Allow 24 hours drying time between coats to prevent bubbles caused by moisture reactivating tape adhesive during application.