

Christmas is coming, and you want to make this year’s countdown special. Creating your advent calendar doesn’t have to be complicated or expensive.
In this article, you’ll find 21 simple DIY advent calendar ideas that work. These aren’t Pinterest-perfect projects that take forever. They’re real solutions for busy parents who want to add magic to December without the stress.
I’ve tested these ideas with my own family and friends. Some take 30 minutes. Others need a weekend afternoon. All of them bring smiles and excitement to kids (and adults, too).
You’ll get step-by-step instructions, supply lists, and helpful tips. No fancy tools are required. Most materials come from your local craft store or things you already have at home.
Ready to make December more meaningful? Let’s build something beautiful together. Your kids will remember these calendars long after the candy is gone. That’s the real gift.
Why Choose DIY Advent Calendars?
Your family isn’t cookie-cutter. DIY calendars let you add what matters to you – whether that’s superhero stickers or science experiments.
Making the calendars together creates memories. Kids help paint, glue, and plan surprises. These crafting moments matter more than the final product.
Add family photos or inside jokes that make everyone smile.
Store calendars cost $30-50. You can make yours for under $15. Use empty boxes, old envelopes, or paper bags from around your house.
Many designs last for years. One weekend of work gives you decades of December fun.
Fill pockets with kindness activities instead of just candy. Kids can help neighbors or donate toys.
Teach about different holiday traditions worldwide. Include family game nights and baking sessions that create real memories.
Creative DIY Advent Calendar Ideas
Make the countdown magical with unique, handmade advent calendars that add charm, excitement, and personal touches to your holiday season.
Envelope Tree Advent Calendar
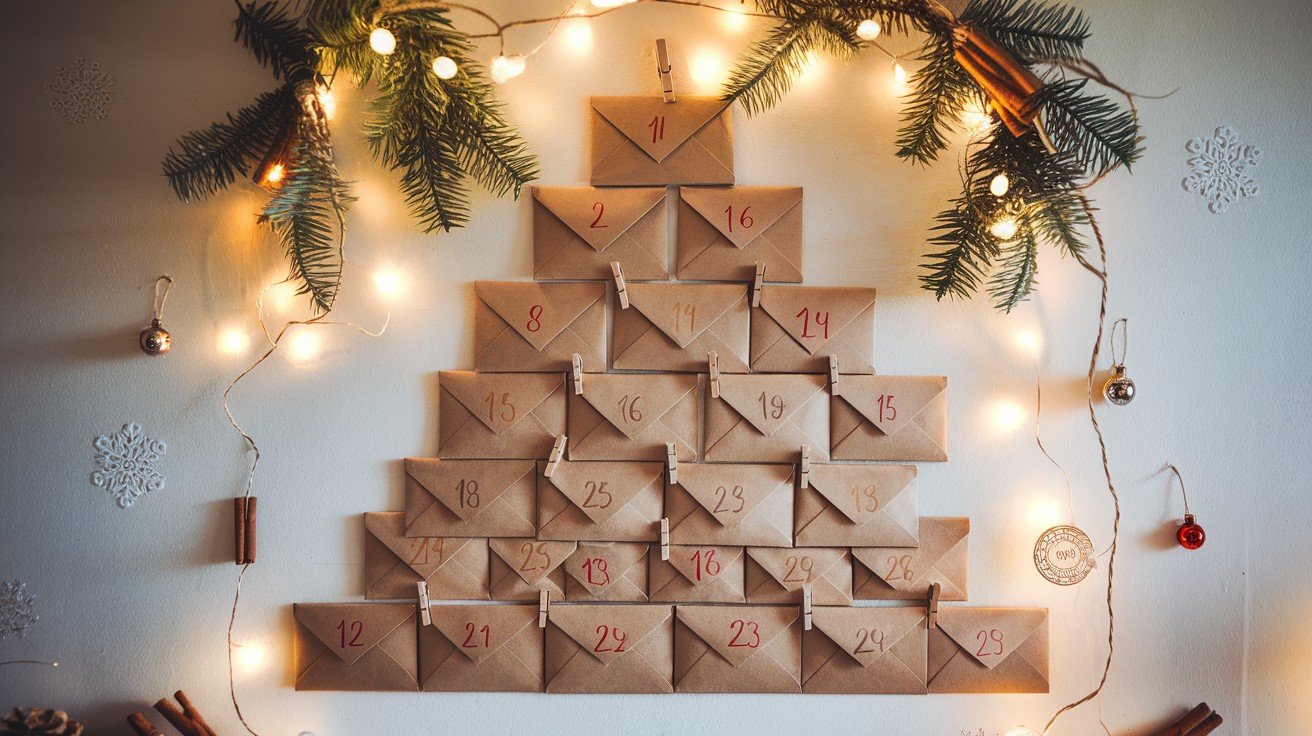
I arrange envelopes like tree branches. 24 envelopes form a perfect Christmas tree. Pin colorful envelopes to your wall in a tree shape. Each envelope holds a daily surprise.
What You Need:
- 24 colored envelopes
- Push pins
- Number stickers
- Small treats or notes
How to Make It:
Step 1: Add number stickers 1-24 to envelopes.
Step 2: Fill with treats or activity cards.
Step 3: Pin to the wall in a tree shape.
Start with one envelope at the top.
Easy to change the contents yearly. Minimal supplies needed.
Paper Bag and Clothespin Calendar
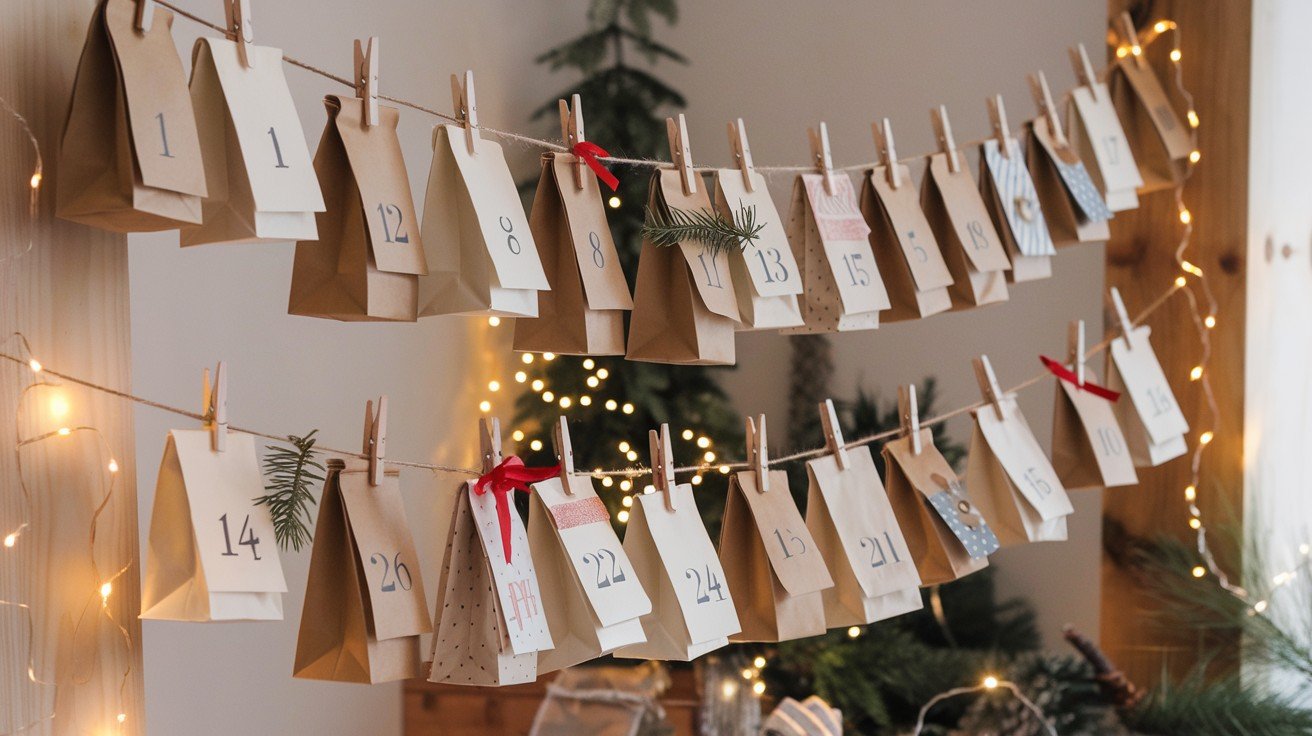
I hang bags like laundry. 24 paper bags create a festive clothesline. Clip numbered paper bags to string with clothespins. Each bag holds a daily treat.
What You Need:
24 small paper bags
Clothespins
String or rope
Number stickers
How to Make It:
Step 1: Add number stickers 1-24 to bags.
Step 2: Fill bags with treats or notes.
Step 3: Clip bags to the string with clothespins.
Step 4: Hang the string across the room.
Kids love the vintage clothesline look. Works indoors or outdoors.
Shoe Organizer Transformation
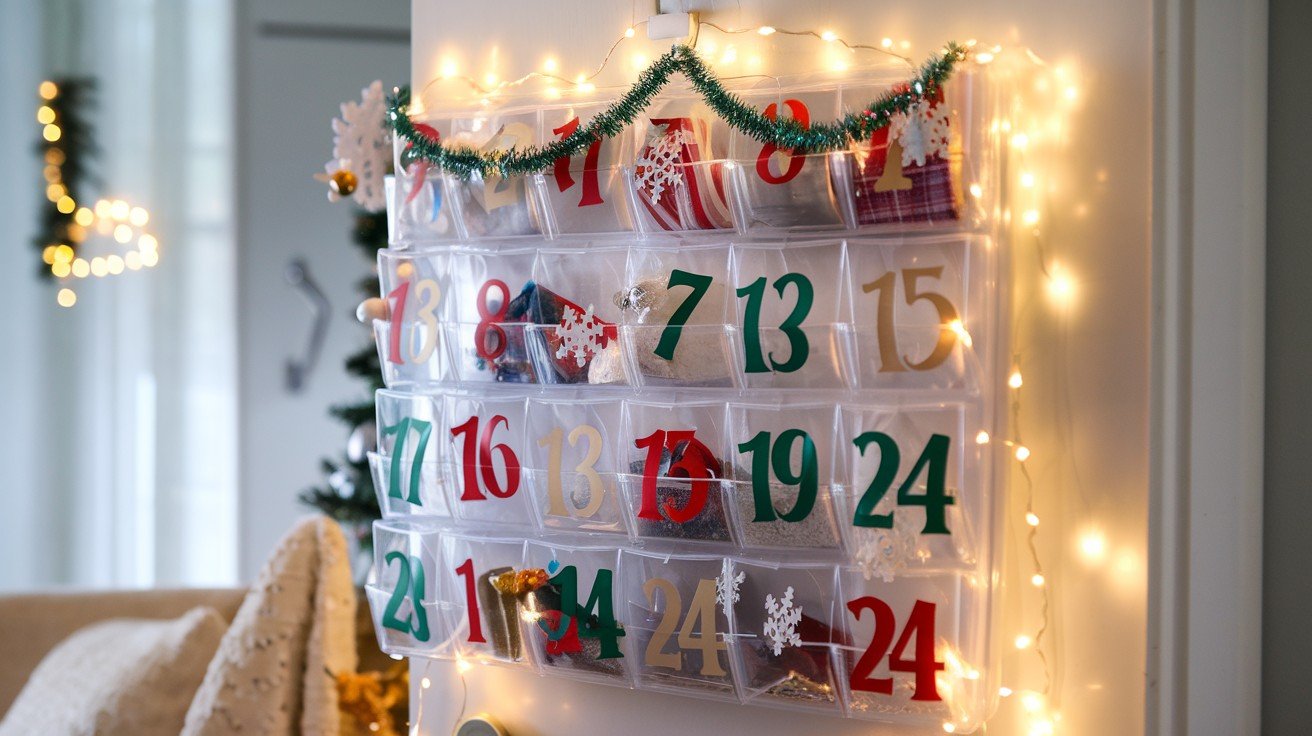
I love this hack. You probably already own one.
A 24-pair canvas shoe organizer becomes your instant advent calendar. Hang it on any door.
Canvas shoe organizer
Stencils
Acrylic paint
Small treats
Step 1: Paint numbers on each pocket using stencils. Acrylic paint sticks well to canvas.
Step 2: Fill pockets with wrapped treats or activity cards.
Step 3: Hang and enjoy!
This setup lasts for years. Change the numbers for other holidays, too.
Simple. Reusable. Perfect.
Traditional Advent Chain
This brings back childhood memories. I still love making these. Wrap 24 small gifts and connect them with twine. Hang the chain across your living room.
24 small gifts
Wrapping paper
Twine
Paper tags
Step 1: Wrap each gift. Make them small and light.
Step 2: Write numbers 1-24 on paper tags. Tie one to each package.
Step 3: Connect gifts with twine. Create one long chain.
Step 4: Hang across your room.
Each morning, cut off one gift. Start from either end. The anticipation builds as the chain gets shorter. Kids love watching it shrink daily.
Magnetic Spice Container Calendar

I found this idea by accident. Your fridge becomes the perfect Advent display.
Small magnetic spice containers hold tiny surprises. They stick right to your refrigerator door.
- 24 magnetic spice containers
- Number stickers
- Small treats
- Your fridge
Step 1: Stick number stickers 1-24 on each container lid.
Step 2: Fill containers with small candies or folded notes.
Step 3: Arrange on your fridge in any pattern you like.
Step 4: Let kids pick one each day.
The clear containers build excitement. You can see the treats inside.
Easy to refill next year, too.
Mini Stocking Calendar

Mini Stocking Calendar, I make these every year. 24 tiny stockings create magic.
Hang mini stockings on a string or wooden rod. Fill each one with small surprises.
What You Need:
Felt fabric
String or wooden rod
Small clips
Tiny treats
How to Make It:
Step 1: Cut 24 small stocking shapes from felt.
Step 2: Sew or glue the sides. Leave the top open.
Step 3: Add number tags 1-24.
Step 4: Clip to the string and hang.
Fill with candies or notes. Kids love tiny pockets.
Acts of Kindness Calendar
I love this twist. No treats needed, just good deeds.
Create 24 kinds of acts for your family to do together. This teaches kids the joy of giving.
24 envelopes
Paper
Pen
String
Step 1: Write one kind act on each paper slip.
Step 2: Put each slip in an envelope. Number them 1-24.
Step 3: Hang envelopes on a string.
Step 4: Open one daily and do the act together.
Ideas: help a neighbor, donate toys, bake cookies for friends. Building hearts, not just excitement.
Matchbox Drawer Calendar
I collect empty matchboxes for this. Tiny drawers hold big surprises. Stack matchboxes to create a mini chest of drawers. Each box becomes a secret compartment.
- 24 empty matchboxes
- Glue
- Number stickers
- Small treats
Steps:
- Step 1: Stack and glue matchboxes together in rows.
- Step 2: Add number stickers 1-24 on each drawer.
- Step 3: Fill with tiny candies or notes.
Kids love sliding open the little drawers. Perfect for small spaces, too.
Paper Cone Forest Calendar

I turn my mantel into a winter forest. 24 paper cones become tiny trees.
Roll colored paper into cone shapes. Fill with treats and create a magical forest display.
Green paper
Tape
Number stickers
Small treats
Steps:
Step 1: Roll paper into 24 cone shapes. Tape edges.
Step 2: Add number stickers 1-24.
Step 3: Fill cones with candies or notes.
Step 4: Arrange like a forest on your table.
Kids pick one tree daily. Simple and festive.
Pegboard and Muslin Bag System
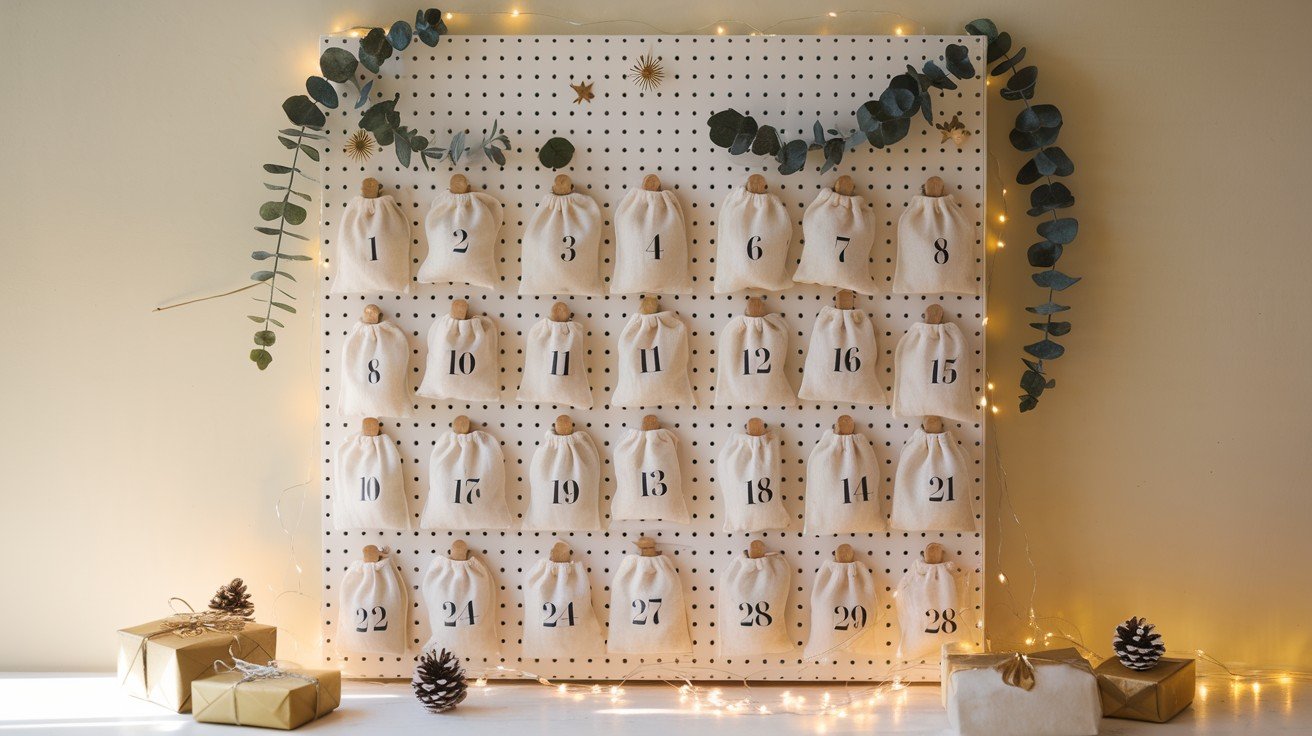
I love this organized look. 24 bags hang neatly on hooks. Use a pegboard with small muslin bags. Each bag hangs on its peg for easy access.
Small pegboard
24 muslin bags
Hooks
Number tags
Steps:
Step 1: Install the pegboard on the wall.
Step 2: Add hooks in rows.
Step 3: Tie number tags 1-24 to bags.
Step 4: Fill bags with treats and hang.
Clean lines. Easy to refill. Perfect for modern homes.
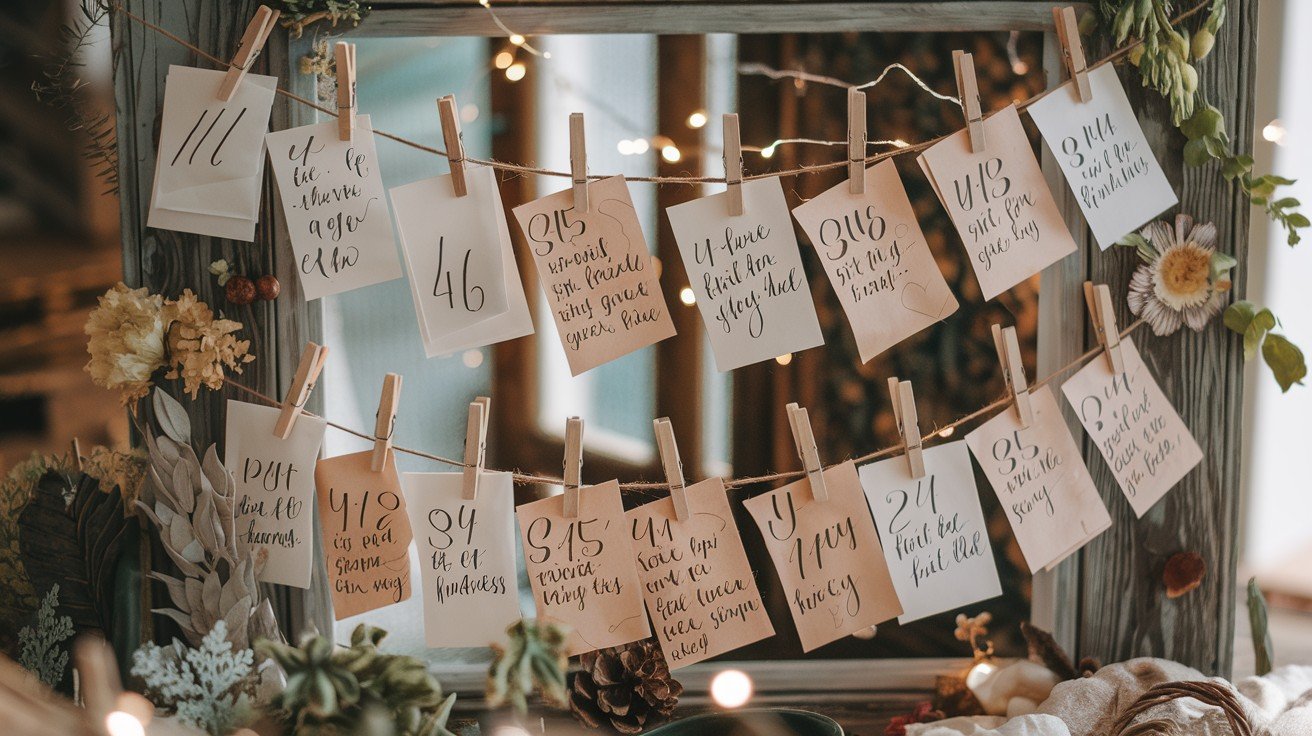
Photo Chain Memory Calendar
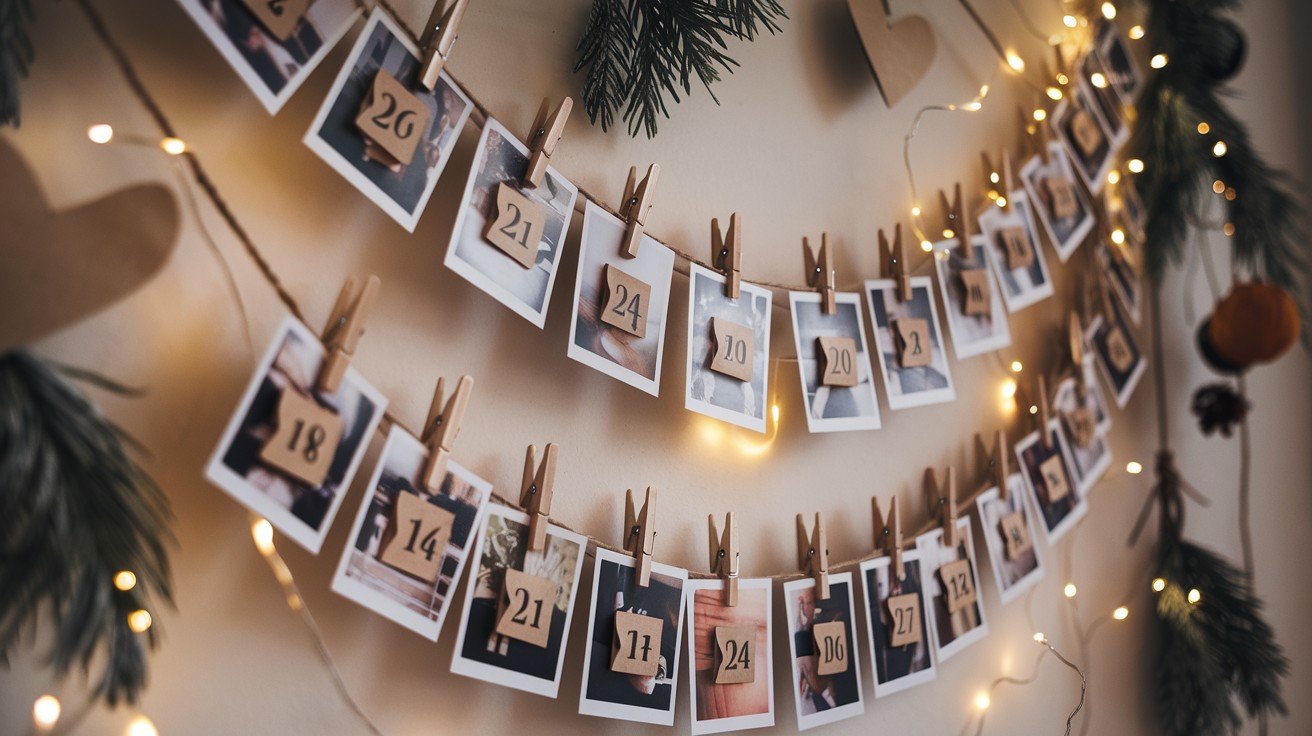
I combine treats with memories. 24 photos tell your family’s story. Attach small gifts to favorite family photos. Create a chain of memories and surprises.
24 family photos
Small gifts
String or ribbon
Clips
Steps:
Step 1: Choose 24 special family photos.
Step 2: Attach small wrapped gifts to each photo.
Step 3: Add number tags 1-24.
Step 4: Clip photos to a string in order.
Kids get treats plus sweet memories. Double the joy.
Gift Box Palette Calendar
I stack small boxes like building blocks. 24 colorful boxes create a rainbow tower. Use different colored gift boxes to build a festive display. Each box holds a daily surprise.
What You Need:
24 small gift boxes (various colors)
Number stickers
Small treats
Flat surface
How to Make It:
Step 1: Choose boxes in different colors.
Step 2: Add number stickers 1-24.
Step 3: Fill each box with treats.
Step 4: Stack in a pyramid or tower shape.
Kids love the colorful arrangement. Easy to rearrange daily.
Greeting Card House Calendar
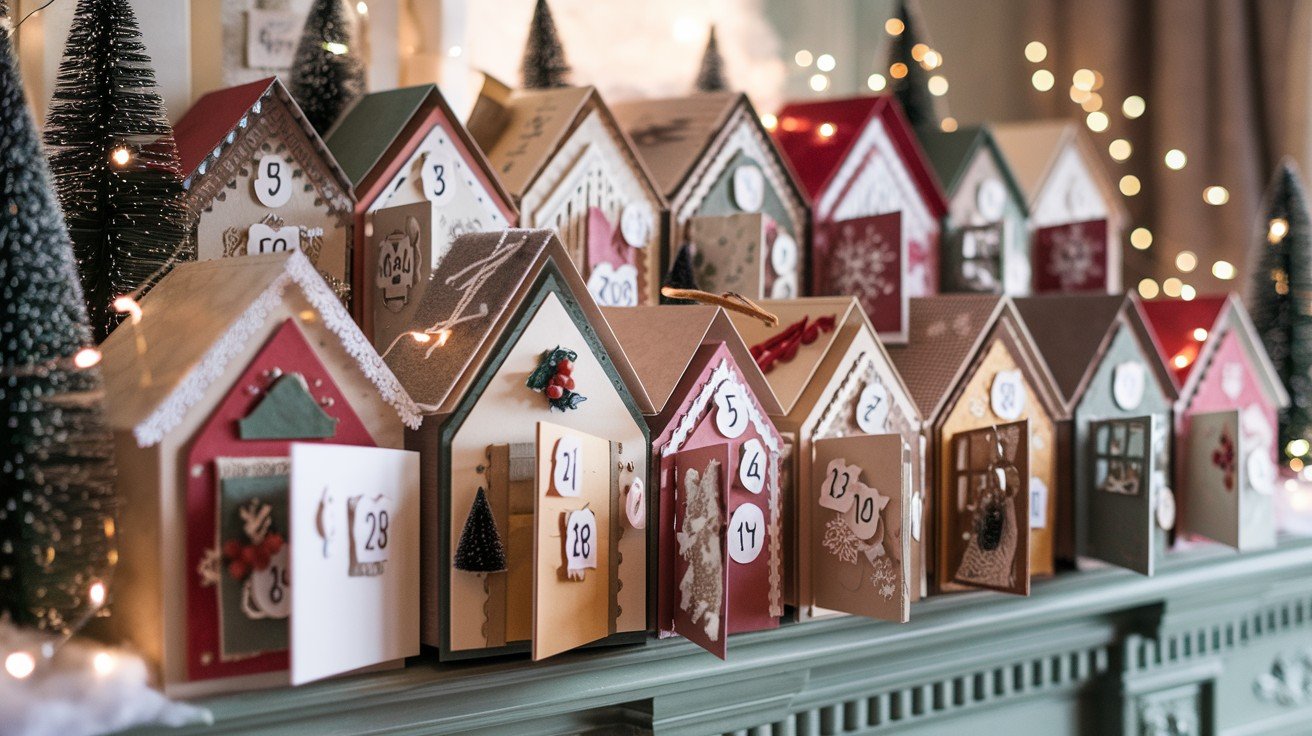
I turn old Christmas cards into tiny houses. 24 card houses make a festive village. Fold greeting cards into house shapes. Each house holds a small surprise inside.
What You Need:
24 old Christmas cards
Tape or glue
Number stickers
Small treats
How to Make It:
Step 1: Fold cards into simple house shapes.
Step 2: Tape edges to create pockets.
Step 3: Add number stickers 1-24.
Step 4: Fill houses with treats.
Arranged like a little village. Recycling cards creatively.
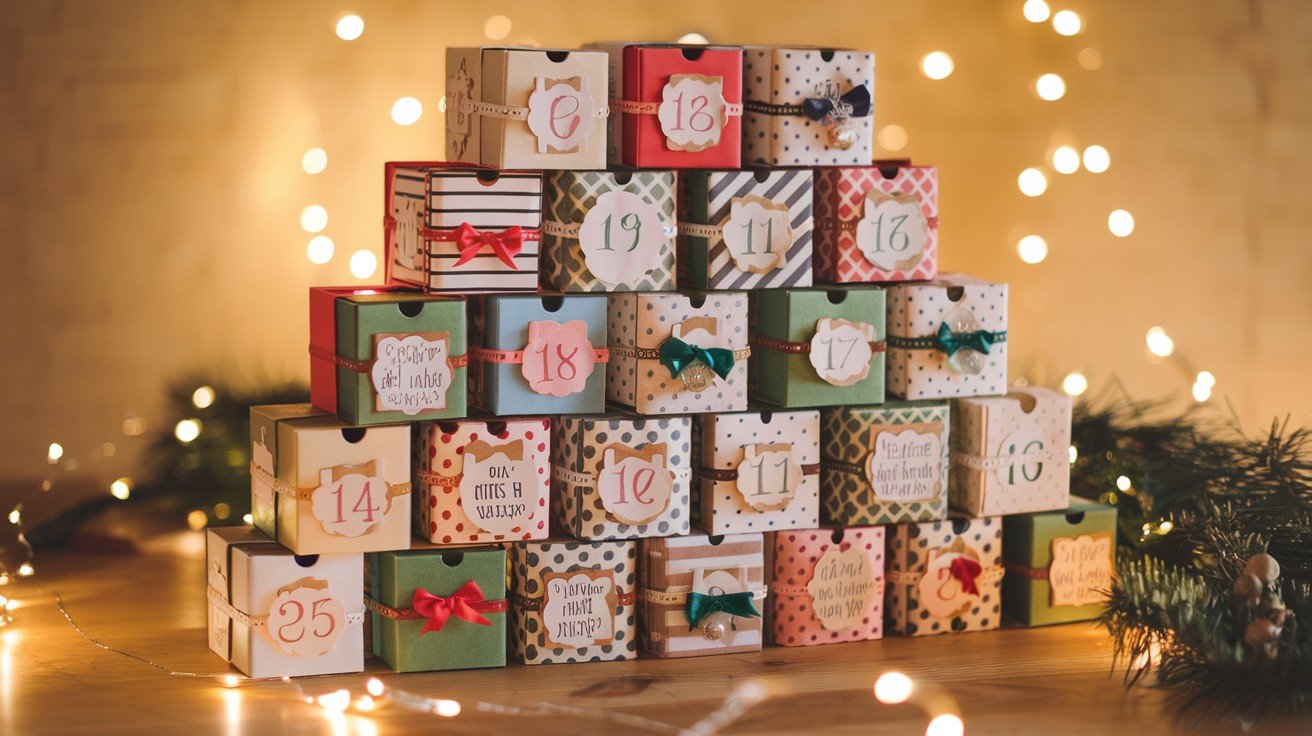
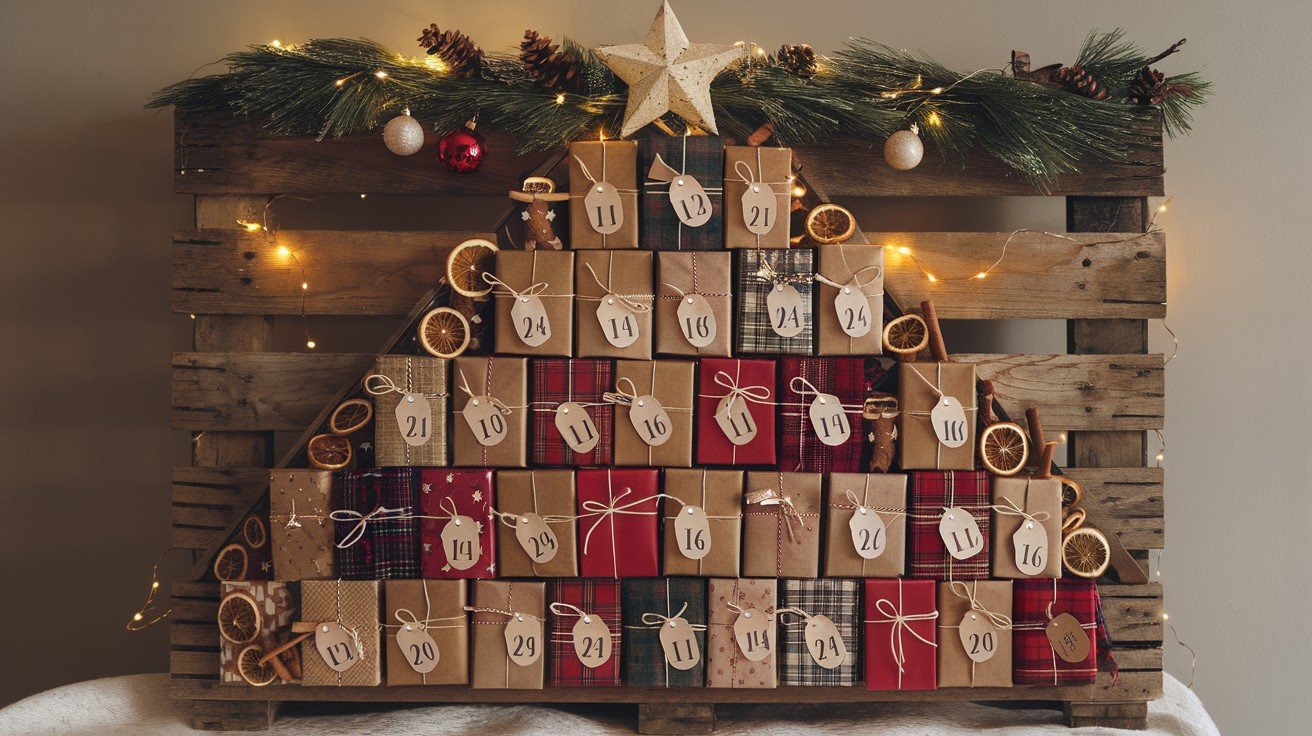
Christmas Tree Box Arrangement
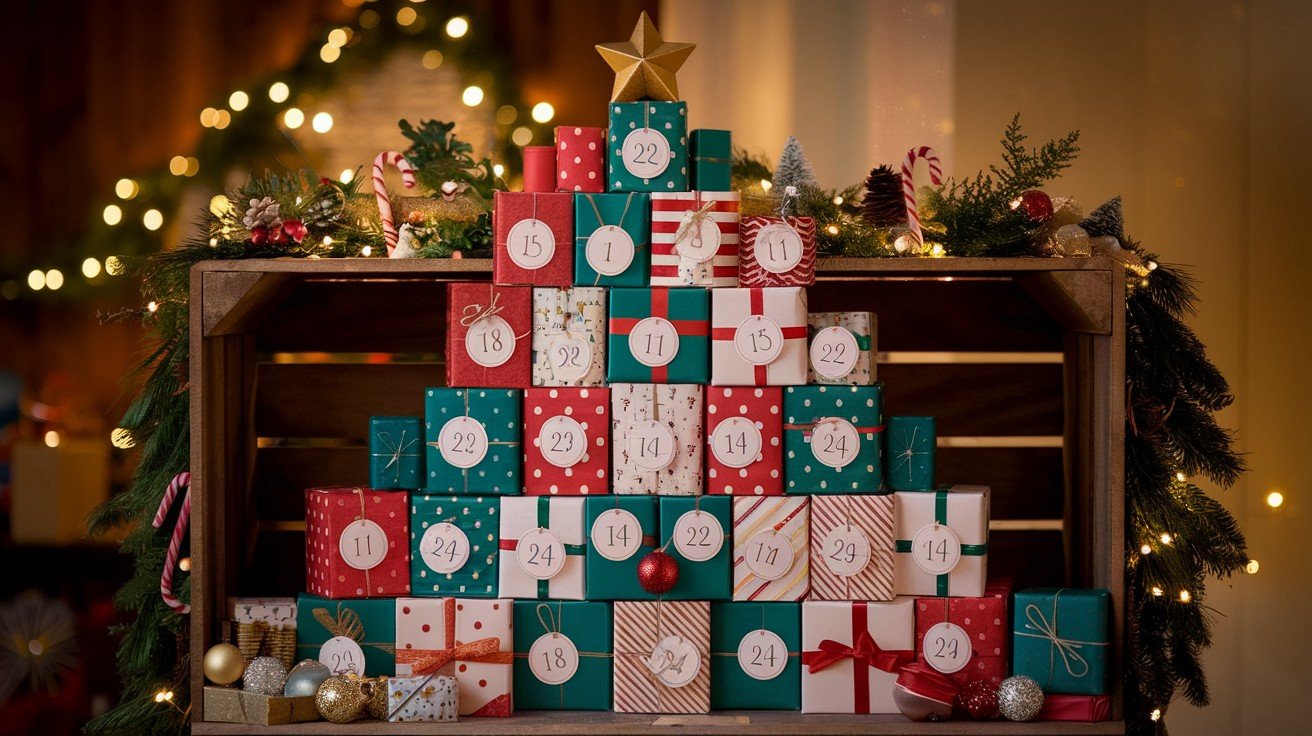
I stack boxes like a Christmas tree. 24 wrapped boxes form a perfect triangle. Arrange different-sized boxes in a tree shape. Each box becomes part of your festive display.
What You Need:
24 boxes (various sizes)
Wrapping paper
Number stickers
Small treats
How to Make It:
Step 1: Wrap boxes in festive paper.
Step 2: Add number stickers 1-24.
Step 3: Fill with treats.
Step 4: Stack in a triangular tree shape.
Start with large boxes at the bottom. Creates a stunning centerpiece.
Paper Mountain Village Calendar
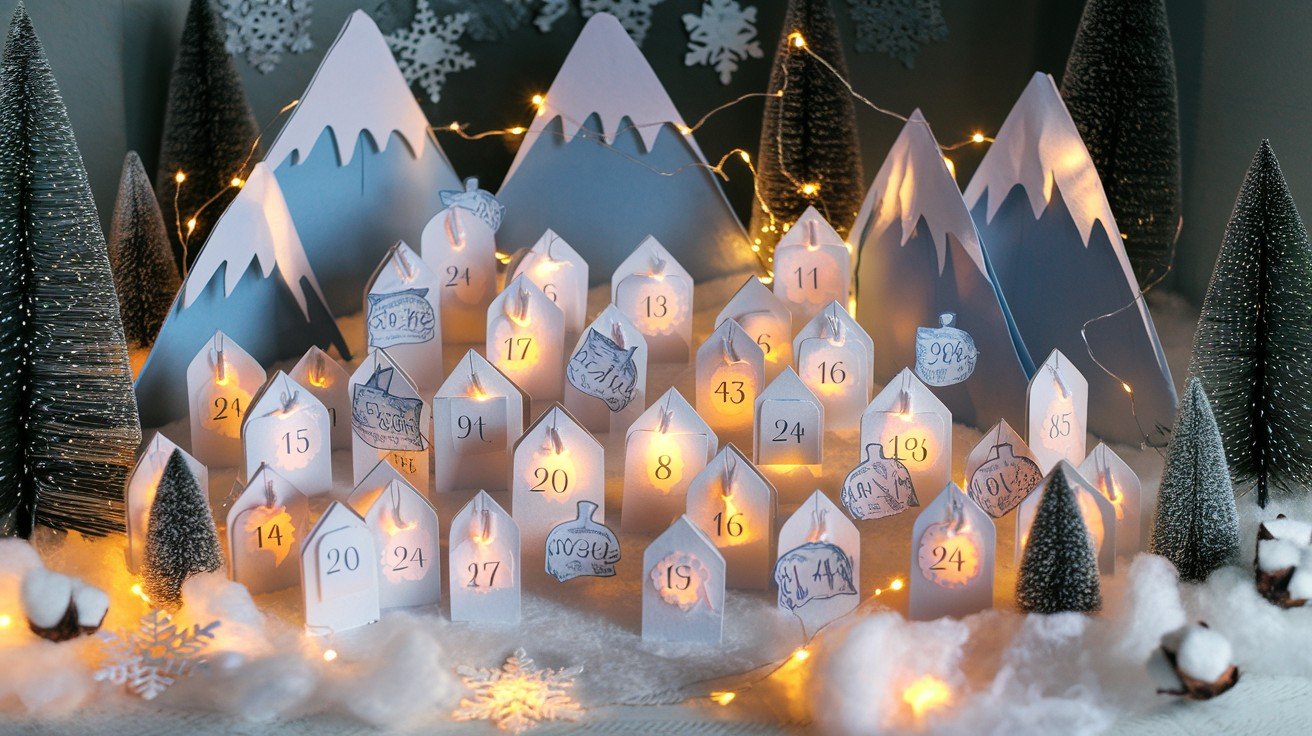
I create a snowy village scene. 24 paper mountains hide daily surprises. Fold paper into mountain shapes with hidden pockets. Arrange them like a winter landscape.
What You Need:
White and gray paper
Glue
Number stickers
Small treats
How to Make It:
Step 1: Fold paper into triangle mountain shapes.
Step 2: Create small pockets inside each fold.
Step 3: Add number stickers 1-24.
Step 4: Fill pockets with treats.
Arrange mountains in rows. Simple winter magic.
Reclaimed Wood Tree Calendar
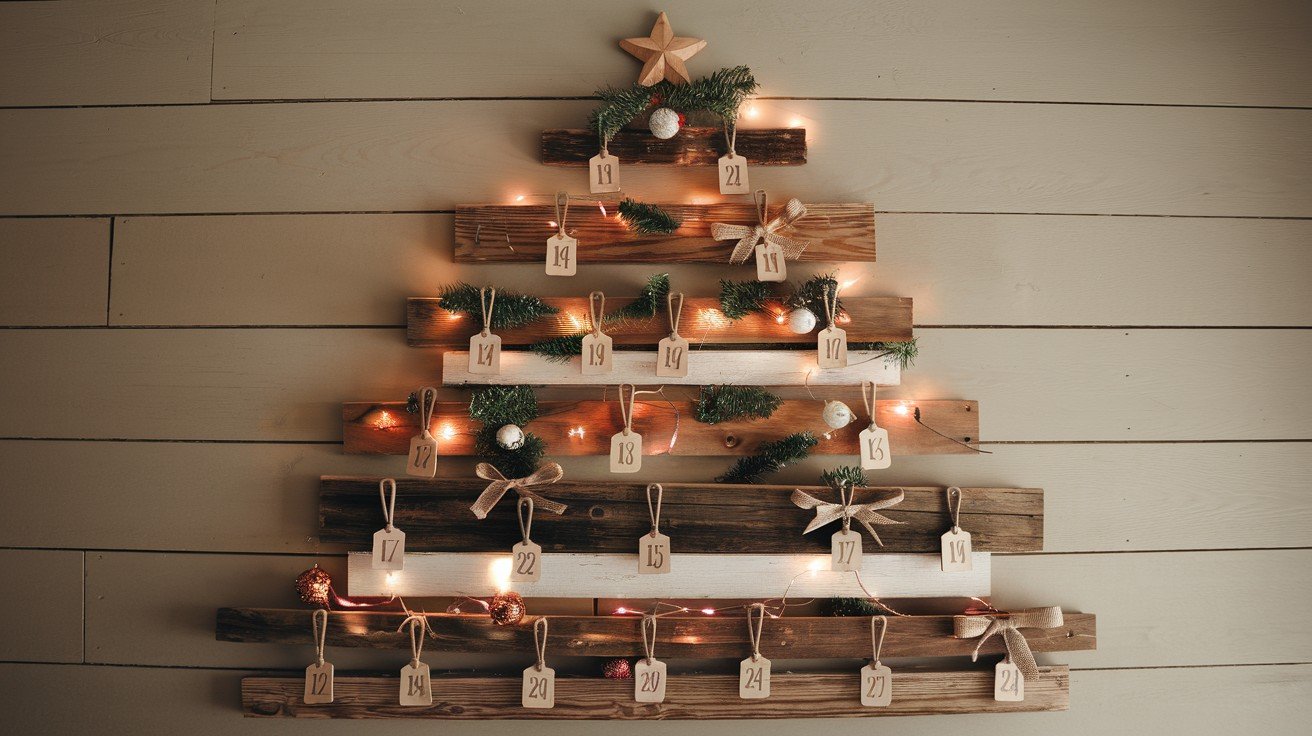
I build trees from old wood scraps. 24 small hooks hold tiny surprises. Cut reclaimed wood into tree shapes. Add hooks for hanging small bags or ornaments.
What You Need:
Reclaimed wood pieces
Small hooks
Saw
Number tags
How to Make It:
Step 1: Cut wood into tree shapes.
Step 2: Sand edges smooth.
Step 3: Screw in 24 small hooks.
Step 4: Add number tags 1-24.
Step 5: Hang small bags with treats.
Rustic charm meets function. Perfect for farmhouse style.
Wire and Geometric Modern Calendar
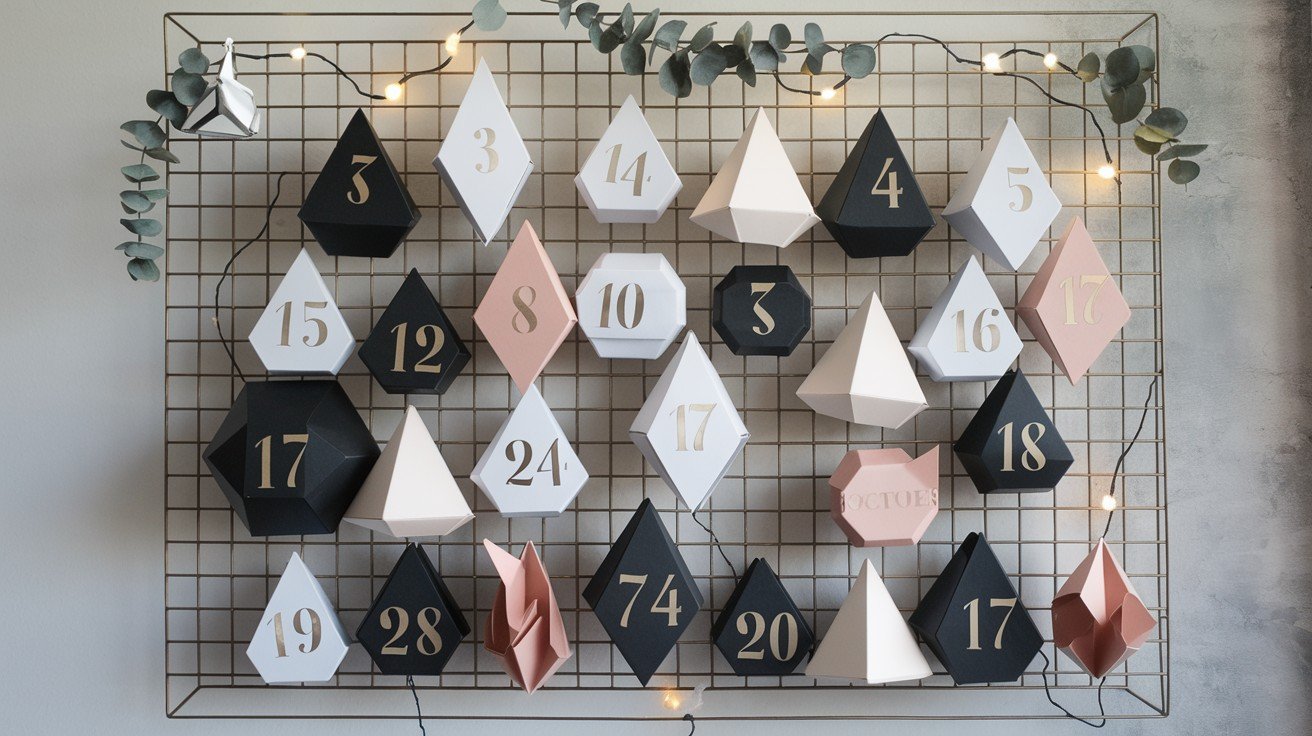
I bend wire into clean shapes. 24 geometric forms create modern art. Use wire to make triangles, circles, and squares. Attach small pouches to each shape.
What You Need:
Craft wire
Small fabric pouches
Pliers
Number tags
How to Make It:
Step 1: Bend the wire into 24 geometric shapes.
Step 2: Attach small pouches to each wire form.
Step 3: Add number tags 1-24.
Step 4: Fill pouches with treats.
Arrange on the wall in a pattern. Clean lines for modern homes.
Conclusion
You now have 17 solid DIY advent calendar ideas that fit any skill level and budget. From simple envelope trees to elaborate felt wall hangings, there’s something here that works for your family.
The best calendar is the one you’ll make. Start with materials you already have at home. Your kids will love whatever you create together.
Remember: It’s not about perfection. It’s about making December special with your own hands.
Which idea caught your attention? I’d love to hear about your favorite DIY advent calendar ideas in the comments below. Share a photo when you’re done – seeing your finished calendars always makes my day.
Happy crafting, and here’s to a magical December countdown!
Frequently Asked Questions
What are the easiest DIY advent calendar ideas for beginners?
Paper bag calendars, envelope trees, and shoe organizer transformations require minimal crafting skills. These projects take under 30 minutes and use basic materials like tape, markers, and bags.
How much do DIY advent calendar ideas typically cost to make?
Most projects cost $10-25 using craft store materials. Repurposing items like shoe organizers or matchboxes reduces costs further. Many ideas use supplies you already have at home.
What size treats fit in homemade advent calendars?
Small items work best: stickers, candy, gift cards, notes with activities, mini toys, or tea bags. Avoid heavy items that might tear paper pockets or fall from hanging displays.
Can DIY advent calendar ideas be reused each year?
Yes! Wooden, felt, and pegboard calendars last for years. Simply refill pockets or containers annually. Paper-based calendars typically last one season but cost less to remake.
How early should I start making a DIY advent calendar?
Begin in mid-November for complex projects requiring drying time or detailed work. Simple calendars can be completed in one weekend during late November before December begins.