

Tired of stepping on scattered LEGO bricks every morning?
Ready to give your little builders a dedicated workspace that keeps those colorful pieces organized? Creating a DIY LEGO table might be exactly what your family needs.
Building your own LEGO table offers incredible benefits: you’ll save money compared to expensive store-bought options, customize the size and features to fit your space perfectly, and create something truly special for your kids.
Plus, this project makes a fantastic weekend activity you can tackle together as a family.
In this guide, we’ll walk through everything you need to know, from selecting the perfect base to adding creative storage solutions.
By the end, you’ll have a functional, organized play space that transforms chaotic LEGO sessions into focused, creative building time.
Let’s get started on this rewarding project!
Why Choose a DIY LEGO Table?
Building your own LEGO table makes perfect sense for busy parents. You’ll save significant money compared to expensive store-bought versions that can cost hundreds of dollars.
More importantly, you get complete control over the design, adjusting the height for your child’s comfort, sizing it to fit your available space, and adding features that match their specific interests.
This project also creates a wonderful bonding opportunity. Kids love helping with hands-on tasks like measuring, painting, or organizing supplies.
They’ll feel extra ownership and excitement about their new play space when they’ve helped create it themselves. It’s practical parenting and quality time rolled into one rewarding weekend project.
Choosing the Perfect Base for Your LEGO Table
The foundation of your project starts with selecting the right base.
Repurposing existing furniture offers the most budget-friendly approach; old coffee tables, side tables, or even sturdy storage boxes work wonderfully. IKEA pieces like the Lack coffee table, Trofast storage unit, or Flisat children’s table are popular choices due to their affordability and ideal proportions.
Size matters significantly. Consider your available space and how many children will use the table simultaneously.
A larger surface accommodates multiple builders, while compact designs work better in smaller rooms.
Height is crucial for comfort. Toddlers need lower surfaces (around 18-20 inches), while older kids work best with standard table height (24-30 inches).
Getting this right prevents back strain and keeps kids engaged longer during play sessions.
Materials and Tools You’ll Need
|
Essential Items |
Optional Customizations |
|
Table or base |
Casters for mobility |
|
LEGO baseplates |
Chalkboard or dry-erase surfaces |
|
Strong adhesive (E6000, Gorilla Glue) |
Hooks for LEGO instruction booklets |
|
Storage bins or drawers |
LED strip lighting |
|
Sandpaper |
Cup holders |
|
Paint and primer (if needed) |
Magnetic strips for tools |
|
Measuring tape |
Decorative trim or edging |
|
Level |
Name plates or labels |
|
Scissors or a utility knife |
Clear protective coating |
Pro Tip: Start with the essentials and add customizations later based on how your kids use the table. This approach keeps initial costs down while allowing you to enhance the workspace as needed.
Step-by-Step Instructions to Build the LEGO Table
Step 1: Prep the Surface
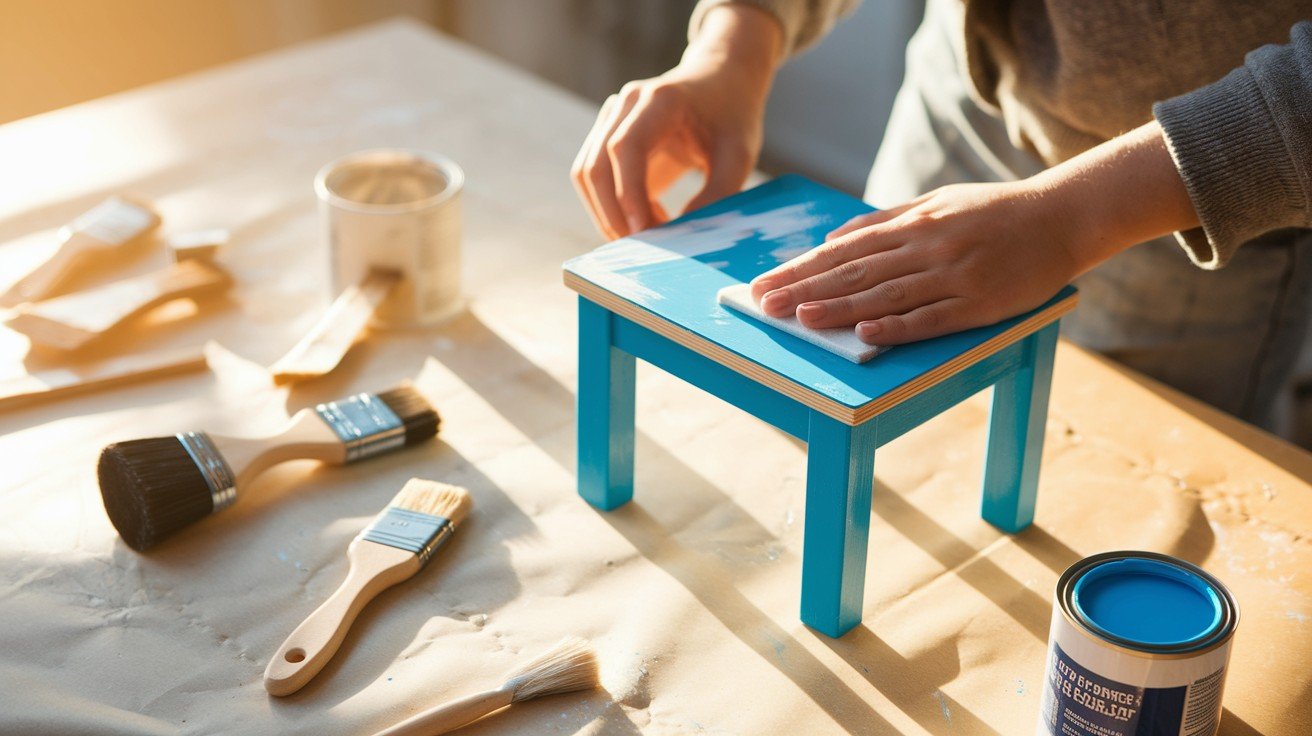
Start by thoroughly cleaning your chosen base to remove dust and debris. Sand any rough spots to create a smooth foundation.
If you’re painting, apply primer first, then your chosen color in thin, even coats. Allow each layer to dry completely before proceeding.
This preparation ensures your baseplates will adhere properly and creates a professional-looking finish.
Step 2: Arrange and Attach the Baseplates
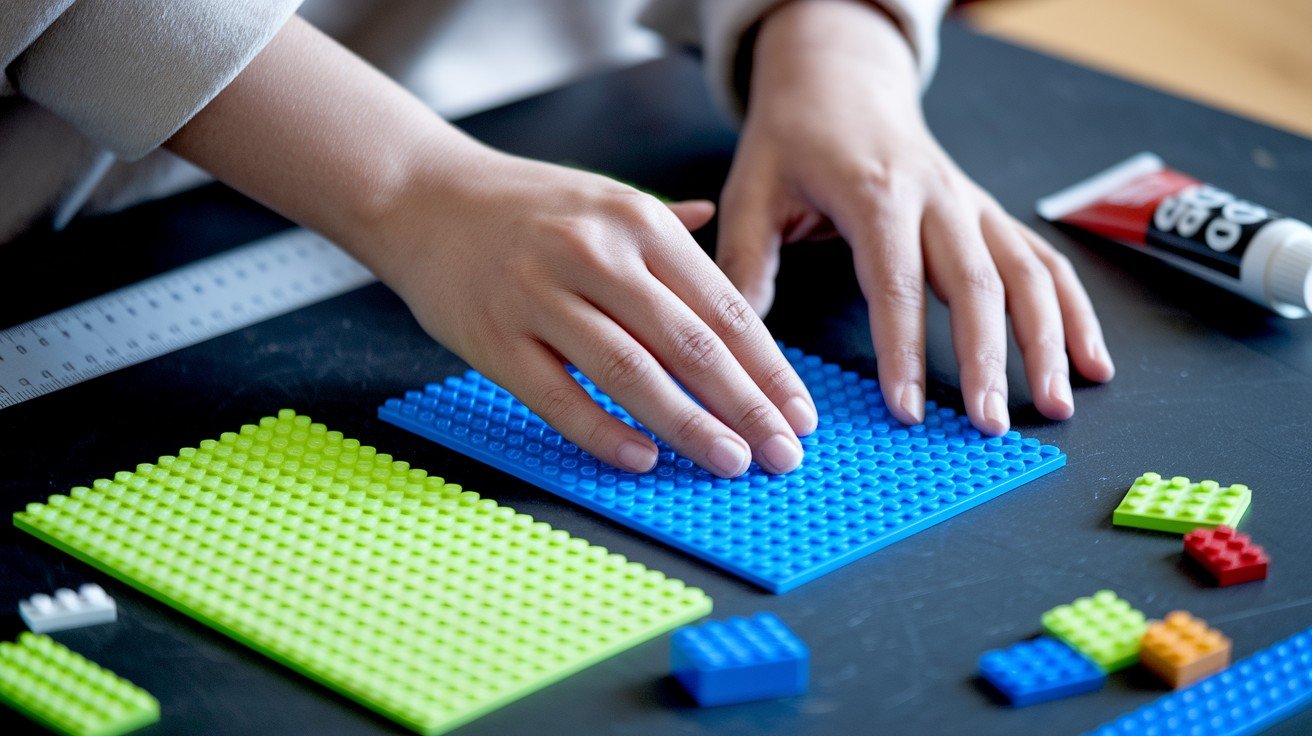
Measure your table surface and plan your baseplate layout carefully. Test-fit everything before applying adhesive.
Use a strong glue like E6000, applying it evenly across the back of each plate. Press firmly and hold for several seconds.
Ensure baseplates align precisely so LEGO bricks connect seamlessly across seams-this is critical for smooth building.
Step 3: Add Storage Options
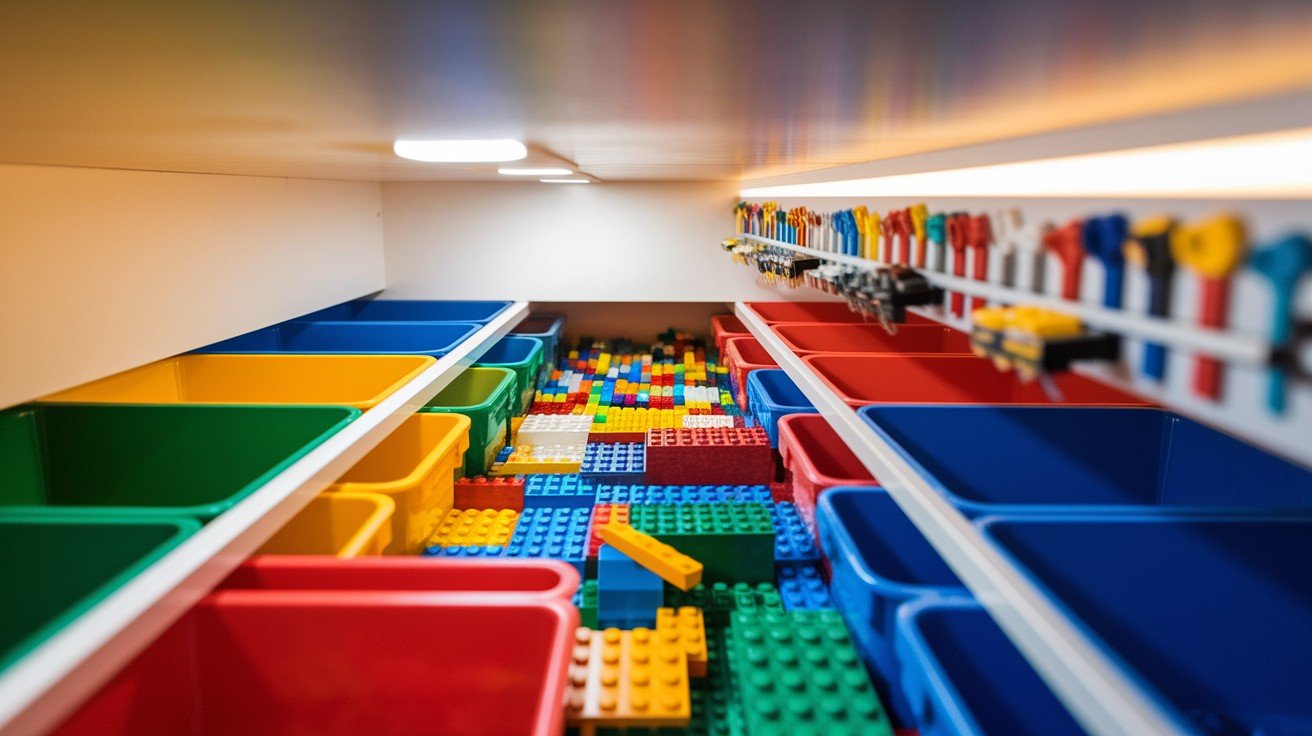
Install your chosen storage solutions around or under the table. Plastic bins fit perfectly under most tables, while drawer inserts work well for smaller pieces.
Consider adding magnetic strips to hold LEGO tools and specialty pieces. Position storage at kid-friendly heights so children can easily access and clean up their supplies independently during play sessions.
Step 4: Final Touches
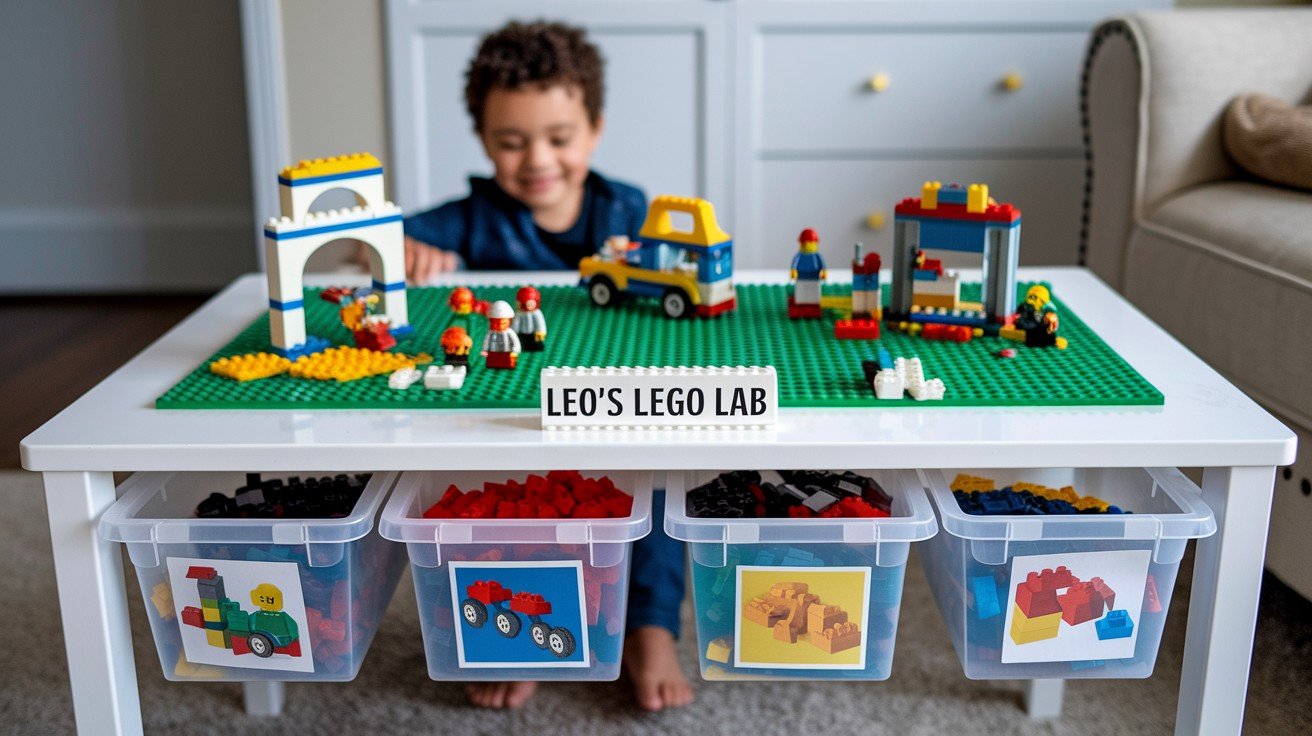
Label each storage bin with pictures or words to help kids organize different LEGO types. Add a nameplate or fun decorations to personalize the space.
If you painted the table, apply a clear protective sealant to prevent chips and scratches. Test everything one final time to ensure baseplates are secure and storage containers slide smoothly.
Safety and Maintenance Tips
- Choose Non-Toxic Materials: Always select child-safe, non-toxic paints and adhesives when building your table. Look for products labeled as VOC-free or low-odor to ensure your kids can play safely without exposure to harmful chemicals.
- Inspect for Loose Components: Check baseplate adhesion and table stability monthly, especially after heavy use. Tighten any loose screws or bolts, and reattach any baseplates that may have started lifting at the edges.
- Clean Baseplates Regularly: Wipe down LEGO baseplates weekly with a damp cloth to remove dust and sticky residue. For deeper cleaning, use warm soapy water and a soft brush to clean between the studs without damaging the surface.
- Maintain Table Surface: Clean the surrounding table areas with appropriate cleaners based on your finish-wood polish for wooden surfaces or mild soap for painted areas. This prevents buildup that could interfere with baseplate adhesion.
- Store Properly When Not in Use: Cover the table with a cloth or sheet when not being use to protect from dust accumulation. Keep storage bins organized and replace any cracked containers that could create sharp edges or small choking hazards.
Conclusion
Building a DIY LEGO table is one of the most rewarding projects you can tackle for your family.
Not only will you save money compared to expensive store-bought alternatives, but you’ll also create a personalized play space that perfectly fits your home and your child’s needs.
The satisfaction of watching your kids play for hours on something you built together is unmatched.
From selecting the perfect base to adding those final decorative touches, every step brings you closer to transforming chaotic LEGO sessions into organized, creative play time.
Remember, this project doesn’t have to be perfect; it just needs to work for your family.
Start with the basics and add features over time as you see how your children use their new workspace. Soon, you’ll wonder how you ever managed without this dedicated building zone in your home.
Frequently Asked Questions
What’s the best table height for my child?
Toddlers need 18-20 inches, while older kids (5+) work comfortably at a standard 24-30 inch table height.
How many baseplates do I need?
Most tables require 4-6 standard baseplates, but measure your surface first to determine the exact quantities needed.
Can I remove baseplates later if needed?
Yes, but strong adhesives make removal difficult. Consider removable double-sided tape for temporary or rental situations.