

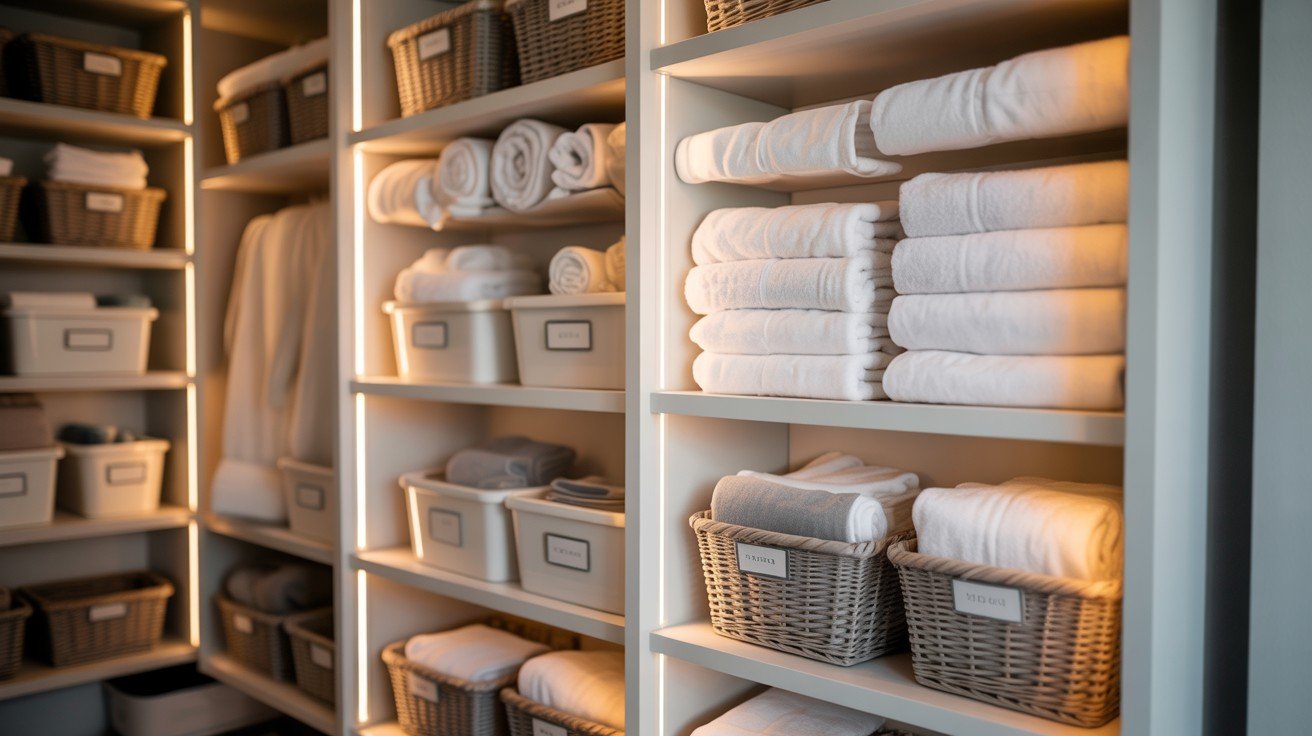
A well-organized home starts with smart storage solutions, and nothing beats the functionality of a DIY linen closet built to your exact specifications.
Many homeowners struggle with cramped bathroom cabinets or overstuffed bedroom drawers that leave towels, sheets, and linens in constant disarray.
Building your DIY linen closet offers the perfect solution, creating organized storage that fits your space, budget, and style preferences.
This project requires minimal woodworking experience while delivering maximum impact on your home’s organization and value.
From measuring your available space to selecting cost-effective materials, this guide walks you through every step of creating a functional linen storage system.
With basic tools and a weekend’s worth of effort, you’ll upgrade any unused area into an organized haven for all your household linens and bath essentials.
Why Build a Custom Linen Closet?
Creating your linen storage solution offers several compelling advantages that make this DIY project worthwhile for any homeowner.
Perfect Fit for Any Space
Custom-built storage accommodates awkward corners, narrow hallways, or unusually shaped areas that standard furniture simply cannot match.
You can maximize every inch of available space, creating storage that works seamlessly with your home’s unique layout and dimensions.
Budget-Friendly Alternative
Building your linen closet costs significantly less than purchasing pre-made units or hiring professional contractors.
With basic materials and tools, you can create a high-quality storage solution for a fraction of the price of ready-made alternatives.
Increased Home Value and Functionality
Well-designed storage solutions add both immediate utility and long-term property value.
A thoughtfully constructed linen closet improves your home’s organization while appealing to future buyers who appreciate practical, built-in storage features that maximize living space efficiency.
This investment in your home pays dividends through improved daily organization and enhanced resale appeal.
Planning Your DIY Linen Closet
Proper planning ensures your linen storage project runs smoothly and delivers the results you want. Taking time to assess your space and needs upfront prevents costly mistakes and creates a more functional final product.
Measure Your Space Accurately
Record precise wall-to-wall and floor-to-ceiling measurements, noting any obstacles like electrical outlets, light switches, or plumbing fixtures.
Measure twice to avoid cutting materials incorrectly. Document the depth available, as this determines shelf capacity and accessibility.
Select the Ideal Location
Consider high-traffic areas like hallways near bedrooms, bathroom adjacencies for towel storage, or underutilized spaces such as alcoves and dead-end corridors.
Proximity to where linens are used most frequently improves convenience and encourages organized habits.
Create a Simple Design Sketch
Draw your layout, including shelf heights, door placement, and storage accessories. Plan for adjustable shelving to accommodate different linen sizes.
Decide between open shelving for easy access or enclosed storage for a cleaner appearance.
Establish Your Budget
Set realistic spending limits and identify cost-saving opportunities. Check local lumber yards for discounted materials, visit thrift stores for baskets and organizational accessories, or repurpose existing shelving components to stretch your dollars further.
Materials and Tools You’ll Need
|
Category |
Item |
Purpose |
Notes |
|
Lumber |
Plywood or MDF boards |
Main shelving material |
Choose thickness based on load requirements |
|
Hardware |
Wood screws |
Secure shelves to supports |
Various lengths needed |
|
Nails |
Assembly and trim work |
Finish nails for a clean appearance |
|
|
Brackets |
Wall-mounted shelf support |
Heavy-duty for loaded shelves |
|
|
Wall anchors |
Secure to drywall/studs |
Match to wall type and weight |
|
|
Finishing |
Paint or stain |
Protection and appearance |
Optional – match existing decor |
|
Caulk |
Seal gaps and joints |
Creates a professional finish |
|
|
Trim pieces |
Cover raw edges |
Adds a polished look |
|
|
Essential Tools |
Measuring tape |
Accurate measurements |
25-foot tape recommended |
|
Level |
Ensure a straight installation |
2-foot level minimum |
|
|
Saw |
Cut lumber to size |
Hand saw or circular saw |
|
|
Drill |
Create holes and drive screws |
Cordless recommended |
|
|
Screwdriver |
Manual fastening |
Phillips and flathead bits |
|
|
Organization |
Baskets |
Contain smaller items |
Wire or woven options |
|
Storage bins |
Organize by category |
Clear or labeled containers |
Step-by-Step: How to Build Your Linen Closet
1. Prep the Space
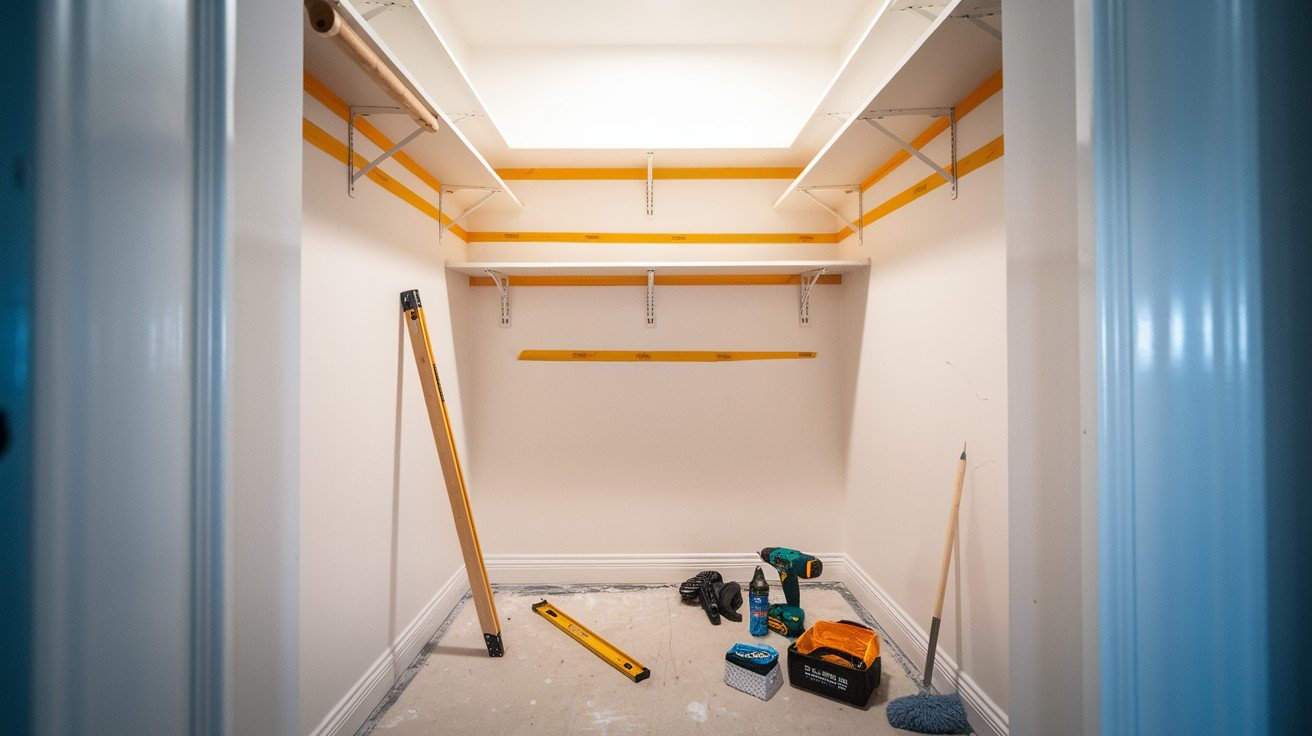
Clear the area completely and remove any existing shelving or fixtures. Clean walls thoroughly to ensure proper adhesion.
Use a pencil to mark your planned layout directly on the wall, including shelf positions and bracket locations. Check for electrical wires or plumbing behind walls before drilling. Gather all materials within easy reach.
2. Build the Frame (if needed)
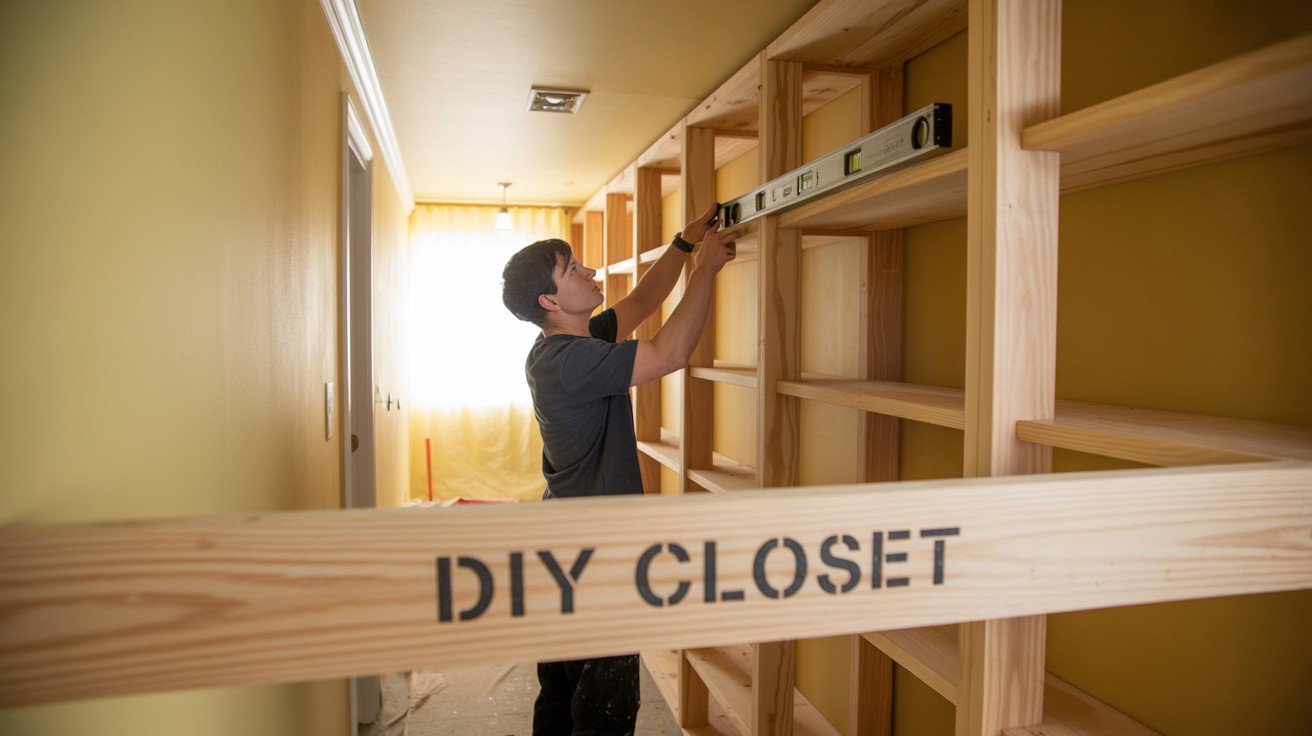
For open spaces without an existing structure, construct a basic frame using 2×4 lumber. Install vertical side supports anchored securely to the floor and ceiling.
Ensure the frame is plumb and square using your level. This framework provides mounting points for shelves and creates defined storage boundaries in larger spaces.
3. Cut and Install Shelves
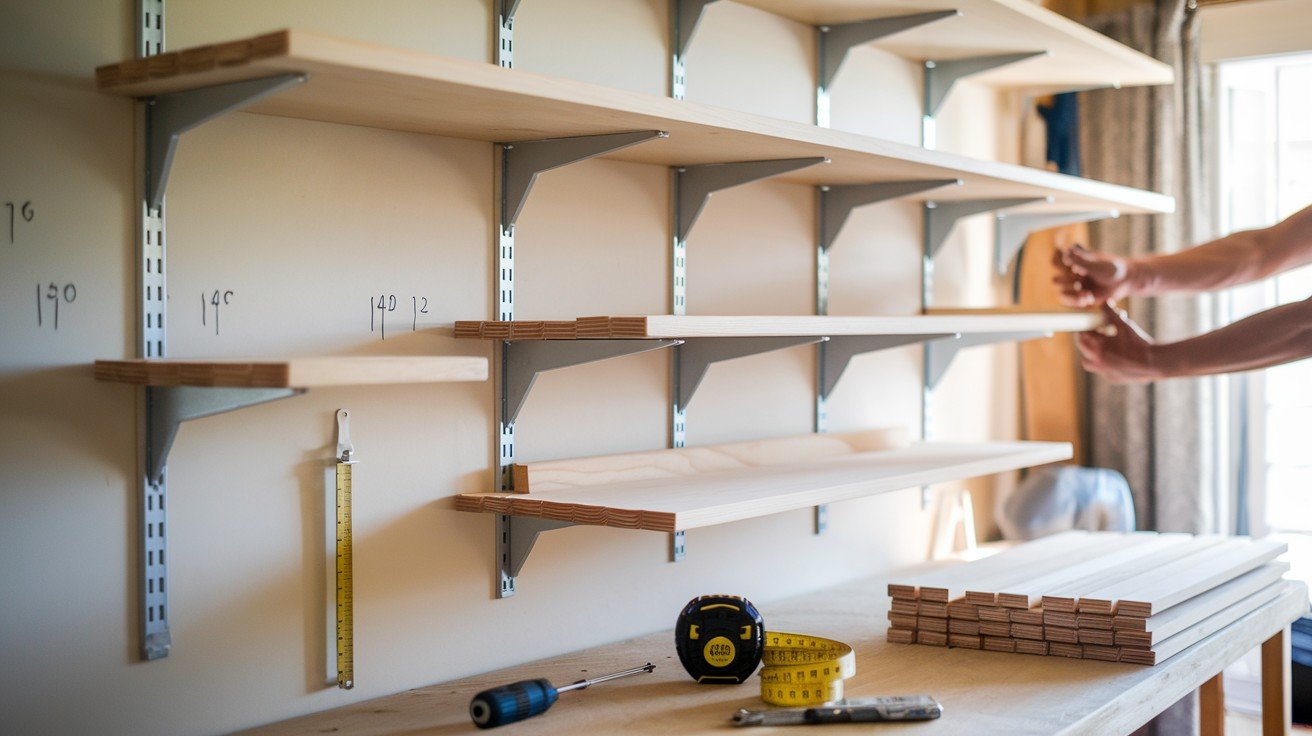
Measure and cut shelving boards to fit your space precisely. Plan shelf spacing: 12-14 inches for folded towels, 8-10 inches for sheets, 16 inches for storage baskets.
Mark bracket positions on walls, locate studs when possible, and use appropriate wall anchors. Install brackets level, then secure shelves firmly to prevent sagging.
4. Paint or Finish (Optional)
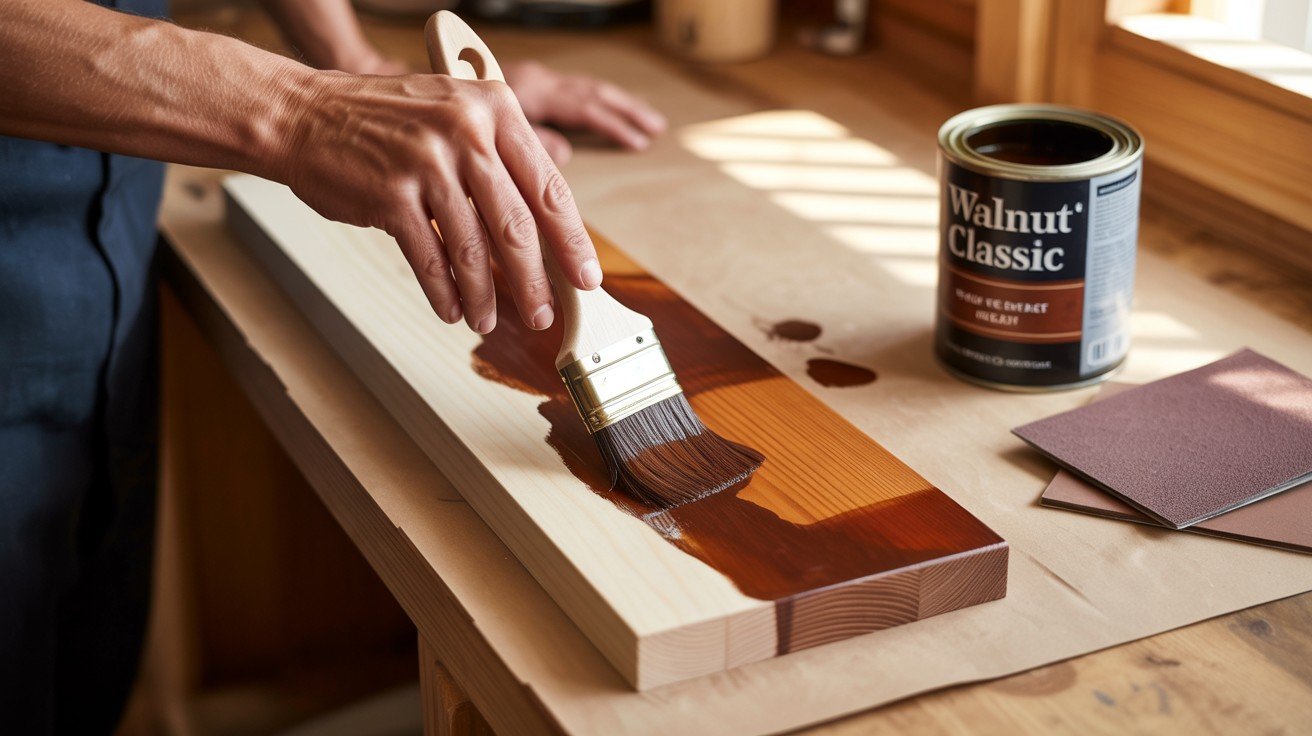
Sand all surfaces lightly for a smooth finish. Apply primer if using paint or wood conditioner before staining. Choose colors that complement your existing decor, or leave wood natural for rustic appeal.
Allow adequate drying time between coats. Consider using semi-gloss paint in humid areas for easier cleaning and moisture resistance.
5. Add Final Touches
Install decorative trim around shelf edges for a professional appearance. Add wire baskets or fabric bins for organizing smaller items.
Create labels for different linen categories to maintain organization. Caulk any gaps between shelves and walls.
Consider adding LED strip lighting underneath shelves for better visibility and modern appeal.
Cost Breakdown & Budget Tips
|
Cost Category |
Budget Range |
Mid-Range |
Premium |
|
Total Project Cost |
$50 – $80 |
$80 – $120 |
$120 – $150+ |
|
Lumber (plywood/MDF) |
$25 – $35 |
$35 – $50 |
$50 – $70 |
|
Hardware & brackets |
$10 – $15 |
$15 – $25 |
$25 – $35 |
|
Paint/stain |
$8 – $12 |
$12 – $20 |
$20 – $30 |
|
Organization accessories |
$7 – $18 |
$18 – $25 |
$25 – $40 |
|
Money-Saving Strategy |
Potential Savings |
Where to Find |
|
Upcycle existing furniture |
$20 – $40 |
Old bookcases, cabinets, and drawers |
|
Shop thrift stores |
$15 – $30 |
Goodwill, garage sales, estate sales |
|
Visit discount centers |
$10 – $25 |
Habitat ReStore, Lumber Liquidators |
|
Reuse closet doors |
$30 – $60 |
Old bedroom/bathroom closets |
|
Use curtains for enclosure |
$20 – $45 |
Tension rods with fabric panels |
|
Buy lumber remnants |
$10 – $20 |
Home improvement store cut-offs |
|
Facebook Marketplace |
$15 – $35 |
Local sellers, bulk material lots |
Additional Cost-Cutting Tips:
- Borrow tools from friends or neighbors
- Buy materials during seasonal sales
- Use free pallets for rustic shelving (sand and treat first)
Conclusion
Building a DIY linen closet upgrade to address cluttered storage problems with organized solutions while staying within budget constraints.
This project requires minimal carpentry skills yet delivers maximum functional impact for your home.
By following these step-by-step instructions, you can create custom storage that perfectly fits your space and organizational needs.
The investment in time and materials pays dividends through improved daily organization and increased home value.
Your new linen closet will serve your family for years, providing dedicated space for towels, sheets, and household essentials.
Whether you choose a simple open-shelf design or an enclosed system with doors, the result will be a practical storage solution that reduces clutter and streamlines your routines.
Start your project this weekend and experience the satisfaction of creating functional storage that works exactly as you need it to.
Frequently Asked Questions
What’s the minimum space needed for a functional linen closet?
A basic linen closet requires just 2 feet wide by 12 inches deep, though 3 feet wide provides more comfortable access.
Can beginners complete this project without professional help?
Yes, this project uses basic carpentry skills and common tools that most homeowners can handle with patience and planning.
How long does building a DIY linen closet typically take?
Most projects are complete in one weekend: Saturday for construction and Sunday for finishing touches and organization setup.