

Want to create a magical evening ambiance in your backyard without breaking the bank?
A DIY outdoor string light pole stand is your perfect solution! This weekend project lets you bring warm, inviting lighting to any outdoor space, from cozy patios to sprawling gardens.
Store-bought lighting solutions cost hundreds of dollars, and permanent installations aren’t always practical for renters or those who love flexibility.
With basic tools and materials, you’ll build sturdy, portable stands that hold your string lights exactly where you want them.
This step-by-step guide walks you through creating professional-looking light stands using simple materials like wooden poles and weighted bases.
Ready to light up your outdoor evenings? Let’s get started!
Why Build a DIY Outdoor String Light Pole Stand?
Building your own string light pole stand offers three major advantages that make this project worthwhile.
First, you’ll save significant money compared to purchasing commercial poles or installing permanent pergolas, which can cost hundreds or even thousands of dollars.
Second, you can customize every aspect, from pole height to base style, ensuring a perfect fit for your specific yard or patio dimensions.
Finally, these portable stands are incredibly convenient for renters who can’t make permanent modifications, and they’re ideal for temporary events like parties and weddings where you need flexible lighting solutions that can be easily repositioned or stored.
Step-by-Step Instructions
Step 1 – Choose Your Base Type
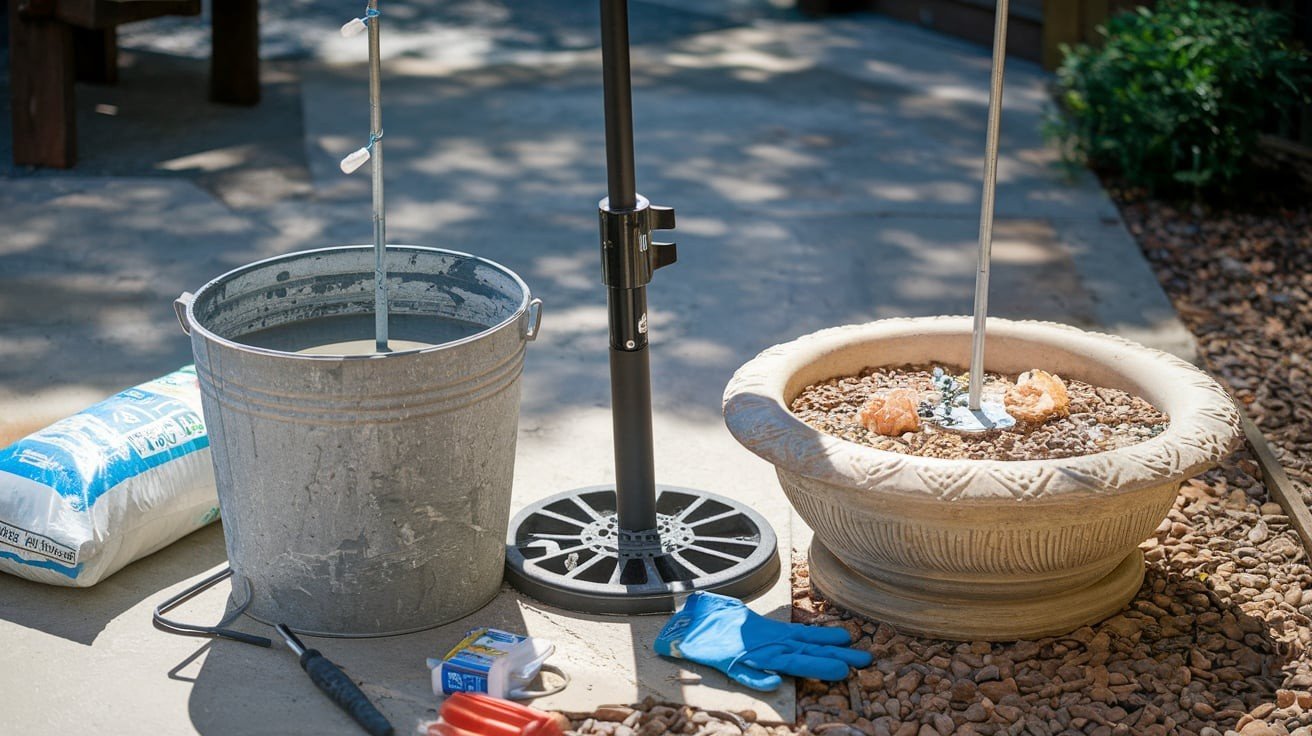
Select a stable foundation for your poles based on your needs and budget. Concrete-filled buckets provide excellent stability and portability; simply mix quick-set concrete in 5-gallon buckets.
Umbrella stands offer convenience if you already own them, while large planters filled with sand or gravel work well for temporary setups.
Consider your space, wind conditions, and whether you need permanent or movable solutions when making your choice.
Step 2 – Cut and Prepare the Poles
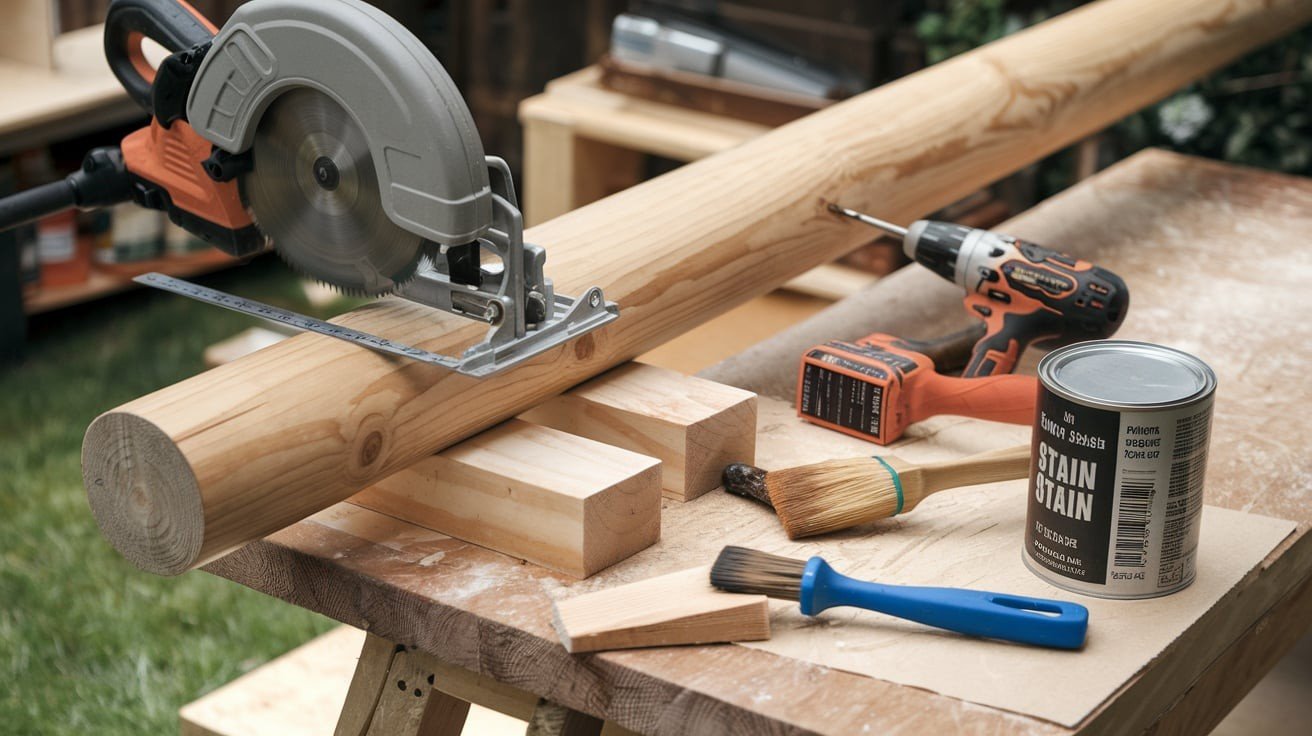
Measure and cut your poles to the optimal height of 8-10 feet for most outdoor spaces. Sand all rough edges thoroughly to prevent splinters and create a smooth finish.
Pre-drill holes where you’ll attach hardware to avoid splitting the wood. If using metal poles, file down any sharp edges.
Clean the poles completely and apply wood stain or paint if desired for weather protection and visual appeal.
Step 3 – Secure the Poles to the Base
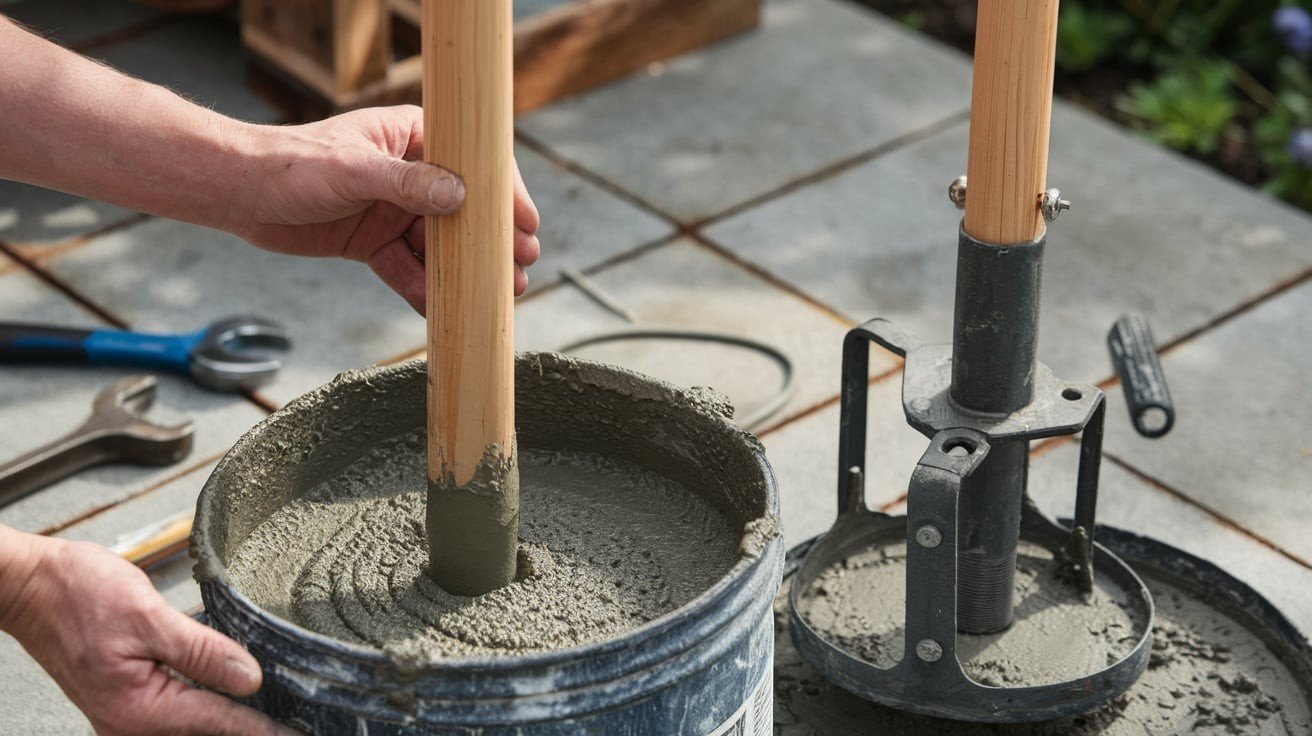
Attach your prepared poles firmly to your chosen base system. For bucket bases, insert poles into wet concrete and hold straight until set.
Metal brackets work well for umbrella stands; bolt them securely. For planter bases, use heavy-duty clamps or custom brackets.
Ensure all connections are tight and poles remain perfectly vertical. Double-check stability before proceeding to avoid accidents during installation.
Step 4 – Add Hardware for Hanging Lights
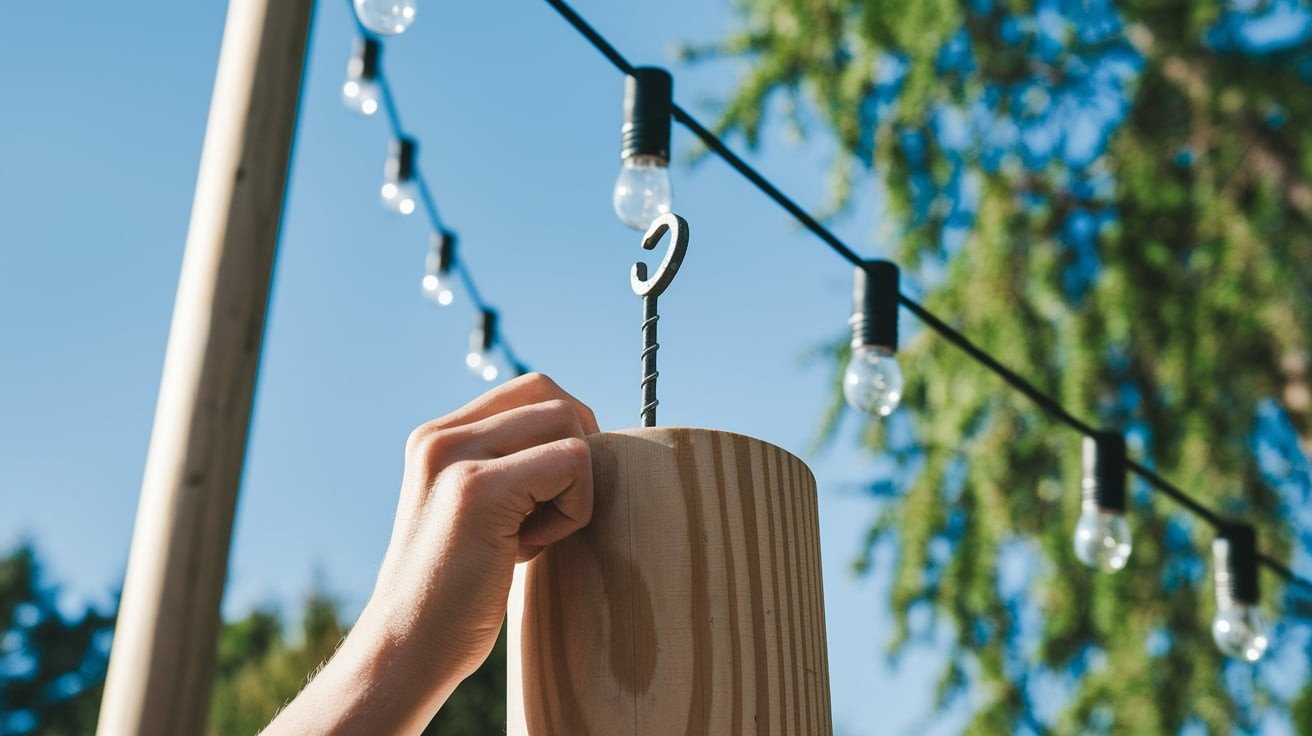
Install sturdy hooks or eye screws near the top of each pole where you’ll hang your string lights. Space them evenly and ensure they can support the weight of your light strands.
For longer spans, consider running a guide wire between poles for additional support and to prevent sagging. Use weather-resistant hardware to prevent rust.
Test each attachment point by gently pulling to confirm secure installation.
Step 5 – Position and Test the Setup

Place your completed pole stands in their final positions, spacing them evenly across your desired area. Use a level to ensure each pole stands perfectly straight.
Test the entire setup’s stability by gently pushing each pole; they should remain firm without wobbling.
Hang your lights and check for proper spacing and height. Make any final adjustments to positioning before your first use.
Optional Customizations
Add Planter Decor
Transform your functional light stands into beautiful garden features by filling bucket or planter bases with potting soil and colorful flowers.
This dual-purpose approach adds visual appeal while providing extra weight for stability. Choose seasonal blooms like petunias, marigolds, or trailing ivy that complement your outdoor space.
The added soil weight helps anchor your poles during windy conditions, making this both a practical and decorative enhancement to your lighting setup.
Paint or Stain the Poles
Personalize your poles to complement your outdoor aesthetic by applying weather-resistant paint or wood stain.
Dark stains create a rustic, natural look that blends with garden settings, while bright colors can make a bold statement.
White or black paint offers a clean, modern appearance that works with contemporary patios. Apply two coats for durability and reapply annually to maintain protection against sun, rain, and temperature changes.
Add Hooks for Lanterns or Hanging Decor
Maximize your pole stands’ functionality by installing additional hooks at various heights for lanterns, hanging planters, or seasonal decorations.
Place lower hooks for solar lanterns or citronella candles, and higher ones for wind chimes or hanging baskets. Use different hook styles, some for lights, others for decor, to create layered lighting effects.
This versatility means your stands serve multiple purposes throughout different seasons and occasions.
Conclusion
Creating your own DIY outdoor string light pole stand is a rewarding project that combines practicality with creativity.
With just a few basic materials and tools, you’ve built a lighting solution that perfectly fits your space and budget.
These versatile stands will serve you well for years, providing the perfect ambiance for evening gatherings, romantic dinners, or quiet nights under the stars.
The beauty of this project lies in its flexibility – you can modify, move, or customize your stands as your needs change.
From seasonal decorations to permanent patio lighting, these poles adapt to any occasion. Remember to maintain your stands regularly, checking for stability and weather damage to ensure safe operation.
Now it’s time to hang those lights and enjoy the warm, inviting atmosphere you’ve created. Your outdoor space will never look the same again!
Frequently Asked Questions
How much weight can these DIY poles support?
Most DIY poles can safely hold 2-3 standard string light strands, but avoid overloading to prevent bending or tipping over.
Will these stands work in windy conditions?
Yes, with proper concrete bases and adequate spacing. Consider guy wires for extra stability in consistently windy areas.
Can I use these stands year-round outdoors?
Absolutely! Use weather-resistant materials and apply protective finishes. Store during severe weather for the longest lifespan and best performance.