

Your porch sits empty most days. Rain keeps you inside. Bugs chase you away. Cold weather makes it useless for months.
But what if that space could work for you all year long?
More homeowners now see the potential in enclosing a porch for living space. They’re creating cozy sunrooms for morning coffee. Kids get new playrooms. Remote workers build quiet home offices. Families add dining areas for big gatherings.
This guide covers everything you need to know. You’ll learn about different enclosure types and materials. We’ll walk through each step of the process. Real homeowners share their best tips. Plus, we answer the most common questions about costs, permits, and DIY options.
Should You Enclose a Porch?
Yes, if you need more living space without building costly additions. Homeowners choose porch enclosures because they add usable square footage and let you enjoy outdoor areas without bugs while staying comfortable in different seasons.
Many families need extra space for remote work offices or playrooms for growing children. Others want dining areas for entertaining guests or quiet reading spots that work year-round.
This project takes time and planning since most areas require permits before construction begins. Costs range from basic screens to full rooms, but the results last for years and increase your home’s value.
Types of Porch Enclosures
Different enclosure types work for different needs and budgets when enclosing a porch for living space.
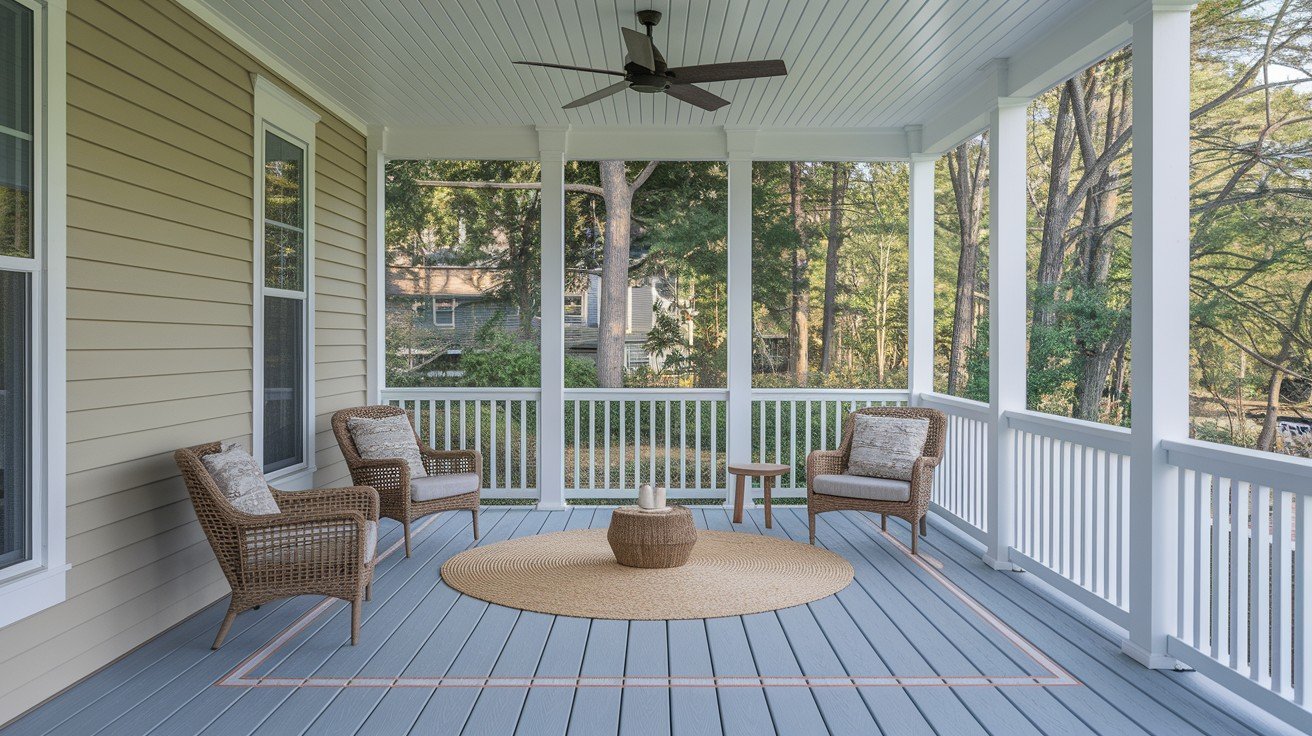
1. Screened Porch (Three-Season)
This cost-effective option protects you from insects and light weather while keeping fresh air flowing through the space. Installation costs less than other enclosure types and works well for most budgets.
These porches work best from spring through fall when temperatures stay comfortable. You’ll get protection from bugs and rain, but won’t have heating or cooling for winter use.
2. Sunroom or Four-Season Room
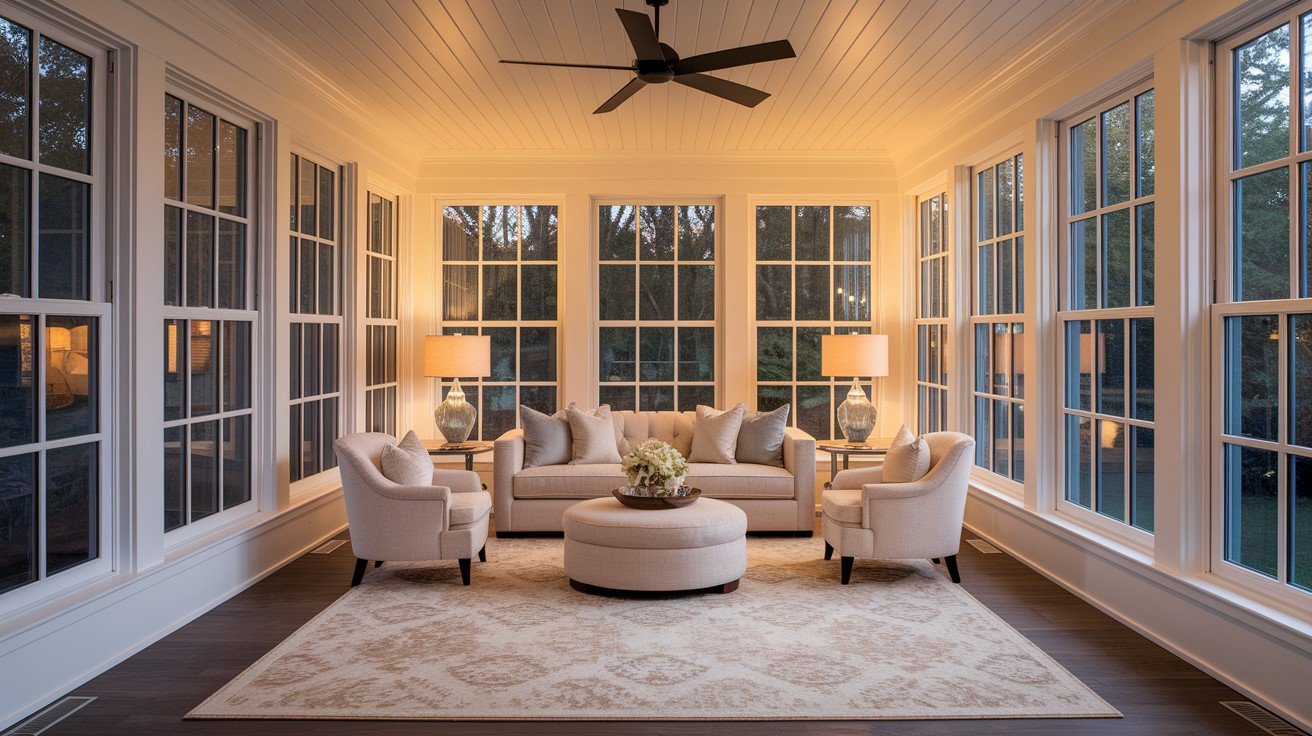
These fully insulated rooms include heating and air conditioning systems so you can use them throughout the entire year. They function like interior rooms with proper climate control and weatherproofing.
This option adds genuine living space that feels like part of your home’s interior. The investment costs more upfront, but gives you a room that works in any season or weather condition.
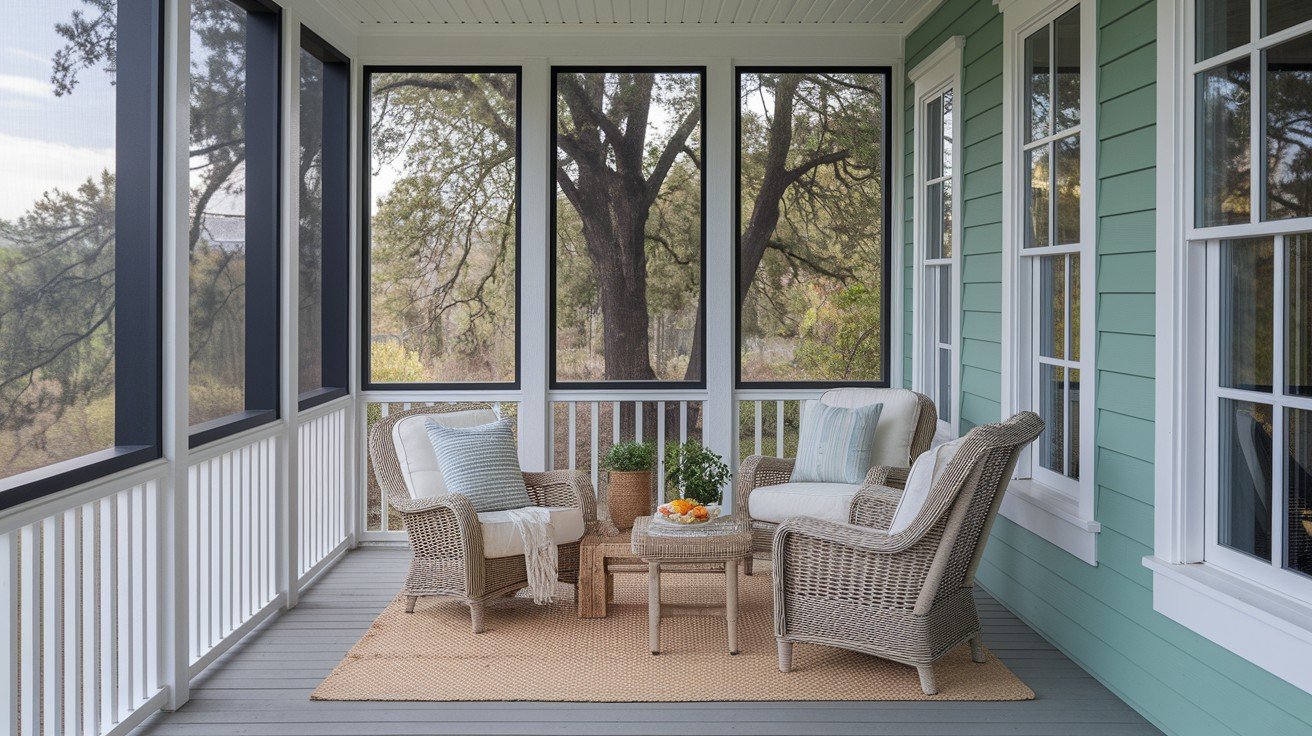
3. Glass or Vinyl Panel Enclosures
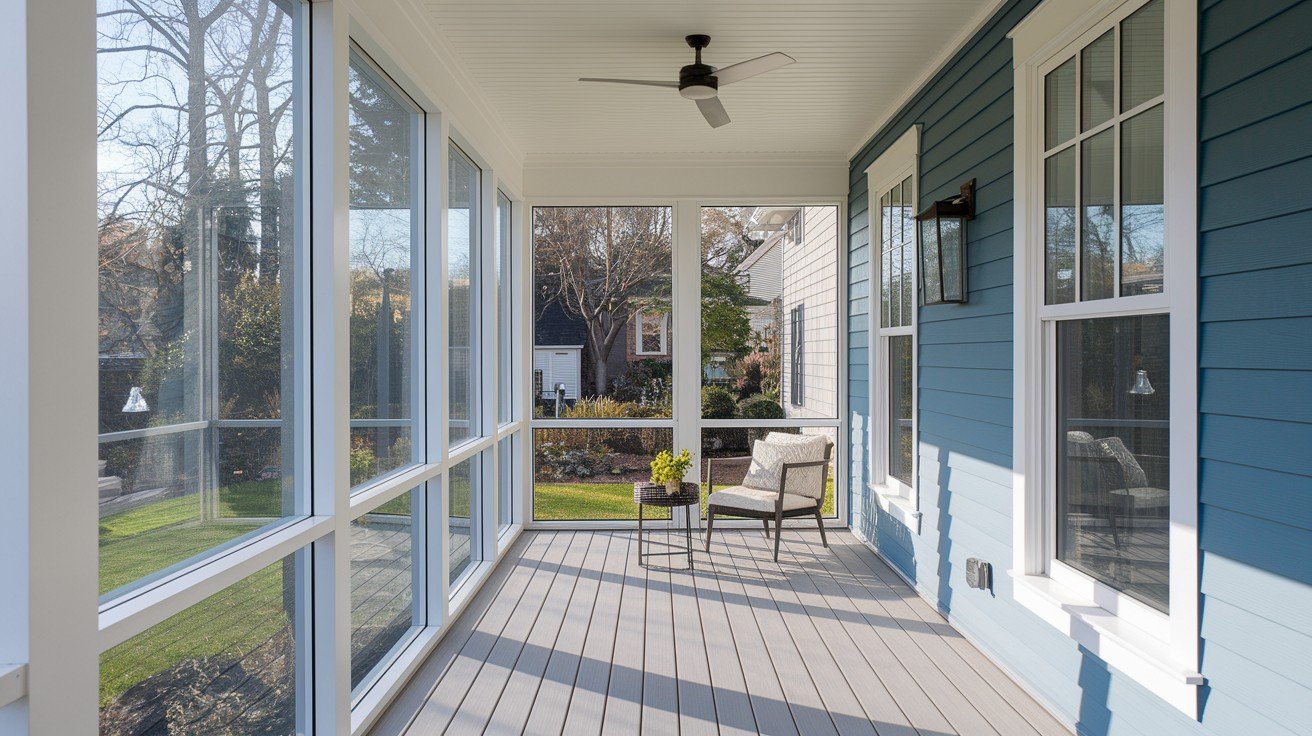
These transparent panels give you a modern look while protecting against wind, rain, and cold temperatures. You get clear views of your yard and plenty of natural light throughout the day.
The panels block the weather while letting sunlight flood the space, creating a bright and airy feeling. This option works well for people who want weather protection without losing the outdoor connection.
Step-by-Step: How to Enclose a Porch for Living Space
Following these steps helps you plan and complete your porch enclosure project from start to finish.
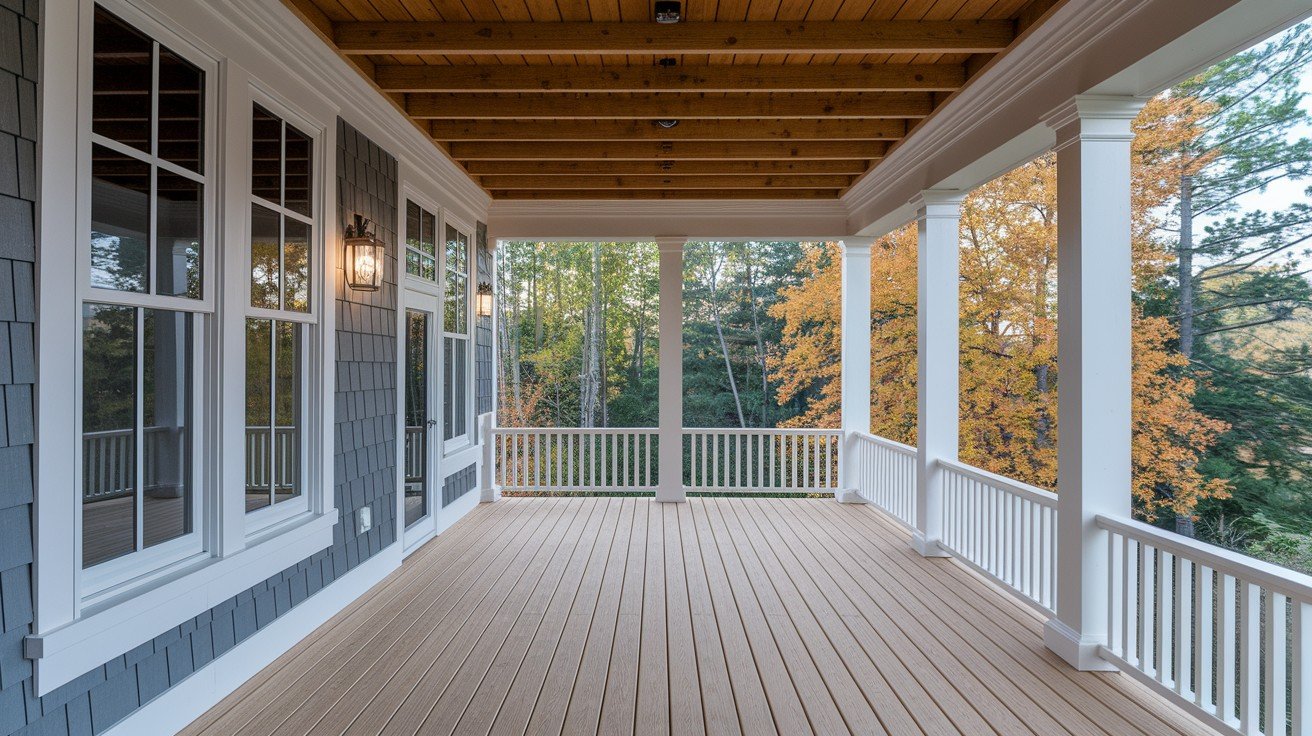
Step 1 – Assess Your Existing Structure

Check your porch floor, roof, and framing for stability before starting any enclosure work. Look for sagging areas, rotted wood, or structural problems that need fixing first.
Test the insulation potential of your existing structure to see if it can support year-round use. Some porches need foundation upgrades or additional support beams for heavier enclosure materials.
Step 2 – Define How You’ll Use the New Space
Decide if your enclosed porch will serve as a home office, family lounge, dining area, or playroom for children. Your intended use affects everything from flooring choices to electrical needs.
Think about furniture placement and traffic flow to make sure the space works for your family’s daily activities. Planning the function first helps you make better decisions about materials and features.
Step 3 – Choose Enclosure Materials
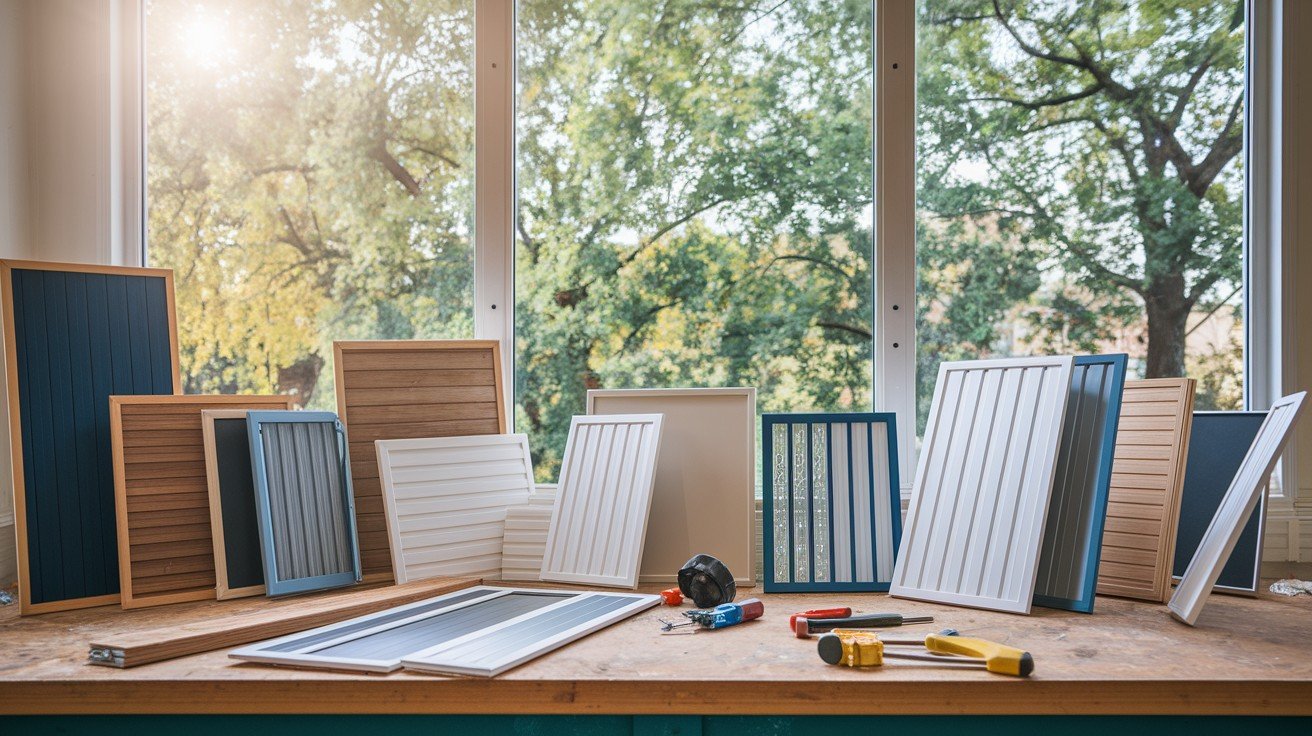
Select from wood framing, aluminum panels, vinyl windows, insulated glass, or basic screening based on your budget and climate needs. Each material offers different benefits for durability, maintenance, and appearance.
Consider your local weather conditions and how much maintenance you want to handle over time. Wood looks great but needs more upkeep, while vinyl and aluminum require less maintenance but cost more initially.
Step 4 – Install or Upgrade the Foundation and Flooring
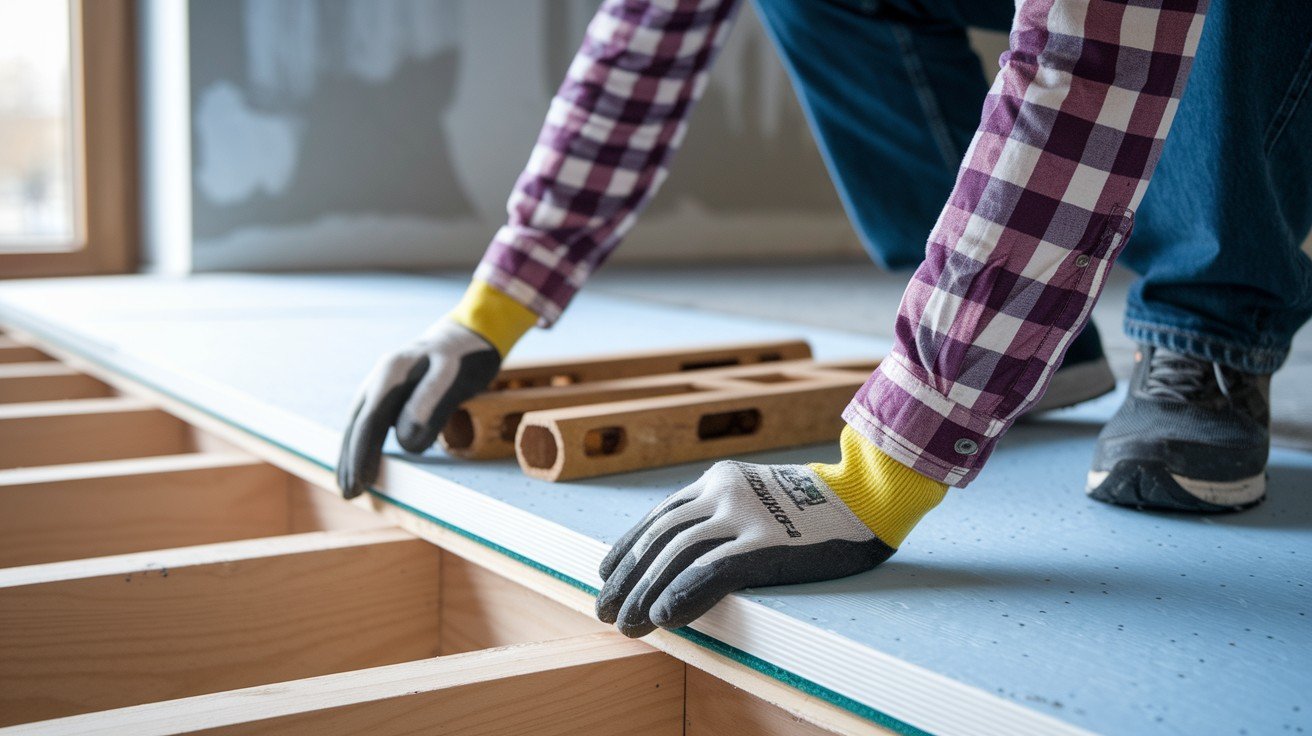
Level your porch floor and add insulation if you plan to use the space year-round. Some porches need concrete footings or additional support for heavier enclosure materials.
Choose durable flooring that handles temperature changes and moisture from seasonal weather. Tile, luxury vinyl, or treated wood work well for enclosed porches that see regular use.
Step 5 – Build Walls and Add Windows
Frame new walls between your existing porch posts using standard construction techniques. Install energy-efficient windows and doors if you want to use the space during cold months.
Make sure window placement gives you good views and natural light while maintaining structural integrity. Consider how windows will open and close in your daily use of the space.
Step 6 – Add Electrical and Climate Control

Install electrical outlets, overhead lighting, and switches to make your enclosed porch functional for daily activities. Add ceiling fans or mini-split HVAC systems if you need temperature control.
Plan electrical work early since running wires through finished walls costs more than doing it during construction. Think about USB outlets, dimmer switches, and outdoor-rated fixtures for best results.
Step 7 – Finish with Design and Furnishings
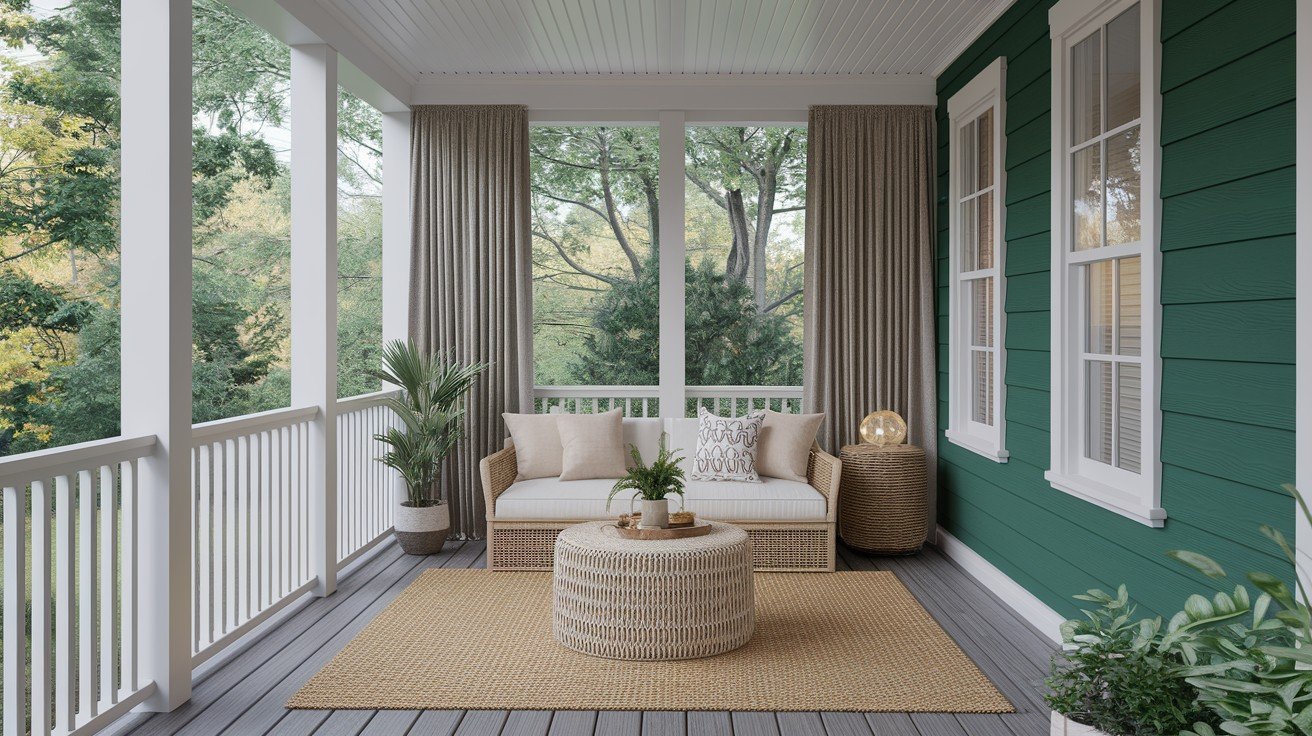
Paint walls and install trim work to match your home’s interior style and create a finished look. Add curtains or blinds for privacy and light control throughout different times of day.
Choose furniture that fits your planned activities and can handle temperature changes if the space isn’t climate-controlled. Lighting fixtures, rugs, and decorative items complete the transformation from porch to living space.
Pros, Cons, and Considerations
Understanding both benefits and challenges helps you make smart decisions about enclosing a porch for living space.
|
Pros |
Cons |
|
Adds functional square footage |
It can be expensive depending on materials and scope |
|
Enhances natural light and views |
May require permits and inspections |
|
Flexible for many uses |
Needs thoughtful integration with the home’s design |
These factors help you decide if a porch enclosure fits your budget, timeline, and home improvement goals.
Real-World Tips from Homeowners
Homeowners who completed porch enclosures share practical advice to help your project go smoothly.
- Start small by phasing your project seasonally to spread costs and test what works best
- Always check local codes early to avoid costly issues and delays later in construction
- Use local contractors who understand weather conditions and permit requirements in your area
- Insulate well if you plan to convert the space for full-year use and comfort
- Consider resale appeal and make sure the space flows naturally from the rest of your home
These tips come from real experiences and can save you time, money, and frustration during your porch enclosure project.
Conclusion
Enclosing a porch for living space changes how you use your home. You get extra square footage for relaxing, working, or entertaining guests year-round without the cost of major additions.
Success depends on careful planning and choosing the right materials for your needs and budget. Start by checking your existing structure, defining your goals, and understanding local permit requirements before construction begins.
This renovation pays off in daily comfort and long-term home value. Your unused porch becomes a favorite family space that works in every season.
With the right approach, proper materials, and realistic planning, you’ll enjoy your new room for many years to come while adding valuable living space to your property.
FAQs
How Much Does Enclosing a Porch Typically Cost?
Costs range from a few thousand dollars for basic screened porches to over $30,000 for fully finished sunrooms with heating and cooling systems.
Do I Need a Permit to Enclose a Porch?
Most areas require permits for porch enclosures, especially if you’re adding walls, electrical work, or HVAC systems to the space.
Can I Build a Porch Enclosure Myself?
Basic screens or vinyl panels work well for DIY projects, but complex enclosures with electrical and structural work often need professional contractors.