

Getting Citristrip Off Your Project? Here’s Your Complete Guide
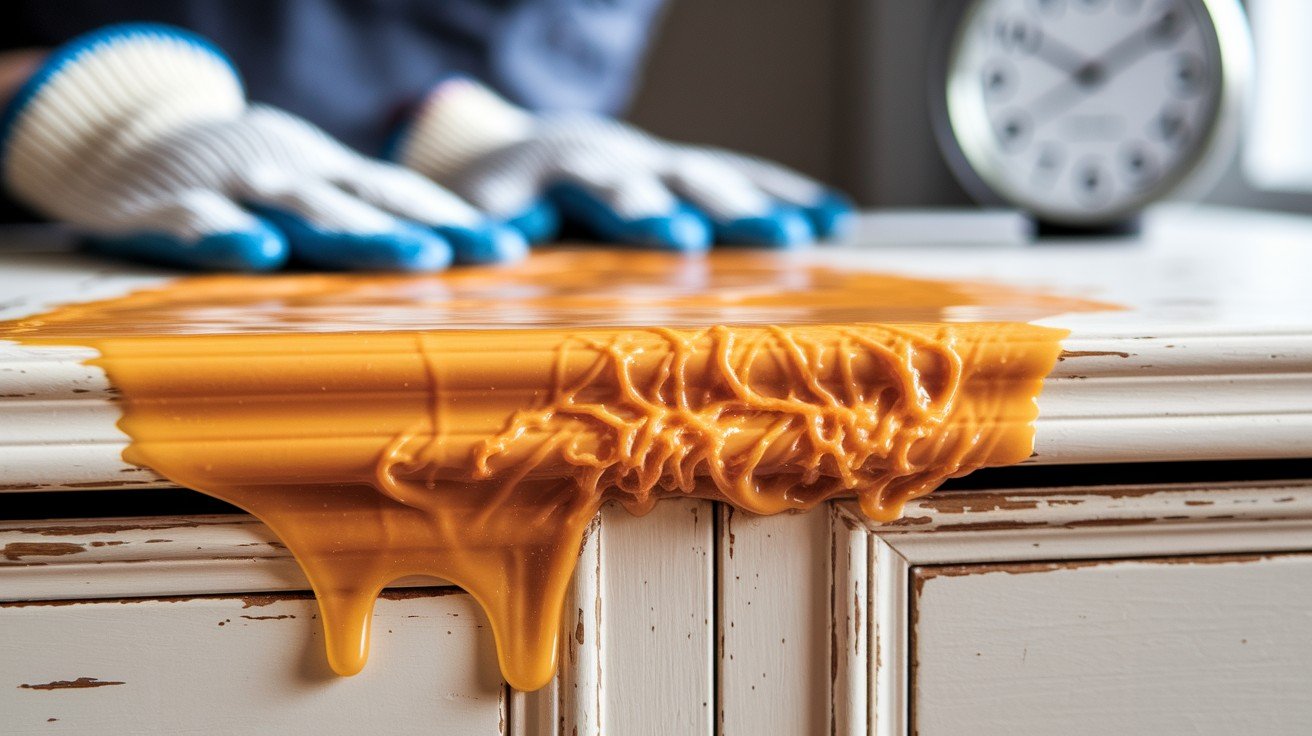
So you’ve used Citristrip to strip that old paint or varnish, and now you’re staring at a gooey, gel-covered surface wondering what comes next.
Don’t worry, you’re not alone in this sticky situation!
Learning how to remove Citristrip properly is just as important as applying it correctly. Skip this crucial step, and you’ll end up with a tacky mess that won’t accept new paint or stain.
But get it right, and you’ll have a perfectly clean surface ready for its fresh new finish.
The good news? Removing Citristrip isn’t complicated once you know the right techniques and have the proper supplies on hand.
Let’s walk through exactly what you need to do to get your project back on track and looking professional.
What Is Citristrip and When Is It Used?
Citristrip is a paint and varnish stripping gel that works effectively on wood, metal, and masonry surfaces.
This orange-based formula has gained popularity among DIY enthusiasts and professionals because it’s less toxic than traditional chemical strippers.
Its pleasant citrus scent makes it safe for indoor use without overwhelming fumes.
People choose Citristrip when they want to remove multiple layers of paint, varnish, or stain from furniture, cabinets, doors, and other surfaces while minimizing health risks and maintaining better air quality during their projects.
Tools and Supplies You’ll Need
|
Essential Items |
Purpose |
|
Protective gloves and goggles |
Safety protection for hands and eyes |
|
Plastic scraper or putty knife |
Removing gel and loosened paint/varnish |
|
Mineral spirits or paint thinner |
Cleaning away oily residue |
|
Clean rags or cloths |
Wiping down surfaces during cleanup |
|
Warm soapy water |
Final rinse to remove all traces |
|
Nylon brush (optional) |
Detailed work in grooves and crevices |
Having these supplies ready before you start will make the removal process smooth and efficient. The plastic scraper is particularly important; avoid metal tools that could damage your surface.
Step-by-Step Guide: How to Remove Citristrip Effectively
Step 1: Allow Citristrip to Work Its Magic
Let Citristrip sit for the recommended time, typically 30 minutes to 24 hours, depending on how many paint layers you’re removing.
Thicker, multiple coats need more time. You’ll know it’s ready when the old finish bubbles up and looks wrinkled. Don’t let it dry out completely, as this makes removal much harder and less effective.
Step 2: Scrape Off the Gel and Residue
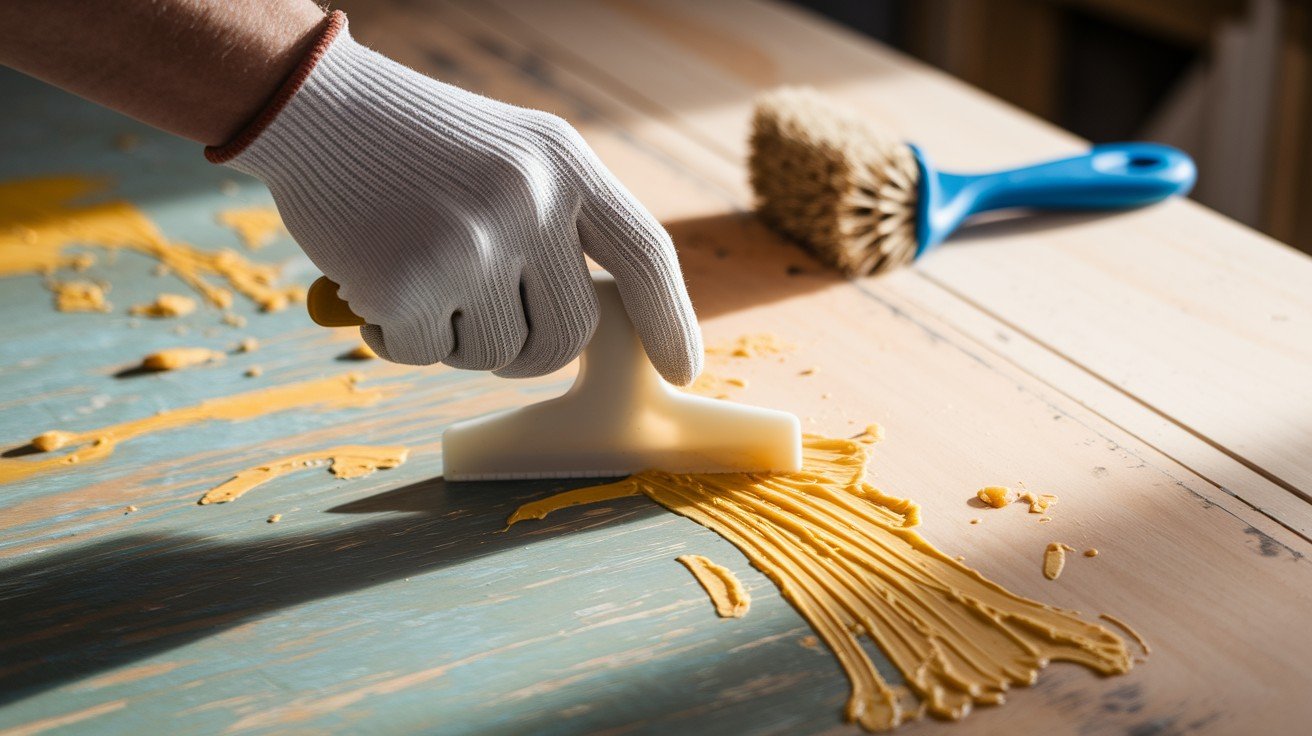
Use a plastic scraper at a 45-degree angle, applying gentle pressure to avoid gouging the surface.
Work with the wood grain, not against it. If areas feel sticky or tacky, apply more Citristrip and wait longer. For stubborn spots, use a nylon brush to work into detailed areas before scraping again.
Step 3: Wipe Down the Surface
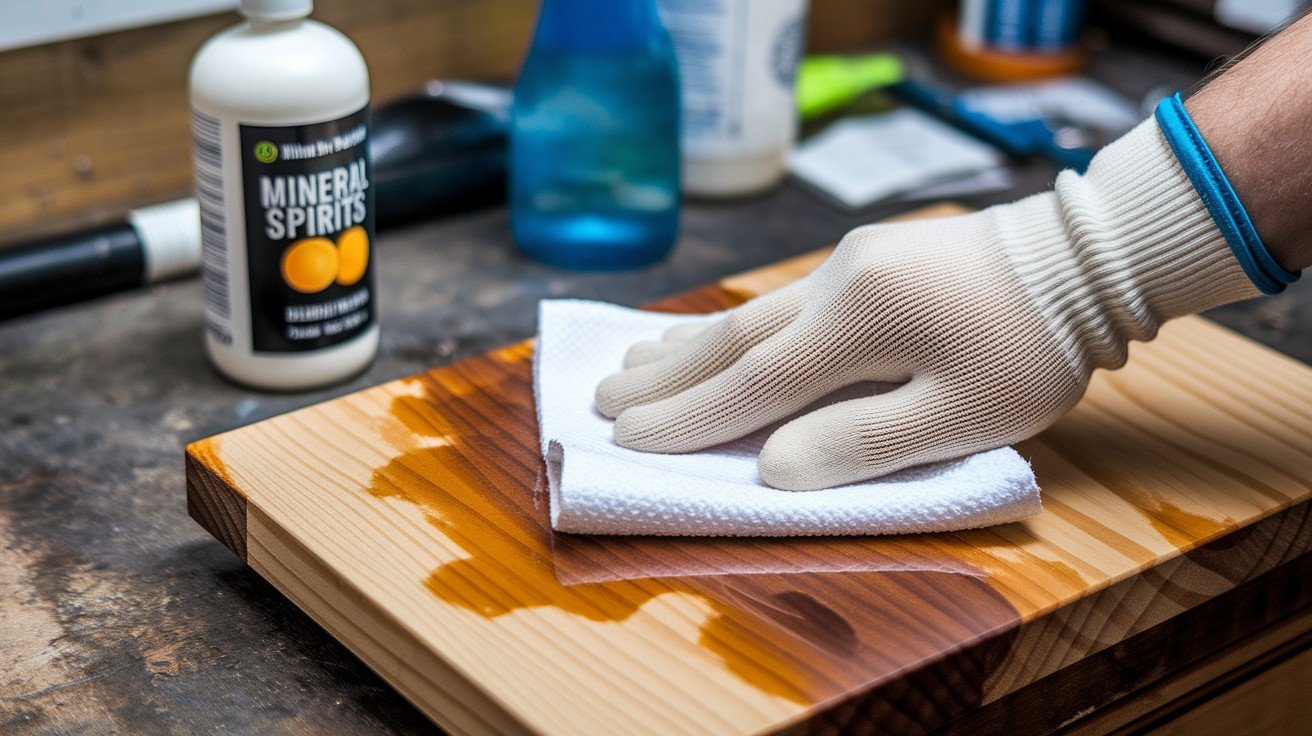
Clean away remaining residue with mineral spirits or paint thinner on a clean rag. Work in small sections, wiping in one direction.
As an alternative, try a citrus cleaner or mix equal parts white vinegar and water. This step removes the oily film that Citristrip leaves behind, preparing the surface for the final cleaning.
Step 4: Final Rinse and Dry
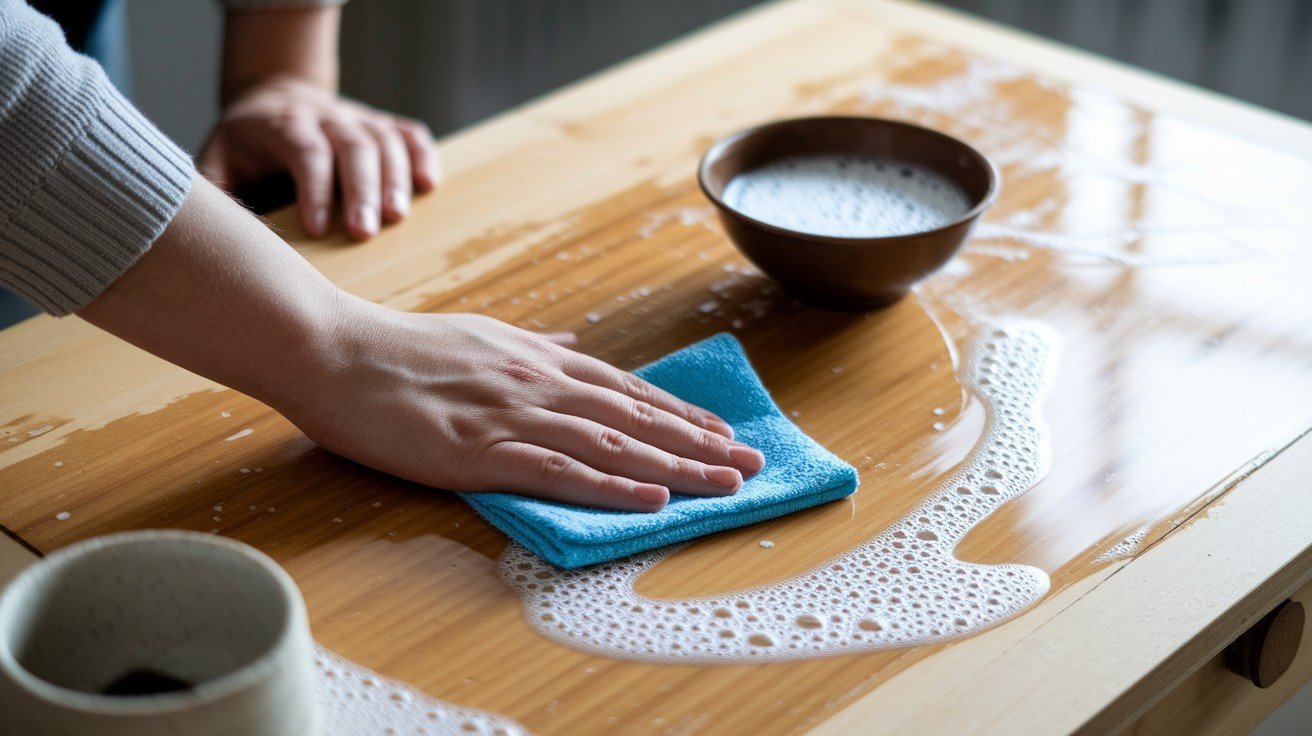
Wash the entire surface with warm, soapy water using a clean cloth to remove all traces of chemicals and oily residue. This final step ensures nothing interferes with your new finish.
Allow the surface to dry completely, usually 24 hours, before sanding lightly or applying primer, paint, or stain to your refreshed project.
What Not to Do When Removing Citristrip?
- Don’t scrub too hard-risk damaging the surface Excessive pressure can gouge wood, scratch metal, or create permanent marks on your project. Use gentle, consistent strokes and let the gel do the work for you.
- Don’t let it dry out completely before scraping When Citristrip hardens, it becomes difficult to remove and loses its effectiveness. Keep the surface moist and work while the gel is still pliable.
- Avoid using incompatible cleaners like ammonia-based products Certain chemicals can react poorly with Citristrip residue, creating harmful fumes or sticky messes. Stick to recommended solvents like mineral spirits or mild soap solutions.
- Don’t use metal scrapers on delicate surfaces Steel or metal tools can scratch wood grain, dent soft metals, or leave permanent damage. Plastic scrapers are safer and still effective for removal.
- Don’t skip the final cleaning step Leaving any Citristrip residue will prevent proper adhesion of new finishes. Always complete the full cleaning process with soap and water for best results.
Removing Citristrip from Wood vs. Metal: What’s Different?
|
Aspect |
Wood (Porous Surface) |
Metal (Non-Porous Surface) |
|
Scraping Technique |
Follow wood grain direction; use light pressure to avoid gouging |
Can use firmer pressure; direction less critical |
|
Absorption Issues |
Gel penetrates wood fibers; may need extra time to work |
Sits on the surface; easier to remove completely |
|
Cleaning Method |
Use mineral spirits sparingly to avoid over-saturation |
Liberal use of solvents won’t damage the surface |
|
Drying Time |
Requires longer drying time (24-48 hours) |
Dries quickly (2-4 hours) |
|
Grain Raising |
Wood fibers may swell and raise after cleaning |
No grain issues to address |
|
Post-Cleaning |
Light sanding is often needed to smooth the raised grain |
Usually ready for a new finish immediately |
|
Final Prep |
Check for residue in wood pores and crevices |
A simple wipe-down is typically sufficient |
Handling Grain Raising in Wood: After cleaning, let wood dry completely, then sand lightly with fine-grit sandpaper (220-grit) to smooth any raised fibers before applying your new finish.
Conclusion
Removing Citristrip properly is the key to achieving professional-looking results on your refinishing projects.
By following these systematic steps, from gathering the right tools to completing the final cleaning, you’ll ensure your surface is perfectly prepared for its new finish.
Remember the golden rules: work patiently, use gentle pressure when scraping, and never skip the thorough cleaning process.
The difference between wood and metal surfaces requires slight adjustments in technique, but the core principles remain the same.
Taking time to remove all traces of Citristrip residue will save you headaches later when applying paint, stain, or varnish.
Your careful attention to this crucial step will result in a smooth, long-lasting finish that looks professionally done. Now you’re ready to complete your project with confidence and excellent results.
Frequently Asked Questions
Can I use water only to clean off Citristrip?
No, water alone won’t remove the oily residue. Use mineral spirits first, then soap and water.
What if Citristrip stains my wood surface?
Light sanding usually removes surface stains. For deeper stains, try wood bleach before refinishing.
Can I paint immediately after cleaning Citristrip?
Wait 24-48 hours for complete drying. Test adhesion on a small area before full application.