

Is Your Home’s Plumbing System Hiding Expensive Problems?
Acknowledge the Problem: Hidden leaks in your home’s drain and sewer lines can cause thousands of dollars in damage before you even notice them.
Water seeping into your foundation creates structural issues, mold growth, and costly repairs that could have been prevented.
Present the Solution: A hydrostatic plumbing test offers a reliable way to detect these hidden leaks early.
This specialized testing method uses water pressure to reveal problems in your underground pipes without any digging or invasive procedures.
Promise Value: By understanding how this testing works and when you need it, you’ll protect your home’s foundation, avoid emergency repairs, and make informed decisions about your property’s plumbing health.
Let’s examine exactly what this testing involves and why it’s become essential for homeowners facing drainage concerns.
What is a Hydrostatic Plumbing Test?
A hydrostatic plumbing test is a diagnostic procedure that uses water pressure to detect leaks in your home’s drain and sewer lines.
This non-invasive method helps identify problems in underground pipes that would otherwise require expensive digging to locate.
How the Test Works?
The process involves filling your plumbing system with water and monitoring whether the water level drops over time.
If water levels decrease during the test period, it indicates leaks somewhere in the system. The test creates a controlled environment where even small leaks become apparent through measurable water loss.
Essential Equipment
Professional plumbers use several specialized tools for this testing:
- Inflatable test balls – These rubber devices seal off pipe openings to contain the water
- Water level monitoring gauges – Precise instruments that measure water level changes
- Clean-out access tools – Equipment to safely access your home’s main drain lines
- Pressure monitoring devices – Tools that ensure proper testing conditions throughout the process
Systems Typically Tested
Hydrostatic testing primarily focuses on:
- Main sewer lines running from your house to the street connection
- Secondary drain lines, including branch lines under concrete slabs
- Underground drainage systems that aren’t easily accessible for visual inspection
This testing method works best on gravity-fed drainage systems rather than pressurized water supply lines, making it ideal for detecting foundation-threatening leaks in wastewater systems.
Step-by-Step Process of Performing a Hydrostatic Test
1. Accessing the Clean-out
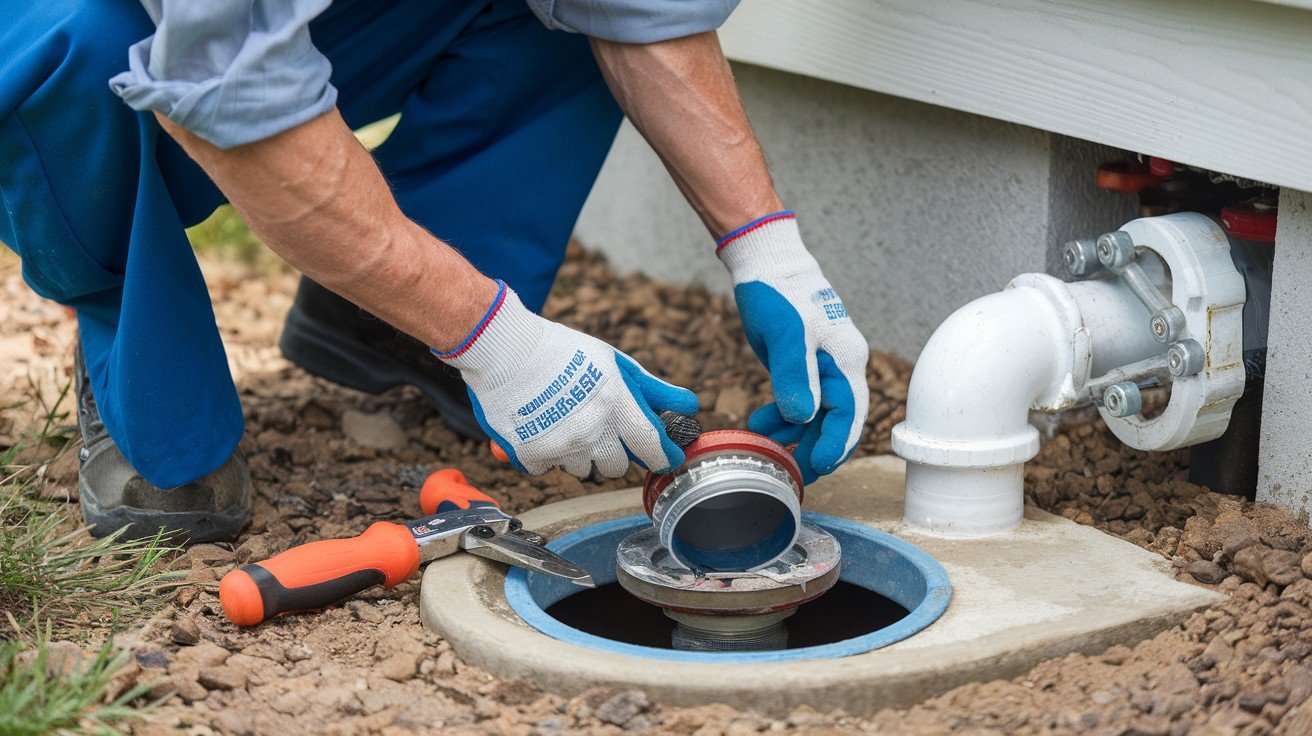
Professional plumbers locate and open your home’s main sewer clean-out, typically found near the foundation or in the yard.
They remove the cap and inspect the opening for debris or obstructions. This access point serves as the primary entry for testing equipment and water.
The clean-out must be clear and accessible to ensure accurate test results and proper equipment placement.
2. Blocking off the Sewer Line with an Inflatable Test Ball
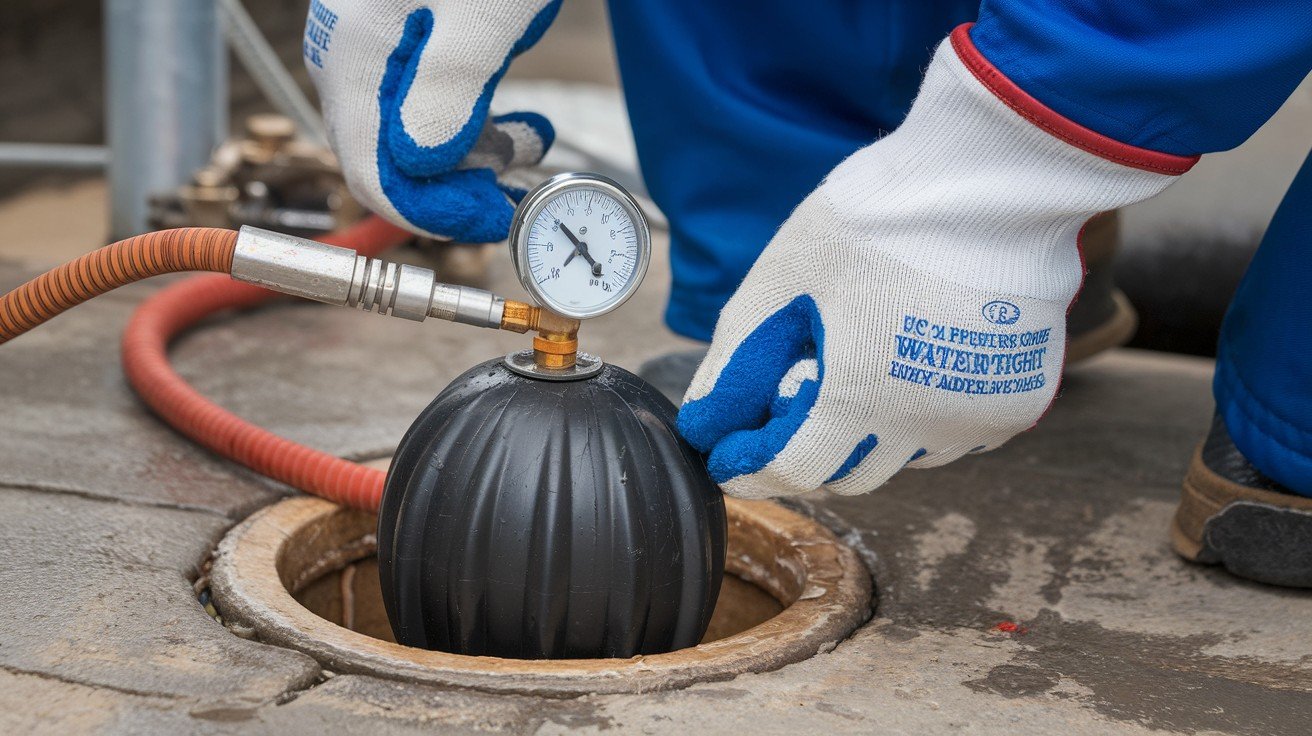
A specialized inflatable test ball is inserted into the sewer line through the clean-out opening. The ball is positioned downstream from the area being tested and inflated to create a watertight seal.
This prevents water from flowing out of the system during testing. The ball must be properly sized and positioned to maintain consistent pressure throughout the test period.
3. Filling the System with Water

Clean water is slowly introduced into the system through the clean-out until it reaches the specified test level, usually to the rim of the clean-out or a predetermined mark.
The filling process is gradual to avoid creating air pockets or excessive pressure that could damage older pipes. Water temperature and quality are controlled to ensure consistent testing conditions.
4. Monitoring Water Level for Drops
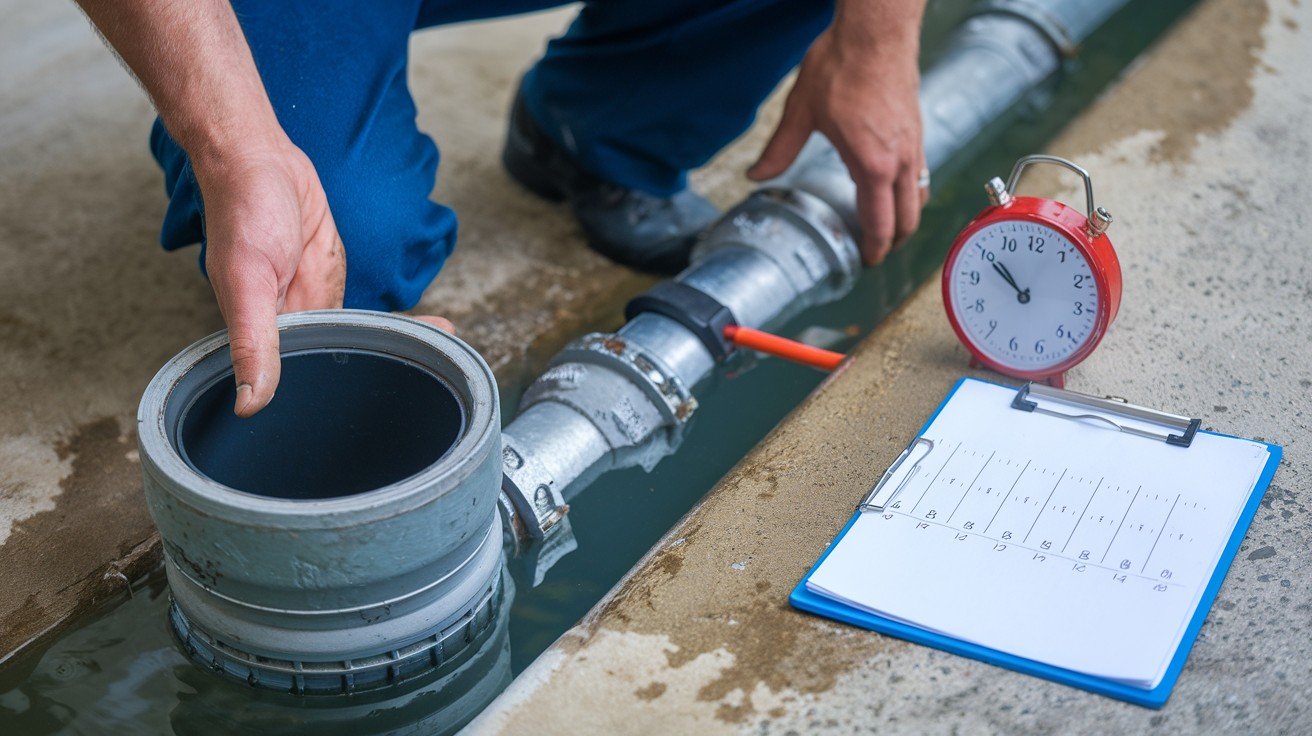
Technicians carefully monitor the water level for a specified period, typically 15-30 minutes. Any decrease in water level indicates potential leaks in the system.
Precise measurements are recorded at regular intervals to determine the rate of water loss. Even small drops can signal significant problems requiring further investigation and repair.
Test Duration and Results
The complete hydrostatic test typically takes 2-4 hours, including setup, testing, and cleanup.
The actual monitoring period ranges from 15 minutes to several hours, depending on system size and suspected problems.
Results are straightforward: stable water levels indicate a leak-free system, while dropping levels confirm the presence of leaks.
The rate of water loss helps determine leak severity and the urgency of repairs.
Safety Precautions and Typical Challenges
Safety measures include ensuring proper ventilation around sewer lines, using appropriate protective equipment, and avoiding over-pressurization of aging pipes.
Common challenges include locating buried clean-outs, dealing with corroded or damaged access points, and working around landscaping or concrete structures.
Weather conditions can affect test accuracy, and some older systems may require modified testing procedures to prevent damage during the process.
When Should You Consider a Hydrostatic Test?
- Buying or Selling a Home (Especially Older Homes) Properties built before 1980 often have aging sewer lines that may develop leaks over time. A hydrostatic test provides buyers and sellers with concrete evidence of the plumbing system’s condition before finalizing real estate transactions.
- Suspected Slab Leaks or Unexplained High Water Bills If your water bill has increased without changes in usage patterns, hidden leaks may be the cause. This test can confirm whether underground drain lines are leaking water into your foundation or the surrounding soil.
- After Foundation Shifts or Damage Ground movement from settling, earthquakes, or construction can crack or disconnect underground pipes. Testing after foundation issues helps identify new leaks that may have developed due to structural changes in your home.
- Recurring Drainage Issues or Foul Odors Persistent slow drains, backups, or sewage smells often indicate compromised pipe integrity. A hydrostatic test can locate the source of these problems and determine if leaks are allowing groundwater infiltration or sewage seepage.
- Insurance Claims or Property Inspections Many insurance companies require leak testing documentation for claims involving water damage or foundation issues. Real estate inspections may also recommend this testing to verify the integrity of underground plumbing systems before purchase completion.
Conclusion
A hydrostatic plumbing test serves as your first line of defense against costly water damage and foundation problems.
This simple yet effective diagnostic tool can save homeowners thousands of dollars by identifying leaks before they cause serious structural issues or contamination problems.
The investment in professional testing pays for itself when you consider the alternative costs of emergency repairs, foundation restoration, or dealing with insurance claims after damage occurs.
For older homes, properties with drainage concerns, or real estate transactions, this testing provides essential peace of mind.
Don’t wait for visible signs of damage to appear. If you’re experiencing unexplained water bills, drainage issues, or foundation concerns, contact a licensed plumber to discuss hydrostatic testing options.
Early detection through professional testing protects both your property value and your family’s health while preventing minor issues from becoming major disasters.
Frequently Asked Questions
How much does a hydrostatic plumbing test typically cost?
Professional hydrostatic testing usually costs between $200-$600, depending on system complexity, location accessibility, and local market rates.
Can I perform a hydrostatic test myself?
This testing requires specialized equipment and expertise. Improper testing can damage pipes or provide inaccurate results, so professional service is recommended.
How often should I have hydrostatic testing done?
Testing is typically needed only when problems arise or during real estate transactions, not as routine maintenance like annual inspections.