

When you’re tired of perfectly flat walls but don’t want heavy texture, imperfect smooth drywall might be exactly what you need. This finish gives you that modern, sophisticated look with just enough character to make your walls interesting.
Maybe you’ve seen this finish in magazines or newer homes. You probably wondered how to get that same look in your own space. The good news? You can do this yourself with the right guidance.
I’ve been working with drywall finishes for years. I’ve seen homeowners struggle with this technique because most online guides skip the important details. This article covers everything – from understanding what imperfect smooth means to the exact tools you’ll need.
You’ll learn step-by-step application methods, common mistakes to avoid, and professional tips that work. By the end, you’ll know exactly how to create this popular finish in your own home.
Understanding Imperfect Smooth Texture
Imperfect smooth texture is a modern drywall finish that combines smoothness with subtle, intentional flaws for contemporary appeal.
What is Imperfect Smooth Texture?
Imperfect smooth texture is a drywall finish that looks clean but keeps some subtle flaws on purpose. Think of it as the middle ground between perfectly flat walls and heavy texture.
The finish has visible trowel marks that catch light just right. You’ll see gentle waves and small variations across the surface. It’s not trying to be perfect – that’s the whole point.
This technique became popular because it hides common drywall problems. Those annoying tape lines? Gone. Small dents and scratches? Covered up. The imperfections work in your favor.
Here’s what makes it special: smooth enough to look modern, textured enough to add character, and forgiving enough to hide mistakes.
Benefits of This Finish Type
I love this finish because it solves so many problems at once. You get a contemporary look without the stress of making everything perfect.
Light reflection is softer with this technique. Instead of harsh glare off flat walls, you get gentle, even lighting throughout the room. It makes spaces feel more comfortable.
The biggest advantage? It’s forgiving. Those seams where drywall sheets meet become invisible. Minor surface imperfections disappear completely. You also get that contemporary feel without going overboard. It’s sophisticated but not trendy. This finish will look good for years to come.
Application Methods
Quick explanation: Two main techniques create an imperfect smooth texture: skim coating with intentional marks and modified knockdown sanding methods.
Skim Coat Technique (Primary Method)
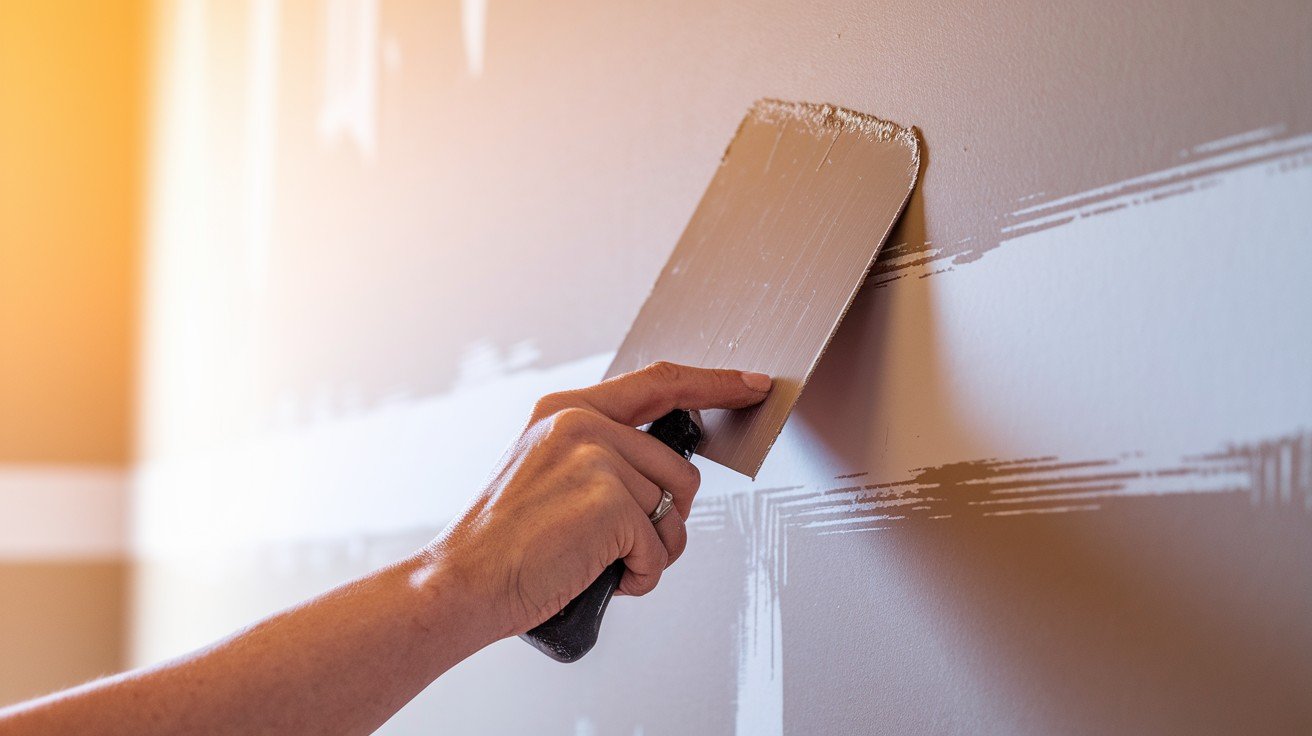
This is the most common way to create an imperfect smooth texture. I recommend starting here if you’re new to this technique.
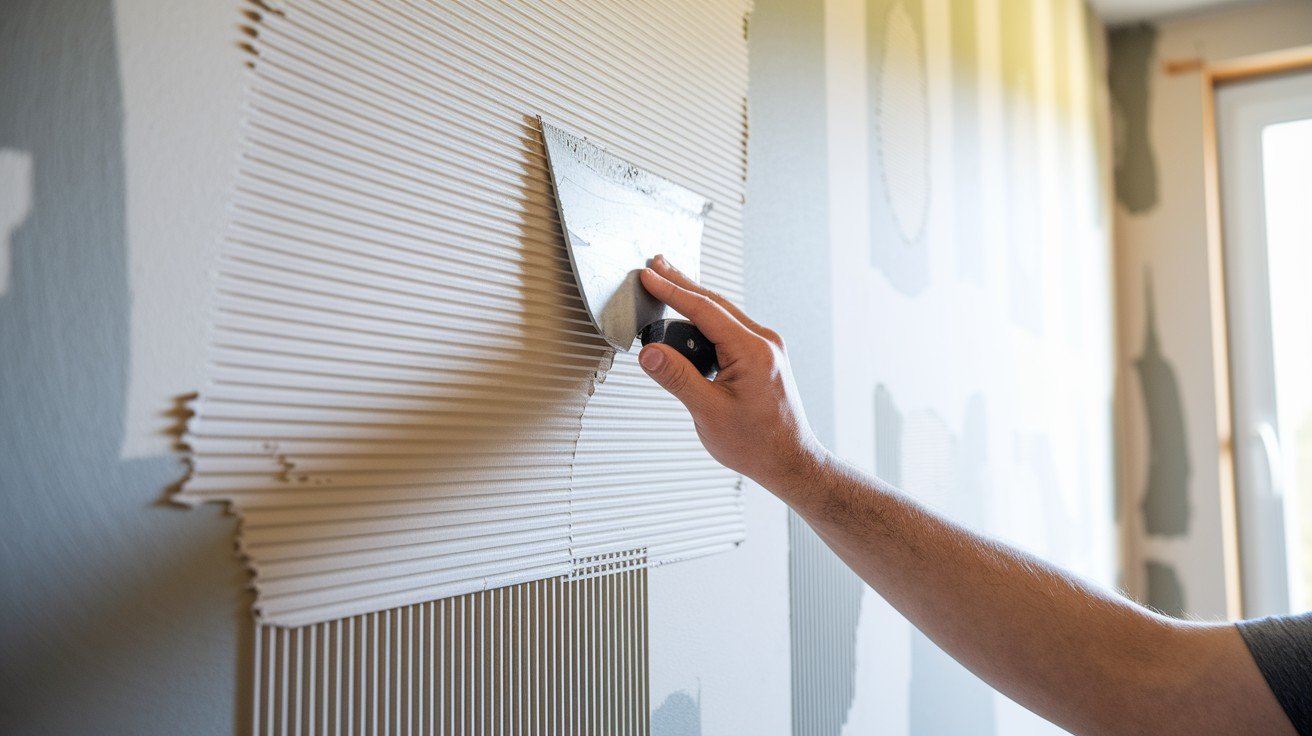
Start with a thin layer of joint compound over your prepared drywall. The key word is thin – you’re not filling holes or covering major flaws here. Use your drywall knife or trowel to spread the compound evenly. Don’t worry about making it perfect. Those subtle marks from your tool are exactly what you want.
The trick is consistency. Keep your pressure steady as you work. Let the natural movement of your hand create those gentle imperfections.
Modified Knockdown Alternative
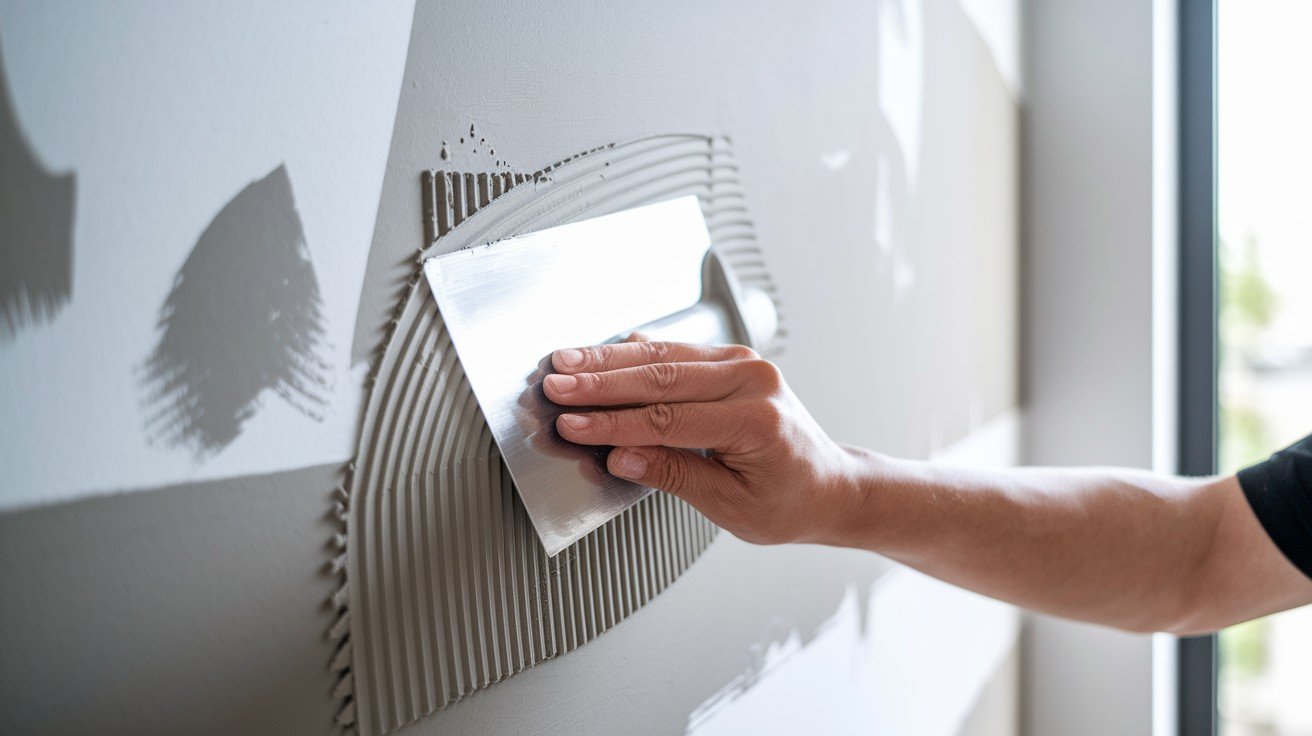
Want a different approach? This method starts with traditional knockdown texture but takes it further.
Apply your knockdown texture while it’s still wet. This fills in more of the low spots than usual. The texture should be wetter and more filled-in than standard knockdown.
Here’s where it gets interesting. Once everything dries completely, you sand it down. Use fine-grit paper to remove most of the texture peaks. What you’re left with is smoother than knockdown but still has that natural, imperfect feel. It’s a great option if you want something a bit different.
Required Tools and Materials
Quick explanation: Basic drywall tools, including joint compound, knives, fine sandpaper, and quality primer, create professional, imperfect smooth results.
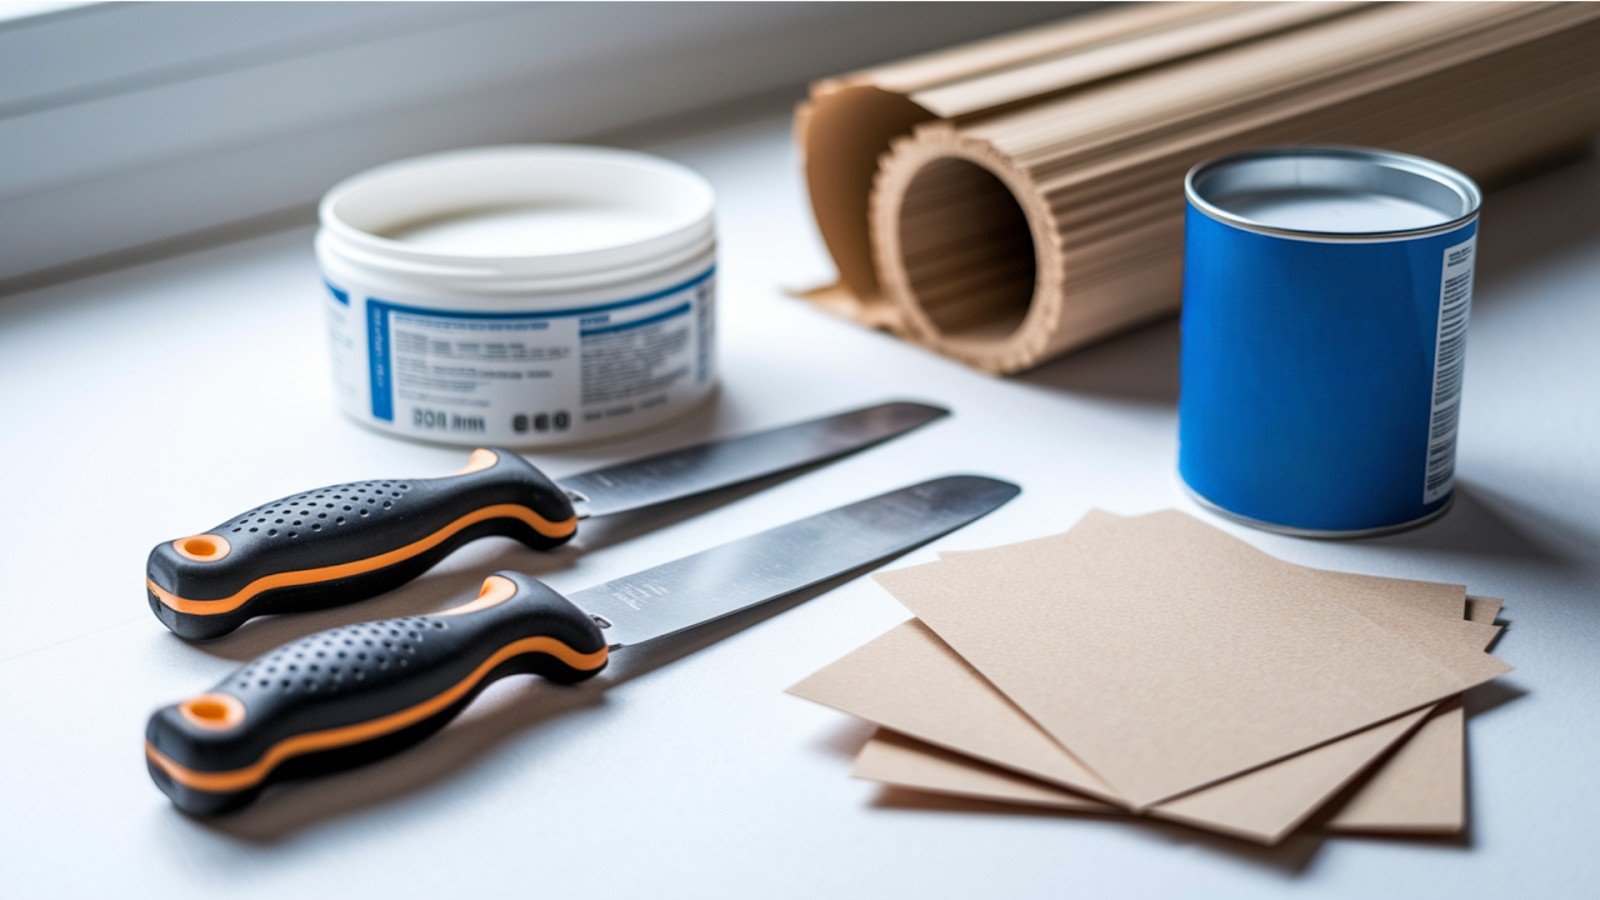
Essential Supplies
Don’t overcomplicate this. You need basic tools that most DIYers already have or can easily get.
Drywall joint compound is your main material. Get the all-purpose kind – it works for everything and sands easily. Drywall knives come in different sizes. I suggest having a 6-inch and a 10-inch knife. The smaller one works great for detail areas.
Fine-grit sandpaper is crucial. Stick with 180-220 grit. Anything coarser will leave marks that show through paint. High-quality primer makes a huge difference in your final results. Don’t skip this step or use cheap primer.
Your work surface needs to be clean. Any dust or debris will show up in your finish.
Step-by-Step Process
Quick explanation: Clean preparation, thin compound application, proper drying time, gentle sanding, and quality priming ensure successful texture results.
Surface Preparation
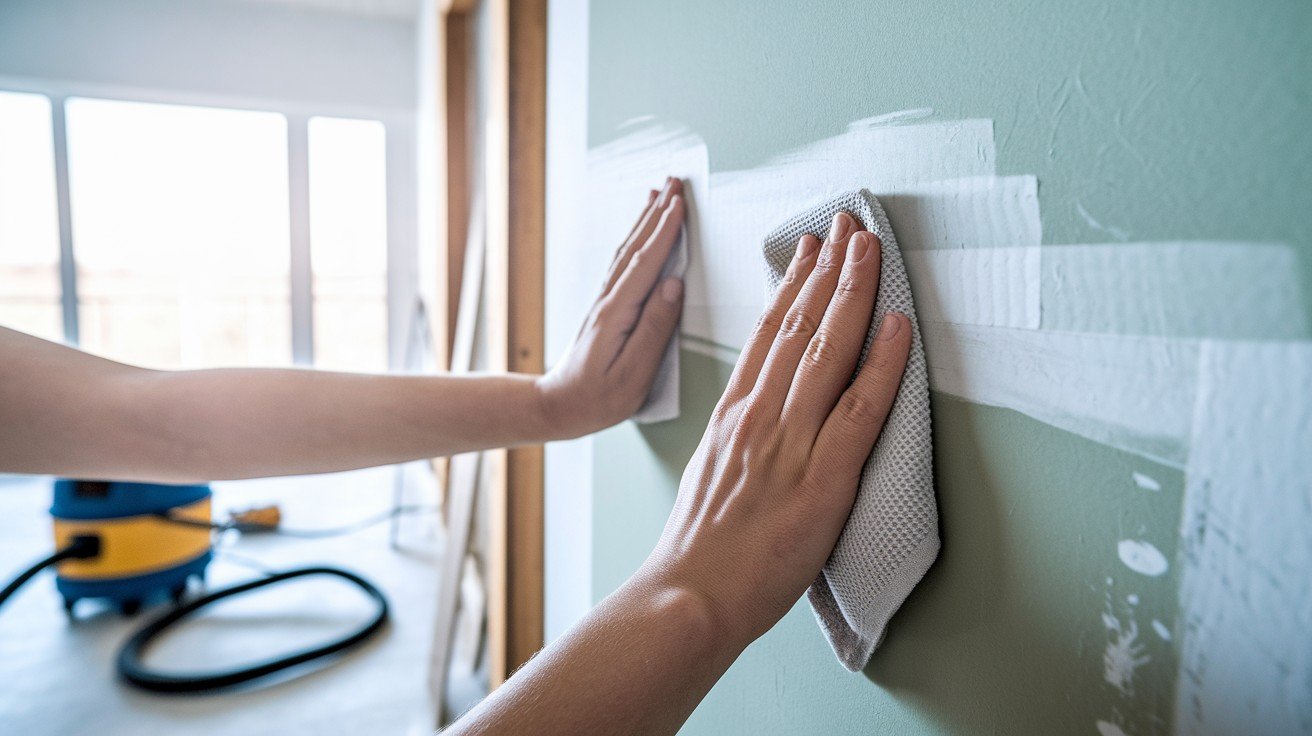
Clean your drywall first. I can’t stress this enough. Any dust, dirt, or loose particles will ruin your finish.
Use a damp cloth or vacuum to remove everything. Pay special attention to corners and edges where dust likes to collect. Check for smoothness. Your drywall should be ready for compound application. Fix any big problems before you start.
Application Process
Apply your compound in thin, even layers. Think of it like spreading butter on toast – you want coverage but not thickness.
Maintain consistent pressure as you work. Let your hand move naturally across the surface. Those small variations are what create the imperfect look. Drying time matters. Follow the manufacturer’s specifications exactly. Rushing this step ruins everything that comes after.
Here’s a pro tip: Work in sections you can complete comfortably. Don’t try to do entire walls at once.
Finishing Steps
Light sanding is key. Use your 180-220 grit sandpaper gently. You’re smoothing, not removing texture.
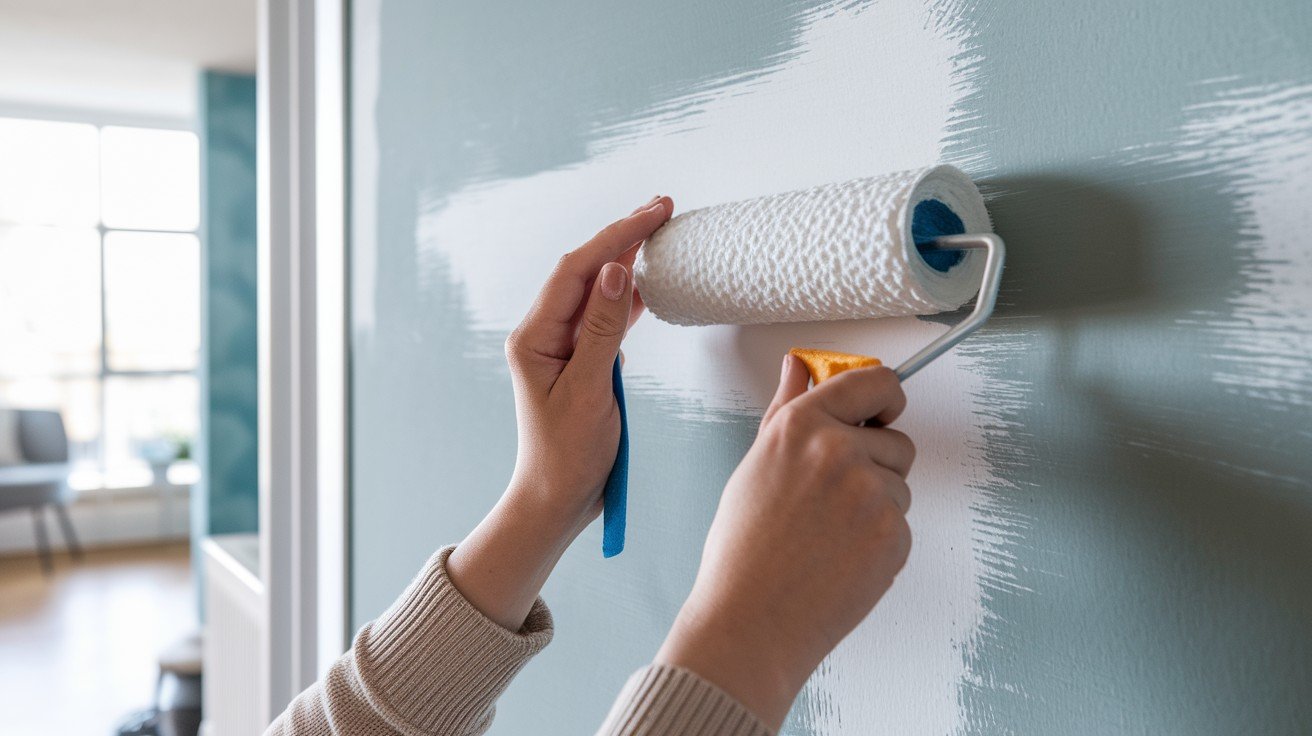
Prime everything once sanding is complete. This seals your compound and prepares the surface for paint. Final paint preparation means one more dust removal. Clean everything again before applying your topcoat.
Professional Tips for Success
Quick explanation: Practice first, maintain patience, use consistent techniques, and avoid common mistakes like over-sanding or rushing steps.
Achieving Quality Results
Practice makes perfect – but don’t practice on your living room wall. Find a scrap piece of drywall or use a closet wall first.
Each application needs patience. I see too many people rush this process. Take your time with each step. Consistent method is everything. Once you find a technique that works, stick with it throughout the project.
Here’s what I’ve learned: The imperfections should look natural, not random. There’s a difference between intentional texture and sloppy work.
Common Mistakes to Avoid
Aggressive sanding kills the character of this finish. If you sand too much, you’ll end up with flat walls again.
Inconsistent compound application shows up badly after paint. Keep your technique steady throughout the project. Rushing drying time is the biggest mistake I see. A wet compound that gets sanded or painted too soon never looks right.
Don’t make it too perfect. Remember, you want subtle imperfections. If it looks machine-smooth, you’ve gone too far. Temperature and humidity matter. Cold or humid conditions extend drying times significantly. Plan accordingly.
Conclusion
Creating an imperfect, smooth, drywall finish doesn’t have to be intimidating. With the right technique and a little patience, you can achieve that modern, textured look that’s become so popular in contemporary homes.
Remember the key points: proper surface preparation, thin compound application, and gentle sanding with 180-220 grit paper. Don’t rush the drying time between steps. Practice on a small test area first.
The beauty of this finish lies in its subtle imperfections. You’re not aiming for machine-like precision – those small trowel marks and gentle variations are what give your walls character.
Take your time with each step. If you follow the techniques outlined in this guide, you’ll have walls that look professionally finished. Your patience will pay off with a beautiful, modern finish that adds real value to your home.
Frequently Asked Questions
Can I apply an imperfect smooth texture over existing painted walls?
Yes, but proper surface preparation and primer application are essential for good adhesion and results.
How long does the drying process take between coats?
Allow 24 hours minimum drying time, though humidity and temperature affect actual drying duration.
What’s the difference between an imperfect smooth and a standard Level 4 finish?
Imperfect smooth intentionally retains subtle texture marks while Level 4 aims for complete smoothness.
Do I need professional help, or can this be DIY?
DIY is possible with practice, but specific desired looks may require professional application experience.
Will the texture be visible after painting?
Subtle texture remains visible, creating the desired character while maintaining a smooth overall appearance when painted.