

When you’re working on a drywall project, the decision between Level 4 and Level 5 finishes can be tricky. Both serve a purpose, but picking the right one for your space matters more than most people realize.
I’ve spent years helping clients. Homeowners, painters, and contractors. Understand these finish levels based on real jobsite needs, not just what looks good on paper.
In this guide, I’ll share what works. No fluff, just facts drawn from hands-on experience. You’ll see how these two finishes compare in cost, appearance, and performance.
I’ll walk you through common mistakes people make and explain how lighting, paint type, and room use all affect your choice. If you’ve ever been told to “just go with Level 5,” this article will help you question that. By the end, you’ll feel confident choosing the finish that truly fits your goals and your budget.
Side-by-Side Technical Comparison
Let me break down the fundamental differences between these two finish levels. The details matter when you’re making this choice.
Application Process Differences
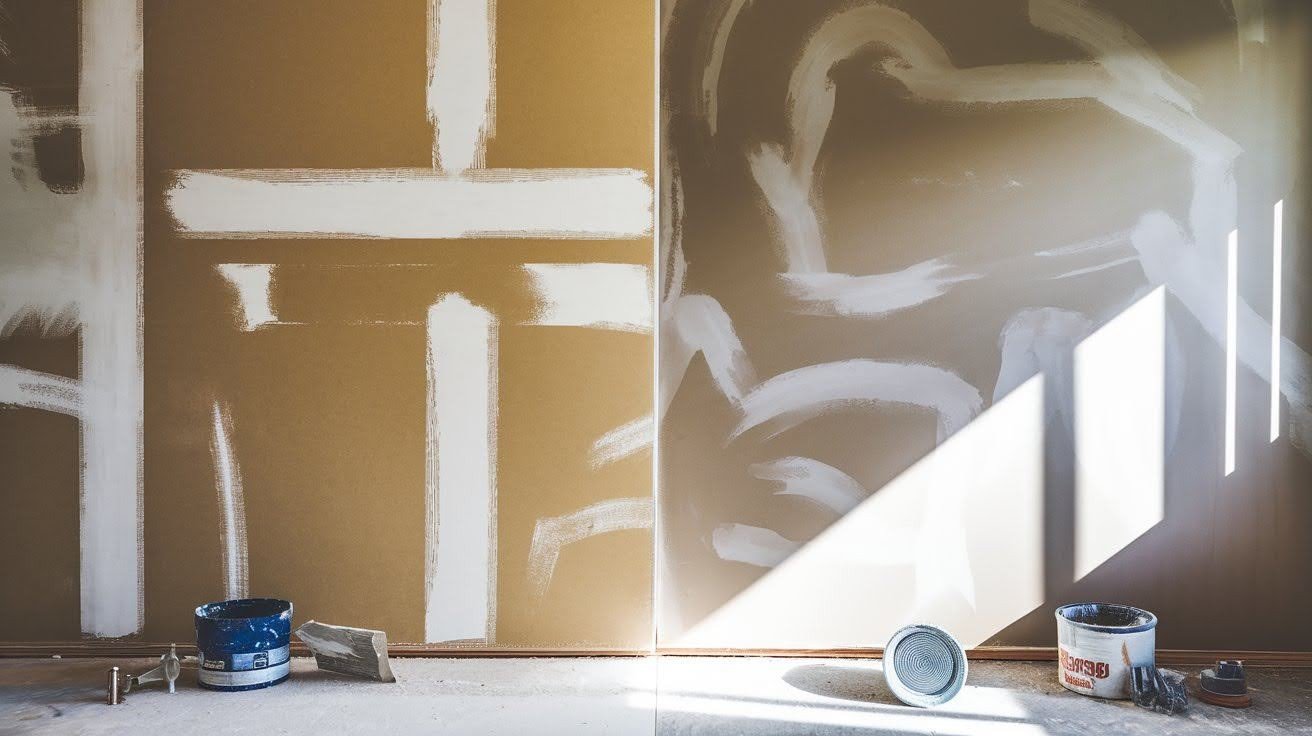
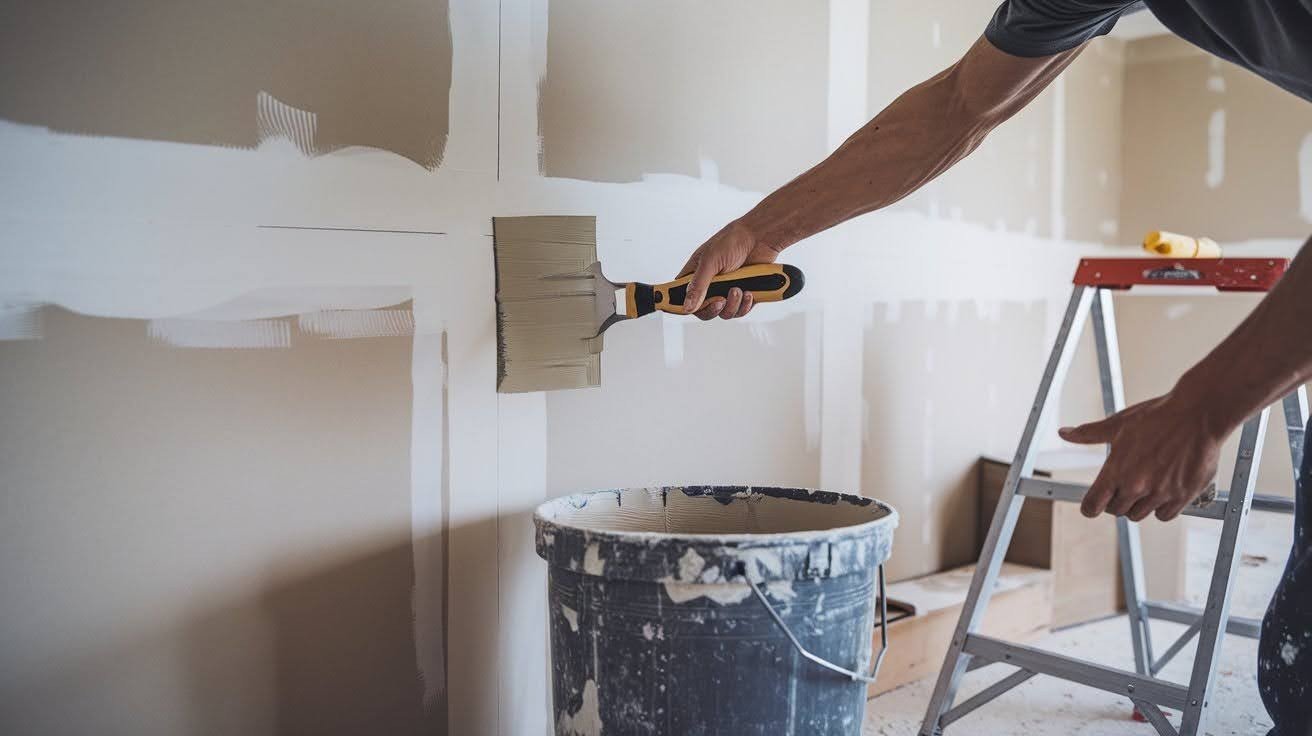
Level 4 follows the standard process most contractors know by heart. You get tape and joint compound on all joints and angles. Fasteners receive three separate coats. Everything gets sanded smooth and ready for paint.
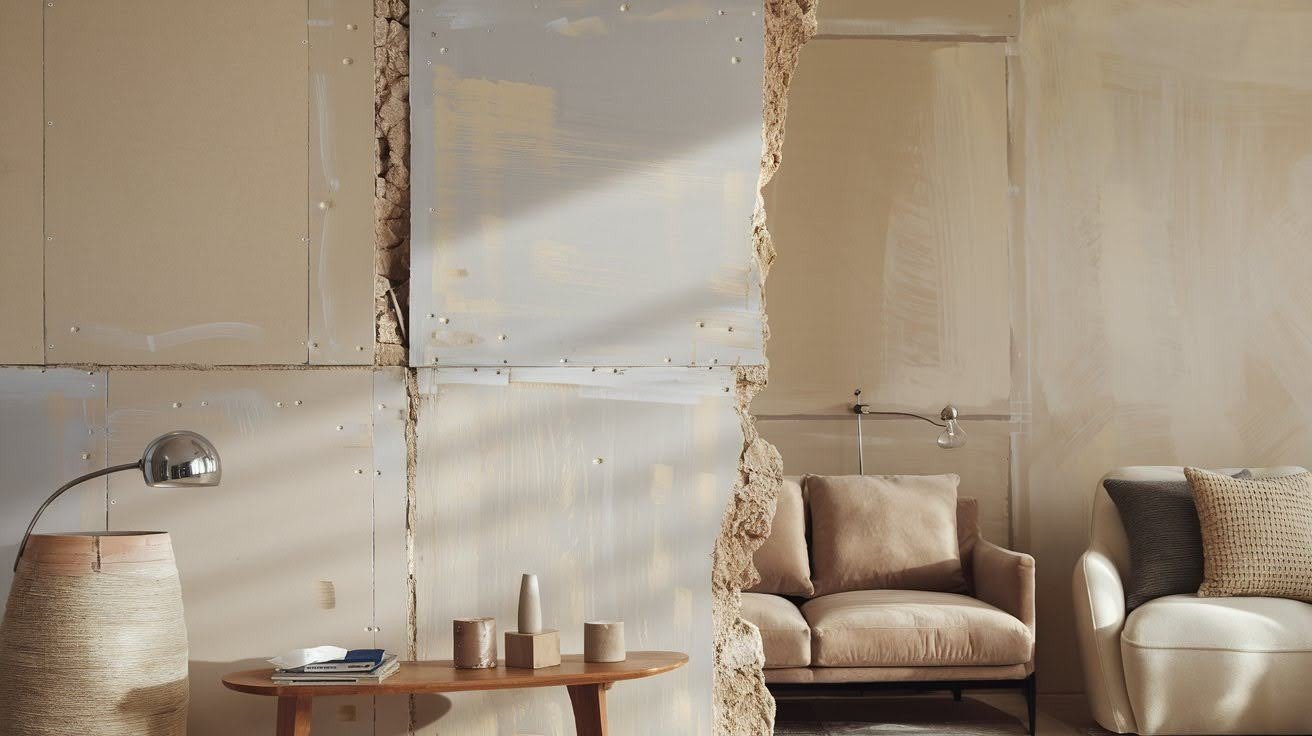
Level 5 takes everything further. All Level 4 requirements must be completed first. Then comes the game-changer: a full-surface skim coat covers the entire wall.
The tools change, too. Level 4 uses standard taping knives and sanders. Level 5 requires different equipment – wider skim coating tools, rollers, or spray equipment, depending on your contractor’s method.
Timeline? Level 4 typically wraps up in standard timeframes. Level 5 adds several days to your project schedule. Here’s what happens: Level 4 gets you ready for paint. Level 5 makes your walls perfect.
Surface Quality Results

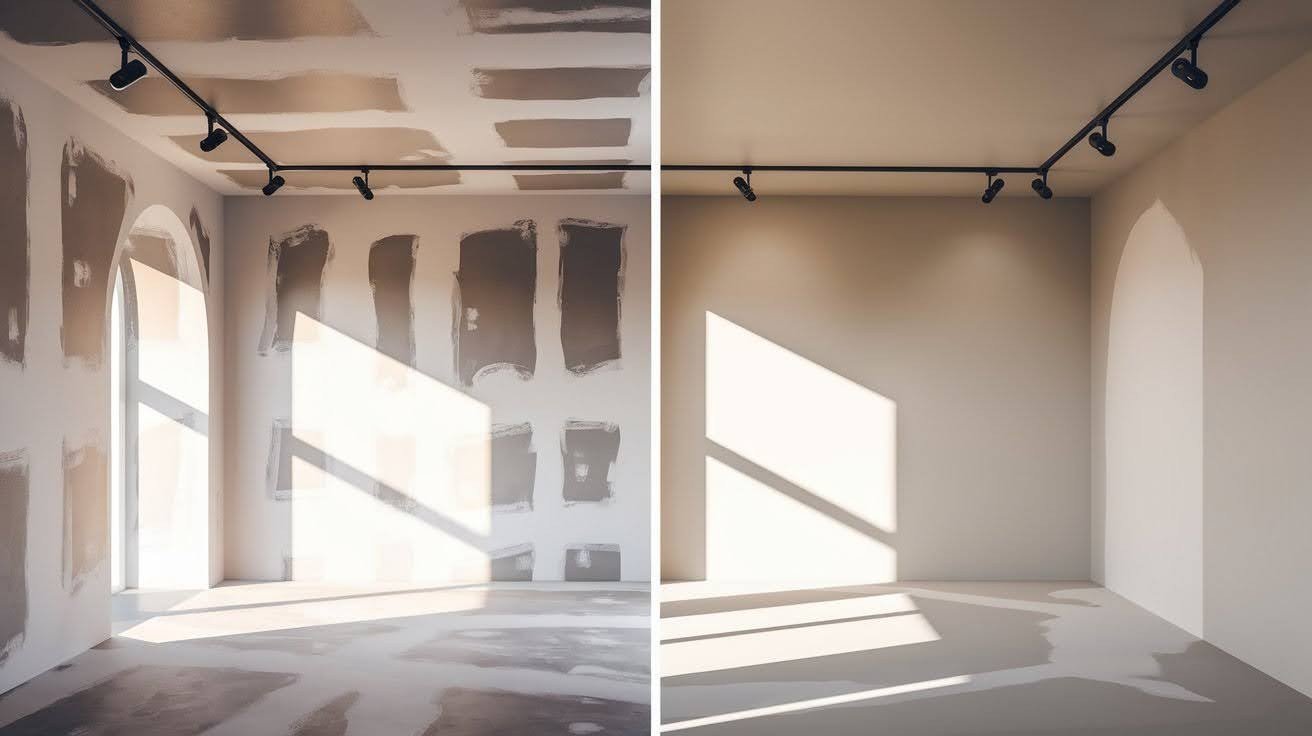
Level 4 gives you smooth walls that look great under standard lighting. But harsh light or strong angles can show imperfections. You might notice slight differences between joint areas and bare drywall.
Level 5 eliminates these issues. The uniform surface means no visible defects, even under the harshest lighting conditions. Every inch looks identical.
Paint behaves differently on each finish. Level 4 can show slight texture variations where joints meet drywall. Level 5 accepts paint uniformly across the entire surface.
Texture compatibility matters too. Level 4 works fine with most textures. Level 5 provides the perfect base for any finish you choose.
Cost and Labor Analysis
Level 4 pricing reflects standard premium finishing work. Most contractors price this competitively since it’s their bread and butter. Level 5 costs 25-40% more than Level 4.
The additional materials and labor time drive this increase. You’re paying for that extra skim coat and the expertise to apply it correctly. Labor skill requirements jump significantly. Level 4 needs experienced drywall finishers.
Level 5 demands true artisans who understand advanced techniques. Return on investment depends on your project. High-end homes and commercial spaces often justify the extra cost.
Standard residential projects might not need this level of perfection. The bottom line: Level 4 gets the job done well. Level 5 gets it done perfectly.
Performance Under Different Conditions
The real test comes after installation. How your drywall performs depends on what you throw at it.
Lighting Performance Comparison
Level 4 handles most lighting situations just fine. Ambient lighting from lamps and ceiling fixtures won’t expose problems. Indirect lighting keeps things looking smooth. But harsh conditions tell a different story.
Level 5 becomes essential when you face critical lighting challenges. Natural sunlight streaming through windows can be brutal. Wall washer lights that graze the surface show every tiny imperfection. Spotlights create shadows that highlight flaws.
I’ve seen too many Level 4 jobs that looked perfect until the homeowner turned on track lighting. Directional sunlight is the worst offender. Those morning rays hit your wall at just the right angle to show every joint line and fastener mark.
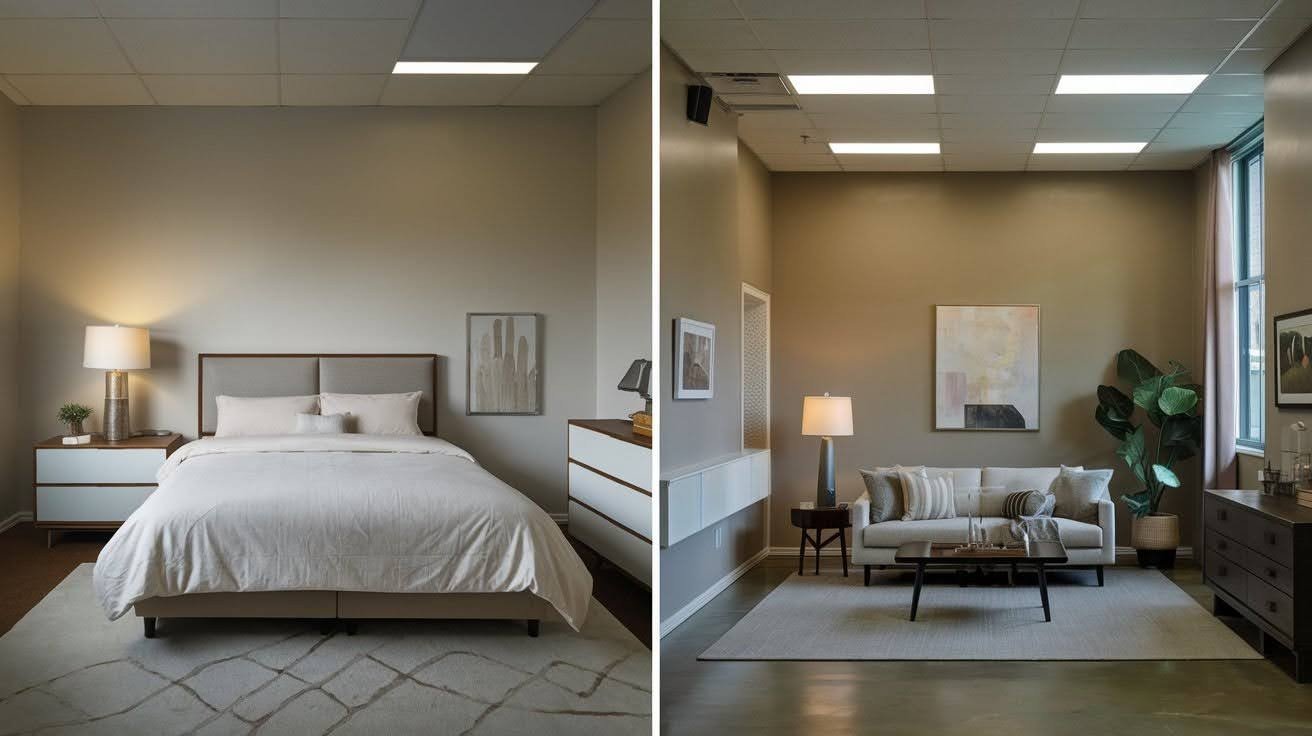
High-visibility spaces demand perfection. Your entryway, living room, and main hallways get scrutinized daily. Standard bedrooms and closets? Level 4 works fine there.
The lighting in your space should drive your decision. Walk through your rooms at different times of day. Notice where harsh shadows fall. Check how natural light hits each wall.
Paint Color and Finish Compatibility
Level 4 plays well with forgiving paint choices. Flat paints hide minor imperfections beautifully. Light textures mask joint lines effectively. Stick with lighter colors and you’ll be happy.
Dark colors change everything. Deep blues, rich browns, and dramatic blacks expose every flaw. Level 4 can’t handle these challenging finishes.
Level 5 opens up your paint options completely. Dark colors, glossy finishes, and high-sheen paints all work perfectly. You get the freedom to choose any color or finish you want.
Paint sheen matters more than most people realize. Flat paint forgives mistakes. Satin shows some problems. Semi-gloss and gloss finishes reveal everything.
Long-term maintenance depends on your choices, too. Glossy paints on Level 4 surfaces will show wear patterns over time. The joint areas might wear differently than bare drywall sections.
Level 5 maintains consistency regardless of your paint choice. Every area ages and wears the same way.
Application-Specific Recommendations
Choosing the right finish depends on your specific situation. Let me walk you through when each option makes sense.
When Level 4 is the Right Choice
Most residential projects work perfectly with Level 4. Your typical home interior gets the quality it needs without breaking the budget. Standard commercial spaces also benefit from this reliable finish.
Budget-conscious projects love Level 4. You get professional results without paying premium prices. The quality still meets industry standards and looks great in most situations.
Lighting conditions matter here. Level 4 thrives in spaces with forgiving light. Rooms with ambient lighting, indirect fixtures, and minimal harsh shadows show off Level 4 beautifully.
Your paint choices support this decision, too. Flat paints work wonderfully on Level 4 surfaces. Textured finishes hide any minor imperfections that might exist.
Low-to-moderate traffic areas get the most benefit from Level 4. Bedrooms, offices, and casual living spaces don’t need perfection. They need good, solid finishing work.
Think about your expectations. Level 4 delivers quality results that satisfy most homeowners and commercial property owners.
When Level 5 is Essential

High-end luxury spaces demand Level 5. Premium residential projects and upscale commercial properties need flawless walls. Your investment deserves perfect results.
Critical lighting areas can’t be compromised. Atria with skylights, art galleries, and operating rooms require visual perfection. Any imperfection becomes obvious under intense lighting.
Natural light exposure tells the whole story. Spaces with large windows and extensive sunlight need Level 5. Morning and evening light hits the walls at harsh angles that expose every flaw.
Dark paint colors require Level 5. Deep blues, rich blacks, and dramatic colors reveal imperfections that lighter colors tend to hide. You can’t fake perfection with dark finishes.
Visual perfection matters in specific spaces. Showrooms, upscale offices, and high-end retail environments need flawless walls. Your customers notice quality details.
Level 5 eliminates regret. You’ll never look at your walls and wish they were better.
Decision Framework and Assessment Criteria
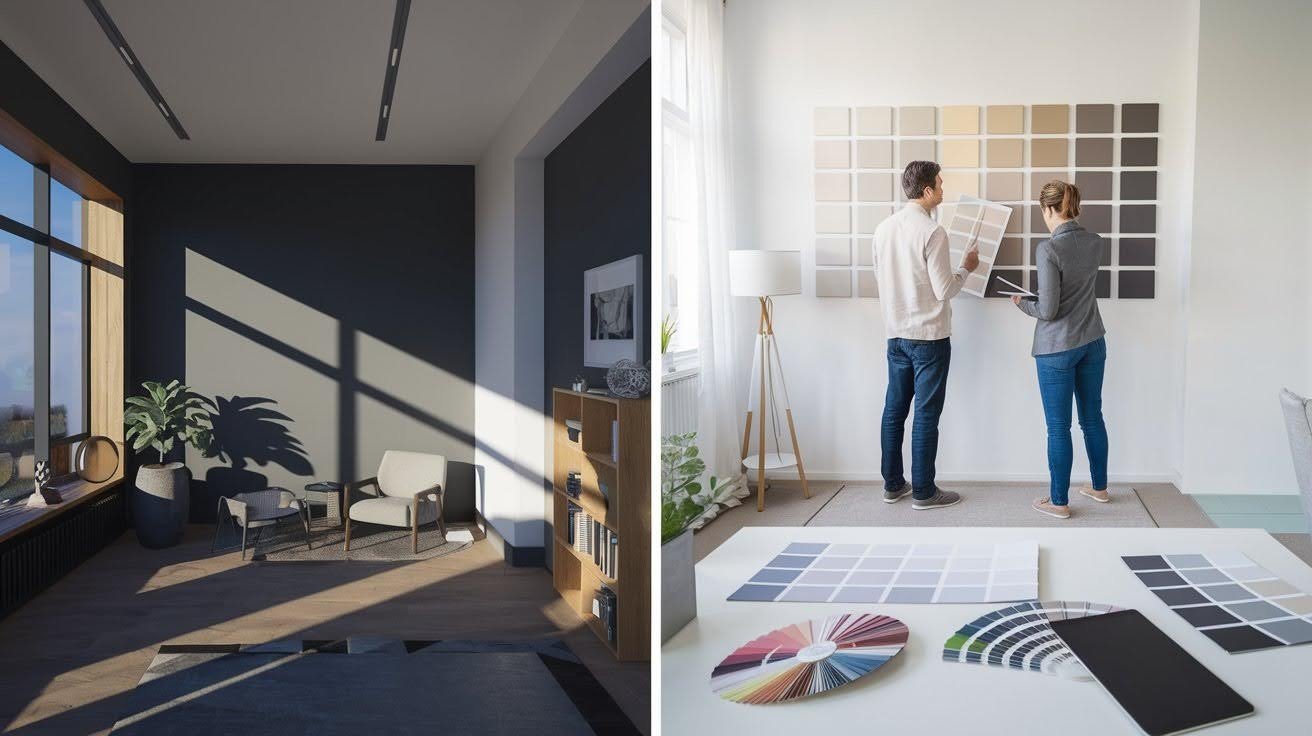
Start with your lighting conditions. Walk through your space at different times of day. Notice where harsh shadows fall. Check how natural light hits each wall surface.
Align your budget with expectations. Level 4 costs less but has limitations. Level 5 costs more but delivers perfection. Your budget should match your quality expectations.
Paint selection drives your choice. Dark colors and glossy finishes need Level 5. Light colors and flat paints work with Level 4. Choose your paint first, then select your finish level.
Consider the timeline and resources. Level 5 takes longer and requires skilled artisans. Level 4 moves faster with standard crews. Your schedule might determine your choice.
Get professional advice when uncertain. Experienced contractors can assess your specific situation. They understand lighting, paint requirements, and quality expectations better than anyone.
The right choice depends on your priorities. Quality, budget, timeline, and expectations all factor into this decision.
Inspection Standards and Quality Expectations

Level 4 inspection happens under normal lighting conditions. I walk through with standard room lighting turned on. The visual examination checks for obvious flaws and rough spots.
Level 5 demands rigorous inspection standards. The final lighting must be installed and working. All design elements need to be in place. This means checking walls with your actual fixtures, not temporary work lights.
Tolerance levels differ dramatically. Level 4 allows minor imperfections that won’t show under typical conditions. Level 5 accepts virtually no visible flaws. Professional quality assurance protocols vary by finish level.
Level 4 gets standard sign-off procedures. Level 5 requires detailed documentation and multiple inspection phases. The inspection process matches the finish quality. Higher standards demand more thorough checking.
Conclusion
Choosing between Level 4 and Level 5 drywall finish comes down to your specific needs. Level 4 works great for most residential and commercial projects with standard lighting and paint choices. Level 5 drywall finish becomes essential when you need perfection for harsh lighting, dark colors, or high-end spaces.
Your lighting conditions, paint selection, and budget should guide this decision. You now know how to make an informed choice that matches your project requirements. Remember: Level 4 gets the job done well. Level 5 gets it done perfectly.
Have questions about your specific project? Please drop a comment below or share this guide with someone planning their drywall work. Making the correct choice upfront saves time, money, and future headaches.
Frequently Asked Questions
What is the main difference between Level 4 and Level 5 drywall finishes?
Level 4 includes taping, joint compound, and sanding for a smooth finish. Level 5 adds a full-surface skim coat over the entire wall, creating a flawless, uniform surface that eliminates all visible imperfections.
How much more does a Level 5 drywall finish cost than a Level 4?
Level 5 drywall finish typically costs 25-40% more than Level 4 due to additional materials, labor time, and skilled craftsmanship required for the skim coat application.
When should I choose Level 5 drywall finish over Level 4?
Choose Level 5 for spaces with harsh lighting, dark paint colors, glossy finishes, or high-end areas requiring visual perfection. Level 4 works well for standard residential rooms with ambient lighting.
Can I paint dark colors over a Level 4 drywall finish?
Dark colors are not recommended over a Level 4 finish. Deep tones and dark paints expose imperfections that lighter colors hide. Level 5 drywall finish is essential for dark color applications.
How long does a Level 5 drywall finish take compared to a Level 4?
Level 5 adds several days to your project timeline due to the additional skim coat application, drying time, and sanding required for the perfect finish.