

Are you considering a cabinet makeover but worried about losing that beautiful oak character?
You’re not alone! Many homeowners love the idea of fresh, painted cabinets but can’t bear to completely hide their oak’s natural texture.
The good news? You absolutely can achieve painted oak cabinets with grain showing – and it looks absolutely stunning when done right.
This isn’t about settling for a compromise. It’s about creating the perfect balance between modern color and classic wood character.
Your oak’s distinctive texture can become a design feature rather than something to cover up.
Most painting tutorials focus on creating glass-smooth finishes that completely mask wood grain.
We’ll show you exactly how to paint your oak cabinets while preserving that gorgeous natural texture you love.
Ready to upgrade your kitchen without losing its soul?
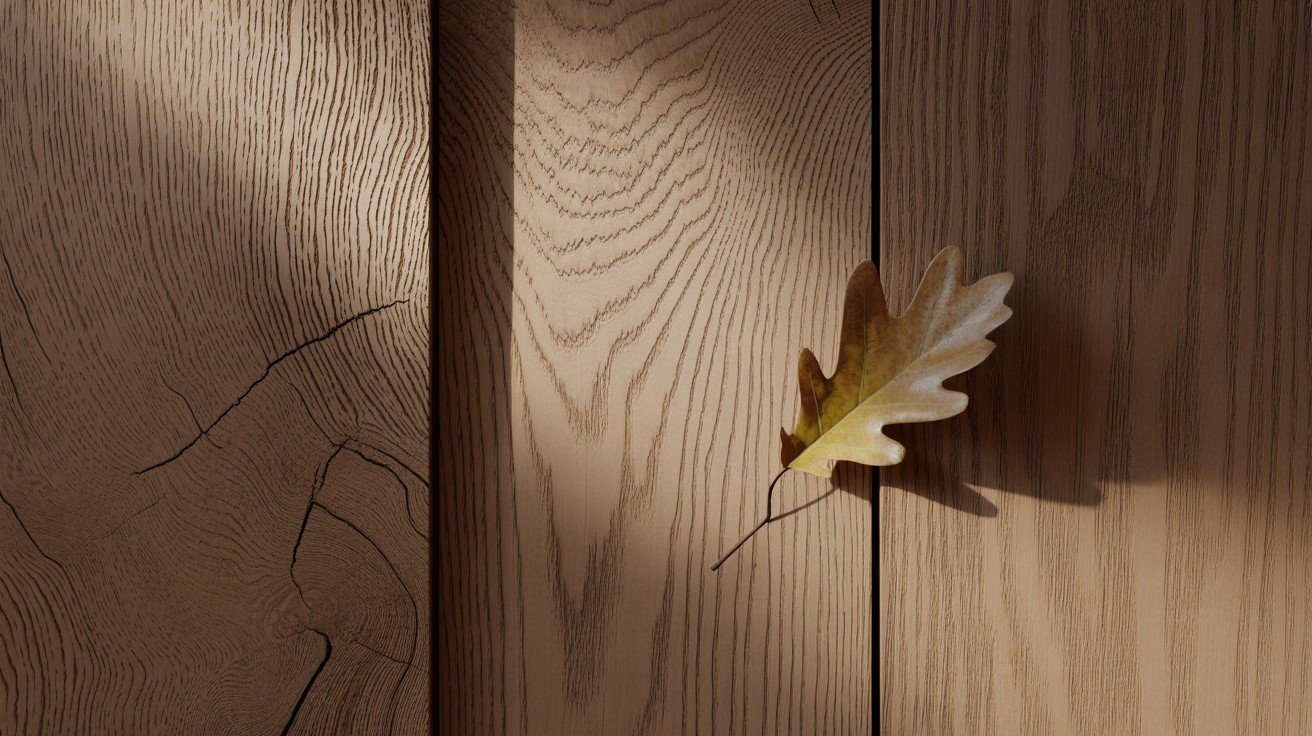
Understanding Oak Wood Grain
Oak wood stands apart from other cabinet materials due to its distinctive characteristics that make it both challenging and rewarding to paint. Let’s break down what makes oak so unique.
Characteristics of Oak Grain
Deep, open pores: Oak features large, prominent pores that create natural channels throughout the wood surface
Heavy, pronounced texture: The grain pattern is bold and raised, creating a tactile surface you can feel
Distinctive ray patterns: Oak displays unique medullary rays that appear as lighter streaks across the grain
Varied density: Different sections of the wood have varying hardness levels, affecting paint absorption
Natural movement: The grain creates valleys and peaks that catch light differently when painted
Why Oak Behaves Differently From Other Cabinet Woods When Painted
Unlike maple or cherry with their tight, closed grain structure, oak’s open pores act like tiny wells that absorb paint unevenly.
This characteristic means paint settles into the grooves while sitting higher on the raised grain areas. Cherry and maple woods typically accept paint more uniformly, creating smoother finishes with less texture variation.
Oak’s porous nature also means it requires different preparation techniques and paint application methods to achieve professional results.
Difference Between Red Oak and White Oak Grain Visibility
|
Aspect |
Red Oak |
White Oak |
|
Pore Size |
Larger, more open pores |
Smaller, tighter pores |
|
Grain Prominence |
More dramatic, heavily textured |
Subtler, refined texture |
|
Paint Absorption |
Absorbs more paint into pores |
More even paint distribution |
|
Visibility After Painting |
Grain remains very prominent |
Grain shows, but less dramatically |
|
Ray Pattern |
Longer, more noticeable rays |
Shorter, less obvious rays |
|
Overall Texture |
Rougher, more rustic appearance |
Smoother, more refined look |
Will the Grain Show Through Paint?
Yes, but it depends on your technique, tools, and expectations.
The short answer is absolutely yes, oak grain will show through paint. However, the degree of visibility isn’t random; it’s completely within your control.
Your choice of materials, application method, and preparation steps will determine whether you get subtle texture hints or bold, dramatic grain patterns.
Explanation of What “Grain Showing” Really Means
Understanding this distinction is crucial for setting realistic expectations:
Visible Texture Under Paint – This refers to the physical ridges, valleys, and pores you can see and feel even after painting.
The paint follows the wood’s natural contours, creating a textured surface that catches light differently across the grain pattern. This is what most people want when they say they want grain to show.
Actual Contrast in Grain Color – This happens when the original wood tones bleed through or when paint settles unevenly, creating color variations that mirror the original grain pattern.
This typically occurs with insufficient primer coverage or thin paint applications.
Factors That Influence Visibility
Type of Paint Used
|
Paint Type |
Grain Visibility |
Coverage Characteristics |
Best For |
|
Latex Paint |
Moderate to high grain visibility |
Sits on surface, follows contours well |
Homeowners wanting easy cleanup and grain texture |
|
Enamel Paint |
Lower grain visibility |
Self-levels more, fills small imperfections |
Professional-looking finish with subtle texture |
|
Chalk Paint |
High grain visibility |
Thin consistency, minimal fill |
Maximum grain character and rustic appeal |
|
Oil-Based Paint |
Variable visibility |
Penetrates deeper, longer working time |
Durable finish with controlled grain appearance |
Sheen Level Impact
Matte finishes reveal more texture because they don’t reflect light evenly across the surface. The grain’s shadows and highlights become more pronounced.
Gloss finishes tend to minimize texture appearance by reflecting light uniformly, though they make any imperfections more noticeable.
Step-by-Step to Paint Oak Cabinets and Let the Grain Show
1. Cleaning and Degreasing Thoroughly
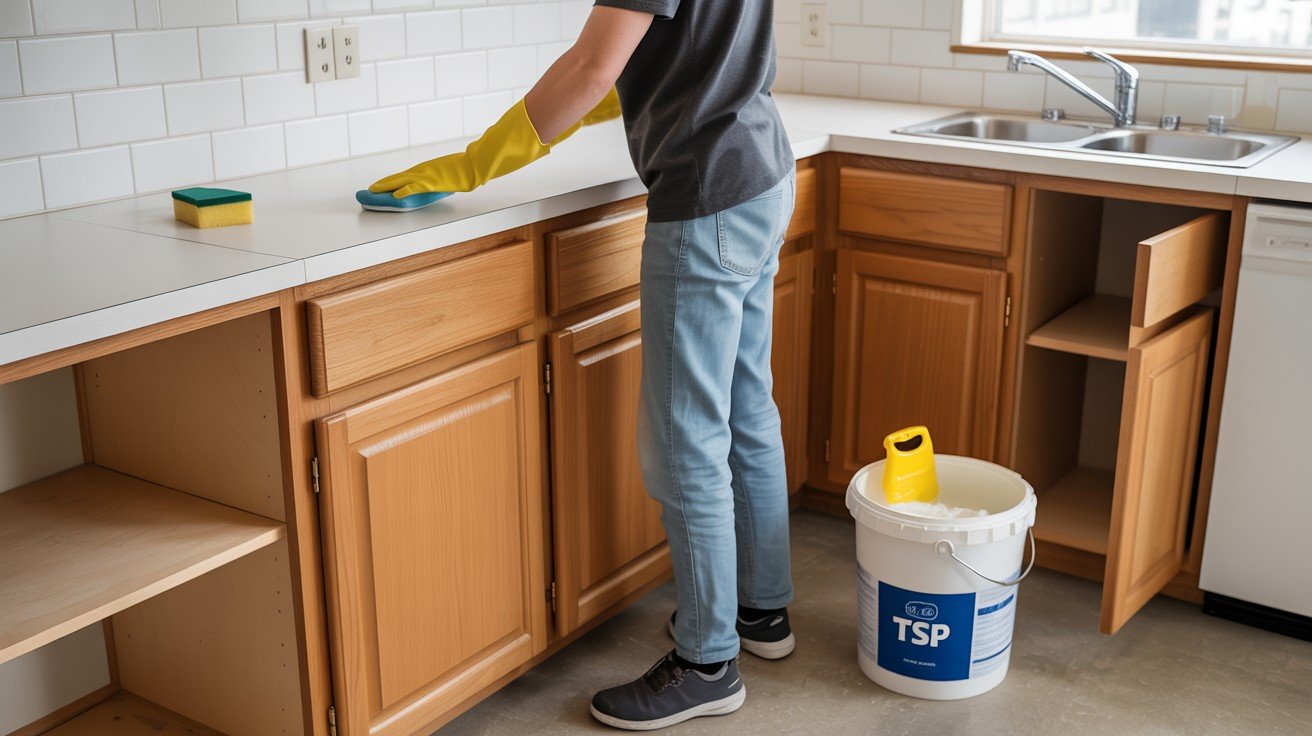
Remove all cabinet doors and hardware, then clean every surface with a degreasing solution like TSP or Dawn dish soap mixed with warm water. This step is critical because any residual grease or grime will prevent paint from adhering properly and can cause finish failures later.
2. Light Sanding; Not to Remove Grain but to Prep Surface
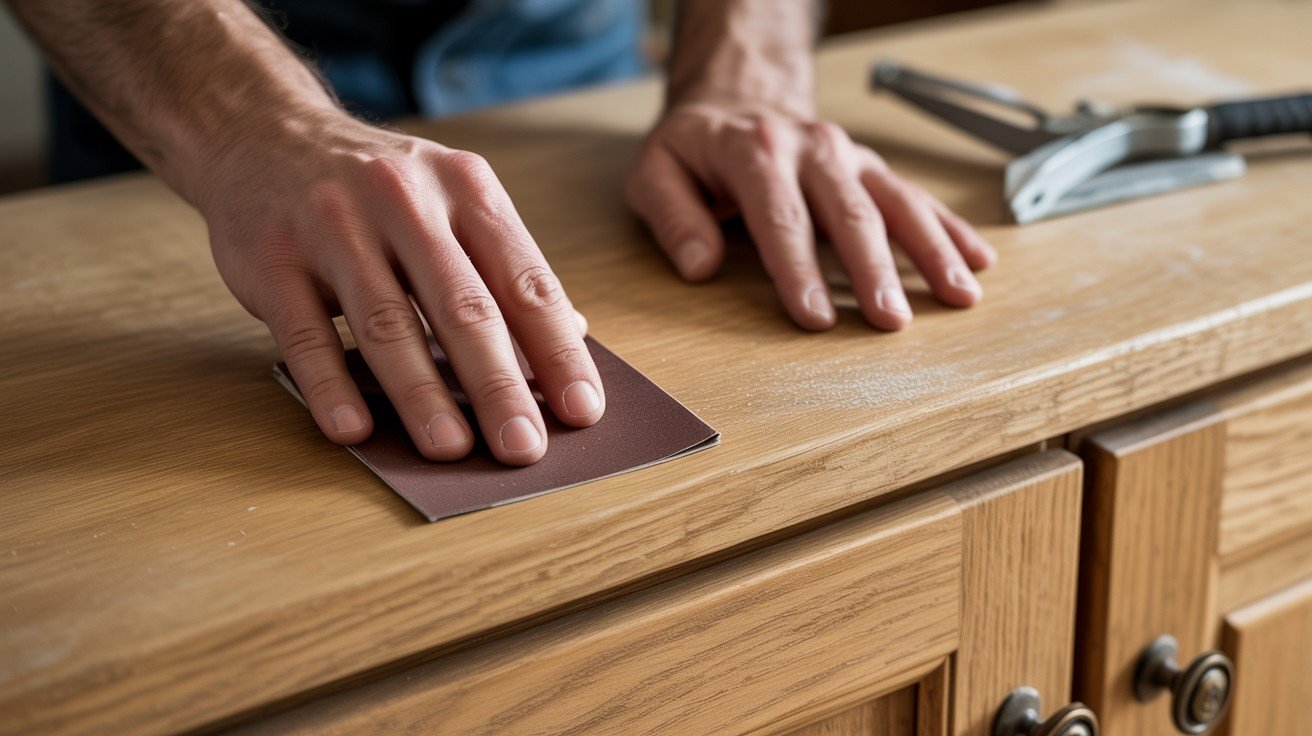
Use 150-grit sandpaper to lightly scuff the surface, focusing on smoothing any rough spots while preserving the grain’s natural texture. The goal is creating a tooth for paint adhesion, not eliminating the wood’s character; avoid aggressive sanding that flattens the grain.
3. Using a Grain-Filling Primer Sparingly or Skipping Filler for More Texture
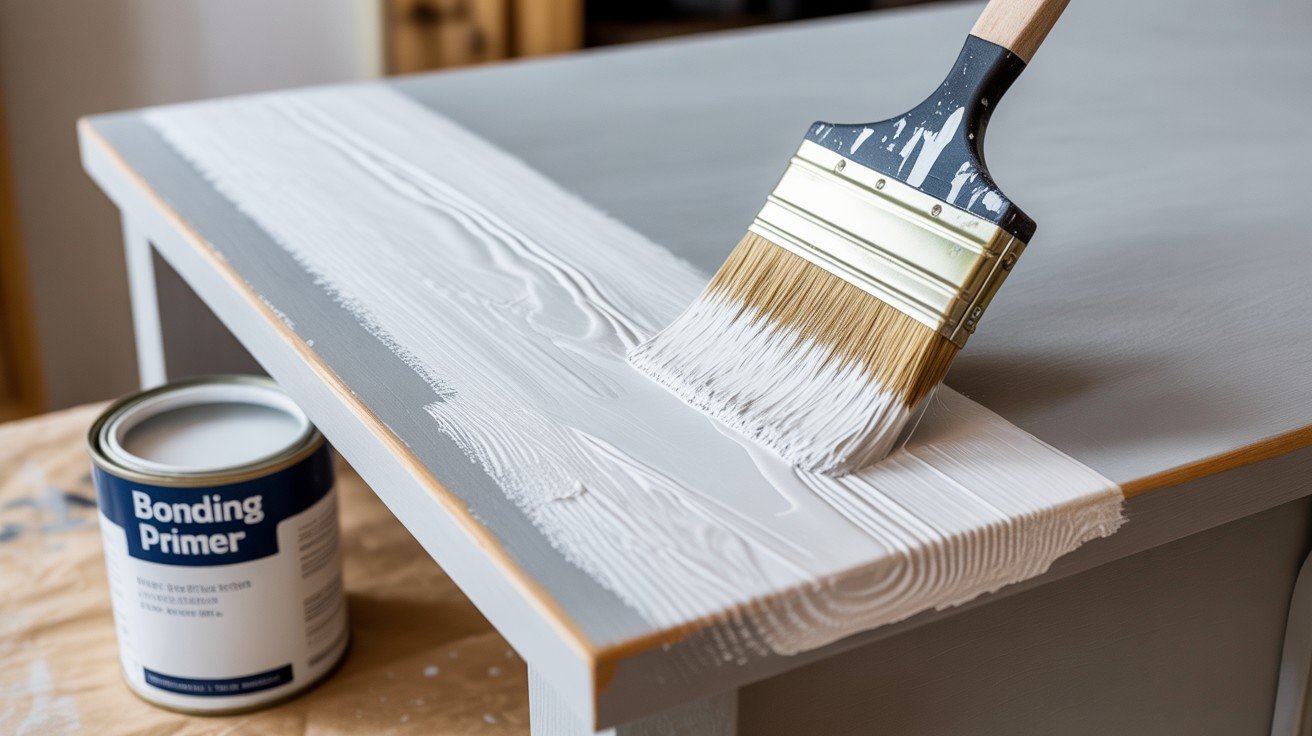
Apply a high-quality bonding primer in thin, even coats, allowing it to settle into the grain without filling the pores.
For maximum grain visibility, consider using a standard primer instead of a grain-filling primer, which will preserve more of the wood’s natural texture.
4. Applying Thin Coats of Paint to Avoid Burying the Texture
Use multiple thin coats rather than one or two thick applications, allowing each coat to dry completely between applications.
This technique maintains the grain’s peaks and valleys while building up adequate color coverage and protection.
5. Finishing with a Protective Topcoat (Optional but Recommended)
Apply a clear protective finish in the same sheen as your paint to add durability without masking the texture.
This final step helps your painted finish withstand daily kitchen use while maintaining the grain character you worked to preserve.
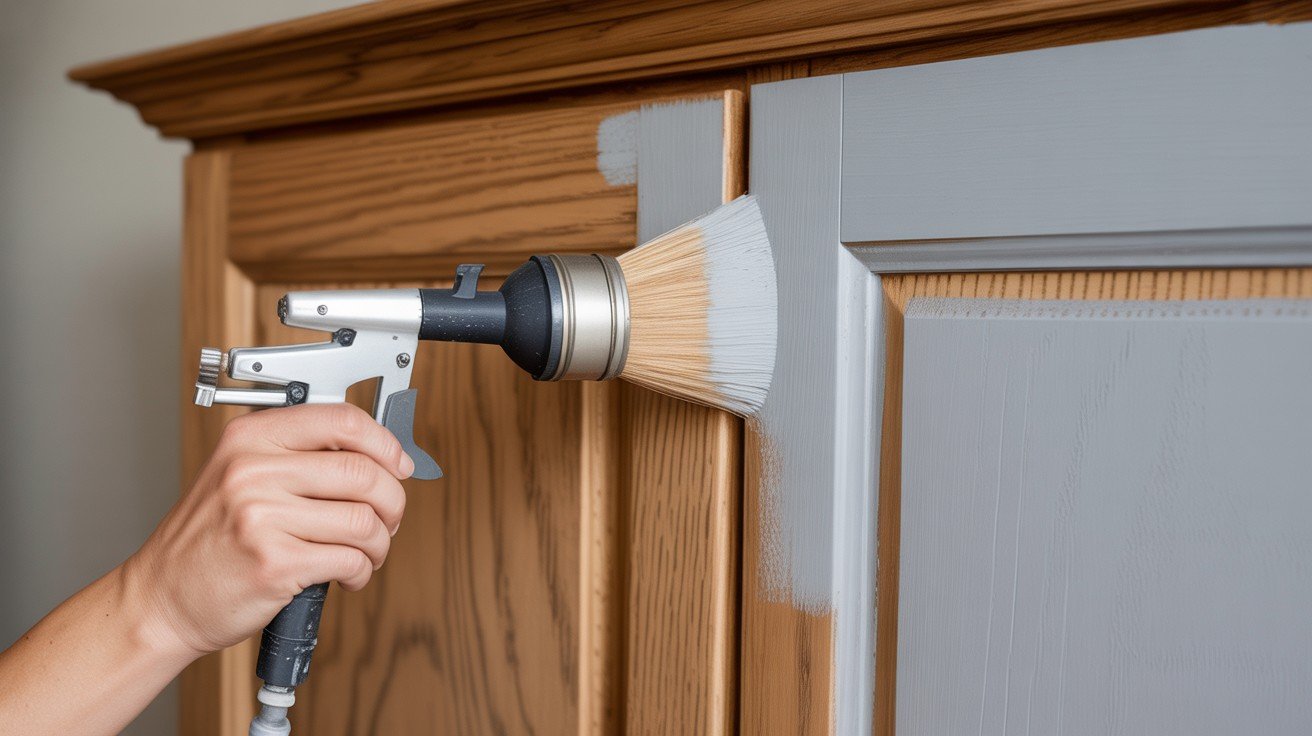
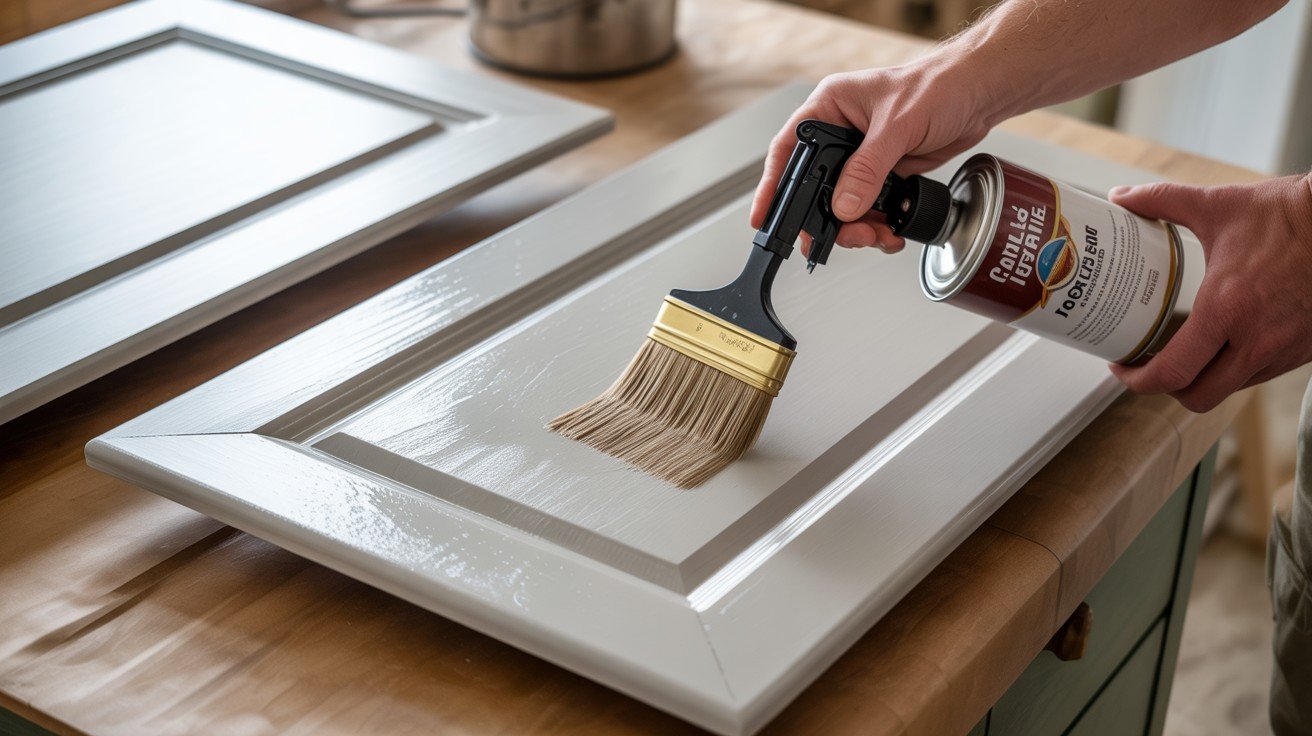
Pro Tip: Spraying vs. Brushing; How Each Affects Grain Visibility
|
Application Method |
Grain Visibility |
Coverage Pattern |
Pros |
Cons |
|
Spray Application |
Maximum grain preservation |
Even thin coverage that follows contours |
Professional finish, preserves texture, and faster application |
Requires equipment, overspray concerns, technique learning curve |
|
Brush Application |
Moderate grain visibility |
Can fill valleys more than spraying |
No special equipment needed, easy touch-ups, good control |
May obscure some texture, brush marks are possible, slower process |
|
Roller Application |
Minimal grain preservation |
Tends to fill pores and level the surface |
Fast coverage of large areas, minimal equipment |
Flattens texture significantly, may require back-brushing |
|
Foam Brush |
High grain preservation |
Light, controlled application |
Inexpensive, good for detail work, minimal texture loss |
Time-intensive, not ideal for large surfaces, limited durability |
Common Mistakes That Hide the Grain
- Over-sanding or using wood filler: Aggressive sanding with fine-grit paper (220+ grit) flattens the natural texture, while wood filler eliminates the pores and valleys that create oak’s distinctive character.
- Applying thick, multiple coats of primer and paint: Heavy-handed application builds up layers that gradually fill in the grain’s natural contours, creating a flat surface that masks the wood’s original texture and visual interest.
- Choosing ultra-smooth or plastic-like finishes: High-gloss paints and self-leveling formulas are designed to create mirror-smooth surfaces, which directly conflict with preserving natural wood grain visibility.
- Using high-build primers designed for problem surfaces: These specialized primers are formulated to fill imperfections and create uniform surfaces, making them counterproductive when you want to maintain the oak’s natural texture and character.
- Applying paint with heavy-nap rollers or thick brushes: These tools deposit excessive amounts of paint that pool in the grain’s valleys, gradually filling them in and reducing the textural contrast that makes the grain pattern visible and appealing.
Conclusion
Creating painted oak cabinets with grain showing is achievable when you understand the process and make intentional choices.
The key lies in working with your oak’s natural characteristics rather than fighting against them.
By using proper preparation techniques, selecting the right materials, and applying thin coats strategically, you can achieve that perfect balance of fresh color and timeless texture.
Remember, this approach isn’t about cutting corners; it’s about celebrating your wood’s inherent beauty while giving it a modern update.
Your cabinets will have character that mass-produced, perfectly smooth finishes simply can’t match.
The slight texture adds warmth and visual interest that makes your kitchen feel custom and authentic.
Take your time with each step, and don’t rush the process. The result will be cabinets that look professionally finished while maintaining the natural charm that drew you to oak in the first place.
Frequently Asked Questions
Can I paint over the existing stain without losing grain visibility?
Yes, but a proper primer is essential to prevent bleed-through while maintaining texture.
Will painted oak cabinets with visible grain be harder to clean?
Not significantly; quality paint and topcoat make cleaning as easy as smooth finishes.
How long does this painting technique take compared to standard methods?
Similar timeframe, but requires patience between thin coats for optimal grain preservation results.