

Is your home starting to feel like a funhouse with sloping floors and doors that won’t close properly?
If you’re dealing with these frustrating issues, your pier-and-beam foundation might be crying out for attention.
Foundation problems can turn your comfortable living space into a source of constant worry, but here’s the good news: pier and beam foundation leveling is often more manageable than you’d expect.
Unlike slab foundations that require major reconstruction when problems arise, pier and beam systems offer accessible solutions.
You can see what’s happening underneath your home and address issues before they become major headaches.
Ready to restore stability to your home? Let’s walk through everything you need to know about bringing your foundation back to level, from spotting the warning signs to deciding when you can handle the work yourself versus when to call in the pros.
Understanding Pier and Beam Foundations
Pier and beam foundations consist of concrete or steel piers that support horizontal beams, which hold floor joists above a crawl space.
Unlike slab foundations poured directly on the ground, this system creates an accessible gap beneath your home.
This foundation type naturally settles over time due to soil movement, moisture changes, and ground expansion.
Common causes of imbalance include shifting clay soil, water damage from leaks or poor drainage, natural aging of materials, and pest damage to wooden components.
The crawl space design offers advantages for repairs since you can access problem areas directly, making pier and beam foundation leveling more straightforward than slab alternatives.
Signs Your Foundation Needs Leveling
- Uneven or sagging floors – Notice your furniture wobbling or marbles rolling across rooms? These are clear indicators that your foundation has shifted
- Cracks in interior or exterior walls – Hairline fractures around door frames, windows, or along wall surfaces signal structural movement
- Doors and windows not closing properly – Sticking doors, gaps around frames, or windows that won’t latch indicate your home’s frame is no longer square
- Gaps between walls and ceiling/floor – Visible spaces where walls meet floors or ceilings show your home has settled unevenly
- Musty smells or increased humidity in crawl space – Moisture issues often accompany foundation problems and can worsen structural damage over time
Tools and Materials Needed
|
Category |
Item |
Purpose |
|
Lifting Equipment |
Hydraulic jacks or screw jacks |
Essential for raising sagging beams and redistributing weight |
|
Support Materials |
Shims and treated wood blocks |
Temporary supports and gap filling during installation |
|
Permanent Solutions |
Steel or concrete piers |
Long-term replacements for damaged foundation supports |
|
Safety Equipment |
Gloves, eye protection, jack supports |
Personal protection and accident prevention during work |
|
Access Tools |
Flashlight, knee pads, measuring tape |
Safe navigation and accurate work in crawl spaces |
|
Precision Tools |
Level or laser level |
Measuring current conditions and verifying corrections |
|
Hand Tools |
Wrenches, hammers, and basic tools |
Assembly, adjustment, and installation work |
Step-by-Step Guide to Leveling a Pier and Beam Foundation
1. Inspect and Diagnose
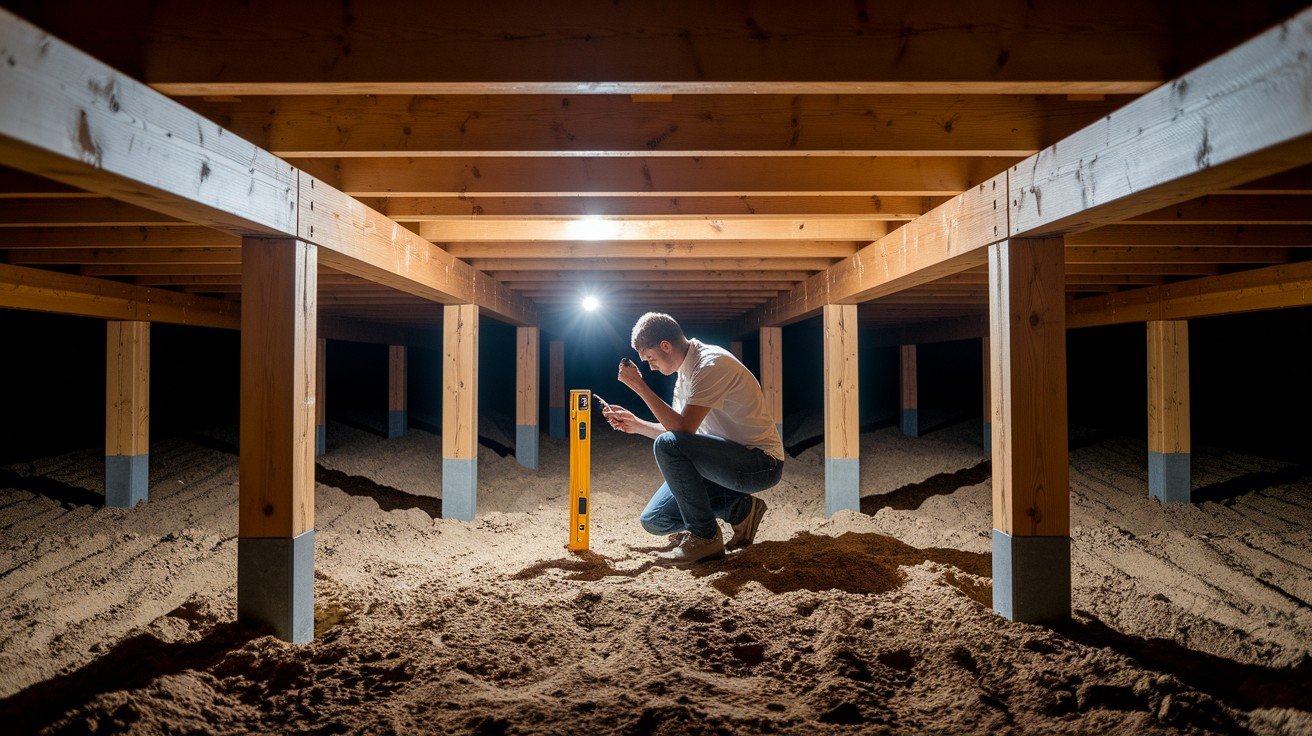
Begin with a thorough visual examination of your crawl space, checking for damaged or rotting wooden components.
Use a level or laser level to measure floor slopes and identify problem areas. Document weak piers, cracked beams, and areas where settling has occurred.
Take photos and measurements to track your progress throughout the repair process.
2. Prepare the Crawl Space

Remove all debris, old materials, and obstructions from the work area to create safe access. Check for adequate ventilation and add temporary fans if needed.
Ensure you have clear pathways to reach problem areas. Test your lighting and organize tools within easy reach.
This preparation prevents delays and safety issues during the actual leveling work.
3. Jack Up the Foundation

Position hydraulic or screw jacks directly beneath sagging beams, ensuring solid contact with stable ground. Lift gradually in small increments, typically 1/4 inch at a time, to avoid shocking the structure.
Monitor walls, windows, and doors for stress signs during lifting. Work systematically from the most severely affected areas outward, maintaining consistent pressure across multiple support points.
4. Install New Supports
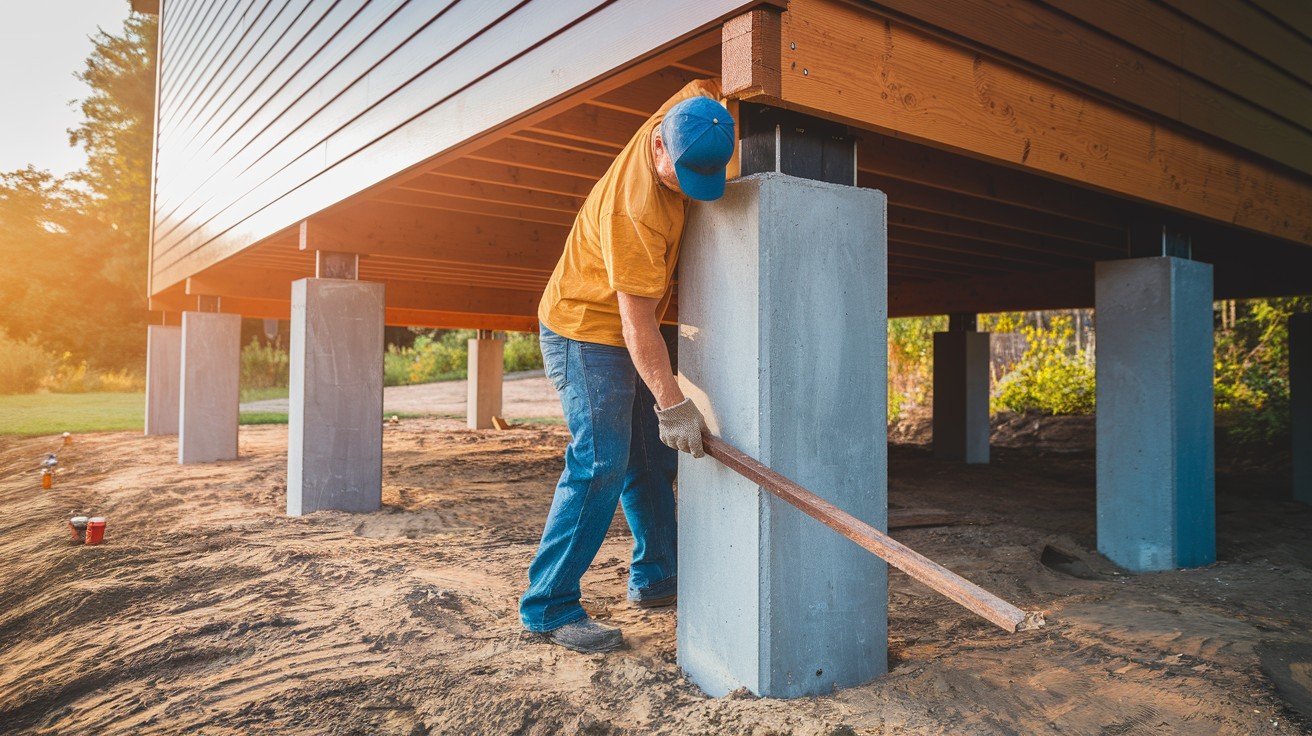
Replace damaged piers with new concrete or steel supports, ensuring proper depth and stability. Add shims between beams and piers to maintain level positioning.
Secure all connections with appropriate fasteners and treated lumber for moisture resistance. Install additional piers if spacing exceeds the recommended intervals. Double-check all connections before proceeding to final adjustments.
5. Recheck and Adjust
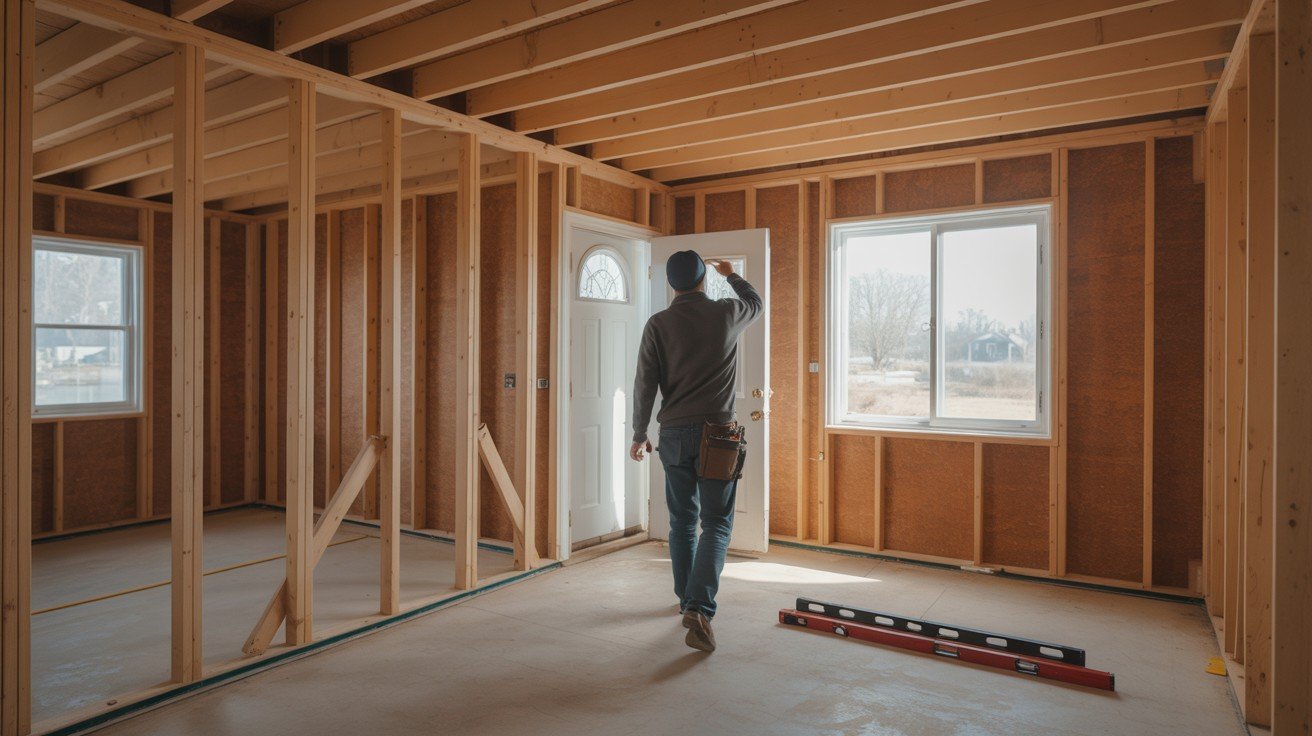
Use your level to verify accuracy across all affected areas, making minor adjustments as needed. Test doors and windows to ensure proper operation.
Walk through the house checking for new squeaks or movement. Make final shim adjustments to achieve perfect levelness.
Document the completed work with photos and measurements for future reference and maintenance planning.
Conclusion
Maintaining a level pier and beam foundation is crucial for your home’s structural integrity and your family’s comfort.
While the signs of foundation problems can seem alarming, the accessible nature of pier and beam systems makes repairs more manageable than other foundation types.
Success depends on accurate assessment and choosing the right approach for your situation.
Minor settling issues with good crawl space access can be suitable for confident DIYers, but don’t hesitate to call professionals for complex problems involving water damage, major structural issues, or when safety concerns arise.
Regular maintenance and early intervention save money and prevent major headaches down the road.
Keep your crawl space dry, inspect annually, and address small issues before they become big problems.
With proper care and timely repairs, your pier and beam foundation can provide decades of reliable support for your home.
Frequently Asked Questions
How long does pier and beam foundation leveling typically take?
Most DIY projects require 1-3 days, while professional services usually complete the work within 1-2 days, depending on complexity.
What’s the average cost difference between DIY and professional leveling?
DIY materials cost $200-800, while professional services range $2,500-8,000, but include labor, warranties, and proper permits.
Can I live in my house during foundation leveling work?
Yes, you can typically stay home during repairs, though expect some noise and temporary restrictions on certain rooms.
How often should I inspect my pier and beam foundation?
Annual inspections are recommended, with additional checks after heavy rains, droughts, or if you notice interior warning signs.
Will foundation leveling fix cracks in my walls permanently?
Leveling stops further movement, but existing cosmetic damage like wall cracks usually requires separate repair after structural work.