

When you’re staring at a wall that needs fixing, choosing between plaster of Paris and joint compound can feel overwhelming. Both materials promise to solve your problem, but they work very differently.
You’ve probably heard conflicting advice from friends, watched confusing YouTube videos, or gotten different recommendations from hardware store employees. That’s frustrating.
Here’s the truth: I’ve thoroughly tested both materials on real-world projects. I’ve made mistakes with each one. I’ve also seen amazing results when used correctly.
This article will solve your confusion. You’ll learn exactly when to use each material, how they perform differently, and which one fits your specific project.
We’ll cover setting times and working properties, strength and durability differences, application techniques that actually work, and cost comparisons you need to know.
No marketing fluff. Just practical information based on real experience. By the end, you’ll confidently choose the right material for your project.
What is Plaster of Paris?
Plaster of Paris is an old-school building material that’s been around for centuries. It starts as gypsum rock that gets heated until all the water evaporates. What’s left? A fine white powder.
Here’s where it gets interesting.
When you add water back to this powder, a chemical reaction happens fast. The mixture turns into a paste that hardens quickly. We’re talking 30 to 60 minutes before it’s rock solid.
Once it cures completely, you get a surface that’s incredibly hard and water-resistant. Think of it like concrete for your walls. Rain, humidity, and even direct water contact won’t hurt it.
The catch? You need to work fast. Fast.
What is Joint Compound?
Joint compound goes by many names – drywall compound, mud, or filler. Don’t let that confuse you. It’s all the same stuff.
You’ll find it in two forms at the store:
- Ready-mixed (comes in a bucket)
- Powder form (you add water)
This material was created specifically for drywall work. Its main job? Filling the gaps between drywall sheets and smoothing out imperfections.
Unlike plaster, joint compound stays workable much longer. You can take your time. Make mistakes. Fix them. No pressure.
Core Differences: Plaster of Paris vs Joint Compound
Understanding these key differences helps you pick the right material for your specific project needs and skill level.
Setting Time and Working Properties
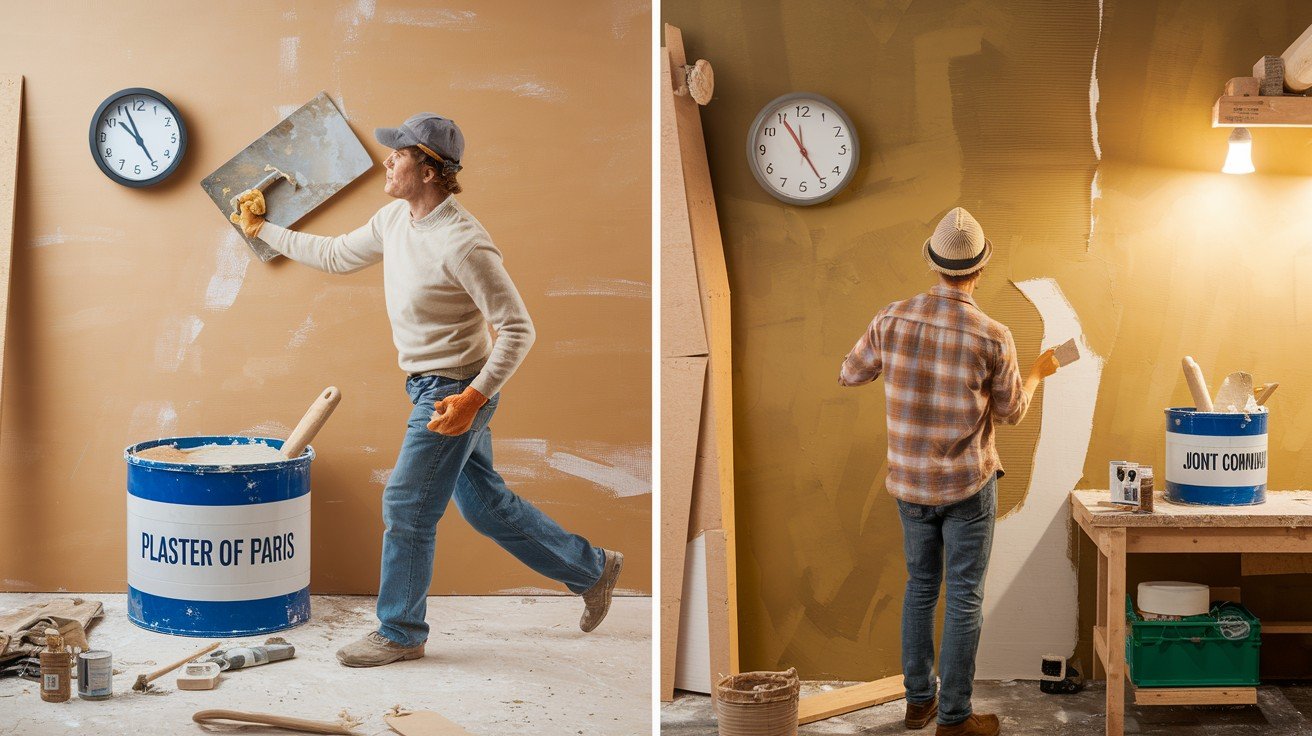
Time is everything when choosing between these materials.
Plaster of Paris sets in 30-60 minutes. Period. Once you mix it, the clock starts ticking. You’d better know exactly what you’re doing and work without breaks.
Joint compound gives you hours to get things right. Some types stay workable all day. This extended time lets you:
- Step back and check your work
- Make corrections as needed
- Work at a comfortable pace
Your skill level matters here. Beginners almost always do better with joint compound’s forgiving timeline.
Strength and Durability Comparison
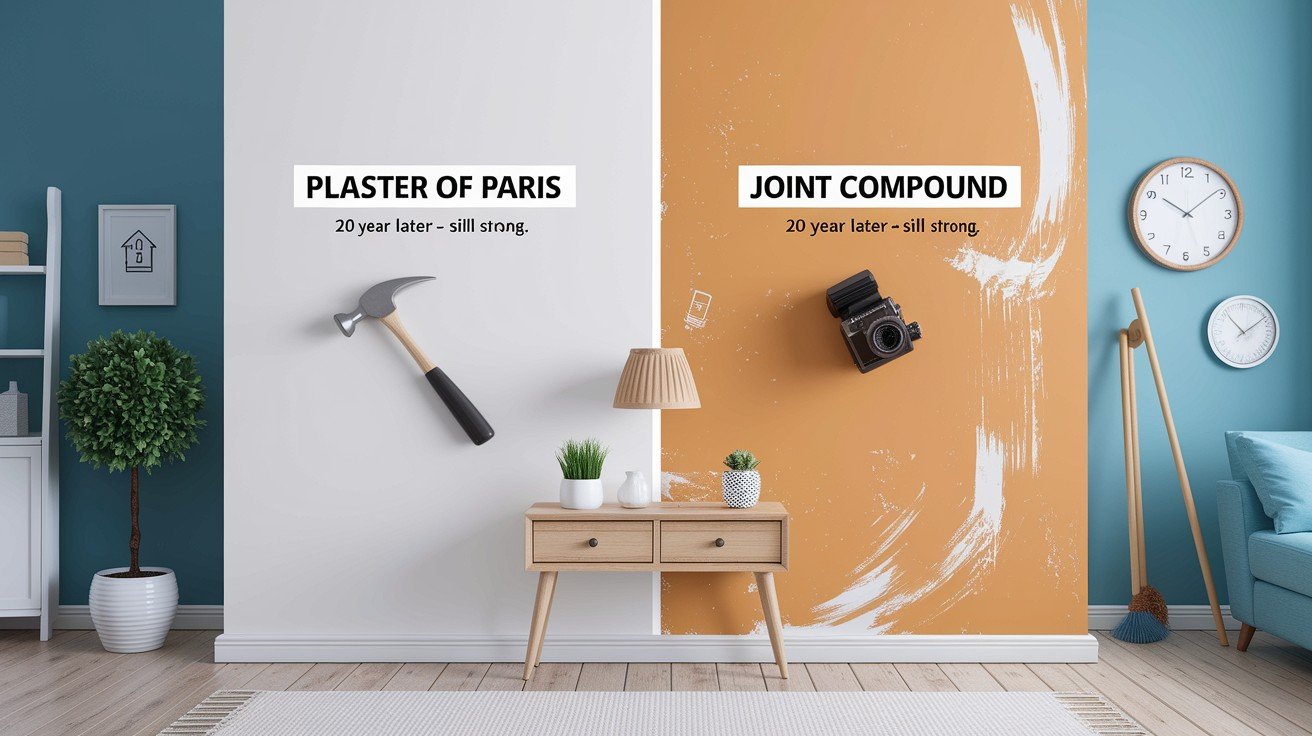
Let me put this in perspective.
When plaster of Paris cures, it becomes incredibly hard. I’ve seen 20-year-old plaster walls that look brand new. You can hit them with a hammer and barely make a dent.
Joint compound is softer. Much softer. A heavy wall hanging falling can leave a noticeable mark. Camera equipment, tools, and even aggressive cleaning can scratch the surface.
Think long-term maintenance. Plaster might cost more upfront, but you’ll spend less time fixing damage later.
Water Resistance and Moisture Performance
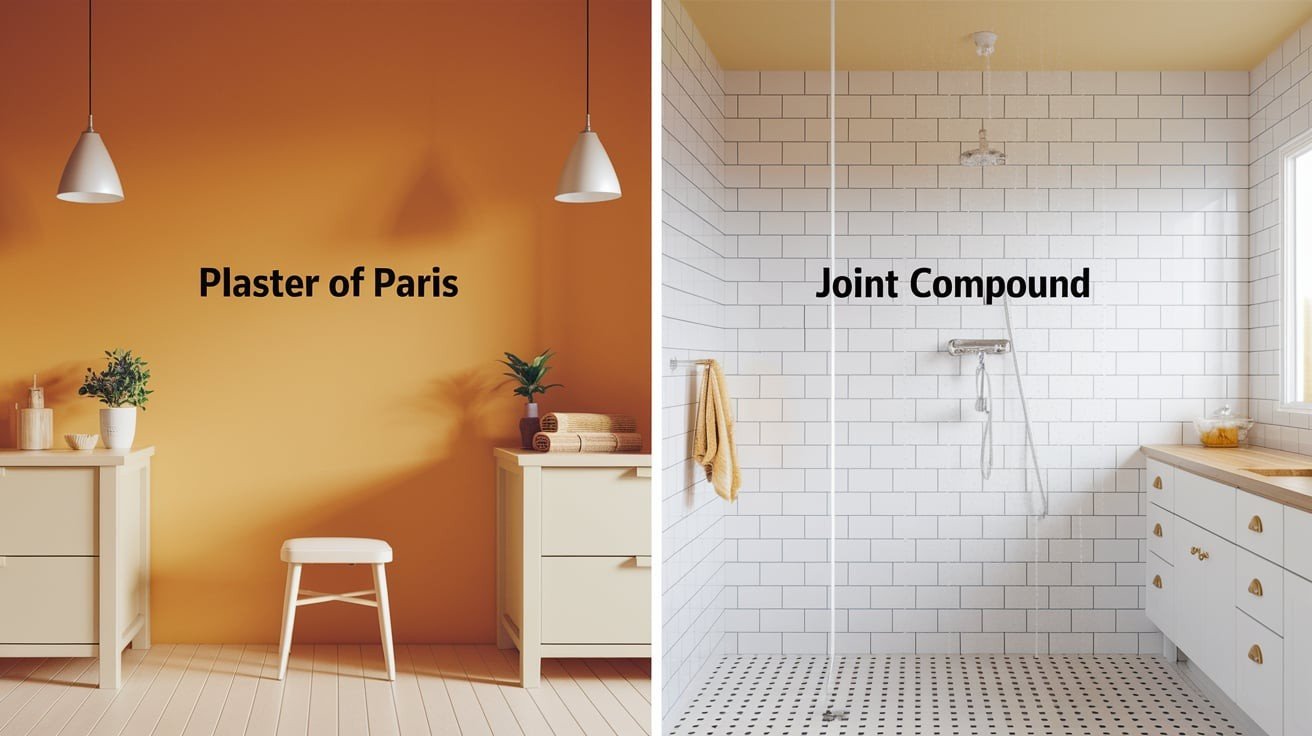
This difference is huge for certain applications.
Plaster of Paris becomes completely waterproof once it’s fully cured. Bathroom steam? No problem. Kitchen splashes? Doesn’t matter. Even a small leak won’t damage the surface.
Joint compound never becomes truly water-resistant. Moisture will always soften it eventually. In humid environments, you might see:
- Soft spots developing
- Paint peeling
- Surface deterioration
For bathrooms and kitchens, this makes your choice pretty clear.
Application Thickness and Technique
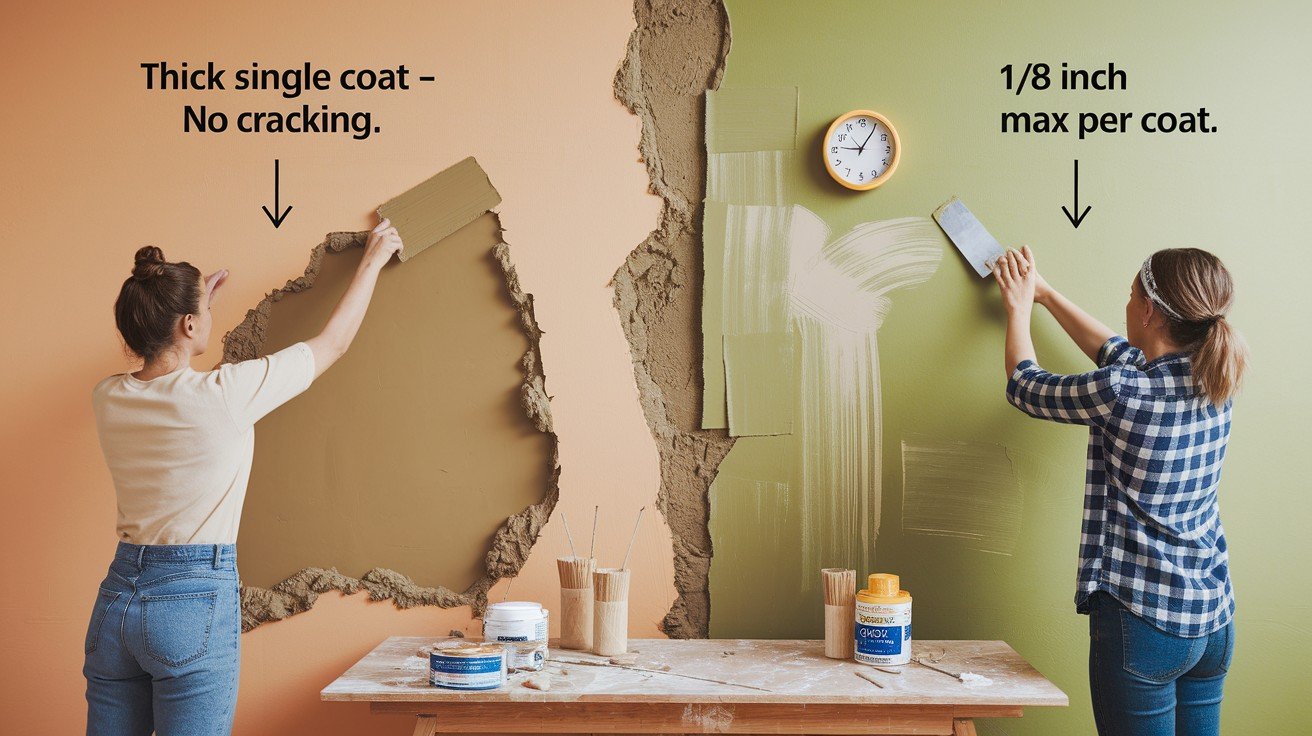
Here’s something that surprises most people.
You can apply plaster thick, sometimes over an inch, in a single coat. It won’t crack or fail. This makes it perfect for major repairs or filling large holes.
Joint compound has strict thickness limits. More than 1/8 inch in one coat? You’re asking for cracks. Big, ugly cracks that will show through paint.
For thick applications, you need multiple thin coats of joint compound. That means more time, more drying periods, more work.
Finishing and Correction Options
This is where your skill level shows.
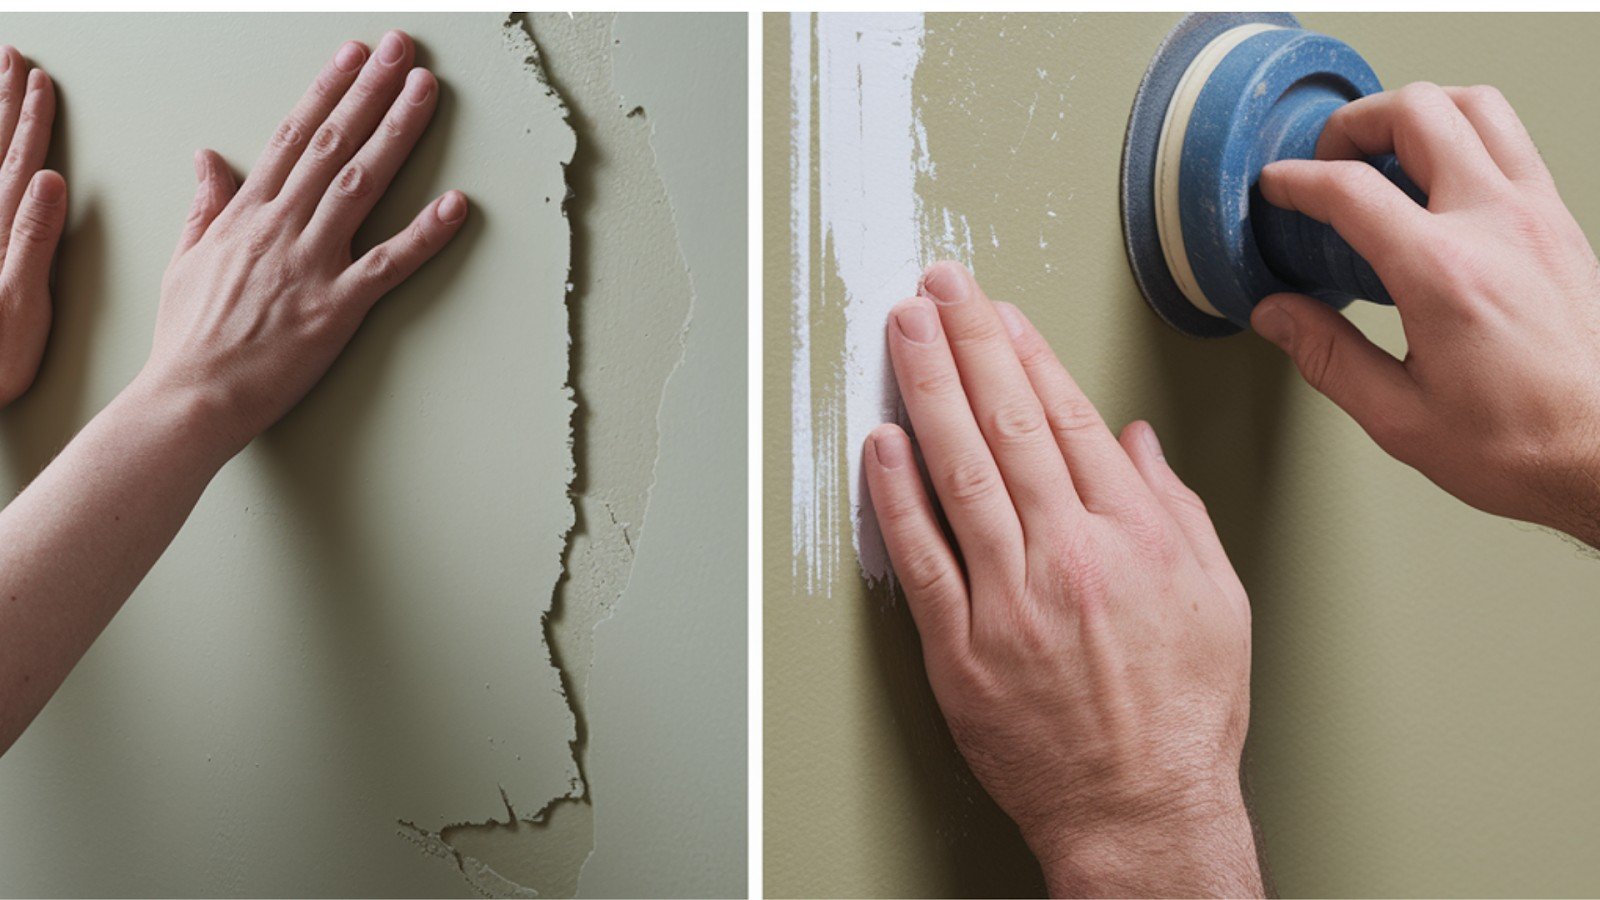
Plaster cannot be sanded once it hardens. Whatever finish you create while it’s wet is what you’re stuck with. Mess up? You might need to chip it off and start over.
Joint compound is completely sandable. Rough application? Sand it smooth. Small imperfections? A quick sanding fixes everything. This forgiving nature makes it perfect for DIY projects.
Professional plasterers charge premium rates because perfecting the technique takes years of practice.
When to Choose Each Material?
The right material choice can make or break your project. Match the material’s strengths to your specific needs and circumstances.
Choose Plaster of Paris For:
High-traffic areas that take a beating need plaster’s strength. Hallways, kids’ rooms, garage walls – these spots benefit from the extra durability.
Moisture-heavy environments are plaster’s specialty. Basements, bathrooms, kitchens, and laundry rooms stay protected with plaster’s water resistance.
Quick turnaround projects work well with plaster’s fast setting time. Need to finish before guests arrive? Plaster lets you complete and paint the same day.
Major repairs requiring thick fills get done efficiently with plaster’s single-coat capability.
Choose Joint Compound For:
Large wall surfaces become manageable with the joint compound’s extended working time. Whole room projects don’t feel rushed.
First-time projects go smoother when mistakes can be fixed easily. Learning is part of the process.
Detailed finishing work benefits from the joint compound’s sandable surface. Perfect smoothness is achievable with patience.
Budget-conscious projects often favor joint compound’s lower material costs and reduced waste.
Application Techniques and Best Practices
Getting the application right makes the difference between professional results and frustrating do-overs. Each material has its own rules and tricks.
Let me share what I’ve learned from years of working with both materials.
Plaster of Paris Application Tips
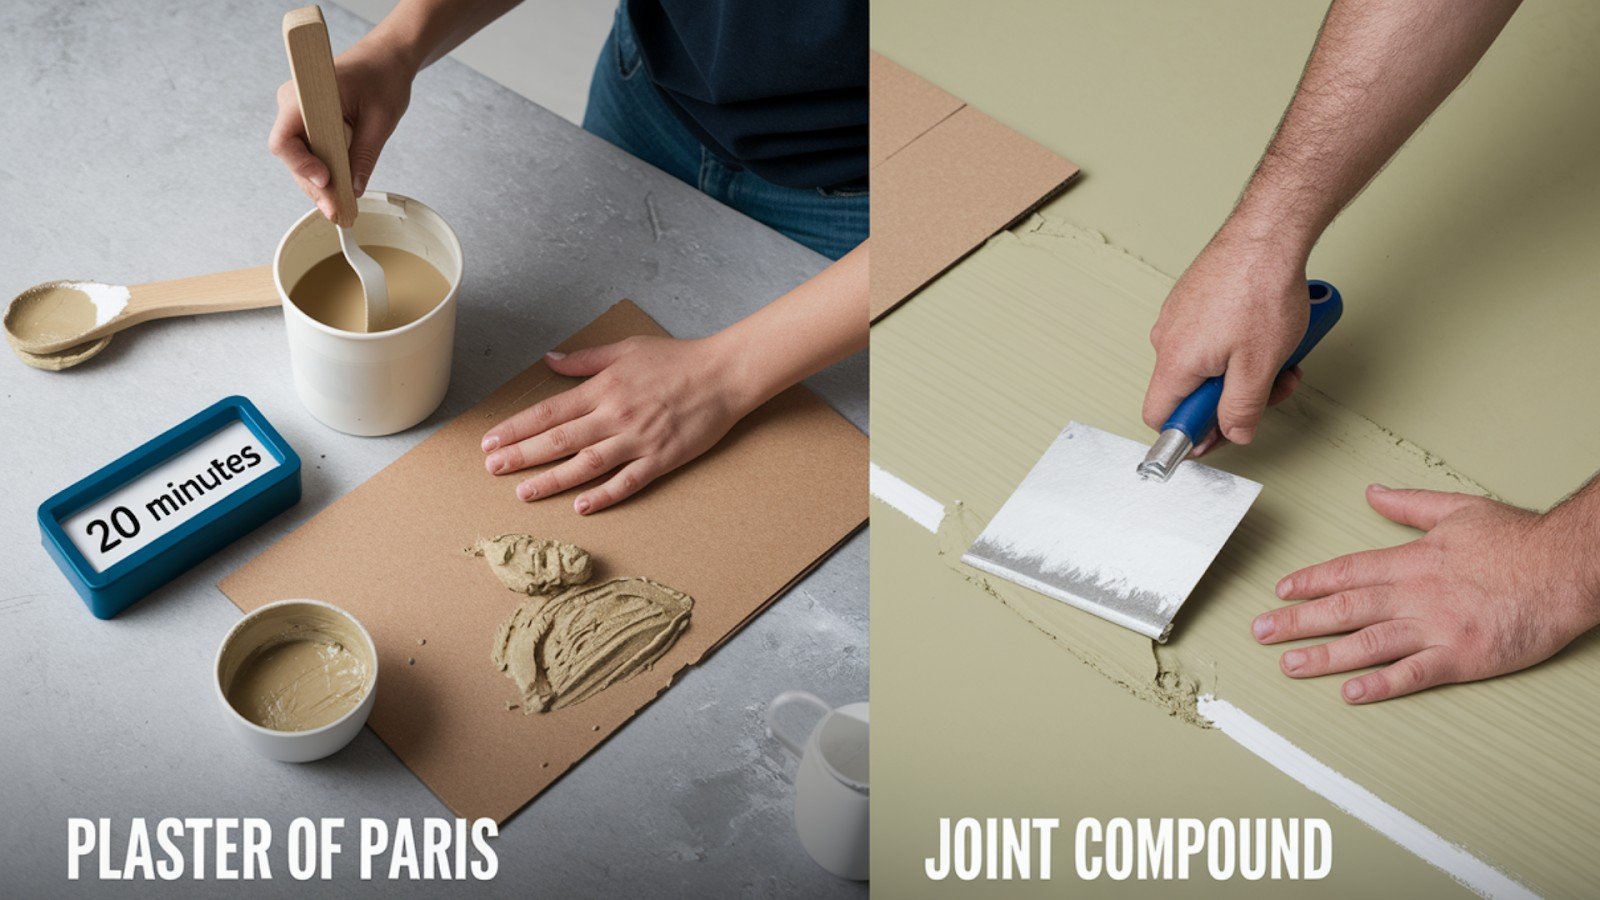
Mix small batches – only what you can use in 20 minutes. I’ve thrown away too much plaster because I got greedy with batch sizes.
Add vinegar to slow the setting time. Start with one tablespoon per cup of plaster. This buys you extra working minutes.
Apply in smooth, confident strokes. Hesitation shows in the final finish. Practice on cardboard first.
Consider plaster cloth for easier application. This pre-impregnated gauze removes much of the mixing guesswork.
Joint Compound Application Methods
Think thin layers, multiple coats. Each coat should be thinner than a credit card. Patience pays off here.
Sand between coats with fine-grit paper. This creates better adhesion for the next layer.
Allow complete drying before adding more material. Rushing this step guarantees problems later.
Use paper tape for crack prevention in thick applications. The reinforcement prevents future failures.
Common Problems and Solutions
Every material has its quirks and challenges. Learning to handle these issues separates successful projects from frustrating failures.
Plaster Challenges
Quick setting causes waste when you mix too much. Solution: Start with smaller batches until you know your working speed.
Achieving smooth finishes takes practice. The material won’t wait while you figure it out. Practice on scrap surfaces first.
Hard surface makes corrections nearly impossible. Plan your approach carefully. Have all tools ready before mixing.
Joint Compound Issues
Thick applications crack as they dry. Multiple thin coats prevent this problem completely.
Soft finish gets damaged easily. Handle finished surfaces gently until painted. Consider a primer for extra protection.
Extended drying times can slow project completion. Plan around weather and humidity. Fans and dehumidifiers help.
Conclusion
Choosing between plaster of Paris and joint compound doesn’t have to be complicated. Both materials have their place in wall finishing projects.
Use plaster of Paris when you need strength, water resistance, and quick results. It’s perfect for repairs that must last and areas exposed to moisture.
Choose joint compound for large surfaces, beginner projects, and situations where you need time to perfect your finish. Its sandable surface forgives mistakes.
The bottom line: Match the material to your specific needs. Consider your skill level, project timeline, and durability requirements.
Start small. Test both materials on practice areas before tackling your main project. This builds confidence and prevents costly mistakes.
Your wall finishing project will succeed when you choose the right material for the job. Now you know how to make that choice confidently.
Frequently Asked Questions
Can I mix plaster of Paris with joint compound?
Yes, mixing plaster powder into joint compound creates custom properties, combining quick-setting strength with improved workability for specific applications.
Which material is better for bathroom walls?
Plaster of Paris is superior for bathrooms due to its water resistance once cured, while joint compound remains moisture-sensitive.
How thick can I apply each material safely?
Plaster allows thick applications without cracking, while joint compound should be limited to 1/8 inch maximum per coat.
Which material is easier for beginners to use?
Joint compound is more beginner-friendly because it’s sandable, has a longer working time, and allows easy correction of mistakes.
Can both materials be painted over directly?
Both accept paint well, but joint compound may require primer for optimal paint adhesion and uniform appearance.