

Looking at your blank walls and feeling stuck? You’re not alone. Most people want to refresh their space but think wall painting requires professional skills or expensive tools.
Here’s the truth: transforming your room is simpler than you think.
This guide shares 9 beginner-friendly wall painting techniques that create stunning results. No art degree is needed. No complex tools are required. Just simple methods that work.
You’ll learn easy color techniques for instant drama, step-by-step instructions for each method, budget-friendly approaches that look expensive, and common mistakes to avoid.
I’ve tested these techniques in real homes with real budgets. Each method takes a weekend or less. Most cost under $50 to complete.
These aren’t trendy tricks that look dated next year. They’re timeless approaches that homeowners have used successfully for decades.
Ready to stop staring at boring walls? Let’s turn your space into something you love coming home to.
Simple Wall Painting Ideas
Here are 9 ideas that you’re sure to love. Let’s dive in:
1. Accent Wall Magic
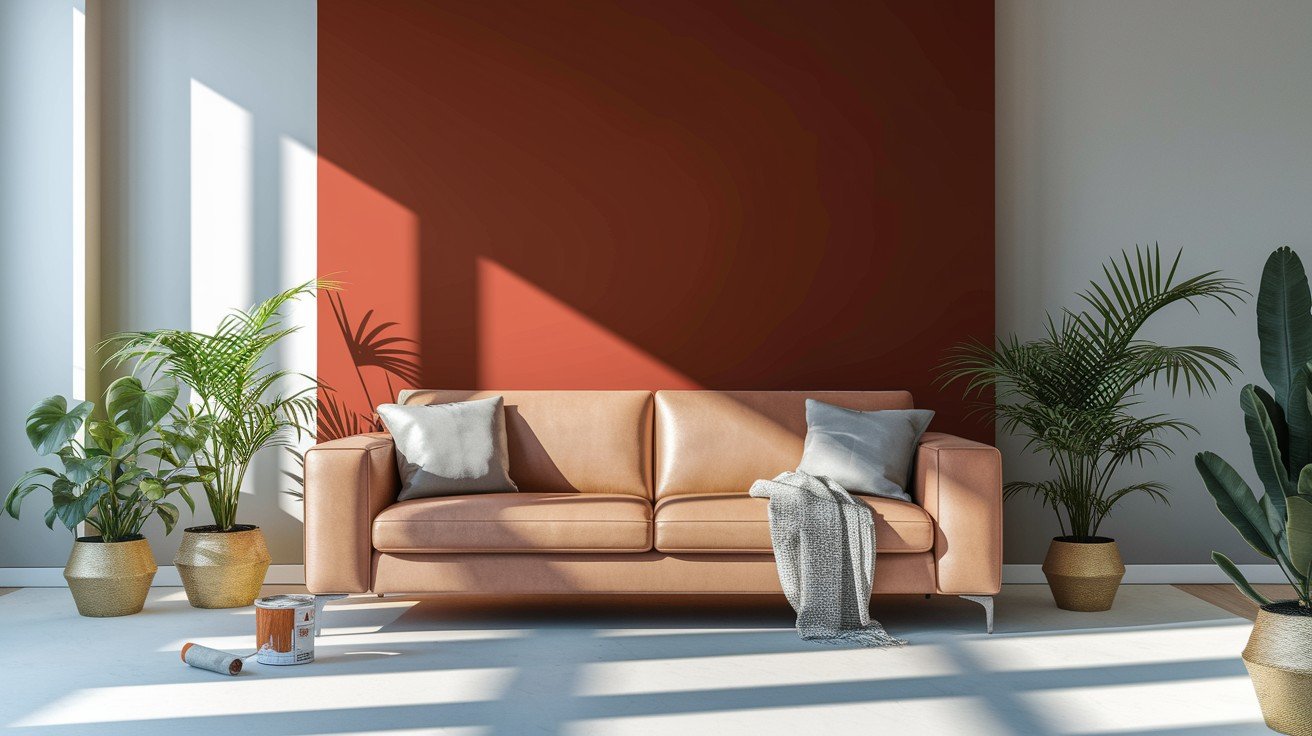
I love how one simple change can transform your entire room. Choose one wall and make it your star. Paint it in a bold color that stands out from your other three walls. This creates instant visual interest without overwhelming the space.
The best spots for accent walls are behind your bed, sofa, or dining table. Any wall you want people to notice first works perfectly. My favorite bold colors include dark blues that feel calm yet striking, forest greens that bring nature indoors, and warm terracotta that adds cozy drama.
The key is contrast. If your other walls are white or light gray, your accent wall should be much darker or brighter. Your eye naturally goes to the different wall first, creating a focal point like a magnet for attention.
You don’t need to paint the whole room. Just one wall does the job. I’ve seen tiny apartments look twice as big with the right accent wall. The bold color draws your eye to that wall, making the room feel deeper.
Start small if you’re nervous. Try it in a powder room first. Once you see the impact, you’ll want accent walls everywhere. The best part? If you change your mind later, you only need to repaint one wall instead of four.
2. Two-Tone Color Blocking
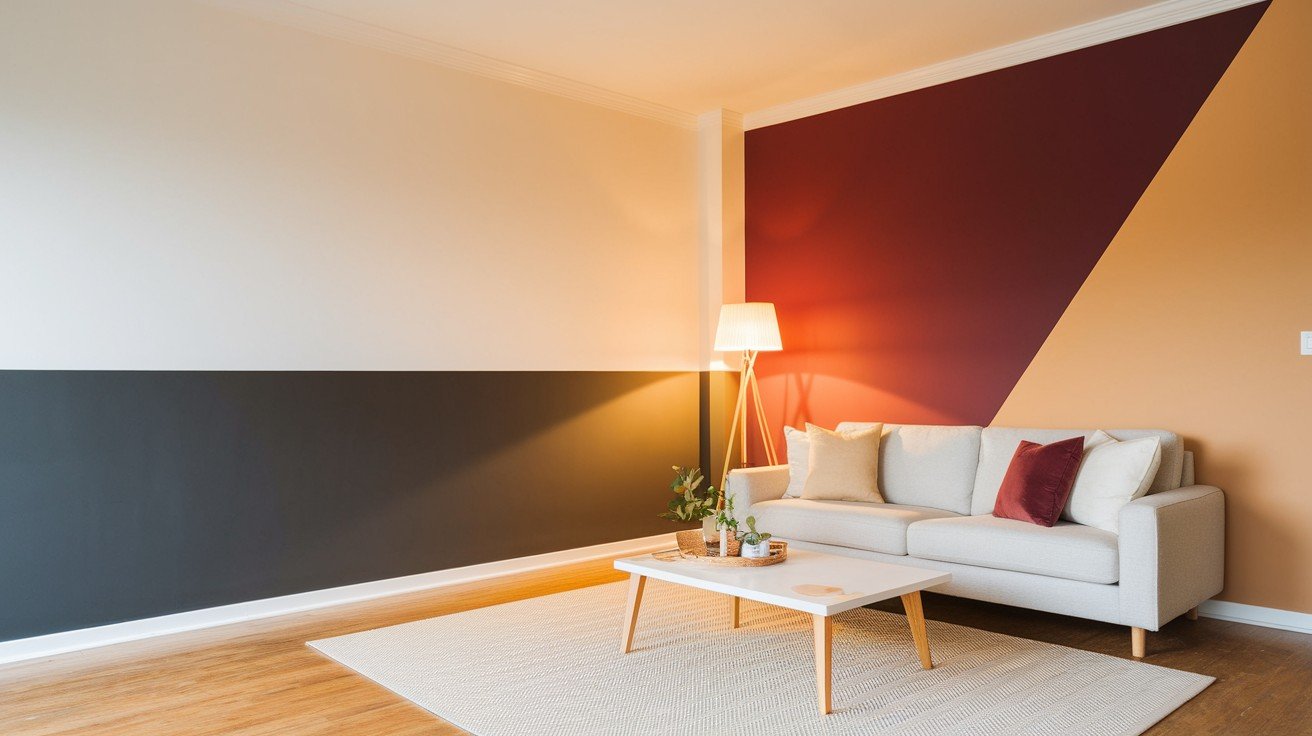
Split your walls into two colors for instant visual impact. You can divide them horizontally or vertically – both create striking results.
For horizontal splits, paint the bottom half darker and the top half lighter. This creates a classic, grounded look that makes rooms feel wider. Try charcoal gray with soft white or deep burgundy with warm beige.
Vertical splits give you a modern geometric feel. Paint sections side by side for a contemporary style. This technique makes ceilings appear higher and adds architectural interest to plain walls.
Make your horizontal split about 3-4 feet from the floor. This creates the best proportions. For vertical splits, go down the middle or try a 70-30 split for asymmetry.
Use painter’s tape for clean lines and remove it while the paint is still wet. You get twice the visual impact for the same paint cost as one solid color.
3. Textured Paint Techniques
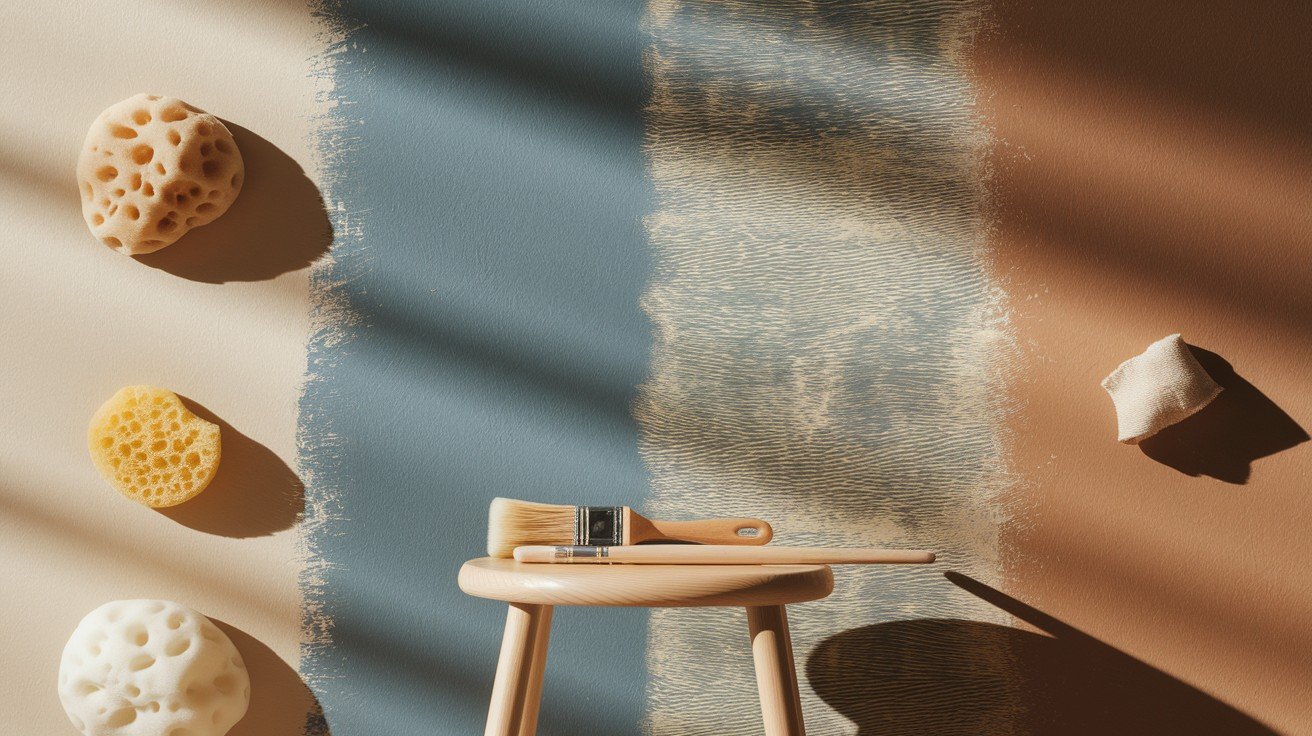
Flat walls are boring. Add some texture.
You don’t need special skills or expensive tools. Just basic supplies, you probably already have at home.
Sponge painting creates soft, cloudy patterns. Dab a natural sponge in paint and press lightly on the wall. This method gives you gentle, organic shapes that feel calm and relaxing.
The dry brush technique makes subtle streaks. Use an almost-dry brush and drag it across the wall in long strokes. This creates sophisticated lines that catch the light beautifully.
Rag rolling produces a leather-like texture. Roll a bunched-up rag through the wet paint on your wall. This works especially well in living rooms and bedrooms where you want warmth and character.
These methods hide small cracks and dents in your walls. You don’t need perfect surfaces to start. The texture catches the light differently throughout the day, making your room feel more dynamic.
Start with base coat paint, glaze, or a second color, and your chosen tool – sponge, brush, or cotton rags. Practice on cardboard first to get the feel.
Work in small sections while the paint is still slightly wet. Each technique creates a completely different mood, so pick the one that matches your room’s personality.
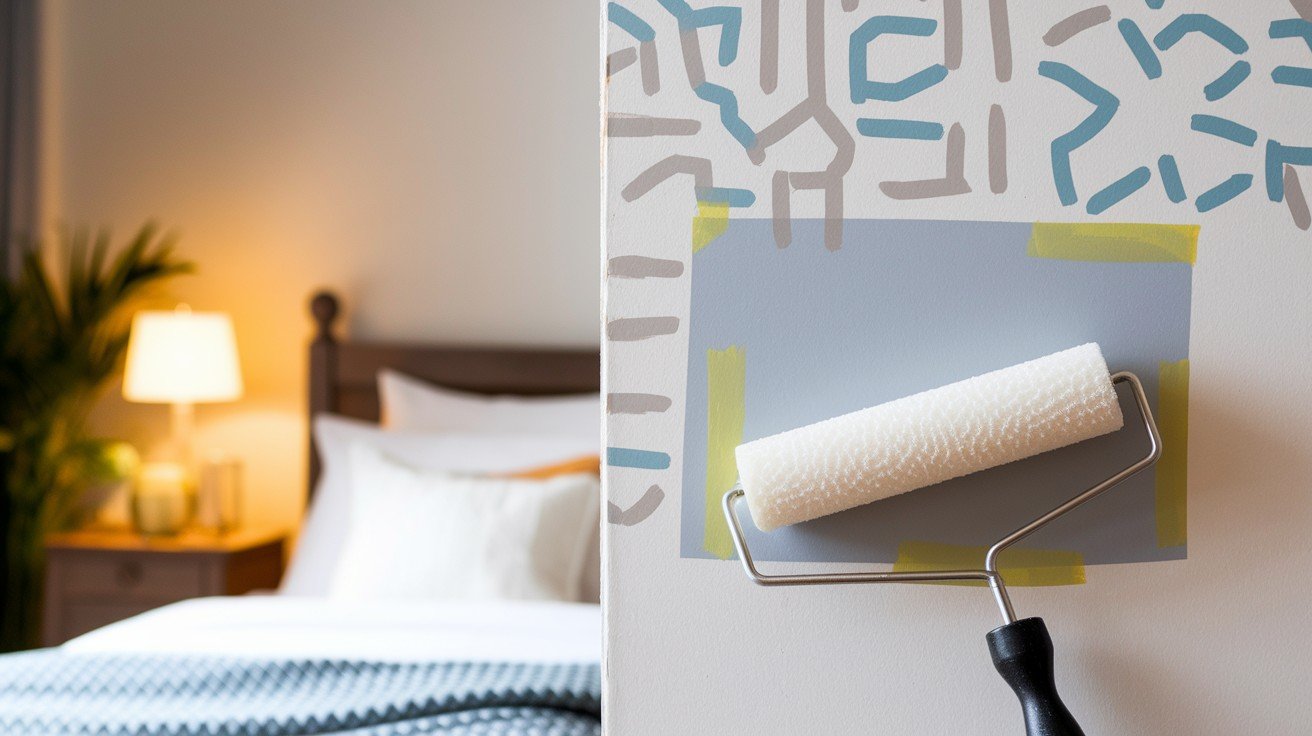
4. Geometric Patterns
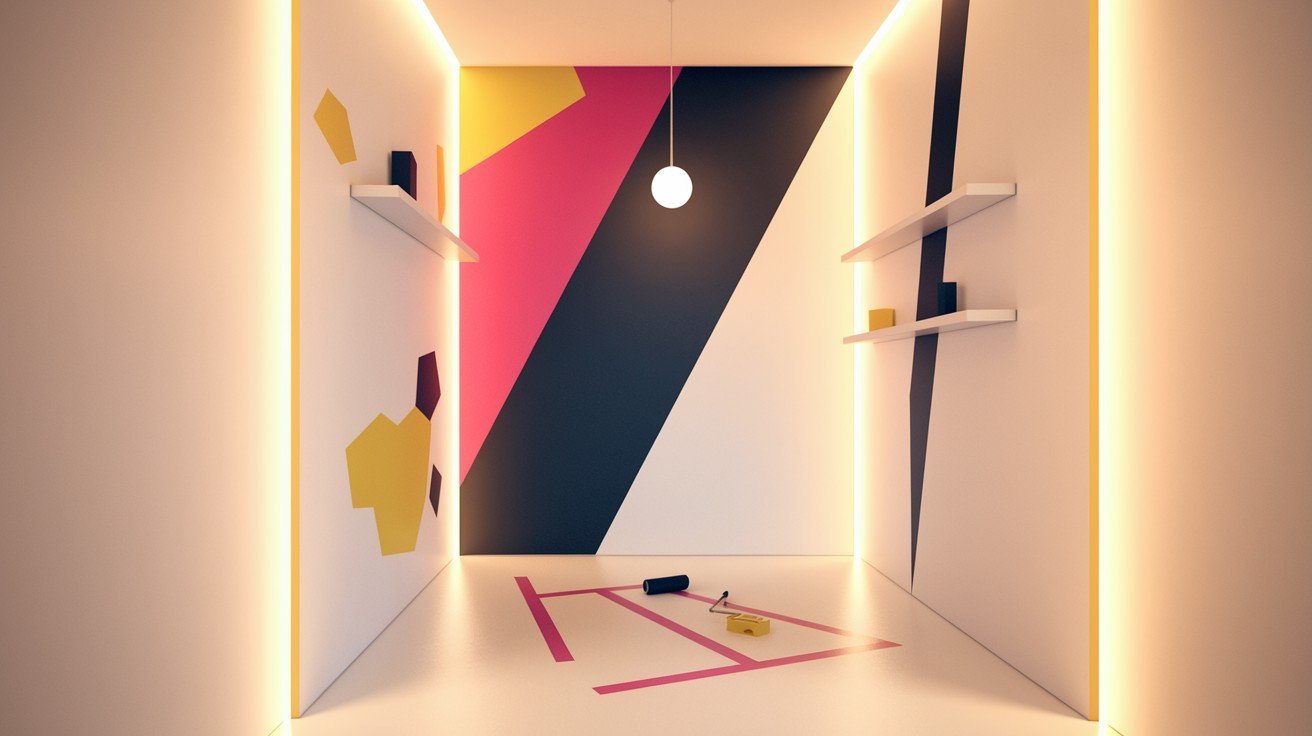
I think geometric patterns are the easiest way to make your walls look expensive. You don’t need artistic skills. Just painter’s tape and patience.
Start with clean lines and simple shapes. The triangles look modern and fresh. Hexagons create a surprisingly calming honeycomb effect. Simple stripes never go out of style.
Here’s my foolproof process: Paint your base coat first and let it dry completely. Apply your painter’s tape to your chosen pattern, pressing the edges down firmly to prevent bleeding. Paint over your taped pattern with your accent color using a small roller or brush for even coverage.
Remove the tape while the paint is still slightly wet. This gives you those crisp, clean edges that make the pattern pop. Wait too long, and the paint might peel off with the tape. I learned this the hard way when my first attempt looked messy with rough, uneven edges.
Start small with your first geometric project. Try a single triangle behind a shelf or a few stripes in a hallway. Once you see how professional it looks, you’ll want to add patterns everywhere. The best part? If you mess up, just paint over it and try again. No pattern is permanent.
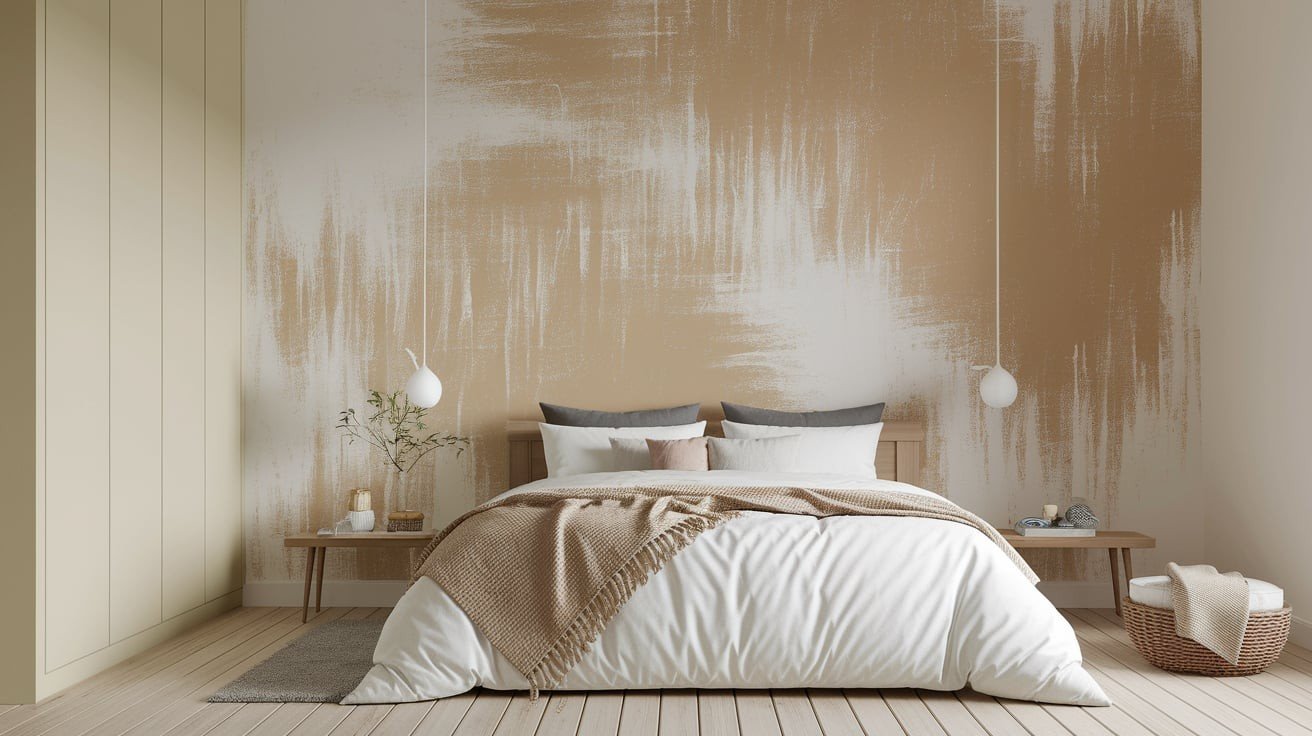
5. Ombre Gradient Effects
I won’t lie – this technique takes practice. But when you get it right, your wall looks like a beautiful sunset. The effect is sophisticated and calming.
Start with your lightest shade at the top of the wall and work downward, gradually mixing in darker tones. The key is blending while the paint stays wet. You can’t take breaks with this technique.
You’ll need three shades of the same color – light, medium, and dark, plus a large brush or sponge for blending. Paint a horizontal stripe of your lightest color across the top third, your medium shade in the middle, and your darkest color at the bottom.
While all the paint is still wet, blend the edges where colors meet using long, sweeping motions. Work quickly but gently. I messed up my first attempt because the paint dried too fast and left harsh lines instead of smooth transitions. The second time, I had my partner help – one person painted while the other blended.
Practice on a small wall first. A bathroom or closet is perfect for learning. Once you master the technique, you can tackle larger spaces. Don’t expect perfection on your first try. Even imperfect gradients look artistic and intentional.
6. Stenciled Designs
I love stencils because they give you professional-looking patterns without the guesswork. You can buy pre-made stencils or make your own. Either way, the results look intentional and polished.
Popular options include Moroccan tiles, botanical prints, and simple geometric shapes. These patterns add personality without making your room feel busy. The trick is choosing designs that match your style.
Here’s my stenciling process: Tape your stencil firmly to the wall. Use a foam roller or stencil brush to apply paint – less is more, as too much paint will bleed under the edges. Remove the stencil carefully while the paint is still tacky.
Work with contrasting colors, but keep your palette cohesive. If your walls are cream, try a soft gray or muted blue for your stencil. The pattern should stand out without clashing with your existing furniture and decor.
I made the mistake of using too much paint on my first project. The edges were messy and sloppy. Now I load my brush lightly and build up the color gradually. Clean, crisp edges make all the difference.
Start with a small area like behind a headboard or in a powder room. This lets you practice before tackling larger walls. The best part? You can stop and start whenever you want, unlike other painting techniques that require finishing in one session.
7. Chalkboard and Whiteboard Paint
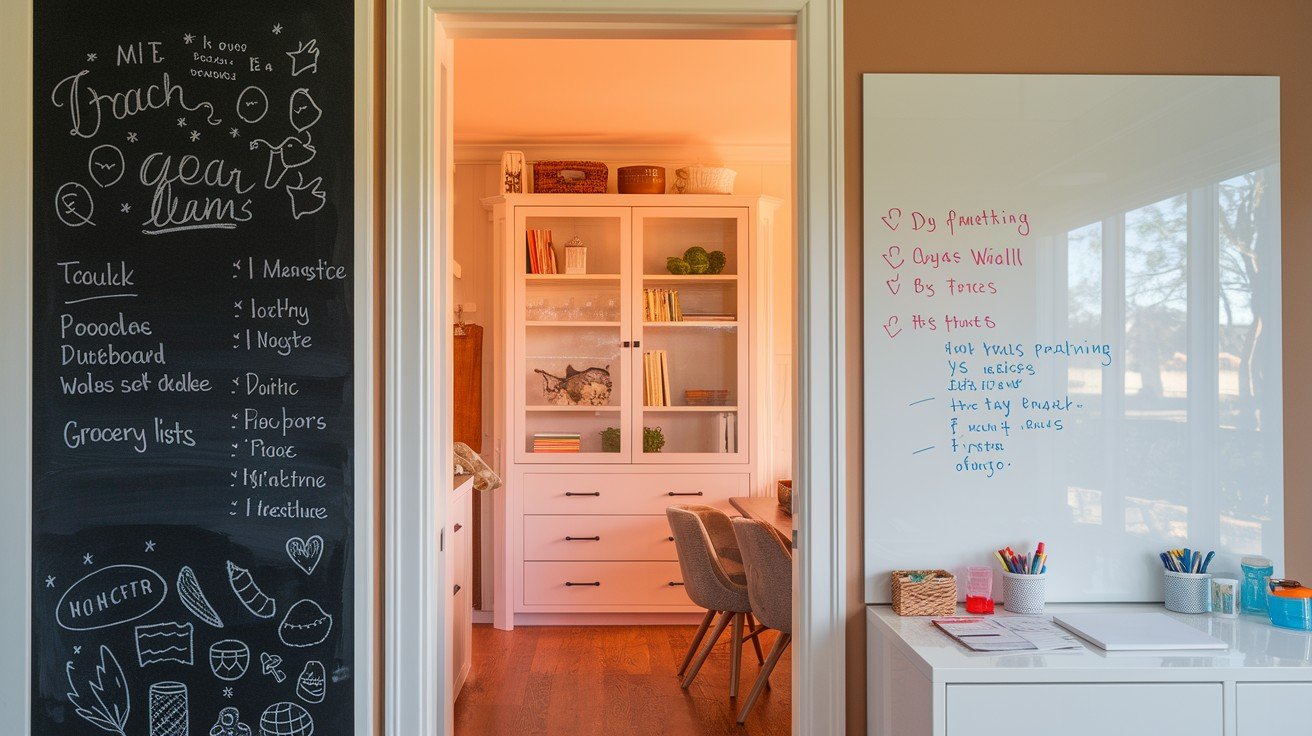
I think functional walls are brilliant. Why have a boring wall when it can do something useful? Specialty paints turn any surface into a working space.
Chalkboard paint works perfectly in kitchens for grocery lists, home offices for brainstorming, and kids’ rooms as instant art studios. The dark finish also adds visual weight to a space. Whiteboard paint offers a modern alternative with a cleaner look, easier erasing, and no chalk dust.
These paints need multiple thin coats rather than one thick coat. Sand lightly between coats for the smoothest finish and let each coat dry completely before adding the next.
The best locations include kitchen pantry doors for shopping lists, home office walls for project planning, kids’ playroom walls for creativity, and laundry room doors for schedules. I painted my kitchen cabinet doors with chalkboard paint and now write the contents right on each door. No more digging through shelves looking for spices.
Start small with your first project. Try a closet door or a small wall section. Once you see how useful it is, you’ll find more spots that need functional paint. These surfaces get used daily, making them some of the most practical wall treatments you can add.
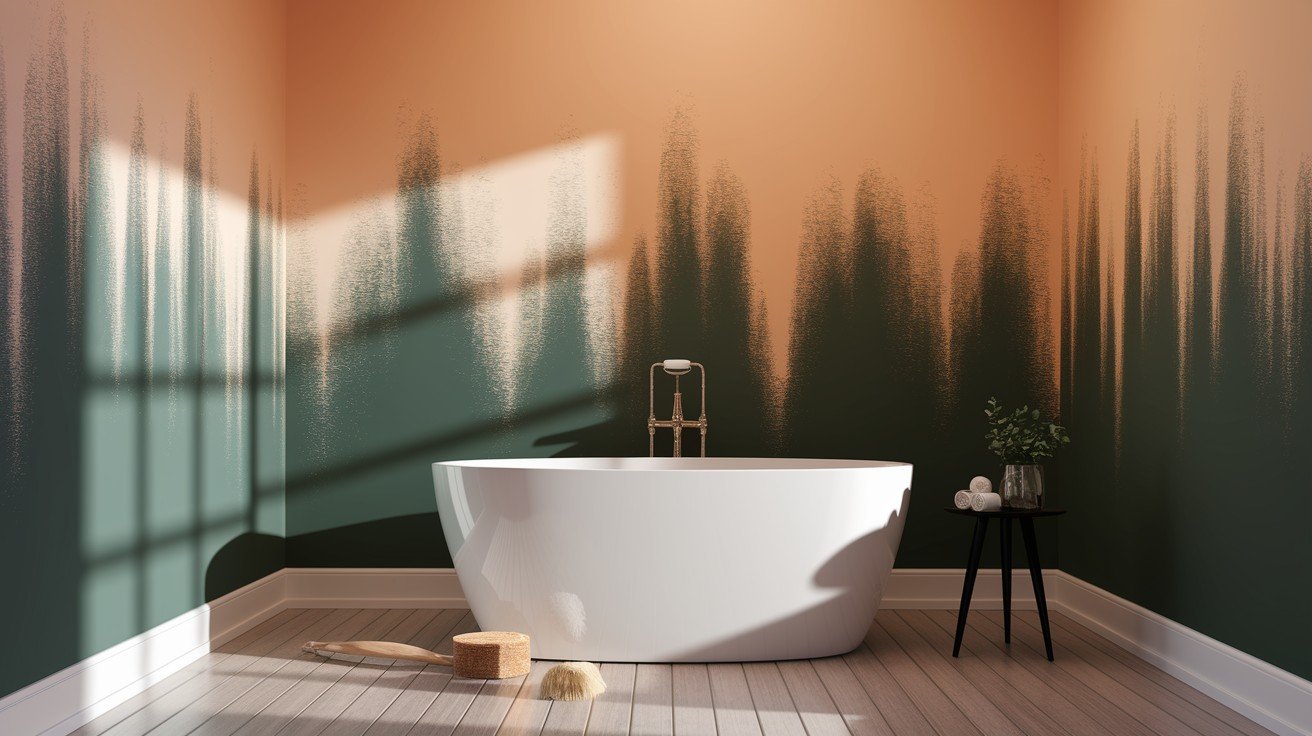
8. Color Washing Technique
I discovered color washing by accident when trying to fix a paint job gone wrong. The result looked so much better than flat paint that I’ve been using this technique ever since.
Color washing creates depth and movement on your walls like adding texture without actual texture. The organic, weathered look adds warmth and character that plain paint can’t match.
Here’s the simple process: Apply your base coat and let it dry completely. Mix your translucent glaze with a complementary color – think cream base with soft gray glaze, or pale blue with deeper blue. Use a damp sponge or cloth to apply the glaze in random patterns, working in small sections so it doesn’t dry too fast.
The beauty is in the imperfection. Some areas will be lighter, others darker, creating visual interest that makes your walls feel alive instead of flat. Great color combinations include a cream base with taupe glaze, soft gray with white glaze, pale peach with coral glaze, and light blue with navy glaze.
Practice on a poster board first to test your color mix and get comfortable with the motion. The technique works especially well in bathrooms and bedrooms, where the soft, cozy feeling shines. Your walls will look like they have years of character built up naturally.
9. Striped Statements
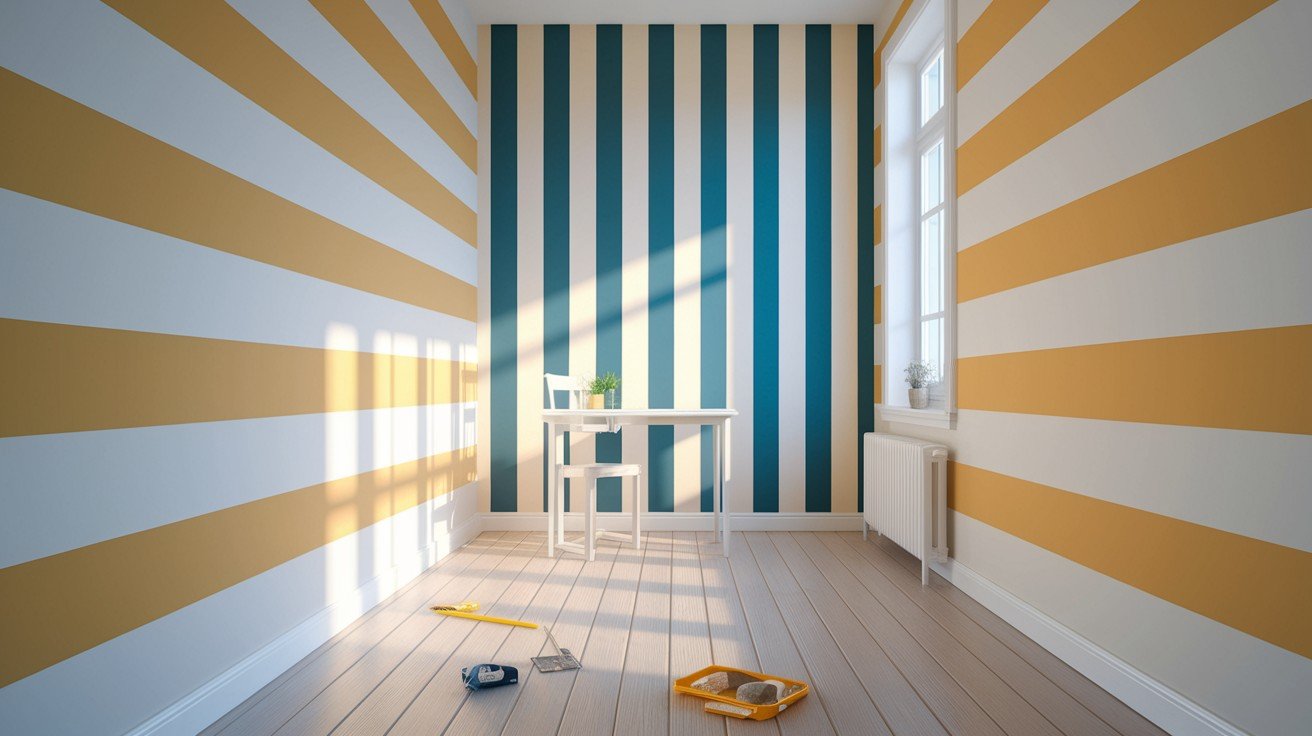
I use stripes to trick the eye and solve room problems. Horizontal stripes make narrow rooms feel wider. Vertical stripes make low ceilings look higher. It’s like magic for small spaces.
Painter’s tape is your best friend for straight lines. Measure carefully and mark your stripe widths with a pencil first. Press the tape edges down firmly to prevent paint from bleeding underneath.
Experiment with different stripe widths for different effects. Thin stripes feel classic and timeless. Wide stripes look modern and bold. Mix widths for a playful, custom look that breaks the rules.
Color choices change the whole mood. Alternating between two shades of the same color family creates subtle sophistication, like cream and soft beige. Contrasting colors make bold statements that demand attention.
My stripe strategy: narrow hallways get horizontal stripes to widen, low ceilings get vertical stripes to heighten, large rooms get wide stripes for coziness, and small rooms get thin stripes to avoid overwhelming. Paint the lighter color first, then tape and add the darker shade. Remove the tape while the final coat is still slightly wet for crisp edges.
Start with subtle stripes if you’re nervous. Two similar shades feel safe but still interesting. Once you see how stripes transform a space, you’ll want to try bolder combinations.
Conclusion
You now have 9 proven techniques to transform any room without breaking the bank or your back. Each method works for beginners and creates professional-looking results.
Start small. Pick one accent wall and try a single technique. See how it feels. Build your confidence before tackling bigger projects.
Remember, perfect isn’t the goal. Character comes from those slight imperfections that show a human touch. Your home should reflect you, not a magazine spread.
The best part? These techniques never go out of style. Color drenching, two-tone walls, and simple patterns have worked for decades. They’ll work in your home too.
Stop waiting for the perfect moment or budget. Grab some paint, pick a wall, and start creating the space you’ve always wanted. Your future self will thank you.
Frequently Asked Questions
What’s the easiest wall painting technique for complete beginners?
Color drenching using one color family in different sheens creates maximum impact with minimal skill required.
How do I choose colors that won’t look overwhelming in small rooms?
Use deeper tones as neutrals and test colors in different lighting before committing to full walls.
Can I create patterns without artistic skills or expensive stencils?
Yes, simple geometric patterns using painter’s tape require no artistic ability and create professional-looking results.
What’s the best order for painting when doing multiple wall techniques?
Always paint ceilings first, then walls, and finish with trim and architectural details for the cleanest results.
How long should I wait before removing the painter’s tape for crisp lines?
Remove tape while the paint is slightly wet to prevent peeling and achieve the sharpest, cleanest edges.