

Looking to transform your walls without breaking the bank or committing to permanent changes?
You’re in the right place! Creating beautiful wall paint design ideas with tape is one of the most rewarding DIY projects you can tackle this weekend.
With just some painter’s tape, a few paint colors, and a bit of creativity, you can completely refresh any room in your home.
From bold geometric patterns to subtle accent walls, tape opens up a world of design possibilities that rival expensive wallpaper or professional murals.
The best part? These techniques work perfectly for renters who want stylish walls without losing their security deposit, and they’re forgiving enough for complete beginners.
Ready to see how simple supplies can create magazine-worthy results?
Let’s get started with some game-changing techniques that will have your friends asking for your decorator’s number!
Tools and Materials You’ll Need
|
Essential Supplies |
Optional Extras for Advanced Designs |
|
Painter’s tape (various widths) |
Stencils |
|
Paints (acrylic, latex, or chalk-based) |
Sponges |
|
Rollers and brushes |
Metallic paints |
|
Drop cloth |
Measuring tape |
|
Ruler |
Masking film |
|
Level |
Sponge rollers |
|
Pencil |
The essential supplies will get you started on the most basic tape designs, while the optional extras help create more complex patterns and achieve a professional-looking finish. Start with the basics and add advanced tools as your skills and project complexity grow.
Popular Wall Paint Design Ideas Using Tape
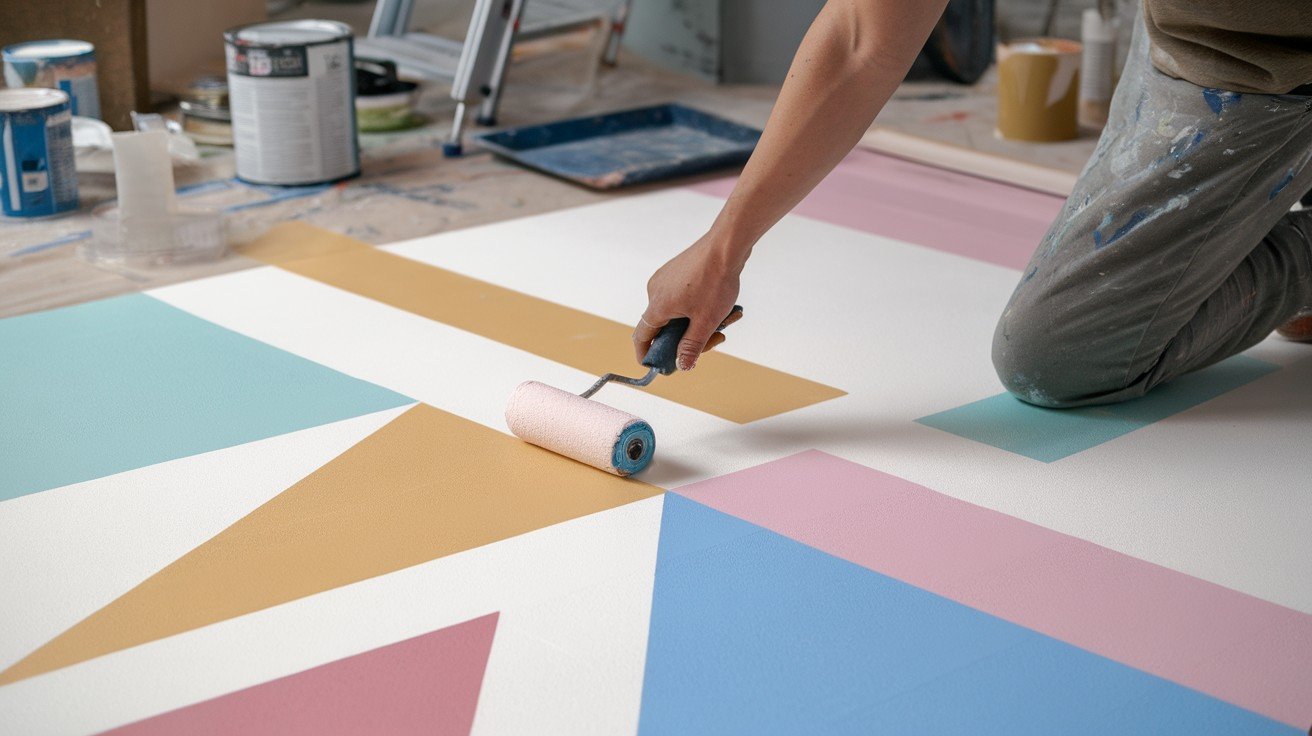
1. Geometric Patterns
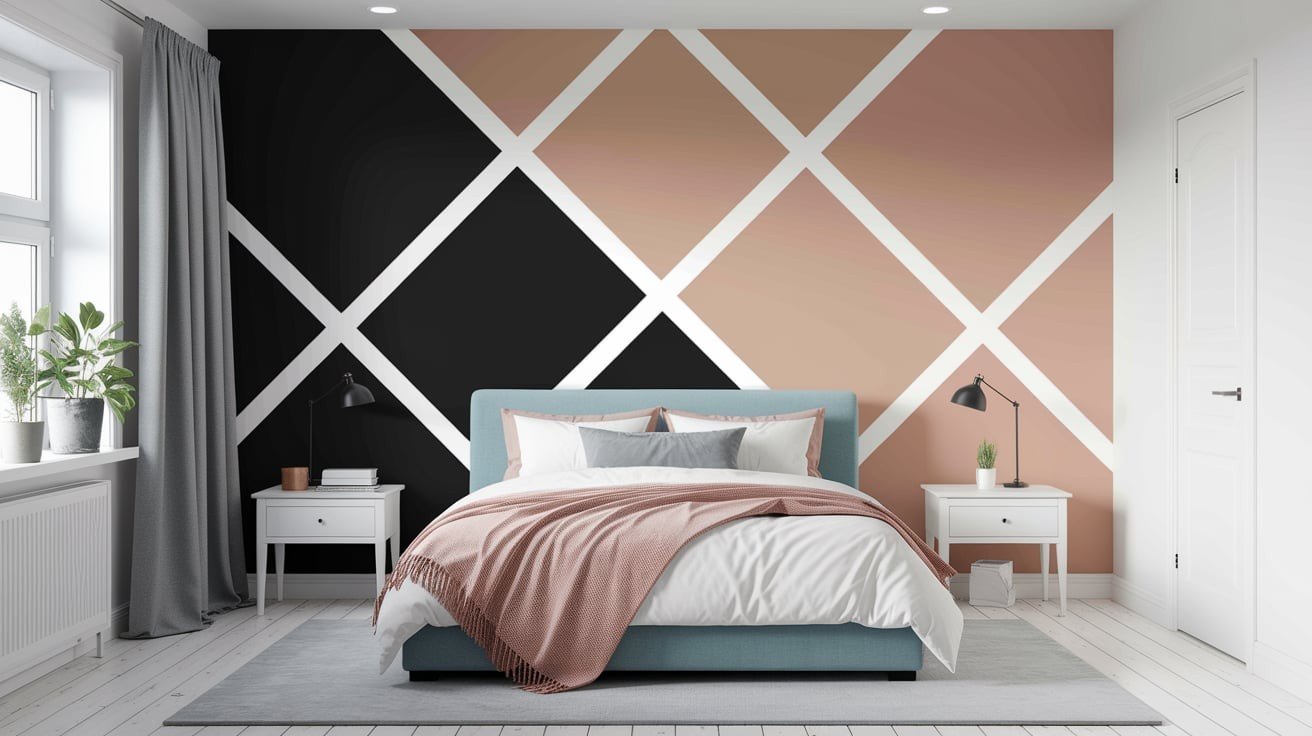
Create eye-catching triangles, diamonds, or chevrons that instantly modernize any space. Use contrasting colors for bold drama or gradient tones for a subtle, sophisticated look.
Start with larger shapes for easier application, then progress to smaller, more intricate patterns. These designs work particularly well as statement walls behind beds or sofas.
2. Stripes and Color Blocking
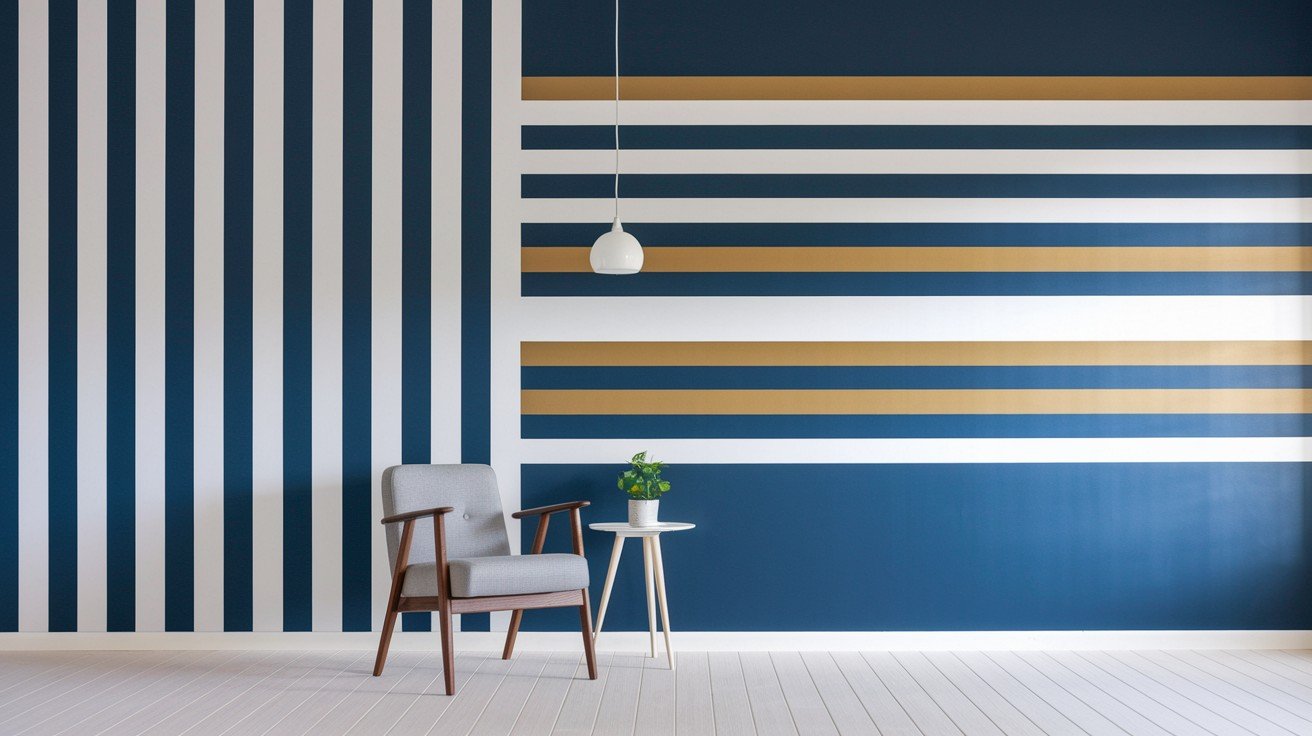
Vertical stripes make ceilings appear higher, while horizontal stripes widen narrow rooms visually. Diagonal stripes add dynamic energy, and large color blocks create contemporary focal points.
Vary stripe widths for visual interest, or use the same color in different sheens for subtle texture. Consider alternating matte and satin finishes for depth.
3. Herringbone and Chevron Effects
These patterns bring sophisticated texture to walls with their interlocking angles and repetitive rhythm. Plan your angles carefully using a protractor to ensure consistent spacing throughout the pattern.
Start from the center point and work outward for balanced symmetry. These classic patterns add timeless appeal to dining rooms and entryways.
4. Accent Walls with Abstract Lines
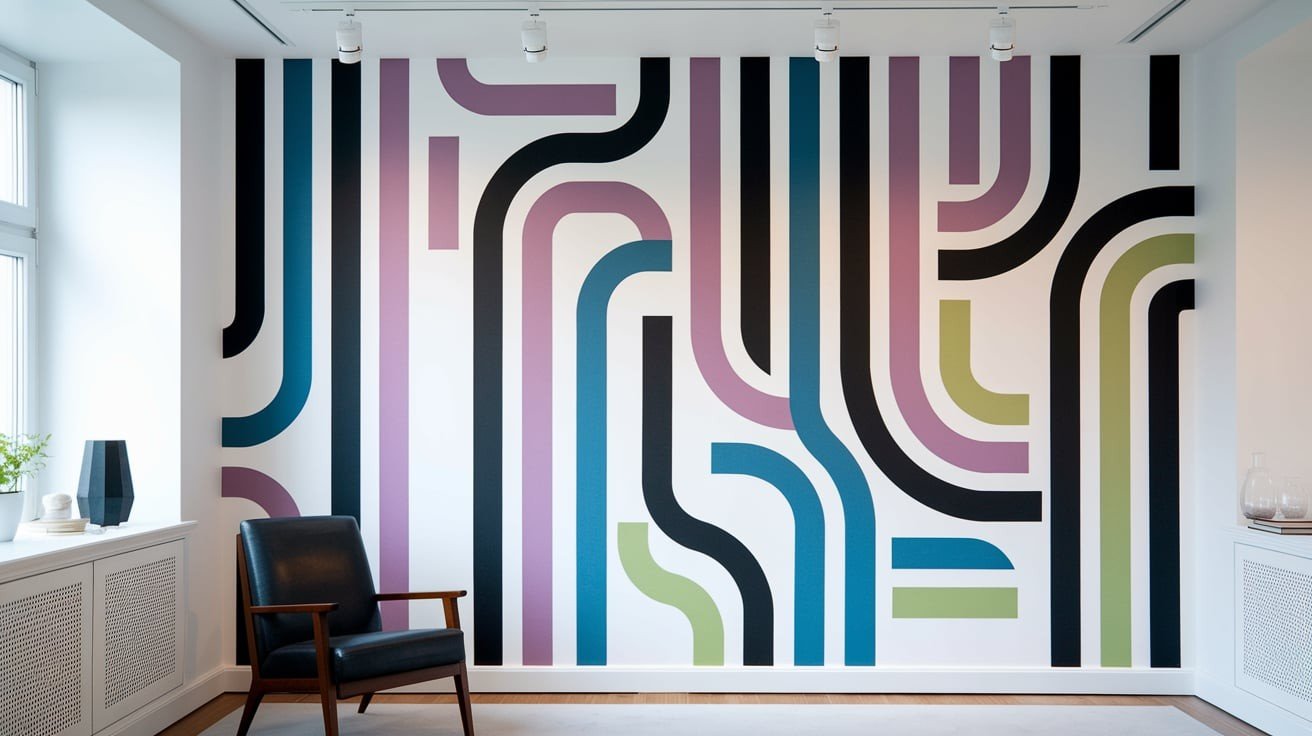
Freeform intersecting lines create artistic, gallery-like effects that serve as conversation starters. These organic designs work beautifully with minimalist furniture, allowing the wall art to become the room’s main focal point.
Vary line thickness and create random intersections for authentic artistic appeal that feels custom and unique.
5. Mountain Range Silhouettes

Create peaceful mountain landscapes using tape to outline peaks and valleys. Layer different shades of the same color family from light to dark for depth.
This nature-inspired design works wonderfully in bedrooms and nurseries, creating a calming atmosphere. Paint sunset colors behind the mountains for added drama and warmth.
6. Hexagon Honeycomb Patterns
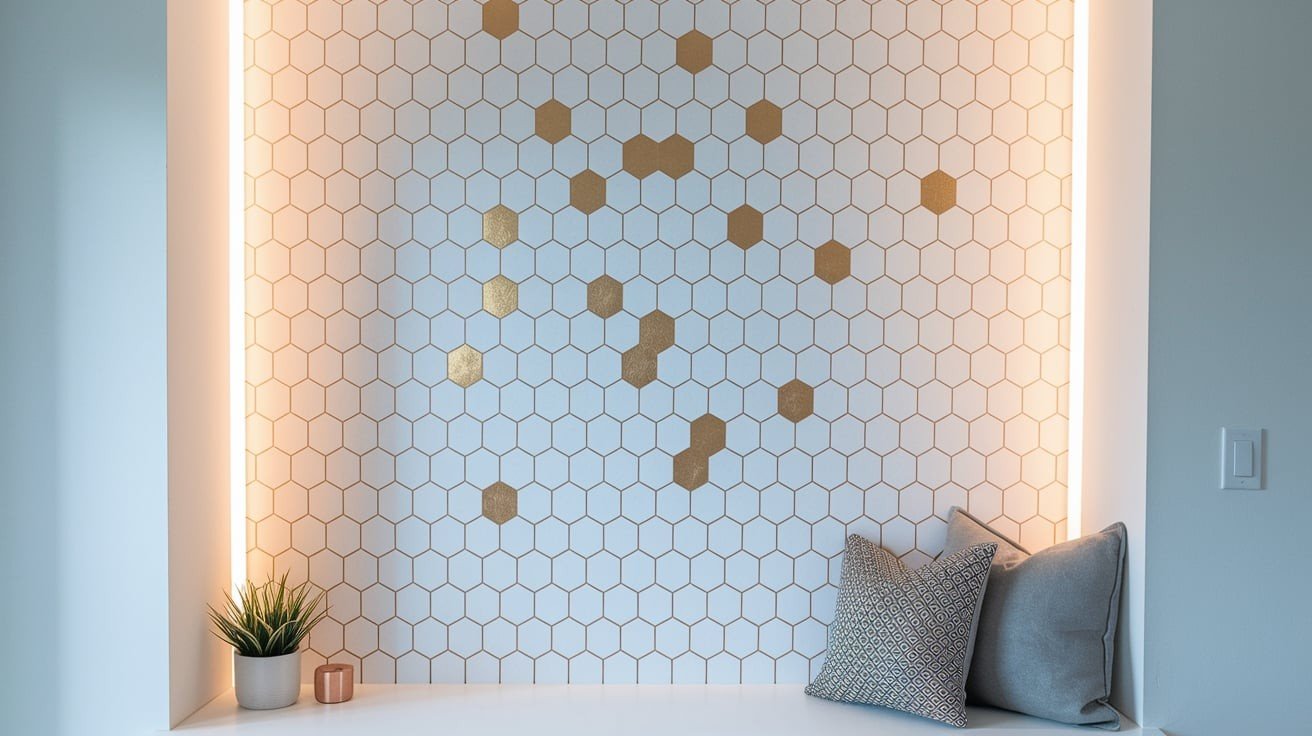
Modern hexagonal shapes create contemporary geometric interest without being too busy. Use metallic accents within some hexagons for luxurious touches.
This pattern works well as a partial wall treatment behind desks or reading nooks. Vary the hexagon sizes or create gradient effects for added visual complexity and modern appeal.
7. Art Deco-Inspired Designs
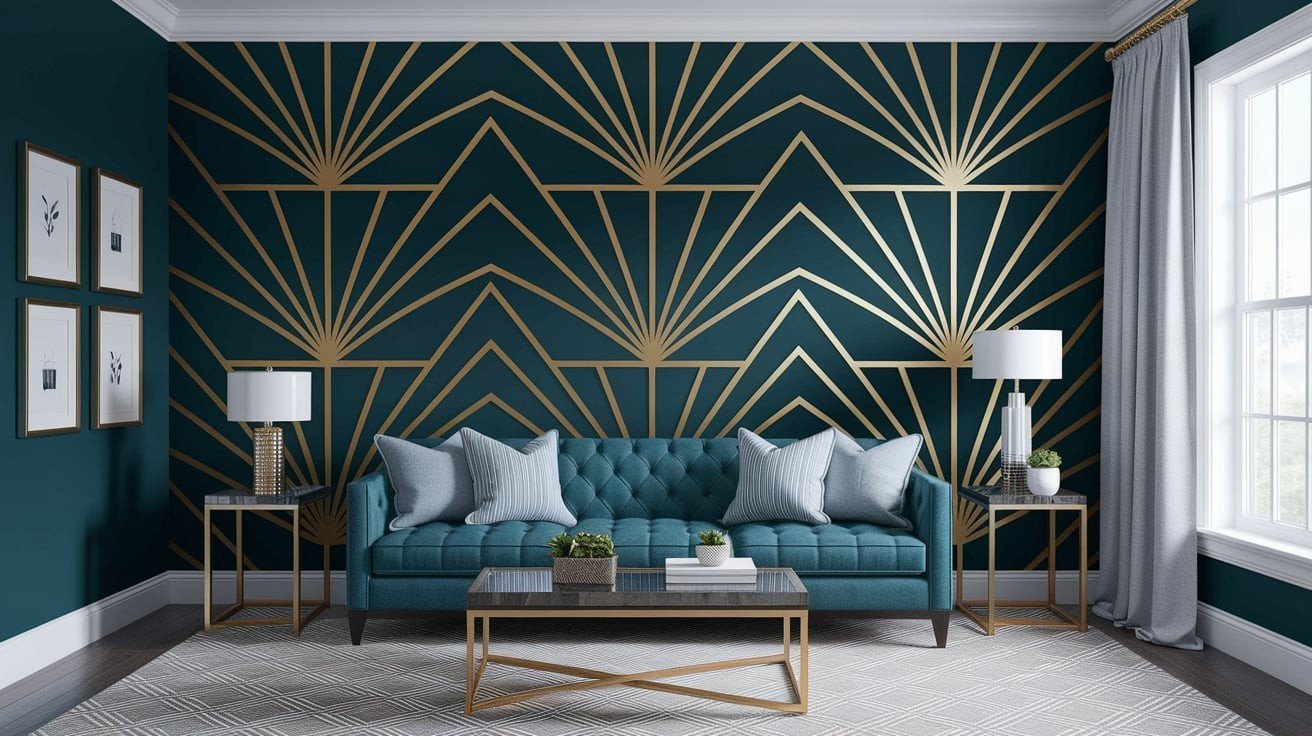
Channel the glamour of the 1920s with bold geometric shapes and metallic accents. Create fan patterns, sunburst designs, or stepped pyramids using gold or silver paint.
These dramatic patterns work best as accent walls in formal spaces.
Combine with rich jewel tones for authentic vintage luxury that feels both classic and contemporary.
Step-by-Step Guide to Tape Paint Design
Step 1: Choose Your Design and Colors
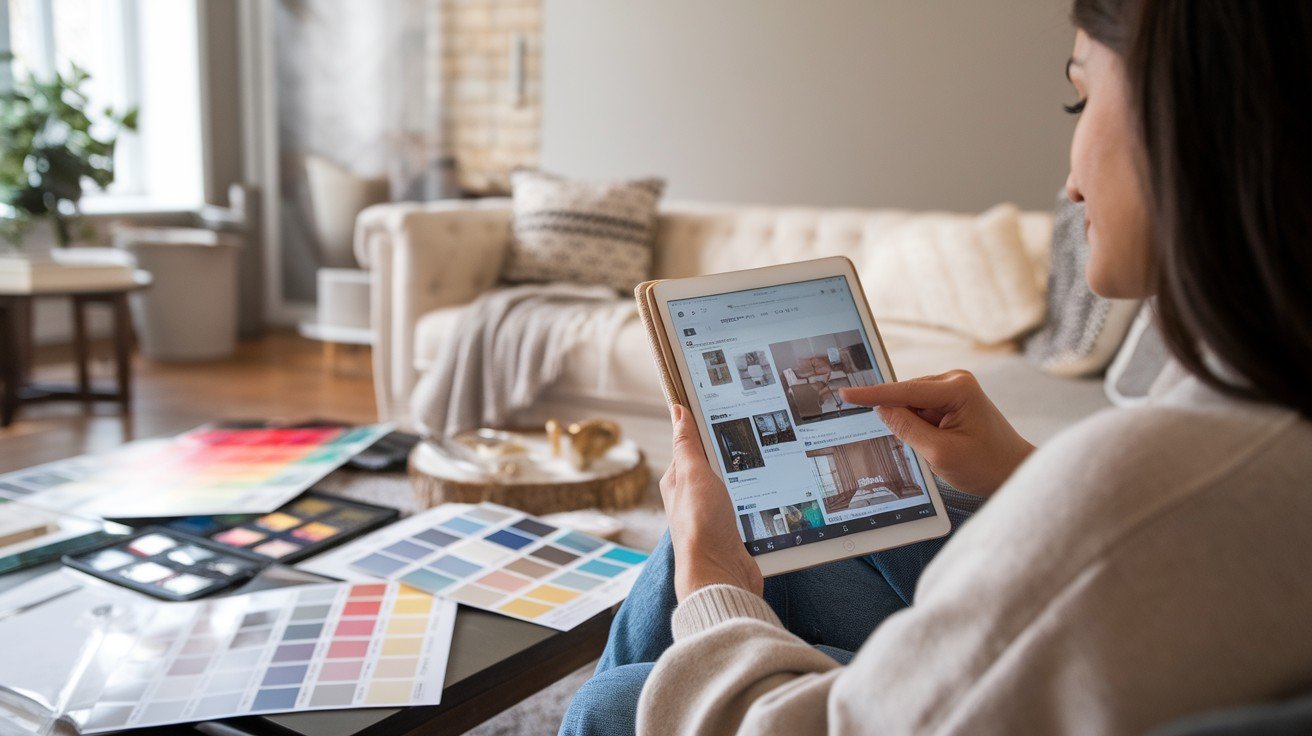
Browse Pinterest and interior design sites for inspiration that matches your room’s style.
Consider complementary color schemes or bold contrasts that will make your design pop without overwhelming the space.
Step 2: Prep the Wall and Mark the Design
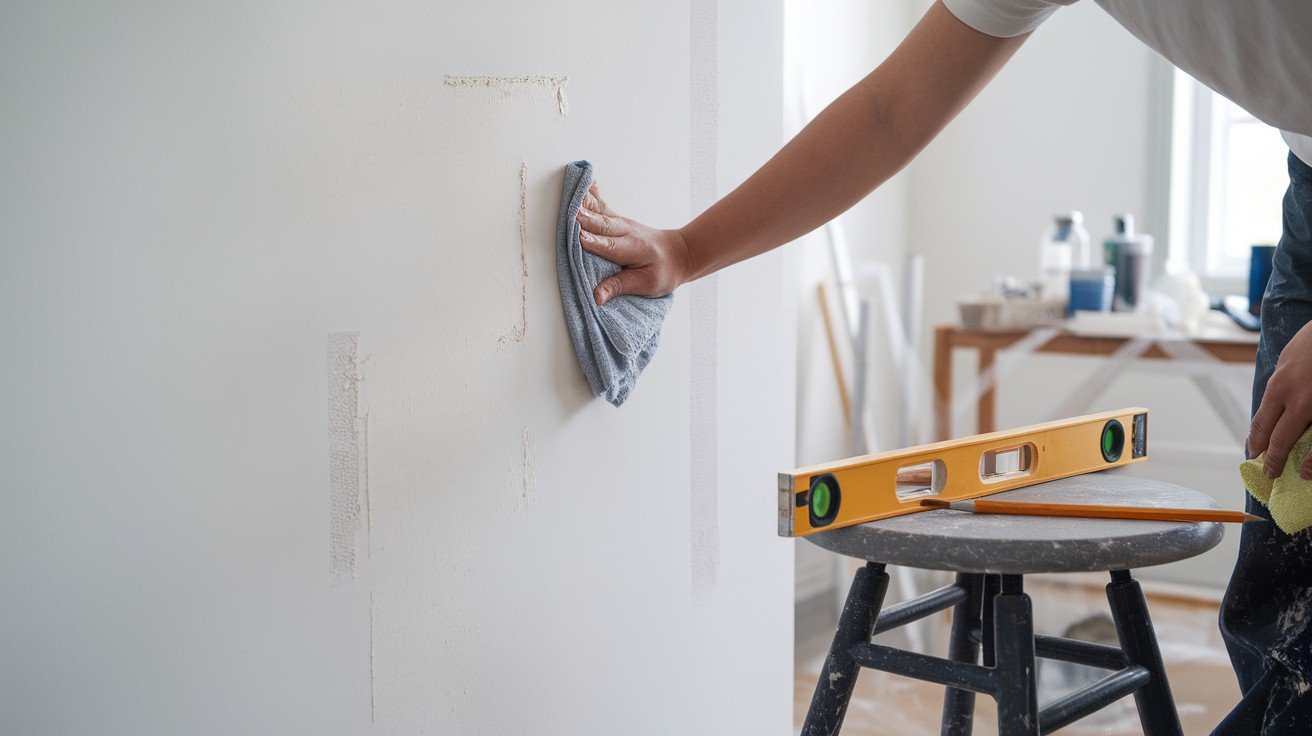
Clean the wall thoroughly and fill any holes or imperfections for a smooth surface.
Use a level and pencil to mark your design lines accurately before applying any tape.
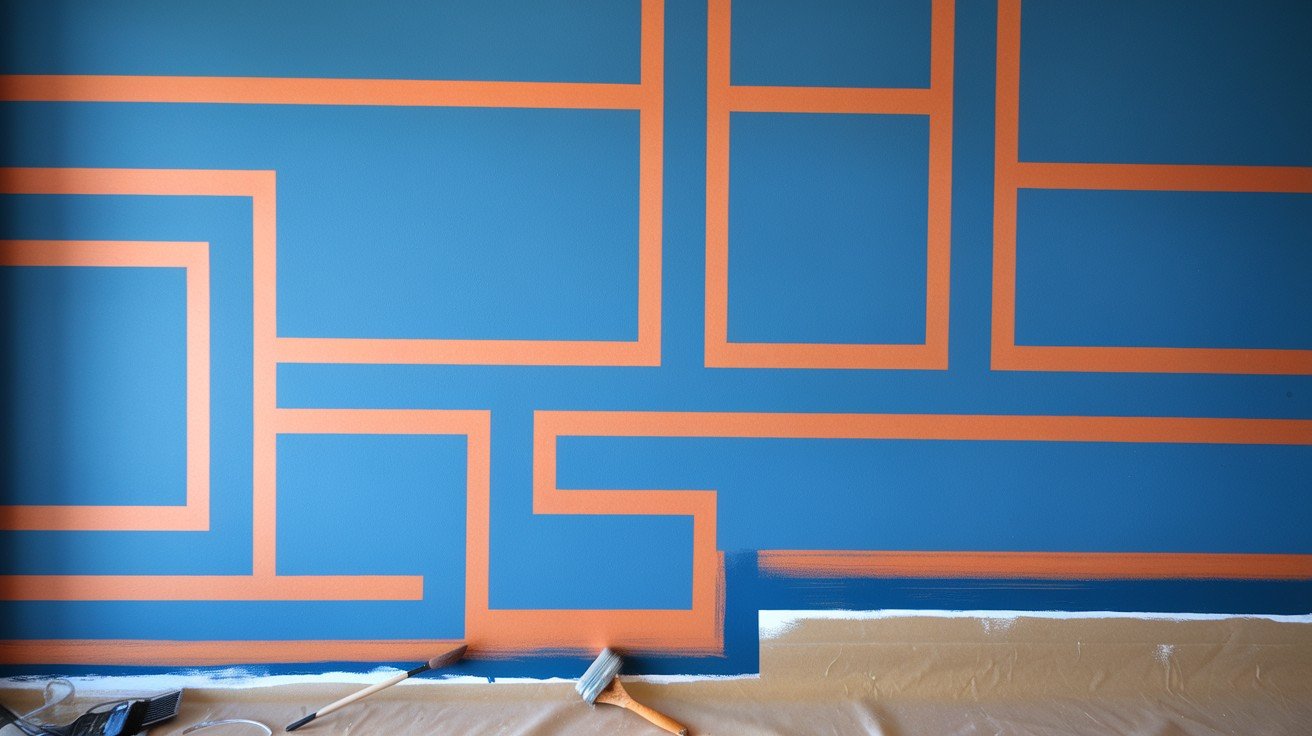
Step 3: Apply Tape Strategically
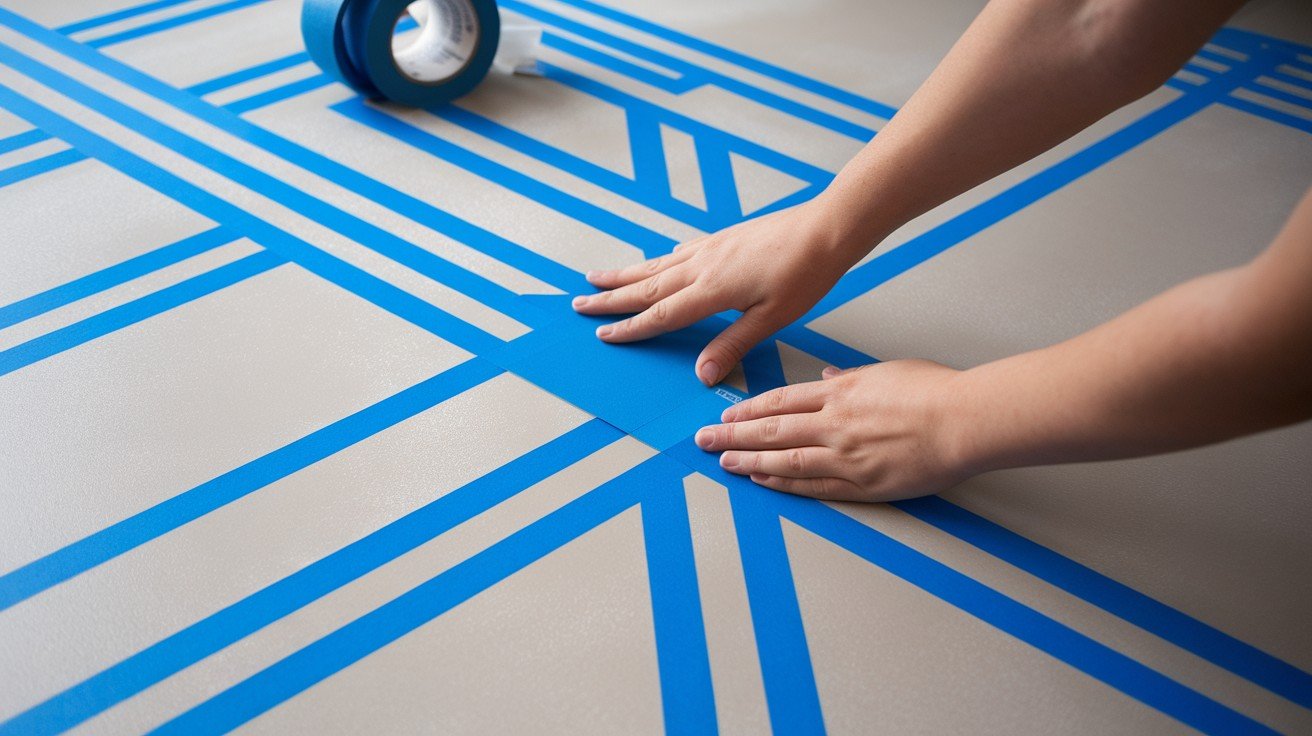
Press tape down firmly along your marked lines, ensuring straight edges and tight corners.
Burnish the tape edges with a credit card or putty knife to prevent paint from bleeding underneath.
Step 4: Paint Over the Taped Areas
Apply paint in thin, even coats rather than one thick layer for better coverage and color saturation.
Allow proper drying time between coats to avoid smudging or uneven texture.
Step 5: Peel and Reveal!
Remove tape while the final coat is still slightly tacky for the cleanest lines possible. Make any necessary touch-ups with a small brush to perfect your design.
Pro Tips for Clean, Professional Results
- Use High-Quality Tape. FrogTape’s PaintBlock technology creates a micro-barrier that prevents paint bleeding better than standard blue painter’s tape.
- While it costs slightly more, the crisp lines and reduced touch-up work make it worth the investment for professional-looking results.
- Paint Technique Matters. Always dab or roll your brush away from the tape edge rather than toward it to prevent paint from seeping under.
- Use light, controlled strokes and avoid overloading your brush with paint, which increases the risk of bleeding and messy edges.
- Don’t Skip the Drying Time. Remove tape when the paint is still slightly tacky but not wet – typically 30-60 minutes after your final coat. Waiting too long causes the paint to cure and bond with the tape, leading to peeling when removed.
Conclusion
Creating beautiful wall paint design ideas with tape proves that stunning home transformations don’t require expensive materials or professional skills.
With just basic supplies and these simple techniques, you can achieve magazine-worthy results that reflect your style and creativity.
Remember, the key to success lies in proper preparation, quality materials, and patience during the process. Start with simple patterns to build confidence, then progress to more complex designs as your skills develop.
Each project teaches valuable lessons that improve your next creation.
These versatile techniques work in any room and complement various decorating styles, making them perfect for renters and homeowners alike.
So grab your tape and paint, and start transforming those blank walls into personalized works of art. Your space will thank you, and your guests will be impressed by your DIY prowess!
Frequently Asked Questions
What type of tape works best for wall painting projects?
FrogTape with PaintBlock technology prevents bleeding better than standard painter’s tape, creating sharper lines and professional results.
How long should I wait before removing the tape?
Remove tape when paint is slightly tacky, usually 30-60 minutes after the final coat, to prevent peeling or tearing.
Can I use these techniques on textured walls?
Yes, but press tape firmly into texture grooves and consider using flexible tape designed for uneven surfaces.
Will the tape damage my wall paint when removed?
High-quality painter’s tape won’t damage properly cured wall paint when removed within the recommended timeframes and applied correctly.
How do I fix the paint that bled under the tape?
Use a small artist brush to carefully paint over bleeding areas, or lightly sand and touch up spots.