

If you’ve ever stared at a drywall seam wondering how to make it disappear, you’re not alone. I’ve been there too. After years of hands-on drywall work, I’ve learned that the secret to smooth, professional-looking walls lies in how you use joint compound.
It’s more than just mud it’s the base for every clean finish, every sharp corner, and every paint-ready surface. In this guide, I’m sharing what works straight from job sites and home projects I’ve tackled myself. You’ll get real advice, not recycled tips, with steps anyone can follow.
I’ll also explain which type of compound to pick, how to apply it properly, and what tools help the most. Everything here is based on direct experience, not guesswork, so you can skip the confusion and get results that look like you hired a pro even if you’re doing it solo.
Understanding Joint Compound Basics
Joint compound isn’t complicated once you know what’s inside. The main ingredient is gypsum dust powder – the same stuff used in plaster.
Water acts as the mixing agent. But modern compounds include more than just these two basics.
Here’s what else goes in:
- Limestone for strength
- Expanded perlite for lighter weight
- Ethylene-vinyl acetate polymer for flexibility
- Attapulgite clay for better workability
- Binding agents that help it stick better
How does it harden? Some types dry through water evaporation. Others use chemical reactions.
Types of Joint Compound
Joint compound comes in three main types, each designed for specific applications and skill levels. Here’s what you need to know.
Setting Type Compound (Hot Mud)
This is the tough stuff. It’s made from plaster of Paris powder that you mix with water. Setting times vary widely – you can get 5-minute to 300-minute options. Most people use 20, 45, or 90-minute versions.
Why do pros love it? It hardens through a chemical reaction, not just drying. This means minimal shrinkage and fewer cracks. You can apply multiple coats in one day. It won’t soften when wet. Works great in cold weather, too.
Best for: Filling significant gaps, first coats, and bathroom work where moisture is an issue. Here’s my tip: choose “easy-sand” types. The regular setting compound gets rock-hard and brutal to sand.
Drying Type Compound
This vinyl-based compound comes ready-mixed or as powder. It only hardens through evaporation. Why beginners prefer it: You get more working time before you make a mistake. You can often reactivate it if it’s not completely dry.
But there are downsides. It needs warm temperatures to dry correctly. You’ll wait up to 24 hours between coats. Get it wet and it softens again. Best for: Final smooth coats, covering large areas, and first-time users who need extra time to work.
All-Purpose Joint Compound
The Swiss Army knife of joint compounds. It handles taping, filling, and finishing in one product.
- Pros: Simplifies shopping, works for small projects, and no need to buy multiple types.
- Cons: Not as strong as specialized compounds for specific jobs.
My take: Perfect for DIY weekend projects. But if you’re doing serious work, specialized compounds perform better for their intended uses. Available forms include Ready-Mix buckets and powder that you mix yourself.
Step-by-Step Application Process
Applying joint compound correctly requires proper preparation and a systematic three-coat approach. Follow these steps for professional results.
Preparation Phase

Start with proper drywall installation. Make sure those tapered edges line up correctly.
Gather your tools now:
- 4″, 6″, and 10″ putty knives
- Trowels
- Mixing tools
- Safety equipment
Mix only what you can use. Follow the manufacturer’s ratios exactly for powder types. Setting the compound won’t wait – it hardens on its schedule. Set up your workspace properly.
Cover floors and nearby surfaces. Good lighting and ventilation make the job easier. Clean tools immediately after each use. The hardened compound on your knife ruins the following application. Trust me on this one.
Three-Coat System Application
First Coat: Bedding/Taping Coat
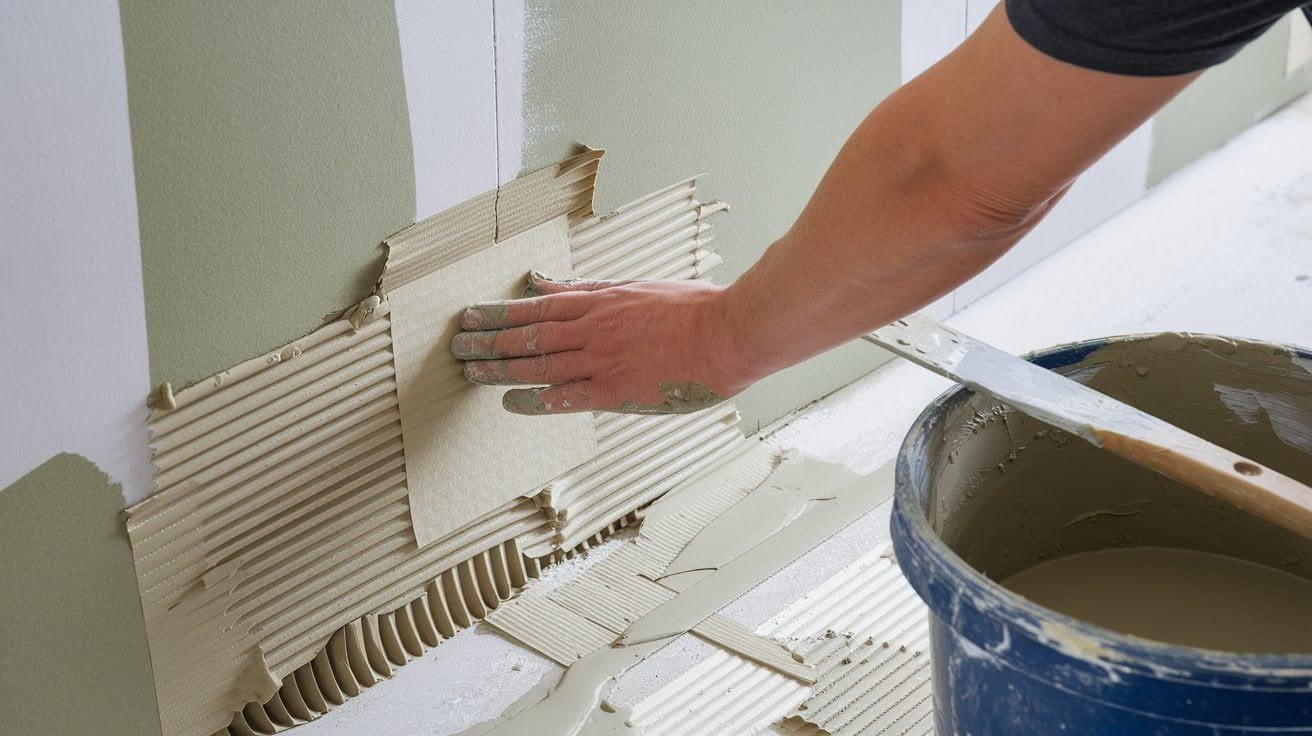
This coat does the foundation work. You’re embedding tape and creating the initial bond between drywall sheets. Apply compound to seams using a 4-6″ knife. Press paper tape into the wet compound while it’s still workable.
Use taping compound or all-purpose for strong adhesion. Don’t chase perfection here – focus on filling joints and securing that tape properly. Remove excess compound, but make sure the tape is fully embedded. Loose tape spells trouble later.
Check every inch before moving on. The surface won’t look pretty yet. That’s normal at this stage.
Second Coat: Filler Coat

Time to cover that tape. This coat begins the smoothing process that makes joints disappear.
Use an 8-10″ knife to extend the compound beyond your first coat edges. Apply more exhaustive coverage to start feathering those edges.
Build up any low areas while keeping the compound workable. Consistency matters here – too thick creates ridges, too thin won’t fill correctly. Start thinking about the final surface now.
This coat sets up everything for the finishing work. Let this coat dry completely before proceeding. Rushing this step causes problems you’ll regret.
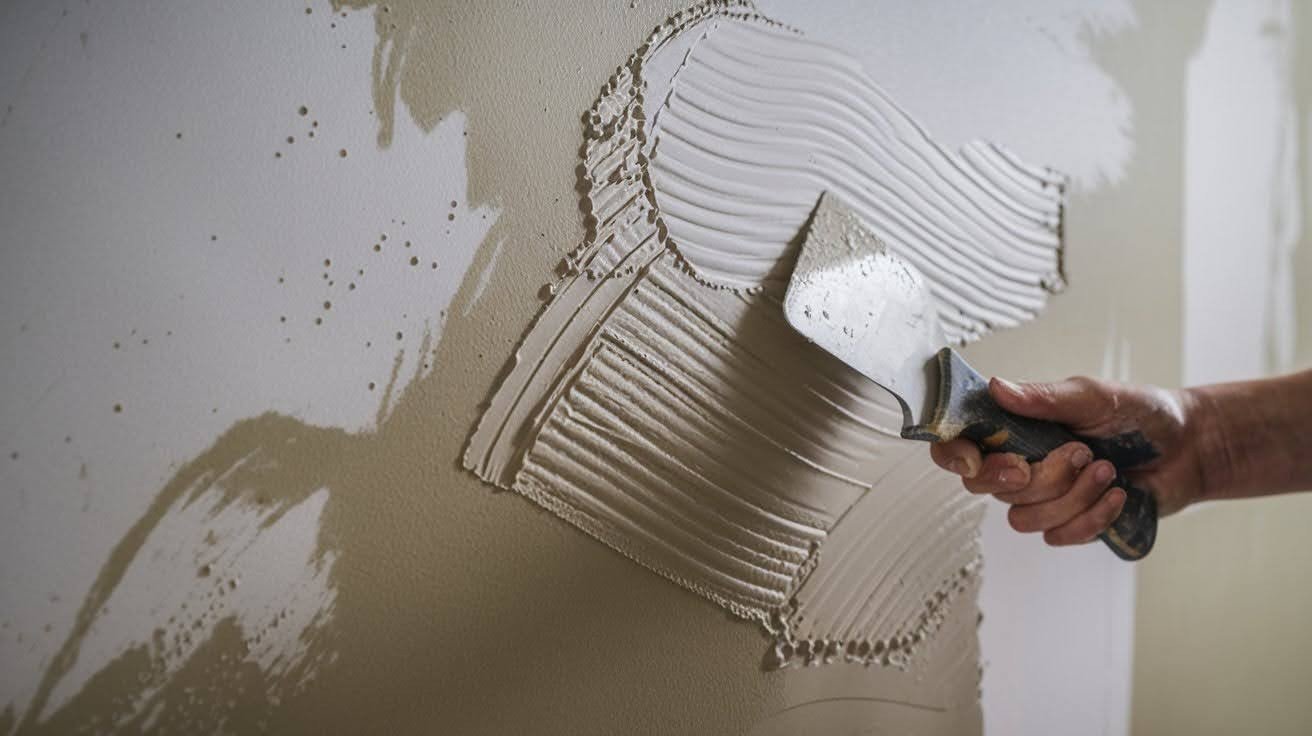
Third Coat: Finish/Topping Coat
The final smooth surface gets created right here. This coat prepares everything for primer and paint.
Use topping compound or thin you’re all-purpose slightly. A 10-12″ knife works best for feathering edges and creating seamless transitions.
Apply thin, even layers extending well beyond previous coats. This creates those invisible transitions that separate the amateur from professional work. Light sanding might be needed for perfect smoothness. But if you apply this coat well, sanding stays minimal and manageable.
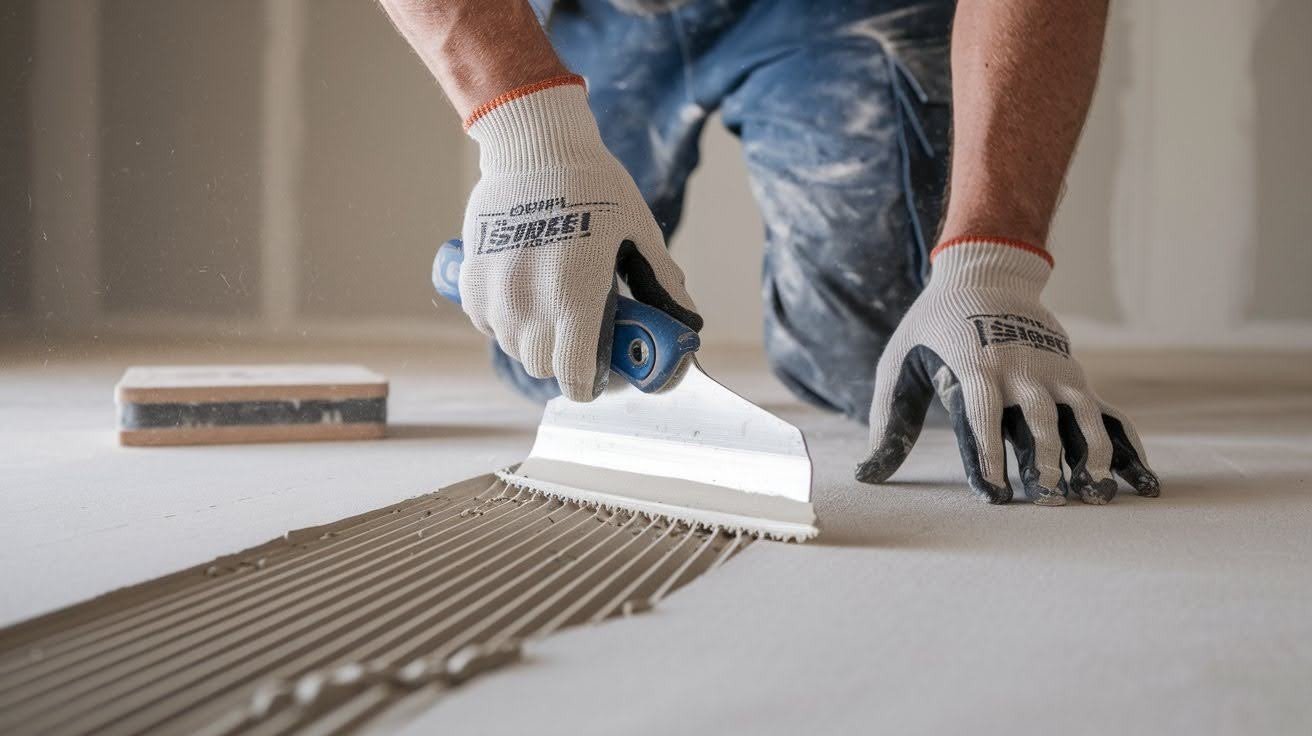
Professional Application Techniques
Feathering edges makes joints invisible. Gradually thin the compound at boundaries so transitions disappear completely. Hold your knife at a slight angle. Apply consistent pressure – not too hard, not too soft. Find that sweet spot and stick with it.
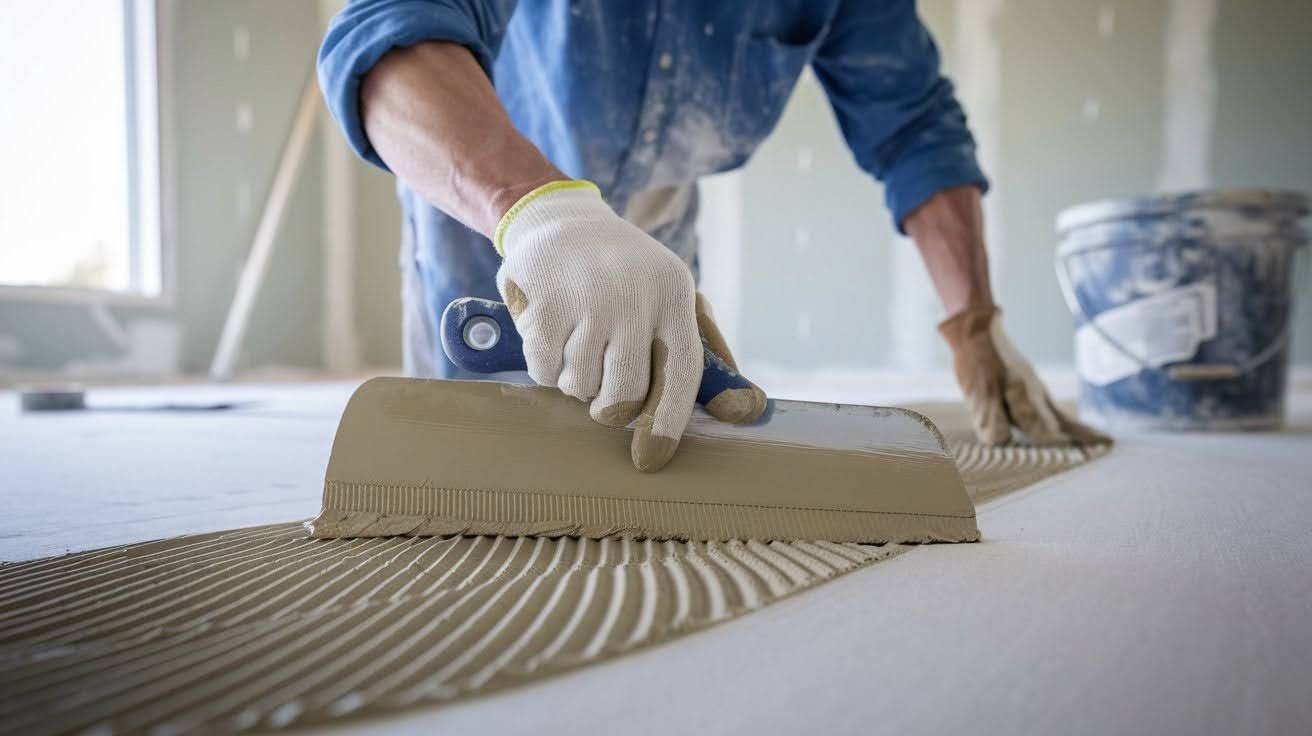
Work systematically. Complete sections before the compound begins to set. Time management separates pros from amateurs. Don’t bounce around randomly.
Use long, steady strokes instead of short, choppy movements. Your wall will show every jerky motion. Smooth, confident passes create professional results. Think of it like painting with a brush – fluid motions work best.
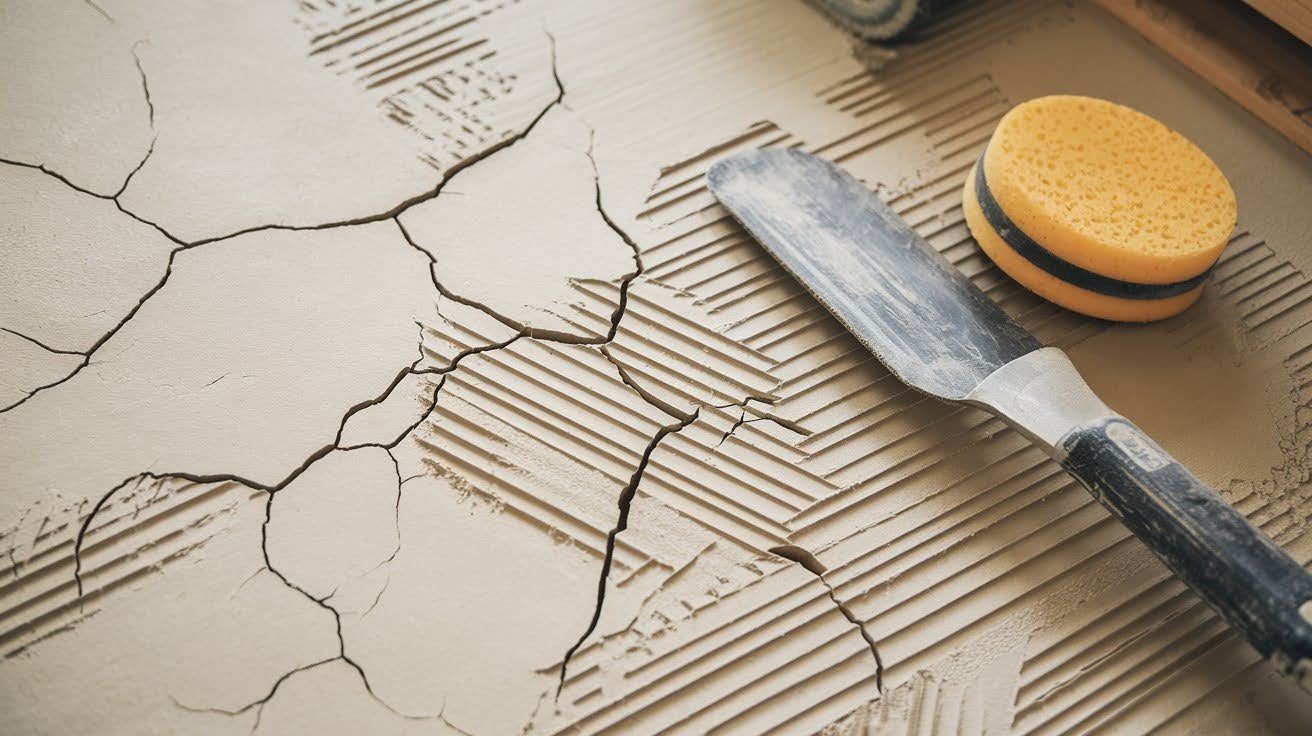
Common Application Issues and Solutions
Even experienced workers face problems with joint compounds. Here are the most common issues and how to fix them.
Pockmarks and Bubbles
Those annoying little craters come from air bubbles trapped under your compound. Moisture gets caught, or you’re applying over painted or contaminated surfaces. Prevention beats fixing every time. Make sure your surfaces are clean and properly prepared.
Don’t go on thick applications – they trap air. When you spot bubbles while the compound is still wet, pop them immediately. Smooth over with your knife right away. Surface prep matters.
Remove loose paint, grease, or any debris before you start. Clean surfaces mean fewer problems later. I’ve seen too many people skip this step and regret it.
Cracking and Shrinkage
Thick applications crack. So, do jobs get affected by rapid temperature changes or rushed drying times? Apply multiple thin coats instead of one thick layer. Patience pays off – let each coat dry completely before adding the next.
Found cracks? Sand them smooth and reapply a thin layer of compound. Don’t just slap more on top.
Control your environment.
Maintain consistent temperature and humidity during application and drying. Extreme changes cause problems. Your compound needs stable conditions to cure properly without cracking or shrinking.
Pro Tips for Success
These professional techniques will help you achieve smooth, flawless results. Learn the strategies that separate amateur work from professional finishes.
Material Selection Strategy
Match your compound to your project. Setting type works best for large jobs requiring speed. Ready-mix handles minor repairs perfectly. Think about your environment.
Bathrooms require moisture-resistant materials, as regular compound softens when wet. Match materials to your skill level. All-purpose works great for beginners. Experienced users get better results with specialized taping and topping compounds.
Budget matters too. Powder types cost less for large projects. Ready-mix costs more but saves mixing time.
Application Best Practices
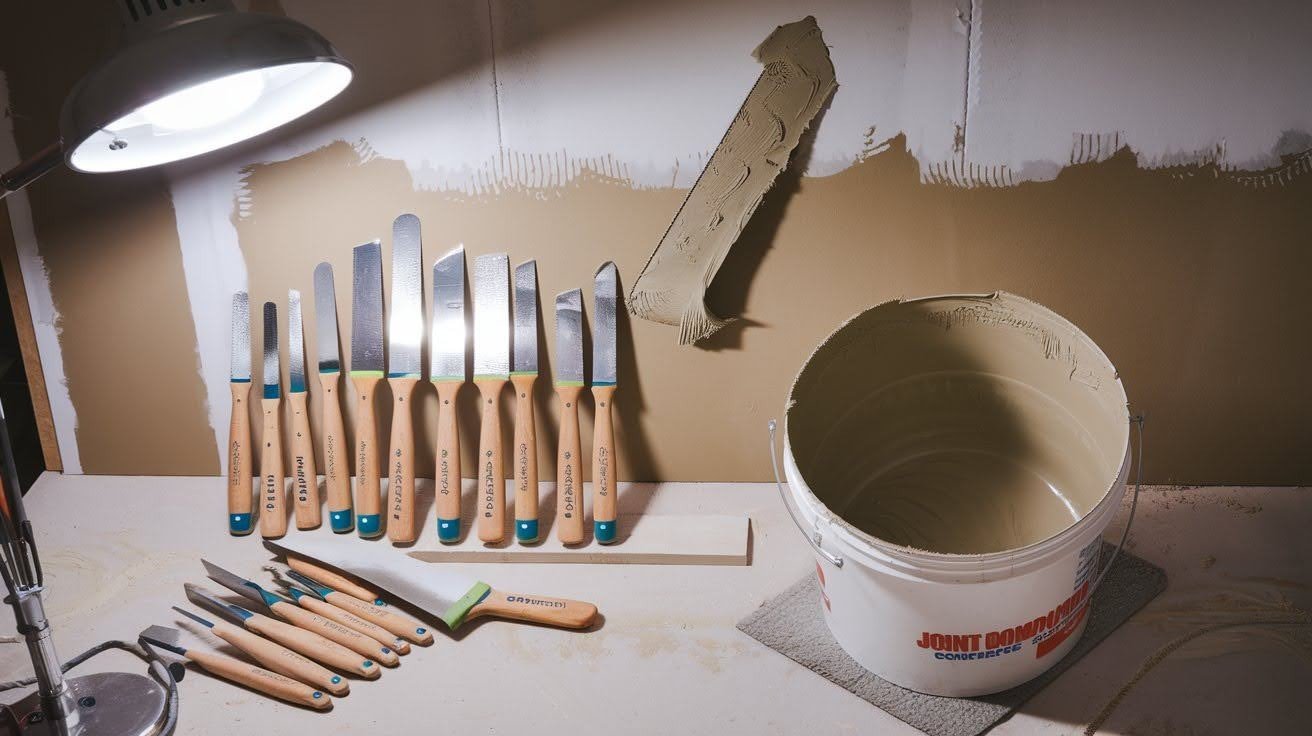
Quality tools make a difference. Invest in high-quality knives with flexible blades. Cheap tools fight you every step. Start practicing in less visible areas.
Develop your technique before tackling the main walls everyone will see. Use intense side lighting to spot imperfections during application. Regular overhead lighting hides problems that show up later.
Plan your coating schedule around natural drying times. Please work with the material, not against it.
Finishing Excellence
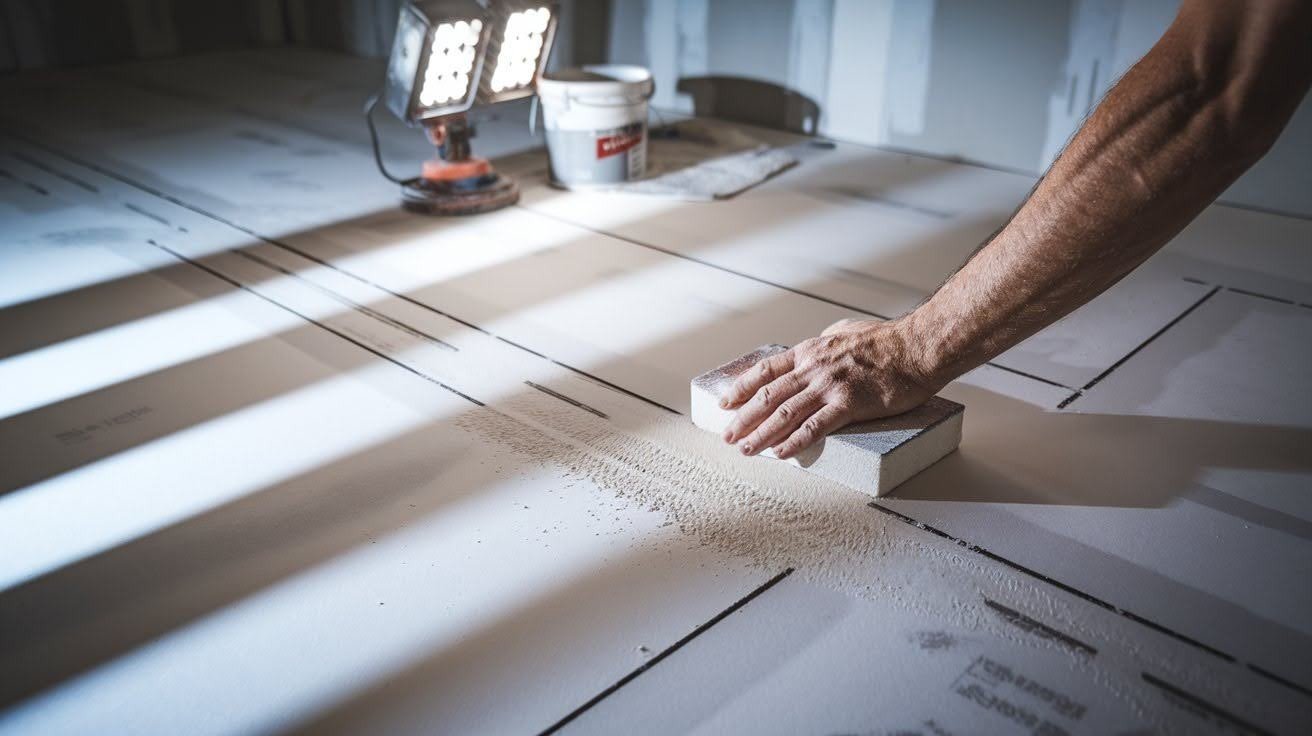
Sand systematically with progressively finer grits. Don’t skip steps or rush this part. Apply primer promptly after final sanding to seal the surface properly.
Check for imperfections under angled lighting before painting. Problems show up worse under paint.
Essential Safety Considerations
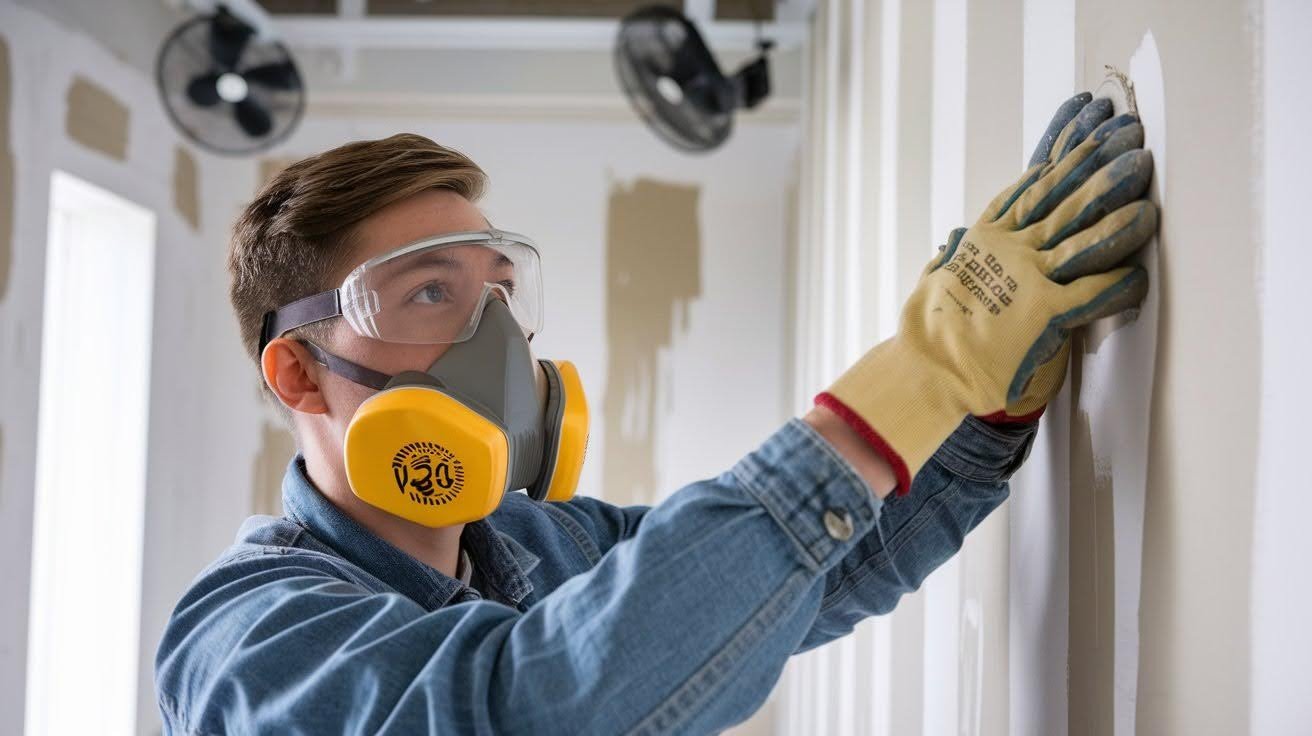
Your lungs matter more than perfect walls. Always wear a proper dust mask during mixing and sanding. Joint compound dust isn’t something you want to breathe.
Use safety glasses and gloves during application. Compound splatter hurts. Gloves also keep your hands from drying out.
Make sure you have adequate air circulation during application and drying. Open windows or use fans. Stale air slows drying and makes working conditions miserable.
Control that dust. Use vacuum sanders when possible – they catch most particles before they become airborne. Clean your work area frequently.
Dust settles everywhere and gets kicked back up with foot traffic. I’ve seen too many people skip safety gear and pay for it later. Don’t be one of them.
Conclusion
Now you know what joint compound is and how to use it effectively. It’s simply gypsum-based paste that transforms rough drywall into smooth, paintable surfaces. The key is understanding which type to use and following the three-coat system.
Take your time with each step – rushing leads to problems you’ll have to fix later. Remember: proper preparation, quality tools, and patience make all the difference. You’ve got this.
Start with a small, less visible area to build your confidence. Have questions about your specific project? Drop a comment below – I’d love to help you work through any challenges.
And if this guide helped you, share it with someone else tackling their first drywall project.
Frequently Asked Questions
What is a joint compound made of?
The joint compound is primarily made of gypsum dust powder mixed with water. Modern formulations include limestone, expanded perlite, binding agents, and clay to improve workability and adhesion.
How long does joint compound take to dry?
The drying compound takes 12-24 hours between coats. Setting compound hardens in 20-90 minutes, depending on the type, but you should still wait before applying the next coat.
Can I use joint compound to fill large holes?
The joint compound works best for seams and minor imperfections. For holes larger than a nail hole, use a setting compound or a patch with mesh tape first.
Do I need primer over joint compound?
Yes, always prime the joint compound before painting. The compound is porous and will absorb paint unevenly without primer, creating visible patches.
What’s the difference between joint compound and spackle?
The joint compound is designed for large areas and taping seams. Spackle is thicker, dries faster, and works better for small holes and quick repairs.