


Thinking about turning your screen porch into a sunroom? You’re in the right place. I’ve helped homeowners make this exact upgrade, and I’ll walk you through every step of the process.
This guide covers the key differences between screen porches and sunrooms, planning tips, installation steps, window options, and common mistakes to avoid. You’ll learn how to convert your screen porch into a comfortable, weather-protected space you can use year-round.
With 15 years of experience in home renovations, I’ve seen what works and what doesn’t. I’ll share practical advice based on real projects, not just theory.
By the end of this guide, you’ll know exactly how to plan your conversion, choose the right materials, and avoid costly errors. Let’s get your project started right.
Screen Porch vs Sunroom: Key Differences

Understanding the differences between these spaces helps you plan your conversion effectively.
A screen porch uses mesh screens instead of solid walls. It allows fresh air in while keeping bugs out. Most have a roof, lighting, and moisture-resistant flooring. Screen porches work well in mild weather but offer limited protection from rain and wind.
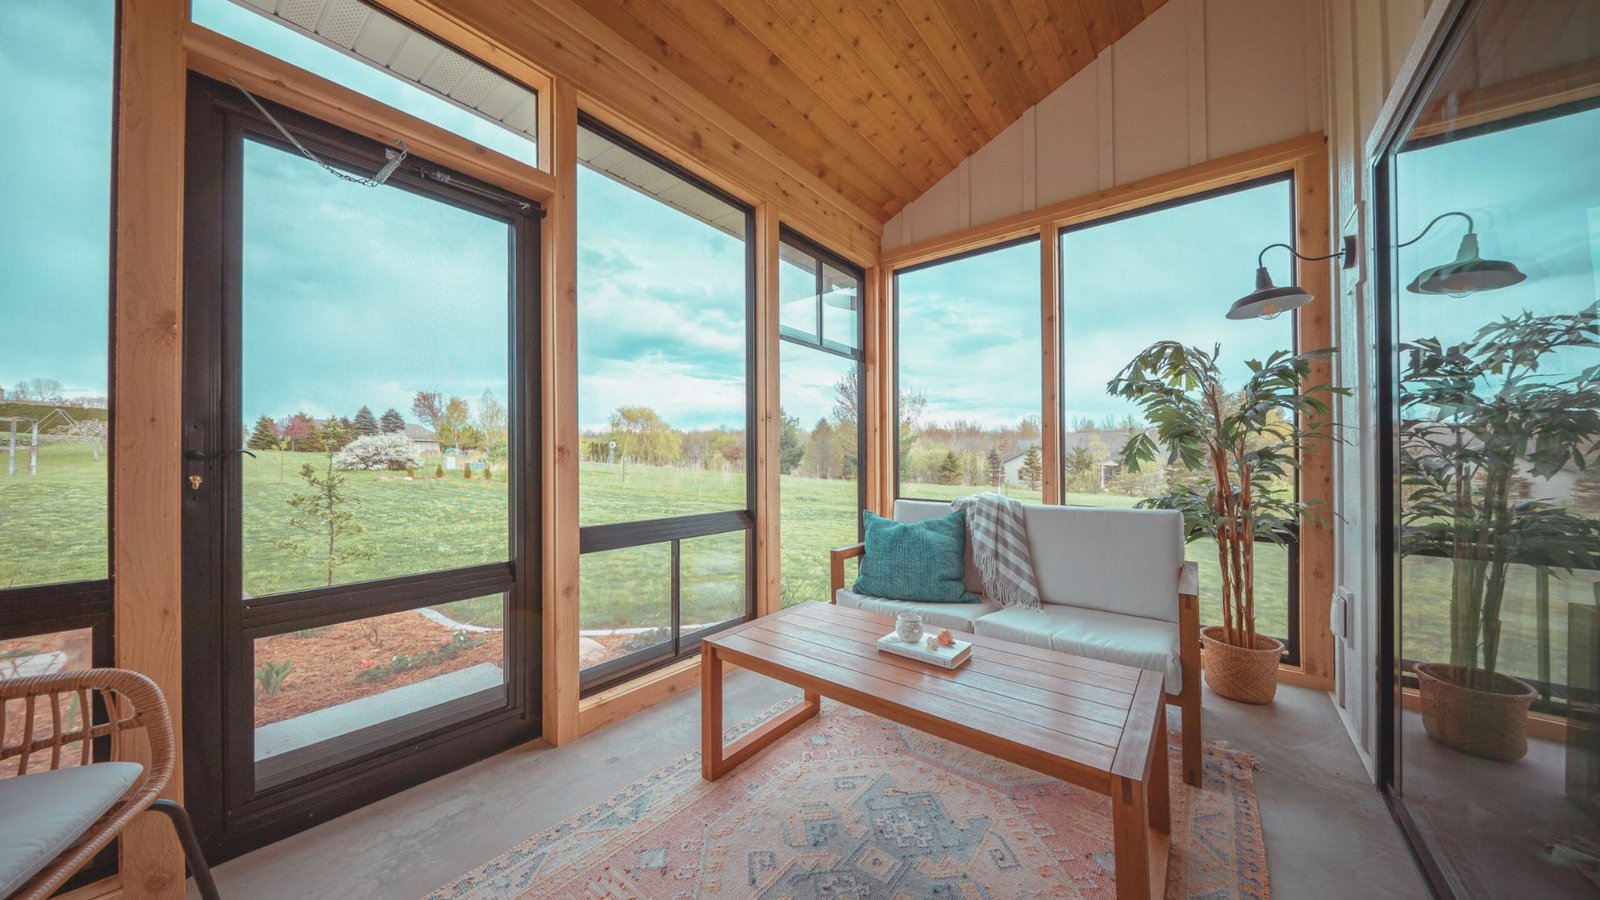
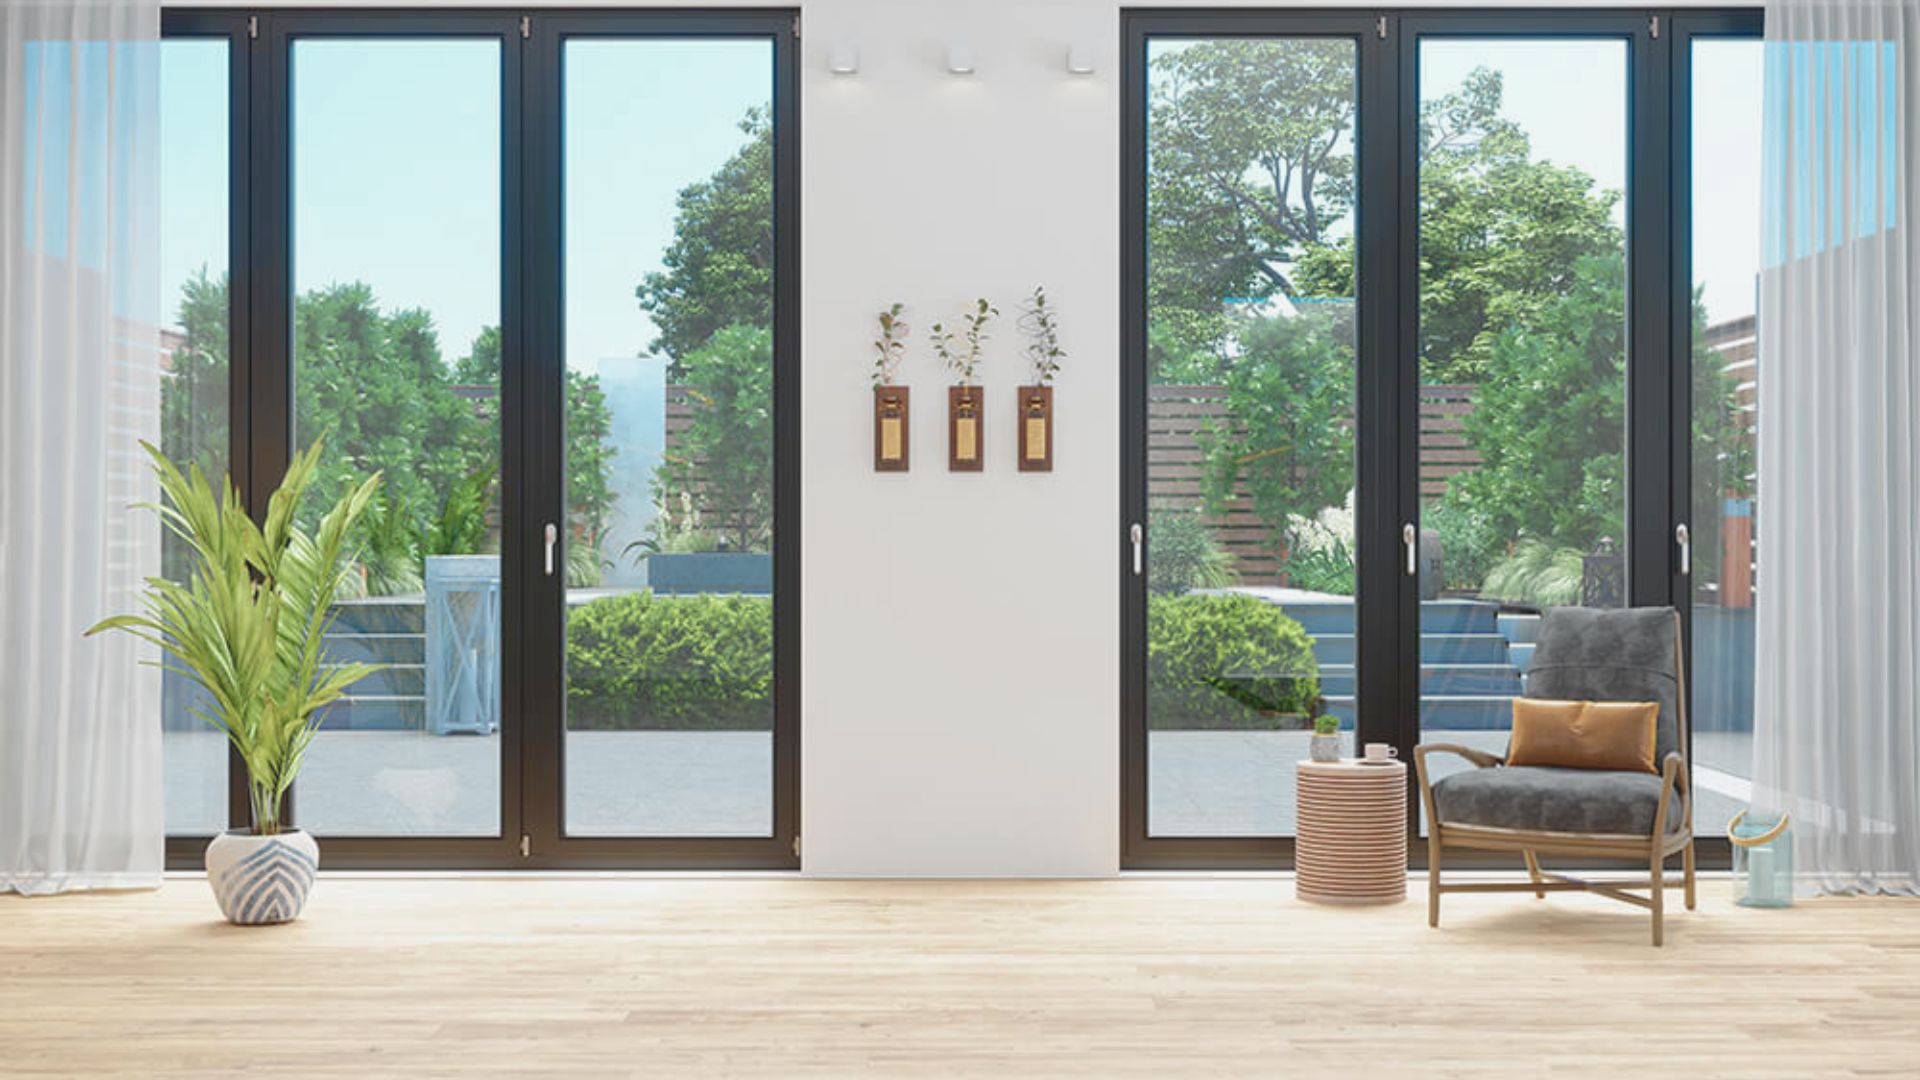
A sunroom is an enclosed room with glass windows and solid walls. It provides full weather protection while maximizing natural light and views. Three-season sunrooms work in spring, summer, and fall. Four-season sunrooms include insulation and climate control for year-round use.
Screen porches cost less but offer minimal weather protection. Traditional sunrooms provide full enclosure and climate control. Convertible sunrooms feature removable or sliding panels that open like a screen porch in nice weather and close during bad conditions.
Benefits of Converting a Screen Porch to a Sunroom
Converting your screen porch offers practical advantages that improve comfort and boost your home’s value.
- Increased Usable Living Space: You gain a room for dining, relaxation, exercise, or hobbies that works year-round, not just seasonally.
- Improved Weather Protection: Glass windows and insulated walls block wind, rain, and snow while keeping your furniture and decorations safe from the elements.
- Better Natural Light and Views: Sunroom windows maximize natural light and maintain clear yard views while reducing glare and UV damage.
- Added Home Value: A well-built sunroom typically adds more resale value than a screen porch, often returning 50-80% of its cost when you sell.
- Year-Round Comfort: Unlike a screen porch, you can use your sunroom comfortably in any weather, making it part of your everyday living space.
Before You Convert: Planning and Assessment
Proper planning prevents costly mistakes and ensures your conversion meets code requirements.
Evaluating the Existing Porch Structure
Check your porch foundation and framing for cracks, rot, or settling issues. The foundation must support added weight from windows, insulation, and HVAC equipment.
Hire a structural engineer if unsure about load capacity. Address any structural problems before starting.
Checking Local Building Codes and Permits
Contact your local building department early in planning. Most conversions require permits for structural changes, electrical work, and HVAC installation.
Zoning rules may restrict size and height. Getting permits protects you legally and ensures safety standards are met.
Choosing Between a Three-Season or Four-Season Sunroom
Three-season sunrooms work in mild climates with single-pane windows and minimal insulation. Four-season sunrooms need insulated walls, double-pane windows, and climate control systems.
They cost 30-50% more but provide year-round comfort. Consider your climate and how often you’ll use the space.
Step-by-Step Guide to Convert Screen Porch to Sunroom
Follow these steps for a successful conversion that lasts for decades.
Step 1: Design Layout and Sunroom Style
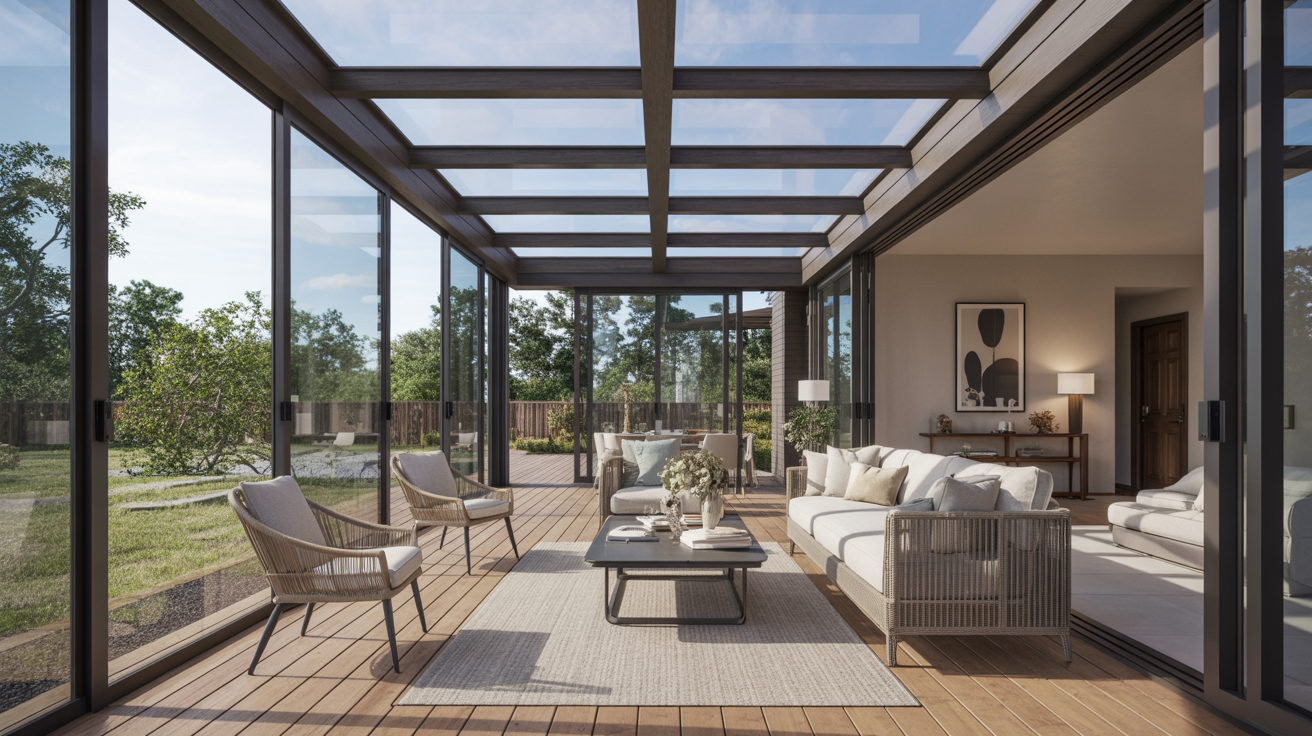
Measure your existing porch carefully and create a detailed plan. Decide where doors will go and how windows will be arranged.
Consider furniture placement and traffic flow. Choose a style that matches your home’s exterior. Victorian, contemporary, and traditional styles each require different window patterns and trim details. Sketch multiple layouts before settling on a final design.
Step 2: Decide on Window Type and Screens
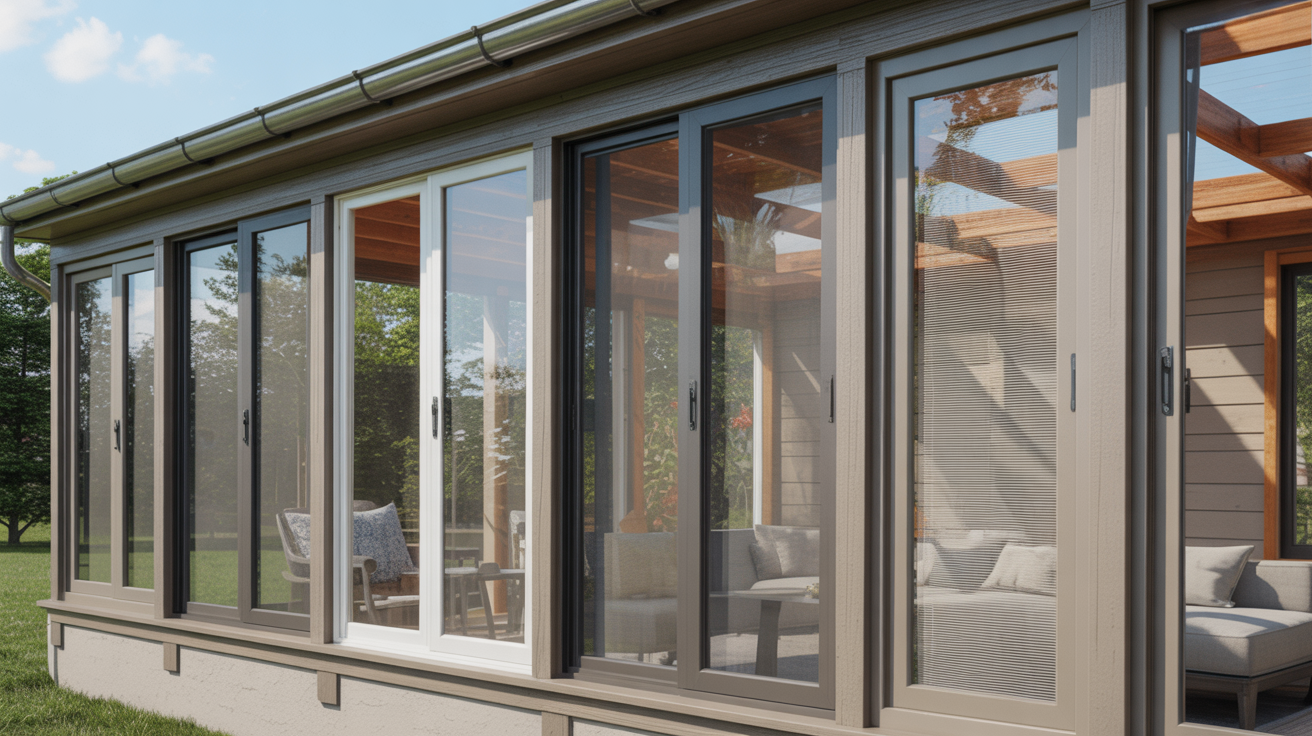
Select windows based on your budget and climate needs. Sliding windows offer easy operation and good ventilation.
Single-hung windows cost less but provide less airflow. Casement windows seal tightly for better energy efficiency. Some sunrooms include retractable screens for fresh air on nice days. Order custom-sized windows to fit your porch dimensions exactly.
Step 3: Remove Existing Screen Panels

Take down all screen panels and framing carefully. Save any reusable lumber or hardware. Remove staples, nails, and old screening material completely.
Inspect the underlying framing for damage. Clean all surfaces thoroughly before moving to the next step. This is your chance to fix any rot or pest damage you find.
Step 4: Build and Insulate Walls
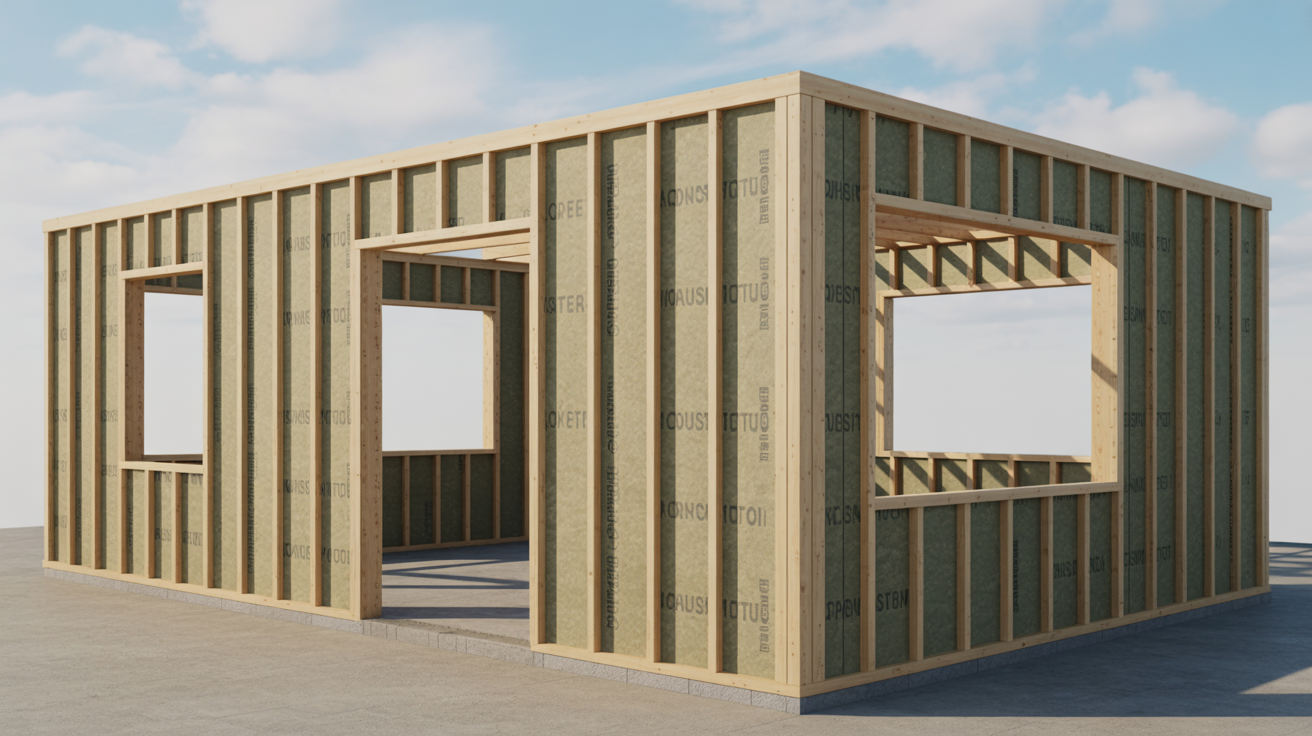
Frame in any solid walls needed between window sections. Use pressure-treated lumber for bottom plates that contact concrete.
Install insulation between studs according to local code requirements.
Fiberglass batts work for three-season rooms. Spray foam provides better performance for four-season designs.
Add a vapor barrier on the warm side of the insulation. Finish interior walls with drywall, beadboard, or other materials that suit your style.
Step 5: Install Sunroom Windows and Doors
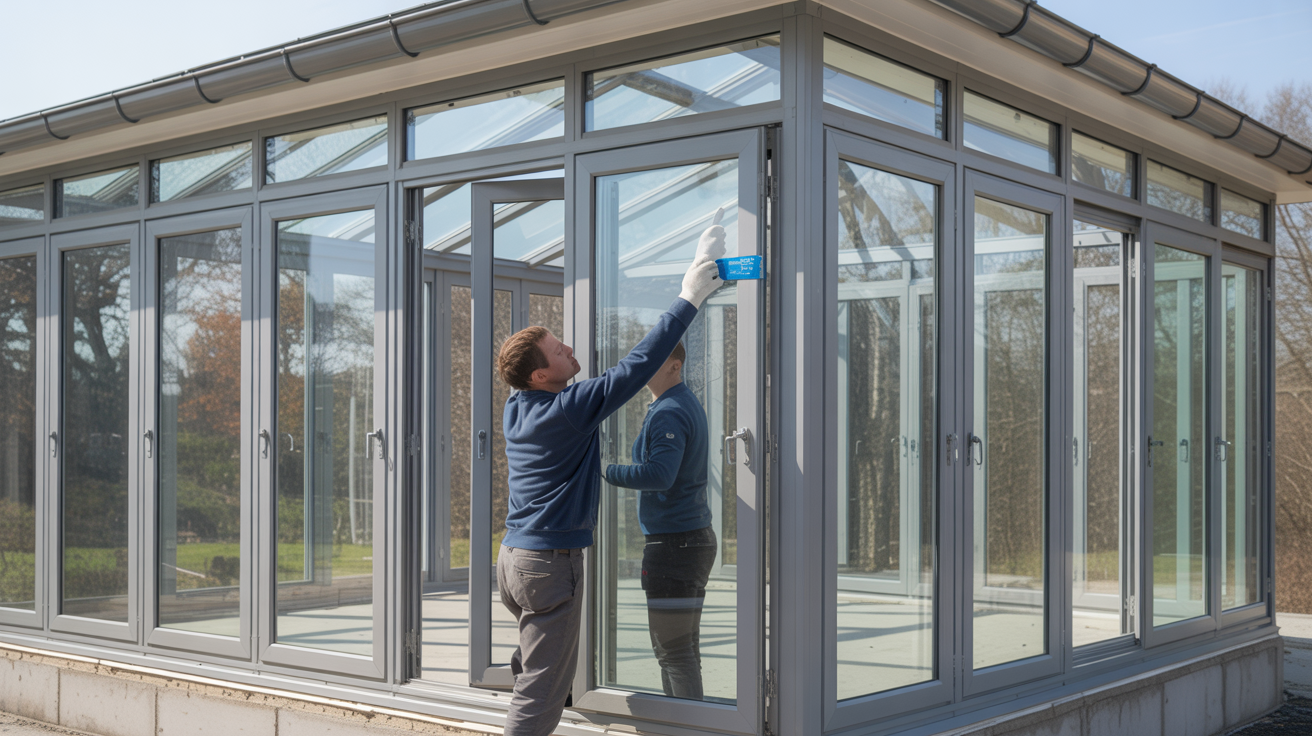
Set windows into the framed openings following the manufacturer’s instructions. Level and plumb each unit carefully.
Seal gaps with expanding foam or caulk rated for outdoor use. Install flashing around window perimeters to prevent water infiltration.
Hang your entry door and verify it operates smoothly. Add weatherstripping around all moving parts. Test windows to confirm they open, close, and lock properly.
Step 6: Flooring, Electrical, and Finishing Touches

Run new electrical circuits for outlets, switches, and lighting. Follow code requirements for GFCI protection in damp locations.
Install your chosen flooring material over a properly prepared subfloor. Add baseboards, crown molding, and window trim.
Paint or stain all surfaces. Install ceiling fans, light fixtures, and any built-in furniture. Complete a final inspection to get your permit signed off.
Flooring and Interior Considerations
Interior choices affect comfort, maintenance, and long-term durability.
Retaining Existing Porch Flooring
Concrete porch floors often work fine in converted sunrooms. Clean and seal the surface to prevent moisture issues.
Wood or composite decking may need reinforcement or replacement if deteriorating. Check for proper drainage to avoid water pooling.
Water-Resistant and Indoor Flooring Options
Tile, vinyl plank, and sealed concrete handle temperature swings and moisture well. Engineered hardwood works in climate-controlled four-season sunrooms.
Carpet adds comfort but can trap moisture in three-season spaces. Consider radiant floor heating for four-season designs.
Heating, Cooling, and Ventilation Choices
Extend your home’s HVAC system for consistent climate control or add a mini-split unit for independent temperature management.
Electric baseboard heaters provide backup warmth in three-season rooms. Ceiling fans improve air circulation and prevent condensation and mold growth.
DIY vs Professional Screen Porch Conversion
Deciding who does the work affects cost, timeline, and quality.
When DIY May Be Possible?
Experienced DIYers can handle simpler three-season conversions with standard window sizes. You need skills in framing, electrical work, and finish carpentry. Basic tool requirements include a circular saw, drill, level, and pneumatic nailer. Plan for 4-8 weekends of work, depending on porch size. DIY saves 40-60% on labor costs but takes much longer.
Why Professional Installation Is Recommended?
Professionals complete the work faster and with fewer mistakes. They handle permit applications and inspections correctly. Experienced contractors know how to flash windows properly and prevent leaks. Most offer warranties on materials and workmanship. Complex projects with custom windows or structural modifications almost always need professional expertise. The peace of mind often justifies the added cost.
Common Mistakes to Avoid When Converting a Screen Porch
Learn from these common errors to keep your project on track and avoid costly problems.
- Skipping Structural Inspections: Many screen porches weren’t built to support sunroom loads, and foundation settling or framing rot may not be visible without a professional evaluation.
- Choosing the Wrong Window Type: Cheap windows leak, fog up, and fail quickly, while poor-quality glass loses heat in winter and gains it in summer.
- Ignoring Climate and Seasonal Use: Building a four-season sunroom in a mild climate wastes money, while a three-season room in harsh climates limits year-round usability.
- Overlooking Permit Requirements: Starting work without proper permits can result in fines, forced removal of improvements, and complications when selling your home.
- Underestimating Heating and Cooling Needs: Failing to plan for adequate climate control leaves you with a space that’s too hot in summer and too cold in winter.
Conclusion
Converting your screen porch to a sunroom adds real value and comfort to your home. I’ve worked on dozens of these projects over the years, and I’ve seen firsthand how this upgrade changes the way families use their space.
Take your time with planning and choose quality materials that fit your climate and budget. Don’t rush the construction process. Proper installation makes all the difference in how your sunroom performs over time.
The result will be a room you’ll love for years to come. You’ll have a comfortable space to enjoy morning coffee, host gatherings, or simply relax with a book while watching the seasons change outside. Ready to start your project? Share your plans in the comments below or check out our other guides on sunroom design and maintenance.
Frequently Asked Questions
How much does it cost to convert a screen porch to a sunroom?
Most conversions cost between $15,000 and $40,000, depending on size and features. Three-season rooms cost less while four-season designs with HVAC run higher.
Do I need a permit to convert my screen porch?
Yes, most areas require permits for this conversion. The work involves structural changes and electrical updates. Contact your local building department for specific requirements.
How long does a screen porch to sunroom conversion take?
Professional installations typically take 2-4 weeks for standard projects. DIY projects often extend to 2-3 months of weekend work.
Can I use my screen porch foundation for a sunroom?
It depends on the foundation’s condition and load capacity. Many screen porches need reinforcement. Have a structural engineer evaluate before starting.
Will a sunroom conversion increase my home value?
Most quality conversions add value and appeal to buyers. Expect to recoup 50-80% of your investment at resale.
