


I’ve sanded dozens of cabinets over the years, and choosing the right grit makes all the difference. This guide breaks down what grit sandpaper for cabinets you need at each stage.
I’ll walk you through starting grits, smoothing stages, prep work before painting or staining, and finish sanding between coats.
You’ll learn which grits work for different conditions and avoid common mistakes that waste time and materials. I’ve made these errors myself, so you don’t have to.
By the end, you’ll know exactly which sandpaper to grab for every step of your cabinet project.
What Grit Sandpaper for Cabinets
Sanding cabinets requires different grits at different times. Starting too fine wastes effort. Starting too coarse damages wood.
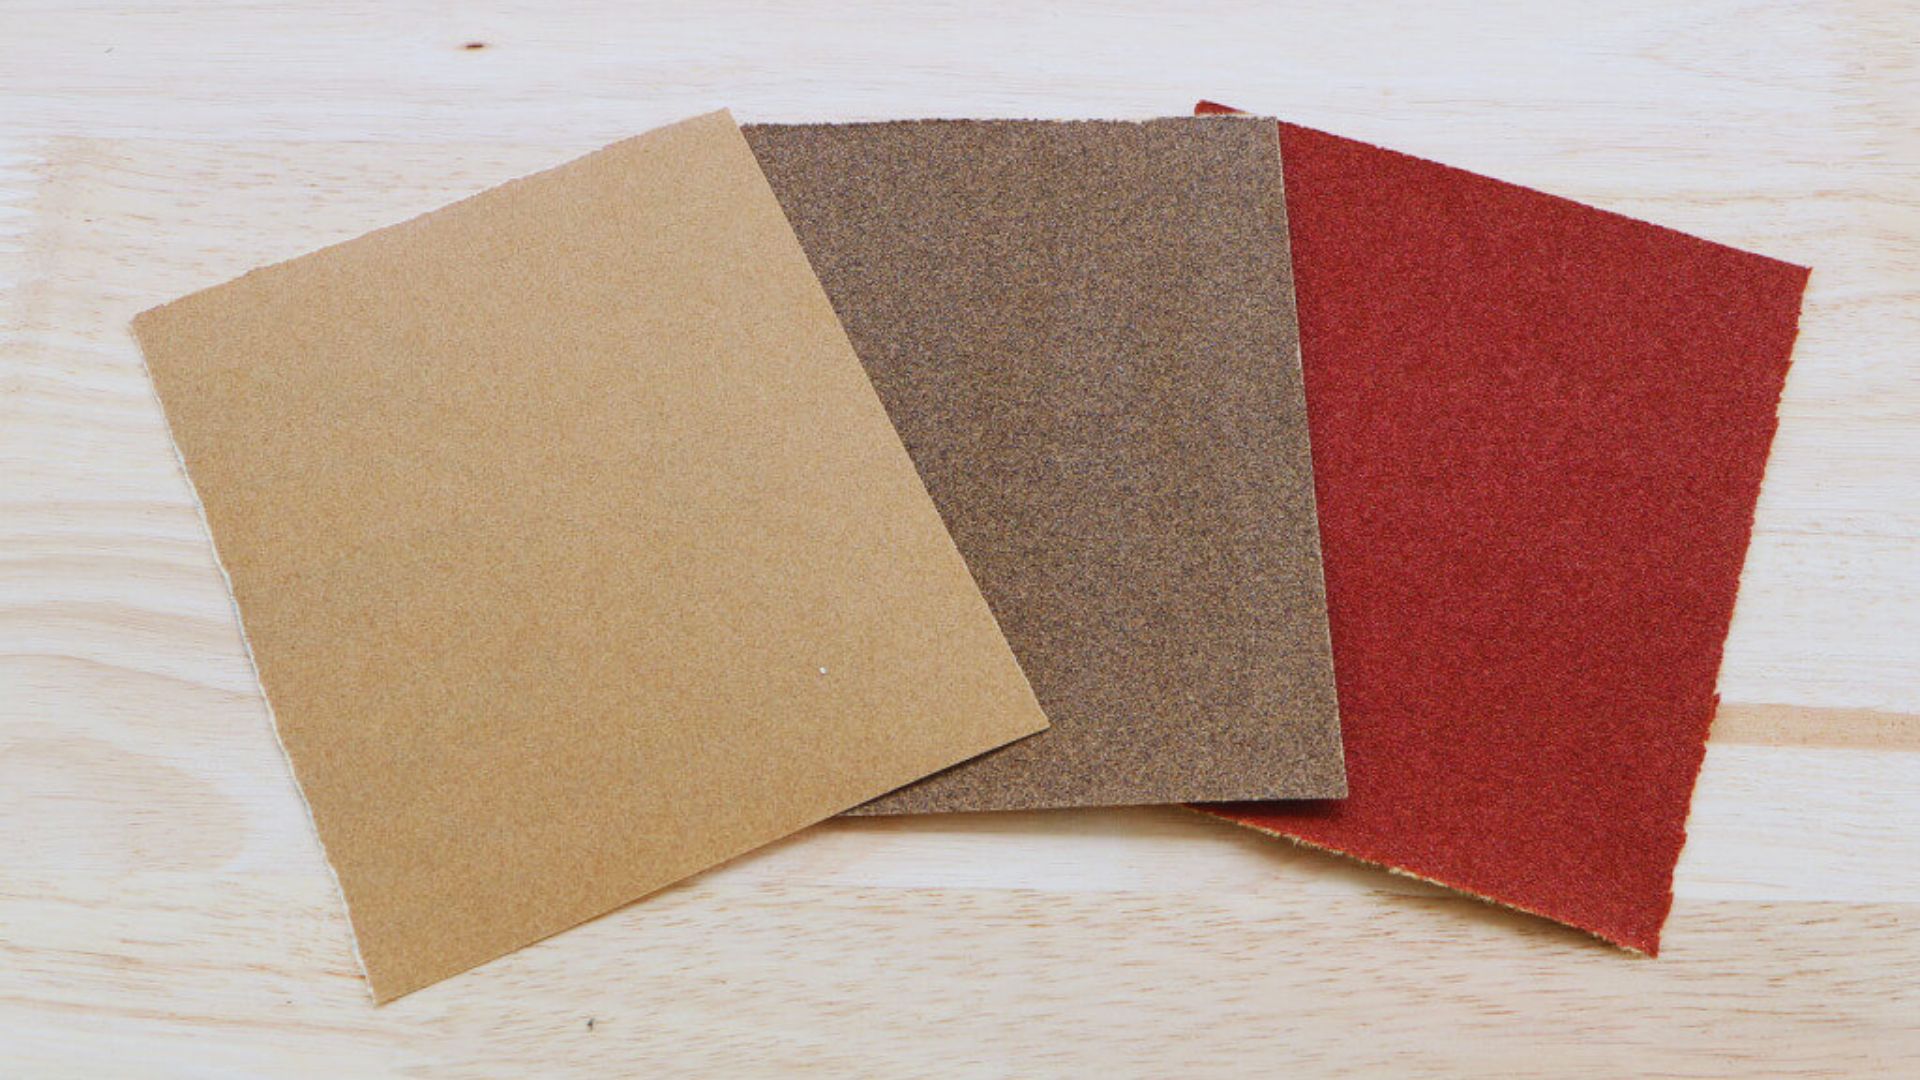
Coarse grit (60-100) removes old finishes and heavy damage. Medium grit (120-150) smooths out coarse scratch marks. Fine grit (180-220) creates smooth surfaces ready for paint or stain. Extra-fine grit (320-400) polishes between coats and removes dust nibs.
Every sanding stage builds on the last one. Coarse scratches show through paint if you skip medium grit. Stain settles unevenly into rough surfaces.
Paint hides more than stain, so you can stop at 220 grit before painting. Stain requires 180 grit or finer to look consistent. Rush the progression and you’ll regret it later.
What Grit Sandpaper for Cabinets: Stage-by-Stage
This section covers every sanding stage from start to finish. Follow these steps for professional results.
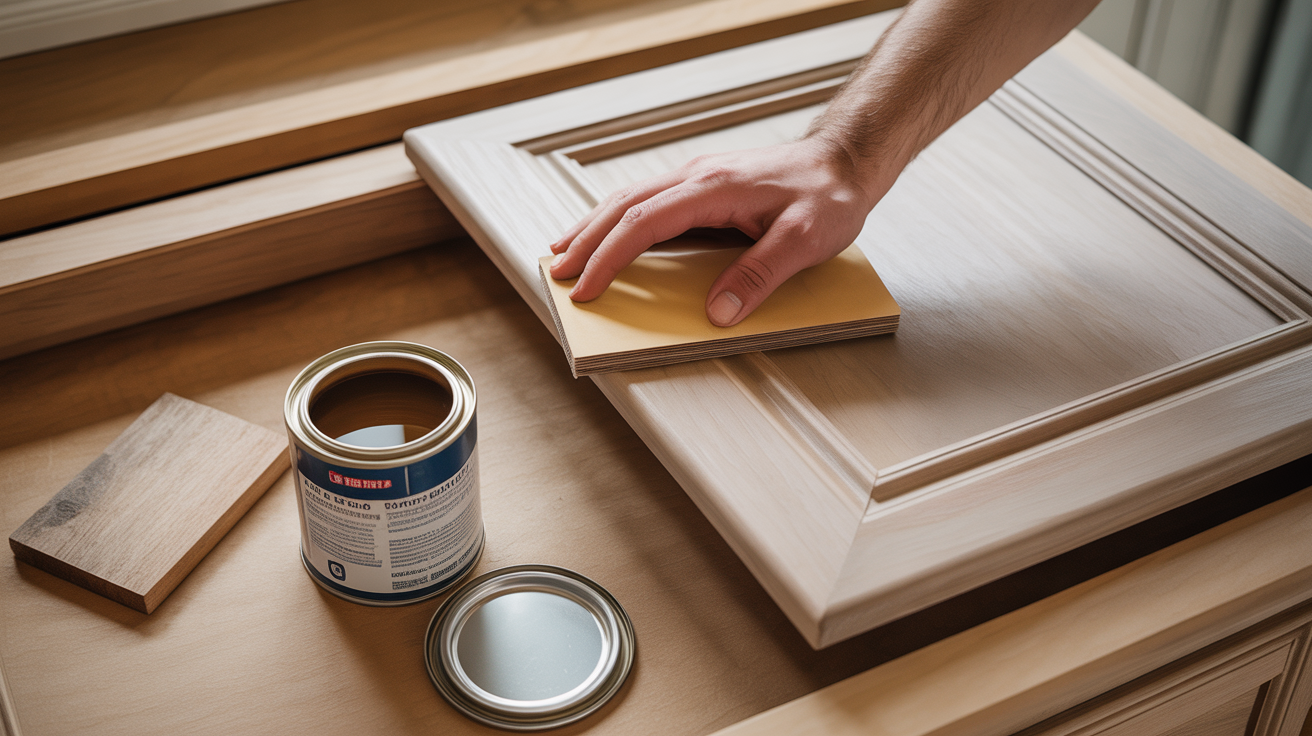
Stage 1: What Grit Sandpaper for Cabinets at the Start of the Project
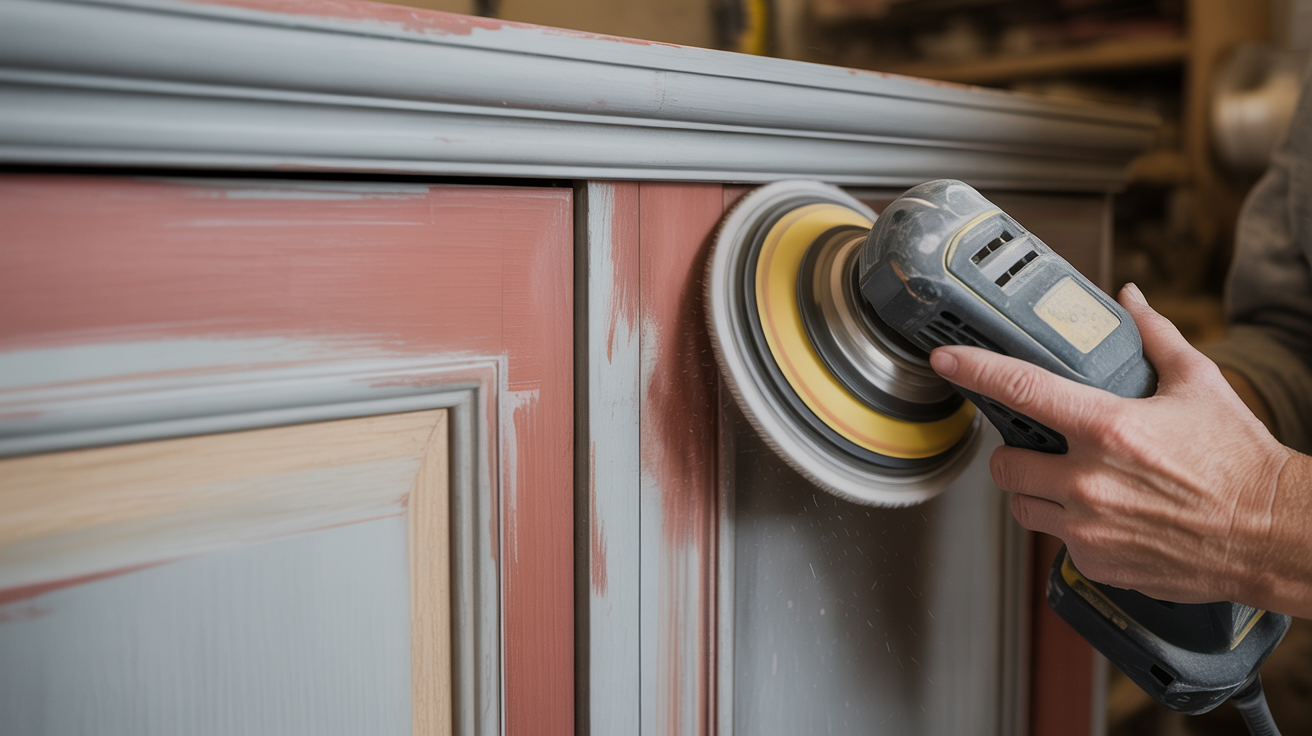
Your starting grit depends on the cabinet condition. Thick old paint needs aggressive removal.
Start with 80 grit for multiple paint layers or glossy finishes like high-gloss lacquers and polyurethane. This grit cuts through buildup quickly and saves hours.
Switch to 100 grit for standard paint or varnish. It’s less aggressive but still effective.
Start at 120 grit if cabinets have minor scuffs or thin, peeling finish. This works for previously painted cabinets you’re repainting. Light sanding creates teeth for new paint to grab.
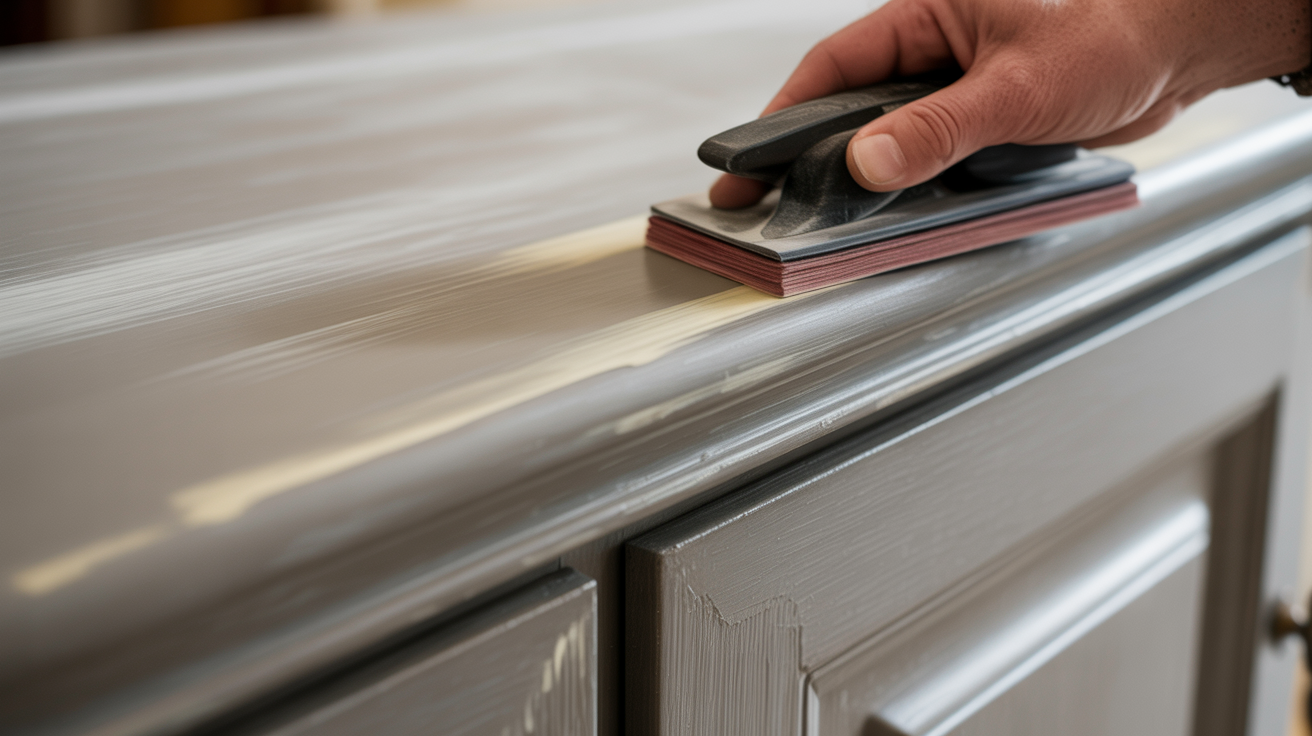
Stage 2: What Grit Sandpaper for Cabinets to Smooth the Surface
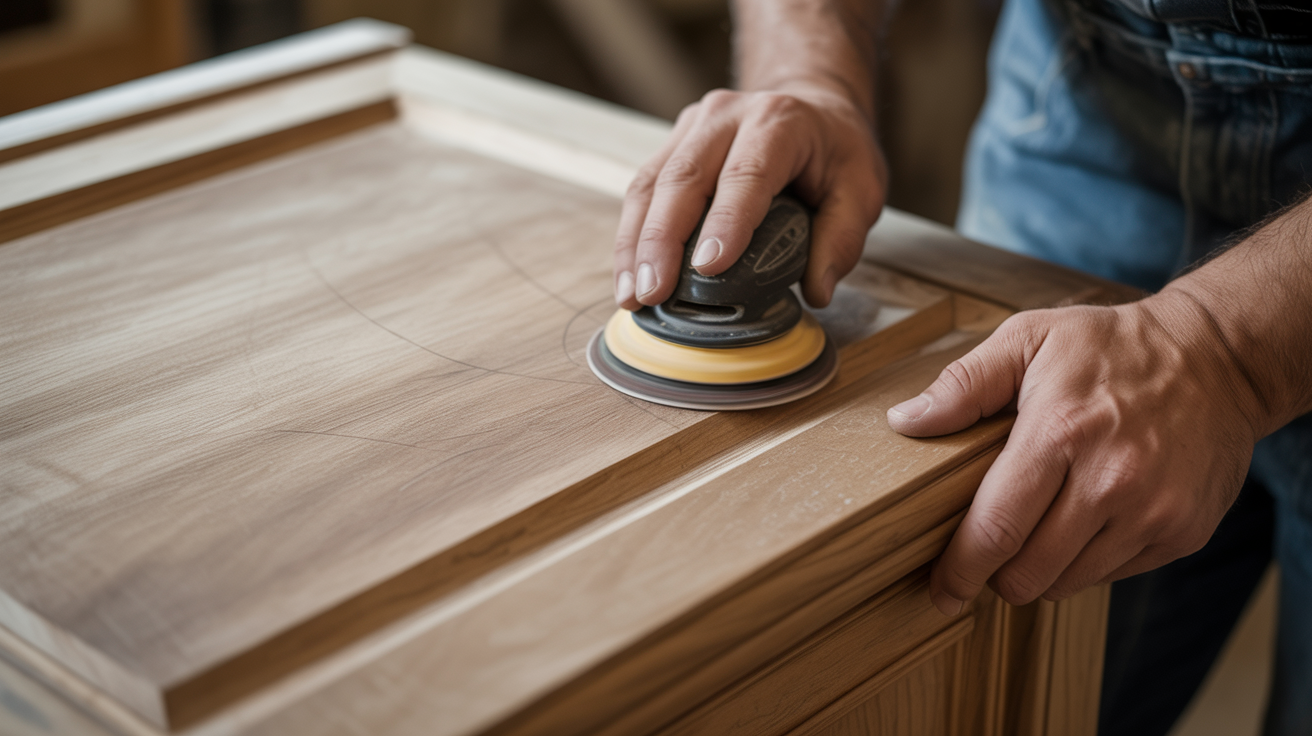
After removing old finish, deep scratches from coarse grit need smoothing. 120 grit erases 80-grit scratches.
Sand in the direction of the wood grain with even pressure. 150 grit works after 100-grit sanding and creates a semi-smooth surface.
This stage takes patience. Medium grit creates a foundation for fine sanding.
Think of it as the bridge between rough and smooth. Wood fibers settle down and the surface becomes more uniform.
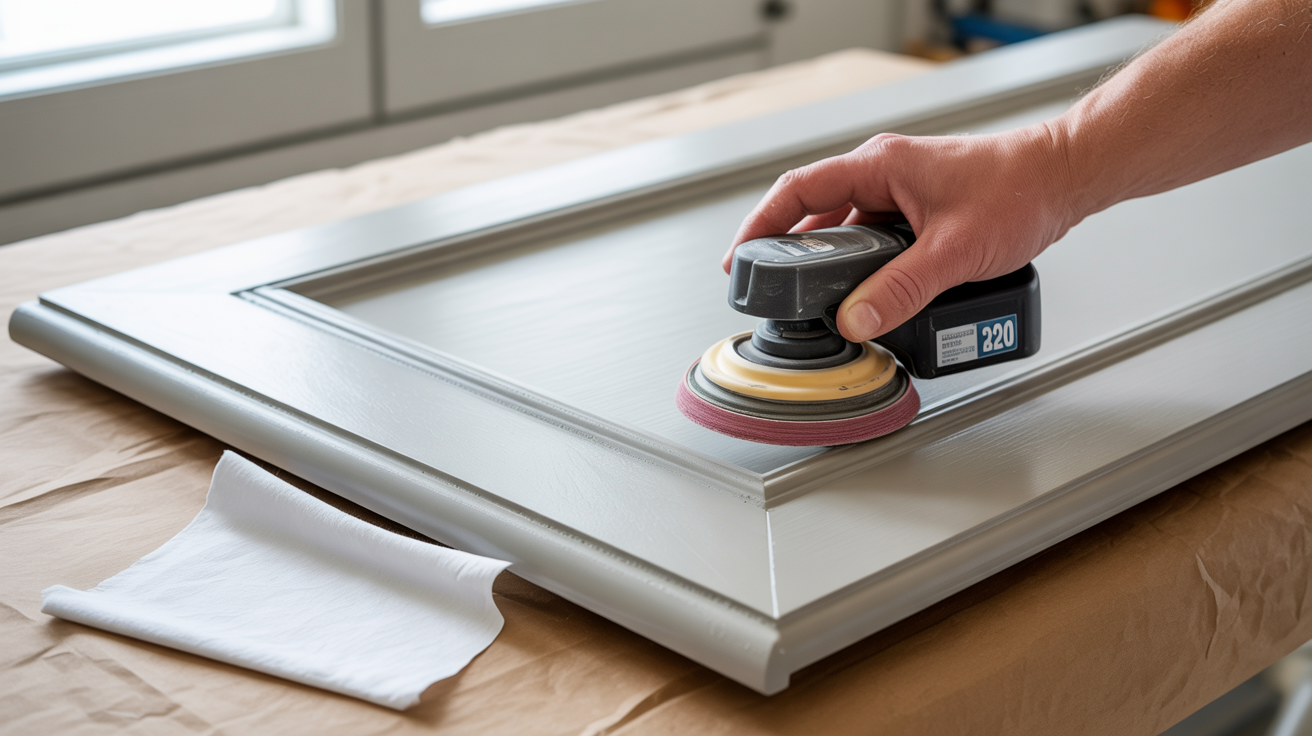
Stage 3: What Grit Sandpaper for Cabinets Before Painting
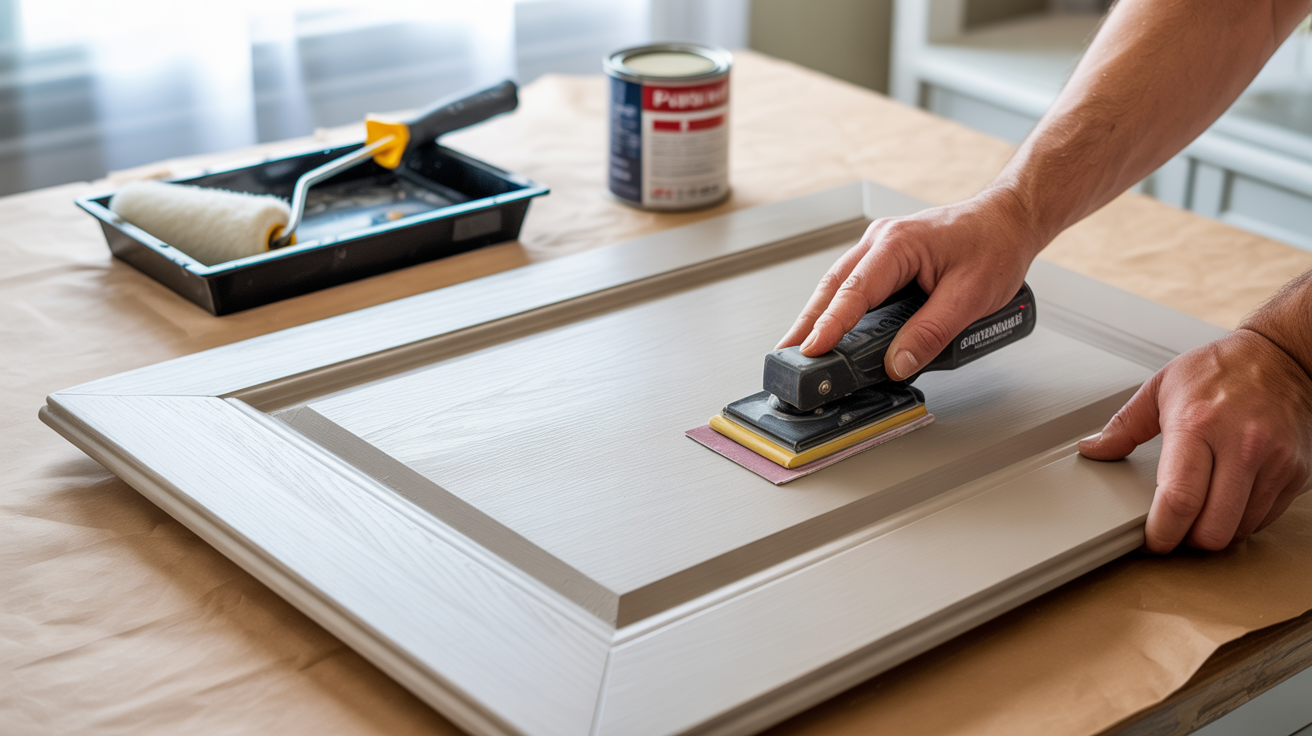
Paint magnifies imperfections. 180 grit works well for paint prep and smooths the surface without over-sanding.
220 grit is my go-to for cabinets. It creates a silky feel that paint loves.
Sand until the wood feels uniformly smooth. Test with your hand and keep sanding if you feel rough spots.
Fine sandpaper removes scratches that show through paint. Even small marks become visible under certain light. Scratches create texture that catches dust and make paint application uneven.
Stage 4: What Grit Sandpaper for Cabinets Before Staining
 Stain shows everything. Your sanding must be perfect.
180 grit minimum for staining. I prefer this for most hardwoods.
220 grit creates the smoothest stain surface and is worth the extra step for high-visibility cabinets. Never go coarser than 180 before stain.
Scratches will absorb extra pigment and turn dark. Coarse scratches appear as dark streaks in your finish.
Uneven sanding creates blotchy color. Consistent pressure and grit progression prevent this. Sand the entire cabinet with the same grit.
Stage 5: What Grit Sandpaper for Cabinets After Primer
Primer raises wood grain. Light sanding fixes this.
220 grit knocks down raised grain after the primer dries. Use light pressure. You’re not removing primer, just smoothing it.
320 grit creates an even smoother base for topcoat. This optional step improves final appearance. Let the primer cure fully before sanding.
Wood fibers stand up when wet primer soaks in. Sanding cuts these fibers flat.
Small dust particles land in wet primer. A quick sand removes these nibs. Wipe surfaces with a tack cloth after sanding to remove dust.
Stage 6: What Grit Sandpaper for Cabinets Between Coats
Between-coat sanding creates professional results. 320 grit is perfect between paint coats. It smooths without cutting through.
400 grit works for final coats before the last one. Use very light pressure. The goal is removing texture, not paint.
Brush strokes dry with tiny ridges. Light sanding levels these ridges.
The roller texture creates orange peel. Fine grit sanding knocks down the peaks. Your next coat fills the valleys. This step makes the difference between amateur and pro finishes.
Stage 7: What Grit Sandpaper for Cabinets After Painting
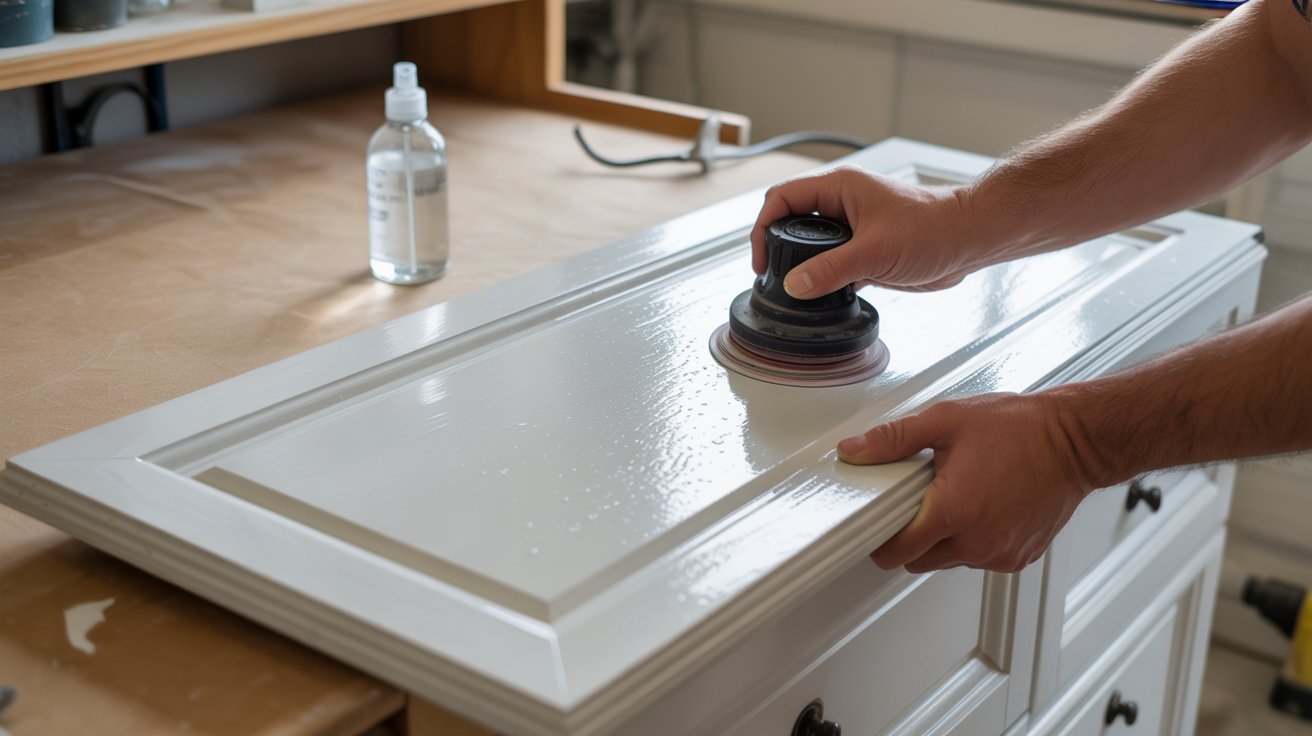
Sometimes the final coat needs help. 400-600 grit removes dust particles from the final coat. Use very light pressure.
Wet sanding works great here. Keep the surface and paper damp to prevent scratches.
Sand if you see dust nibs, bugs, or texture in the final coat. Wait at least 24 hours for paint to cure. Light sanding followed by a final thin coat creates flawless results
Common Mistakes When Choosing What Grit Sandpaper for Cabinets
These mistakes cost time and money. I’ve made them all. Learn from my errors.
- Starting with 220 grit on thick old paint clogs sandpaper and wastes hours. Match your starting grit to cabinet condition.
- Jumping from 80 to 220 grit leaves deep scratches that show through your finish. Each grit removes scratches from the previous one.
- Sanding to 320 before painting wastes effort. Paint only needs 180 to 220 grit for smooth results.
- Using 150 grit before staining creates visible scratches and dark streaks. Stain requires 180 grit minimum.
- Not cleaning between grit changes leaves particles that scratch your surface. Wipe with a tack cloth after each stage.
Conclusion
What grit sandpaper for cabinets you choose makes or breaks your project. I’ve spent weekends fixing rushed sanding jobs, and it’s no fun. Take your time with each stage.
Start with the right grit for your cabinet condition, work through the progression, and don’t skip steps. Your cabinets will look professionally done.
Try these techniques on your next project and let me know how it goes in the comments below.
Got questions about a specific stage? Drop them here and I’ll help you out.
Frequently Asked Questions
Can I Use the Same Grit Sandpaper for the Entire Cabinet Project?
No, you need different grits at different stages. Starting grit removes old finish while final grits create smooth surfaces. Skipping grit progression leaves visible scratches.
How Do I Know When to Move to the Next Finer Grit?
Move to finer grit when scratches from the previous grit disappear. Run your hand over the surface. It should feel uniformly smooth before switching grits.
Is There a Difference Between Sanding for Paint and Sanding for Stain?
Yes. Paint preparation can stop at 180-220 grit. Stain requires 180-220 grit minimum because it shows every scratch. Stain is less forgiving than paint.
Can I Skip Sanding Between Paint Coats on Cabinets?
You can skip it, but the results won’t look professional. Between-coat sanding removes dust nibs, brush marks, and texture. This step creates smooth, high-quality finishes.
What Happens if I Sand Cabinets With Grit That’s Too Coarse Before Staining?
Coarse scratches absorb extra stains and appear as dark streaks. The finish looks uneven and blotchy. Always use 180 grit or finer before applying stain.
